Why Accurate Body Measurements Matter
Fit is the most important factor in garment value. Even the highest-quality fabric or trendiest design can feel wrong if the sizing misses the mark. Measurements drive every step: from pattern drafting and grading to online shopping and made-to-measure orders. Getting it right avoids unsold stock, customer returns, and wasted production costs. This section explains how measurement accuracy impacts garment fit, wearer comfort, and sizing consistency across global supply chains.
The Cost of Inaccurate Measurements
- High return rates, especially for e-commerce apparel businesses
- Poor customer reviews and damaged brand reputation
- Production delays from incorrect spec sheets
- Extra handling costs for rework or alterations
Common Applications in the Industry
- Ordering samples and production runs from factories
- Drafting custom patterns for tailored or premium lines
- Grading size sets for mass market retail
- Guiding customers with online size charts
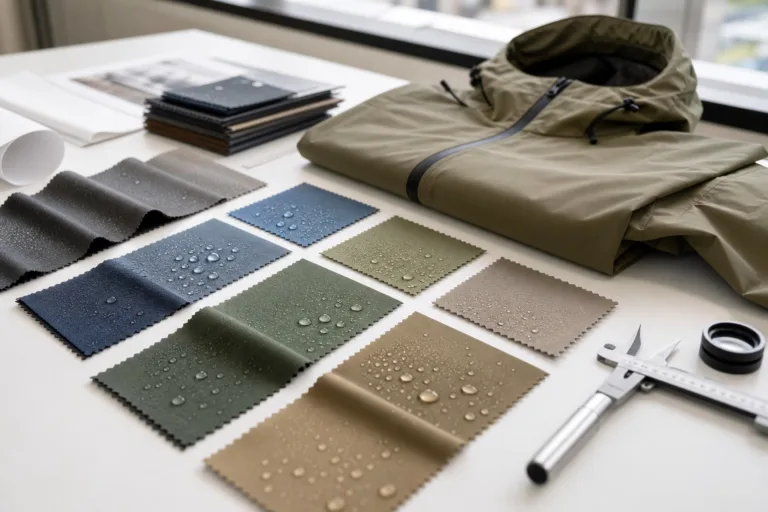
Essential Tools for Taking Body Measurements

To ensure consistency and reliability, always use industry-approved tools when taking body measurements. Here’s what the apparel trade relies on for accuracy:
Key Measurement Tools
- Soft tape measure: Flexible fiberglass tapes with clear centimeter and inch markings are the gold standard.
- Full-length mirror: Helps maintain correct posture and tape alignment, especially for home or shop fittings.
- Hard ruler or yardstick: Useful for checking tape calibration and measuring longer vertical distances.
- Flat surface or measuring board: For measuring lengths like inseam, sleeve, or outseam lying flat.
- Measuring partner: While some measurements can be self-taken, a second person improves accuracy, especially for back and shoulder widths.
- Recording sheet or digital form: Log all numbers immediately to avoid confusion.
Factory Tip
Rain’s Production Tip: Wherever possible, check your tape’s calibration at the start of each measuring session. Tapes can stretch, which introduces error into all readings.
Understanding Key Body Measurements for Clothing
Not all measurements matter for every type of apparel. However, several body measurements are considered essential across most categories—whether you’re working on shirts, trousers, dresses, or sportswear. Knowing what to measure, and where, builds the base for reliable garment fit.
Top Seven Core Measurements
| Measurement | Where It’s Taken | Garment Use | Key Tips |
|---|---|---|---|
| Bust/Chest | Fullest part around chest/bust | Tops, dresses, jackets | Tape parallel to the floor, arms relaxed |
| Waist | Natural waistline, above navel | Trousers, skirts, dresses | Do not suck in; keep tape snug but not tight |
| Hip | Fullest part of seat/hips | Bottoms, skirts, dresses | Feet together, tape level around seat |
| Shoulder width | Edge to edge across back shoulders | Outerwear, tailored garments | Measure straight, not curved over back |
| Sleeve length | Shoulder point to wrist, arm bent slightly | Shirts, jackets, outerwear | Follow natural curve of arm |
| Inseam | Crotch to ankle along inner leg | Pants, jeans, trousers | Measure with leg straight, no shoes |
| Neck | Base of neck, where collar sits | Dress shirts, polos, outerwear | Add a finger space for comfort |
Specialty Measurements
Other specs like rise (pants), bicep circumference (shirts), or ankle opening (pants) may be required for specific garment types or customized fits.
How Measurement Affects Garment Fit and Comfort
Correct body measurements are only the starting point. Skilled factories and pattern-makers convert body figures into garment specs using ease allowance—the extra space built in for movement and aesthetics. Small changes in key measurements create big differences in the final feel and look of the clothing.
Measurement vs. Garment Size
- Body measurement: The actual physique dimension, measured as described above.
- Garment measurement: The finished size of the clothing, including added ease.
- Fit type: Slim, regular, relaxed, and oversized fits differ mainly by the amount and placement of ease allowance.
Impact on Performance and Appearance
Poorly measured clothing may pull at the seams, restrict motion, or look baggy and unprofessional. Well-measured pieces improve wearer confidence, garment drape, durability, and customer satisfaction—especially in sportswear and workwear, where movement is crucial.
Industry Examples
- Slim-fit T-shirts may have only 4–6 cm ease at chest and waist, while relaxed fits may add 10–15 cm
- Work trousers or uniforms often require extra seat, thigh, and hem allowance to avoid seam stress in active jobs
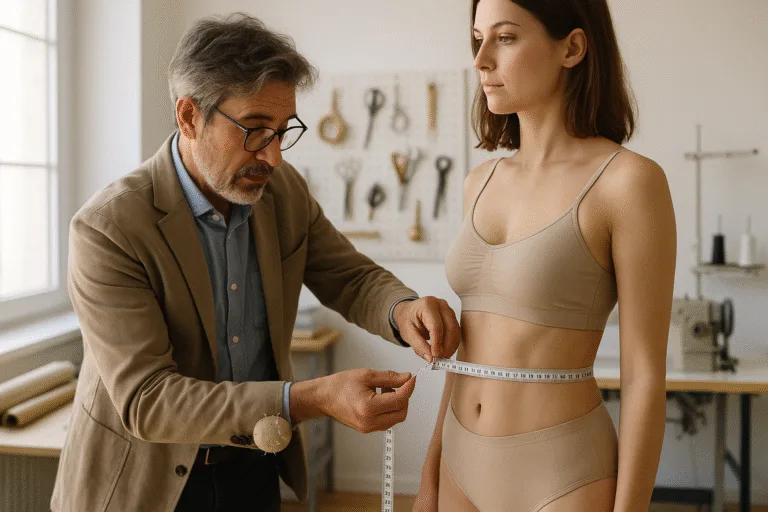
Step-by-Step Guide: How to Measure for Clothing
Each body measurement should be taken with accuracy, repeatability, and proper technique. Below is a professional, field-proven process followed in many factories and tailoring shops.
- Wear fitted underclothes or a lightweight garment. Bulky items distort results.
- Stand straight, feet together, arms at sides. Don’t arch your back or slouch.
- Use a good-quality, non-stretch soft tape. Check zero mark aligns properly.
- Keep tape parallel to the ground (for bust/chest, waist, hip) or at the correct angle for limbs and vertical measurements.
- Always measure the fullest part for bust/chest and hip, and the narrowest part for waist.
- Take each measurement twice for consistency. Record immediately—don’t trust memory.
- Note if the person has special postures, body shape variations, or fitting needs.
- Repeat for other required measurements (inseam, sleeve length, shoulder width, etc.) following the same principles.
Tips for Measuring Others vs. Self-Measurement
- For best accuracy, have someone assist—especially for shoulder and sleeve lengths.
- If measuring yourself, use a full-length mirror and keep the tape snug but not tight.
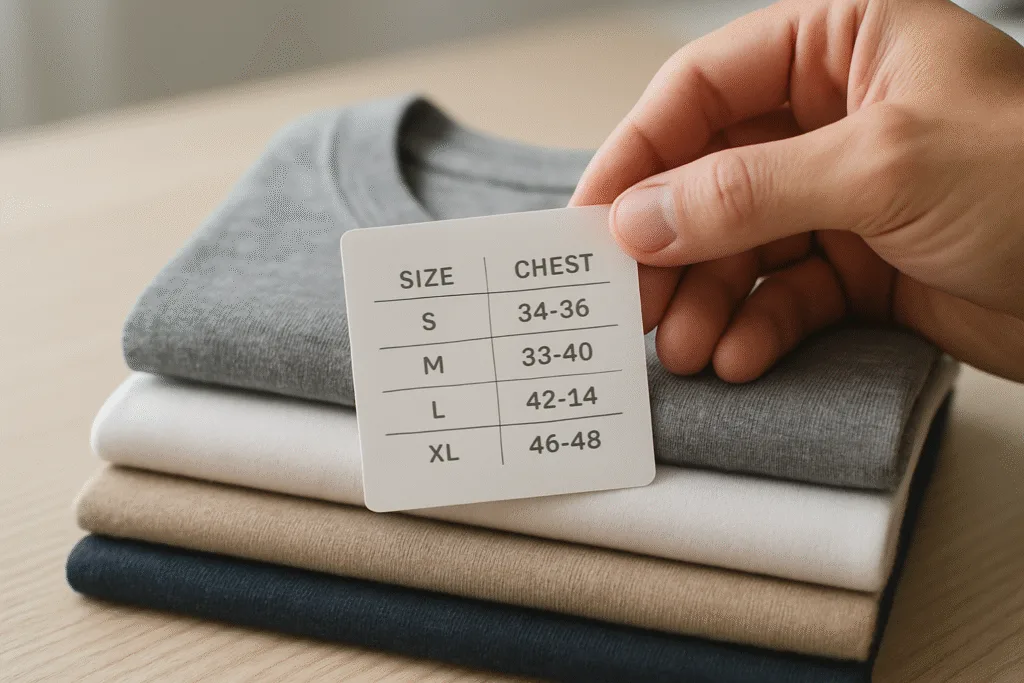
How to Use Body Measurement Charts and Conversion Tables
Body measurement charts are essential for matching body sizes to corresponding garment sizes or ready-to-wear (RTW) numbers. Factories and brands maintain detailed conversion tables, as fit standards (and grading rules) differ by region and brand.
Example Body Measurement Chart
| Size | Bust/Chest (cm) | Waist (cm) | Hip (cm) |
|---|---|---|---|
| XS | 80–84 | 62–66 | 86–90 |
| S | 85–89 | 67–71 | 91–95 |
| M | 90–94 | 72–76 | 96–100 |
| L | 95–100 | 77–83 | 101–107 |
| XL | 101–107 | 84–90 | 108–114 |
How to Apply Measurement Charts
- Find your body measurements, then select the closest size range in the chart.
- For tailored or MTM garments, share actual body measurements—not just size labels—with the maker.
- Check brand-specific notes: Each company has its own grading practices and fit philosophy.
- Ask about tolerance (typical: ±1 cm for main specs in knits, ±0.5–1.5 cm for wovens).
International Size Conversions
European, US, UK, and Asian sizes don’t always match. When buying or making for export, check regional conversion carefully, especially for gendered fits and children’s wear.
Common Mistakes When Taking Body Measurements
Even skilled staff can slip into habitual errors that distort results. These are the top pitfalls seen repeatedly in global factories, retail tailoring, and home sewing alike:
- Wearing bulky or restrictive undergarments during measurement
- Pulling the tape too tight, causing under-sizing, or leaving it too loose
- Taking measurements over outerwear or thick layers
- Measuring over a strongly arched or slouched posture
- Not keeping the tape horizontal (for bust/chest, waist, hip)
- Incorrect zeroing/calibration of the measuring tape
- Relying on selfies instead of a measurement partner for hard-to-reach points
- Forgetting to double-check and immediately record each value
- Not updating measurements after significant weight changes
Rain’s QC Note: A 1–2 cm error—common with a stretched-out tape or poor posture—can move someone up or down a full garment size, creating fit headaches for any brand.
Quality Control: Verifying and Using Measurements in Production
Once measurements are taken, they are only as good as how they’re applied and controlled during the rest of the garment process. Good factories and skilled tailors check and use measurements in several critical ways:
Double-Checking Measurements
- Measure each point twice—by different people for high-stakes items like uniforms and sample approvals.
- Use garment size sets to trial real-world fit, especially on diverse body types (fit models, wearer trials).
- Check results against standard charts plus any custom tolerance agreements.
Measurement Tolerances in Garment Specs
Most garment specs allow some tolerance—typically ±1 cm for main body widths and lengths in knits, slightly less in wovens. Factories should always flag out-of-tolerance samples before proceeding to bulk—preventing size runs from going off-spec.
Case Example: Size Set Approval in Factory
Before bulk cutting, key customers or quality controllers will check size set samples (one of each size) to ensure all garment points conform to agreed measurements. This reduces risk of running thousands of mis-sized garments in the main production batch.
How to Take Accurate Body Measurements

Taking accurate body measurements requires attention to detail, quality tools, and a disciplined routine. Every stage of garment production or purchase relies on trustworthy numbers to guarantee fit and comfort. Here is a summary and troubleshooting guide for mastering how to measure for clothing—whether you are a factory manager, designer, or home dressmaker.
Definition and Importance
“Accurate body measurement” means capturing the true, current dimensions of a person’s body at key garment points, using professional technique.
Key Parameters for Accuracy
- Using a calibrated, non-stretch tape
- Consistent, correct posture and body position
- Tape parallel to floor or following limb
- Immediate, clear documentation of results
- Understanding garment fit principles (ease, tolerance, style)
Five Most Frequent Mistakes
- Misreading the tape or using a stretched, inaccurate tape
- Measuring over thick clothing or accessories
- Poor posture (hunched or overextended)
- Taking a single measurement instead of double-checking
- Confusing body measurements with finished garment specs
Practical Tips for Best Results
- Assign one team member as measurement “checker”—common in high-volume factories
- Always reference updated measurement charts and tolerance tables
- Use fit models or wearer trials for size set validation before bulk production
- For home use, update measurements every 6–12 months, or after significant weight/body changes
Frequently Asked Questions
What is the most important measurement for clothing fit?
The bust/chest and waist measurements are typically the most critical for tops, dresses, and jackets, while the hip and inseam matter most for trousers or skirts. These key points anchor most size charts and impact how a garment drapes on the body.
How tight should the measuring tape be when measuring?
The tape should be snug to the body but not tight. It should sit flat against the skin without compressing soft tissue, allowing a finger to slide beneath for comfort.
How often should I update my body measurements?
Measurements should be updated every 6–12 months, or whenever there is a change in body weight, shape, or muscle mass. For growing children or athletes, more frequent updates may be needed.
What is the difference between body measurement and garment measurement?
Body measurement refers to the actual physique, while garment measurement includes extra allowance (ease) for comfort and style. Garment specs are always larger than direct body measures.
Why do size charts vary between brands?
Each brand sets its own fit philosophy, grading rules, and customer profile, which creates variation in size charts. Always check each brand’s chart before buying or making clothing.
How do I measure myself if I don’t have help?
Use a full-length mirror, wear fitted clothing, and check the tape’s position carefully. Certain measurements (shoulder width, sleeve length) may be less accurate without assistance.