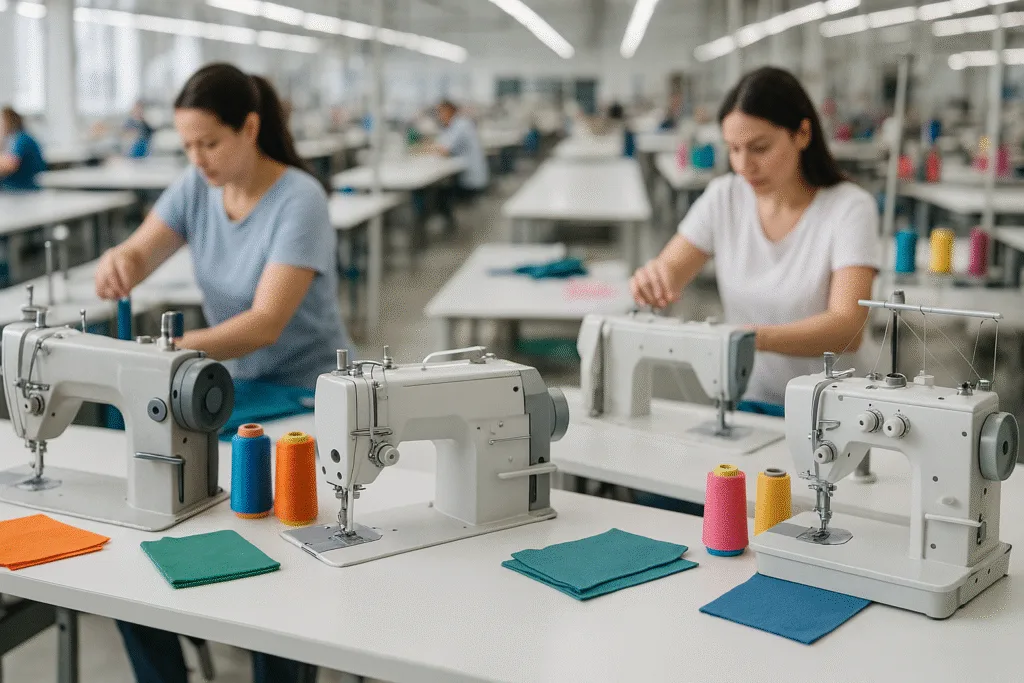
Types of Industrial Sewing Machines
Industrial sewing machines are engineered for speed, durability, and repeatable precision. Unlike domestic machines, they are purpose-built for specific sewing functions. Choosing the right machine is foundational to building effective sewing machine skills, especially if you’re aiming for professional results or volume production.
Lockstitch Machines
The lockstitch machine (ISO 301) is a factory staple, using a top and bottom thread to produce a strong, clean seam. It’s ideal for most woven fabrics and general construction, including shirts, trousers, and light jackets.
Overlock (Serger) Machines
Overlock machines, often referred to as “sergers” (e.g., ISO 504/514), trim edges and stitch simultaneously. They prevent fraying, secure fabric edges, and are indispensable for knits, T-shirts, sportswear, and seam finishes on woven garments.
Coverstitch Machines
Designed for hemming knit garments (e.g., T-shirt bottoms), coverstitch machines (ISO 602) create stretchy, professional hems on activewear, leggings, and casual clothing.
Specialized Machines
- Bar Tack Machines – Reinforce high-stress points, such as pocket edges and belt loops.
- Buttonhole and Button Sew Machines – Automate consistent, durable closures for shirts and outerwear.
- Zigzag Machines – Used for attaching elastics, appliqué, or decorative stitches, mainly on lingerie and swimwear.
Industrial vs. Domestic Machines
Industrial models run faster, last longer, and handle tougher jobs than home machines, but they require regular maintenance and ample workspace. For beginners, understanding the distinctions helps you make smart investments and learn the proper techniques transferable from home to factory floors.
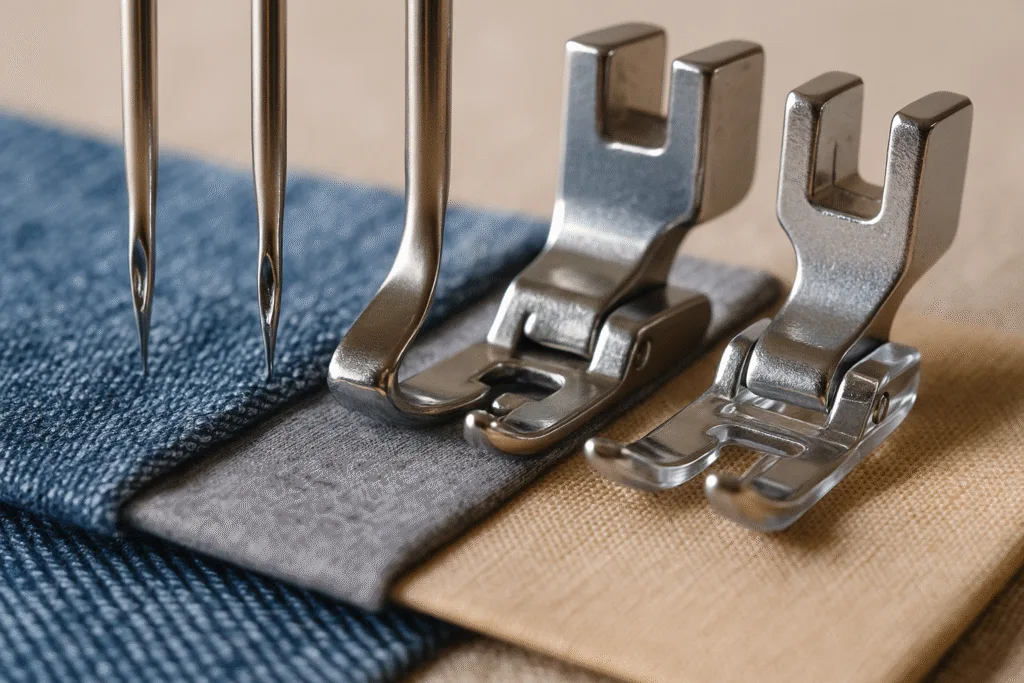
Understanding Needle Sizes and Types
The right needle affects seam quality, machine performance, and fabric finish. Needles are categorized by thickness (size) and tip shape. Factory professionals select needle sizes based on material, thread, and stitch type.
Needle Size Chart and Applications
| Needle Size (NM) | Needle Size (Singer) | Best for Fabrics | Typical Use |
|---|---|---|---|
| 60/8 | 8 | Sheer, lightweight fabrics (silk, organza) | Delicate topstitching |
| 70/10 | 10 | Shirtings, voile, polyester lining | Dress shirts, light blouses |
| 80/12 | 12 | Standard cotton, poplin, jersey | T-shirts, polo shirts, pajamas |
| 90/14 | 14 | Denim, corduroy, canvas | Jeans, workwear, jackets |
| 100/16 | 16 | Heavy canvas, vinyl, leather | Work boots, leather goods |
Common Needle Types
- Universal – Gently rounded point, suitable for most woven and knit fabrics.
- Ballpoint (Jersey) – Rounded tip, slides between knit fibers to prevent holes.
- Sharp/Microtex – Fine point for precision in tightly woven fabrics and technical textiles.
- Jeans/Denim – Reinforced body and sharp tip to pierce heavy, densely woven fabrics.
- Leather – Wedge-shaped tip for clean cuts through hides and synthetics.
Rain’s Tip from the Production Line
Always match the needle to the most challenging layer you’ll sew. In factories, using the wrong size or type causes costly downtime from thread breaks and damaged fabric.
Essential Presser Feet and Their Uses
Presser feet are attachments that hold fabric steady as stitches are formed. Selecting the correct presser foot empowers you to sew tricky materials, curves, or seams with confidence and precision.
Basic Presser Feet Every Beginner Should Know
- Standard/All-Purpose Foot – Covers most straight and zigzag stitching on basic fabrics.
- Zipper Foot – Allows close stitching to zipper teeth without obstruction.
- Buttonhole Foot – Guides stitches for even, repeatable buttonholes.
- Overedge Foot – Mimics serger-style edge finishing on a regular machine.
- Walking Foot (Even Feed) – Feeds stretchy or layered fabrics evenly; vital for quilting and thick knits.
- Blind Hem Foot – Helps create neat, barely visible hems on dress pants and formalwear.
Factory Favorites
Professional operators often rely on specialized feet for piping, invisible zippers, binding, or rolled hems. In mass production, quick-change features and robust construction are prioritized for efficiency and consistency.
Thread Setup: Selection and Tension
No sewing machine basics guide is complete without a strong foundation in thread setup. The wrong thread choice or improper tension results in weak seams, puckered edges, and costly repairs down the production line.
Thread Types
- Polyester Thread – Strong, versatile, minimal lint; suitable for all-purpose sewing and most apparel.
- Cotton Thread – Soft finish, best for natural fabrics and classic tailoring.
- Nylon Thread – Exceptional elasticity and abrasion resistance; essential for sportswear and swimwear.
- Core-Spun Thread – Robust for heavy-duty seams in jeans, workwear, and outerwear.
Thread Weights and Sizes
In factories, thread is rated by ticket number (Tex) or denier. Thick thread (lower ticket numbers) provides higher strength and visibility; fine thread is used for delicate work or dense stitches.
Threading Techniques
- Raise the needle and presser foot before threading to release tension discs.
- Follow the color-coded paths or diagrams on your machine; if unsure, consult the manual.
- Thread the needle from front-to-back (lockstitch) or per factory standard.
- Insert and wind the bobbin with even tension—uneven winding leads to stitch inconsistency.
- Double-check the tension: balanced stitches should look even on both sides of the seam.
Adjusting Tension Settings
Proper tension keeps stitches even, flat, and durable. Tension too tight can cause puckering or thread breakage; too loose and loops appear on the seam’s underside. Consistent tension is a hallmark of good sewing machine skills, both for beginners and seasoned operators.
Top Thread Tension
Usually adjusted by a numbered dial (1–9). Use lower numbers for lightweight fabrics (organza, silk) and higher for heavier fabrics (denim, canvas). Always test on a scrap before sewing your garment.
Bobbin (Lower Thread) Tension
In most machines, this is set at the bobbin case. For production environments, bobbin tension should be checked daily, and recalibrated after any machine maintenance or thread changes.
Stitch Density (SPI)
Stitch Per Inch (SPI) impacts seam strength and elasticity. Factory norms might call for:
- 8–10 SPI for heavy denim seaming
- 10–12 SPI for standard shirt construction
- 12–16 SPI for fine blouses or lingerie
Incorrect SPI can compromise durability or handfeel, especially under stress or after washing.
Troubleshooting Common Sewing Machine Problems
Even seasoned operators confront issues like skipped stitches, thread breaks, or noisy machines. This troubleshooting guide helps beginners diagnose problems early, protecting both projects and equipment.
Frequent Issues and How to Fix Them
- Skipped Stitches – Usually caused by a blunt or wrong-size needle. Change needle and rethread both needle and bobbin.
- Thread Breaking – Often due to cheap thread, incorrect tension, or burrs in the needle plate. Use high-quality thread and inspect the thread path for snags.
- Puckered Seams – May result from incorrect tension, too fine a thread, or a presser foot that presses too hard. Adjust pressure and use stabilizer for lightweight fabrics.
- Looping Thread Underneath – Indicates insufficient top tension or missed thread guides. Double-check upper threading and adjust tension dial.
- Loud or Unusual Noises – Signal need for cleaning, lubrication, or part replacement. Stop, unplug, and inspect bobbin area for lint or debris.
Preventive Maintenance Checklist
- Clean the bobbin case and feed dogs daily with a soft brush or compressed air.
- Oil the machine as per the manufacturer’s schedule, using only recommended lubricants.
- Replace needles after 8 hours of use or when changing fabric types.
- Check belt tension and machine timing monthly.
- Document issues and solutions for future reference—a habit adopted in leading export factories.
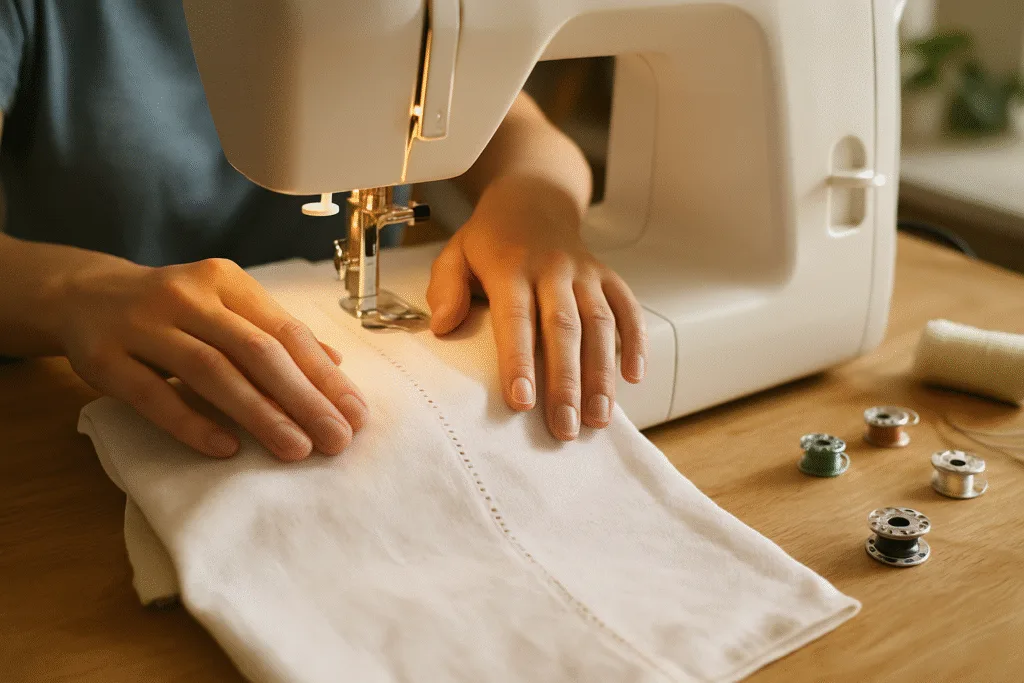
Sewing Machine Basics for Beginners
Learning sewing machine basics as a beginner sets the stage for all future sewing machine skills. Whether you’re planning to sew at home or join a garment manufacturing line, these fundamentals save time, improve quality, and build confidence with every stitch.
Definition and Importance
Sewing machine basics include familiarization with machine types, recognition of critical parts, safe threading/bobbin setup, proper stitch selection, presser foot use, and essential troubleshooting. These core steps prevent problems and improve every subsequent skill—cutting, assembly, finishing, and even quality inspection.
Typical Beginner Mistakes
- Using the wrong needle size or type for the fabric
- Poor threading—shortcutting guides or forcing thread
- Ignoring tension settings or presser foot adjustments
- Neglecting cleaning/oiling, leading to machine faults
Best Practices for Fast Progress
- Always test on scrap fabric—replicate the actual fabric, thread, and stitch to check results
- Label needles and feet for easy identification, especially when changing often
- Develop a regular maintenance habit: clean, oil, replace needles, and check tension daily
- Keep a troubleshooting log for recurring issues
- Watch experienced operators (even online videos from reputed factories) to observe hand and foot coordination
Building on the Basics
Every complex garment—be it a tailored suit or lightweight sports T-shirt—relies on the foundational steps covered here. These skills translate directly from home to professional environments, and remain essential regardless of automation or scale.
Selecting Sewing Machine Accessories and Attachments
Access to the right accessories drastically enhances results and unlocks specialized techniques.
Essential Starter Accessories
- Extra Bobbins – Frequent color changes or large projects require multiple bobbins, pre-wound for efficiency.
- Bobbins and Bobbin Cases – Use only the type compatible with your machine brand and model. Incompatible bobbins cause jams and poor stitch formation.
- Machine Oil and Cleaning Tools – Keep mechanisms smooth and dust-free.
- Seam Ripper – Correct mistakes cleanly without damaging fabric.
- Set of Presser Feet – Besides basics, consider feet for quilting, binding, piping, or embroidery as your skills progress.
Advanced Attachments in Factories
Industrial sewing lines feature binding attachments, programmable pattern folders, and heavy-duty stacking folders for repetitive, highly precise bulk production. For beginners, understanding these tools lays a foundation for future upskilling or factory work.
Personal Safety and Ergonomics
Consistent sewing, whether at home or on the factory line, requires attention to personal safety and ergonomic setup to prevent injury and maintain focus.
Main Safety Measures
- Keep fingers clear of the needle area; always stop before reaching under the presser foot.
- Secure long hair and remove loose jewelry that could catch in moving parts.
- Switch off machine before threading, cleaning, or changing needles and feet.
- Wear eye protection if working with heavy-duty or high-speed machines.
Ergonomic Best Practices
- Seat height should allow elbows to rest comfortably at machine plate level; feet flat on the floor or foot pedal.
- Use ample lighting: adjustable task lamps reduce eye strain, especially with dark or detailed work.
- Take regular breaks to stretch fingers, wrists, and shoulders.
- Organize tools within easy reach to minimize distractions and time lost looking for accessories.
From Practice to Production: Building Sewing Machine Skills
Practical sewing machine skills come from routine, practice, and attention to every detail—traits deeply valued in garment factories worldwide.
Progression Path for Beginners
- Start with straight lines on woven cotton; focus on even stitch spacing and fabric control.
- Advance to curves, corners, and overlapping seams—simulate real garment edges.
- Practice with different presser feet for zippers, buttonholes, and finishing edges.
- Test thread and tension combinations for varied fabrics: jersey, denim, polyester blends.
- Attempt repairs or simple upcycling projects before launching into full garment construction.
Factory-Level Skill Development
Operators in export houses follow strict skill matrices—from basic seam construction to complex assembly (collar setting, pocket attachment, ribbing). Mastering the basics allows for cross-training and troubleshooting, making you more valuable to any production team.
Practical Next Steps
- Keep a reference notebook of fabric types, needle/thread choices, and stitch settings.
- Participate in hands-on workshops or observe skilled tailors to build muscle memory and efficiency.
- Explore sample garment specs, measure seam allowances, and compare sample/test results.
- Ask for feedback on finished projects from experienced sewers or mentors—it’s the fastest way to progress.
Frequently Asked Questions
Which sewing machine is best for beginners?
For beginners, a simple mechanical lockstitch machine with basic stitch options, easy threading, and adjustable tension works best for developing foundational sewing machine skills.
How do I choose the right needle size?
Match the needle size to the fabric weight: finer needles for lightweight fabrics like voile and silk, heavier needles for denim, canvas, or multiple layers.
What thread type should I use for sewing clothes?
Polyester thread suits most apparel as it’s strong and versatile, while cotton thread is ideal for natural fiber fabrics and classic tailored garments.
How do I stop thread from breaking or skipping stitches?
Use the correct needle and thread combination, ensure proper threading, and adjust tension; change to a new needle if problems persist.
How often should I clean and oil my sewing machine?
Clean the bobbin and feed area after every project or eight hours of sewing, and oil according to the manufacturer’s guidelines.
Can industrial sewing machine techniques help in home sewing?
Yes; industrial techniques like correct threading, regular maintenance, and using proper needle/thread enhance quality and efficiency in home sewing, too.