Introduction: Troubleshooting Common Fit Issues in Pattern Making
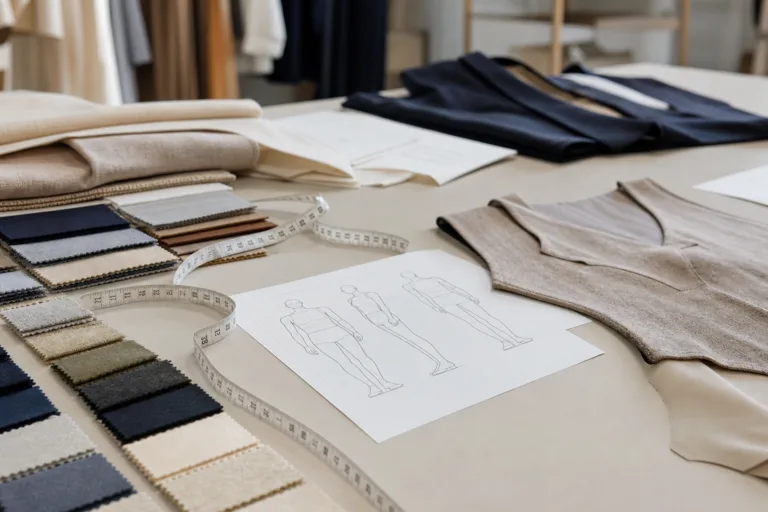
Pattern making serves as the foundation for every well-fitting garment. Yet even the most thoughtfully drafted patterns can encounter fit issues that undermine both style and comfort. Whether you’re a designer, student, or home sewist, understanding how to troubleshoot common fit problems is essential. This guide explores the sources of misalignment, excess ease, and inadequate shaping in pattern making. We’ll walk you through practical problem-solving techniques, provide actionable tips for catching issues before production, and offer guidance on refining your process for consistently successful results.
Understanding Fit Issues in Pattern Making
Fit problems can show up at nearly any stage—from initial flat patterns to first samples. Typically, they relate to how pattern pieces interact, the precision of measurements, and the unique qualities of your chosen fabrics. Catching these issues early controls costs, improves comfort, and supports brand-quality expectations.
The Most Common Fit Issues Identified
Some fit issues are widespread across garment types and industries. Notable problems include:
- Misalignment of pattern seams
- Excess or insufficient ease
- Lack of shaping or contour at crucial areas
- Pattern pieces that do not match in length or notch placement
- Grading errors affecting multi-size runs
Fit Issues Explained: Misalignment, Ease, and Shaping
Misalignment often results from overlooked pattern drafting standards or inexact seam allowance application. Excess easeinadequate shaping
Why Accurate Measurements Matter
Measurements are the backbone of every pattern. An error at this stage almost always guarantees fit issues. Refer to standards outlined in trusted guides, and review categories such as Length, Chest/Bust, Waist, Hip, and Sleeve placement. For best practice, Apparel Wiki recommends documenting all Points of Measure (POM) with clear illustrations (How to Measure a Garment: 9 Key POMs and Pro Tips for Perfect Fit).
Seam Allowance: Its Impact on Fit
Incorrect seam allowance creates misaligned or distorted seams, impacting fit and finish. Selecting allowance appropriate for fabric and construction method helps avoid headaches later. Learn about garment-specific standards in 21 Seam Allowance Standards for Different Garment Types.
Pattern Block vs. Sloper: Which Affects Fit More?
Slopers are basic, body-fitting patterns, while pattern blocks include design ease and features. Using the wrong base can trigger fit problems, especially when brands scale up production. Explore these differences further in Pattern Block vs. Sloper Shapes Lasting Brand Success.
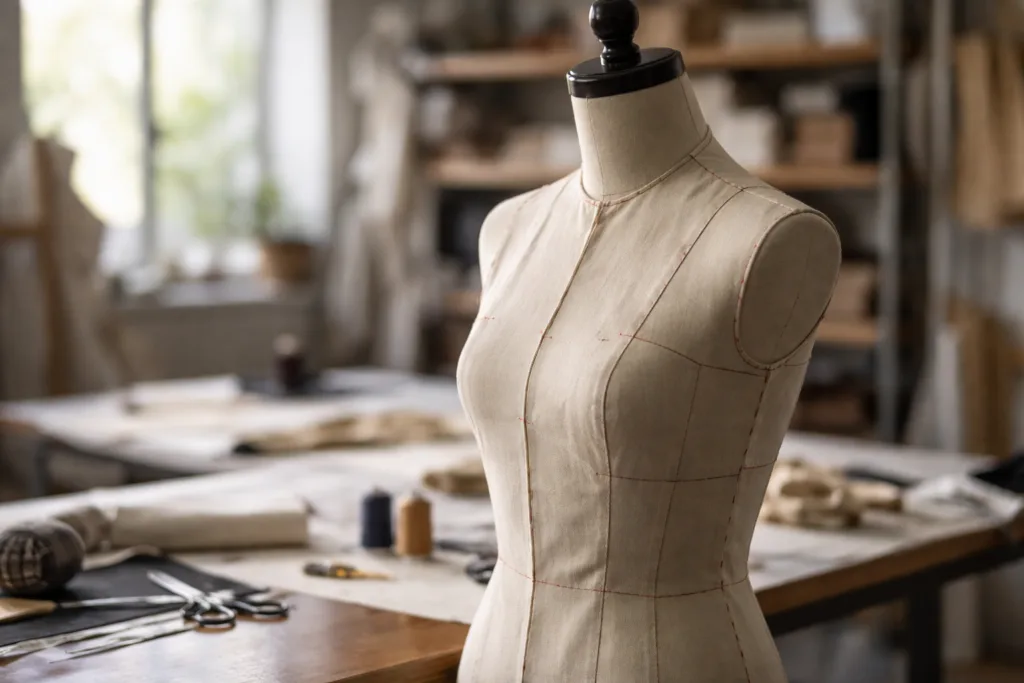
The Role of Muslin Fitting in Troubleshooting
Muslin fitting, or toile fitting, reveals fit issues before expensive fabric is cut. This approach lets designers pin, adjust, and mark corrections directly on the test garment, offering real-world feedback for pattern modification.
Visual Inspection: Spotting Fit Issues on the Table
Lay your pattern pieces flat and compare notches, seam lengths, and markings. Visually check for mismatches at crucial points—such as armholes, side seams, and sleeve caps. Many fit issues can be detected before sewing begins.
Ease in Pattern Making: Striking the Right Balance
Ease gives garments movement, comfort, and shape. Too much results in a shapeless look; too little causes constriction. For deeper understanding, see What Is Ease in Pattern Making?.
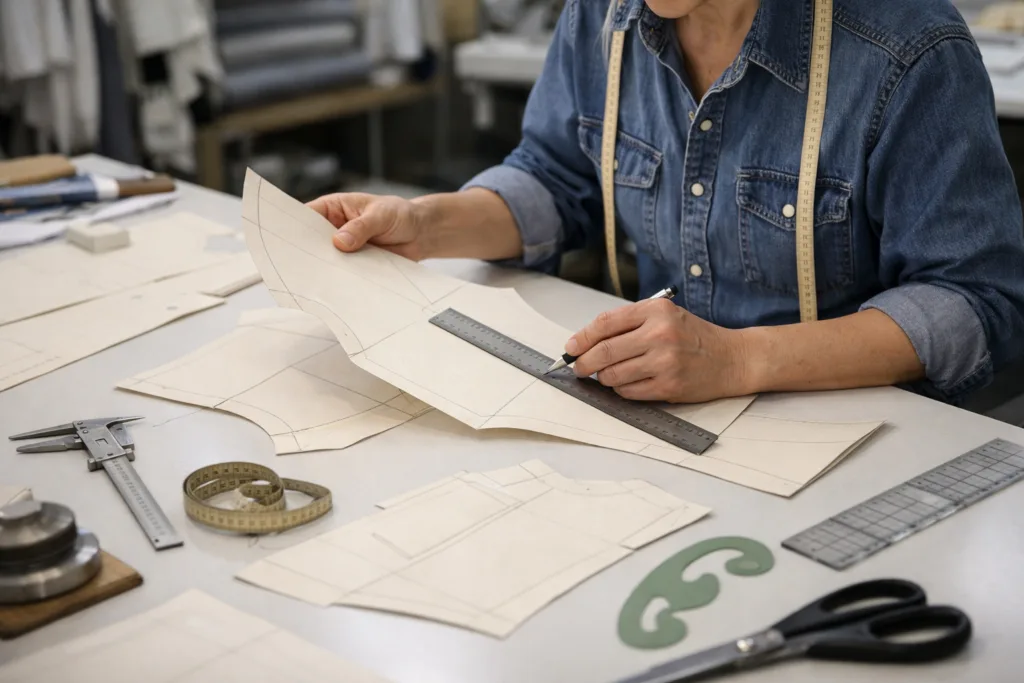
Practical Techniques for Adjusting Pattern Pieces
Adjustments may involve adding or subtracting seam allowance, truing curves, and altering darts. For example, splitting and spreading pattern sections—commonly done with bodices and sleeves—fixes inadequate shaping at bust or shoulder.
Solving Misalignment with Notch and Line Corrections
Precise placement of notches and grain lines ensure pieces align as intended. Ignoring these marks often leads to twisted seams and poor silhouette. Apparel Wiki shares how notches and lines streamline construction process in The Ultimate Guide to Sewing Pattern Symbols.
Diagnosing Issues by Garment Type
Troubleshooting fit issues varies by product type. For example, pants often present problems at the crotch curve, while shirts may have shoulder or sleeve cap discrepancies.
- Trousers: Check crotch depth, waist-to-hip fit
- Shirts/Blouses: Assess neckline drop, sleeve rotation
- Dresses: Watch for bodice gaping, skirt symmetry
Anticipating Sleeve Issues: Set-In, Raglan, Drop Shoulder
Sleeve insertion is notoriously tricky. Differences in armhole shape, sleeve cap height, and ease at the bicep contribute to common problems. Explore insertion methods and avoid pitfalls with Sleeve Insertion Techniques.
Fabric Choice and Its Impact on Fit Correction
Knit fabrics stretch and recover, masking or amplifying fit errors. Wovens, by contrast, hold their shape but may be less forgiving. Adjusting patterns for fabric characteristics reduces trial and error. Read more on adapting techniques in Developing Patterns for Knits vs Wovens.
Flattening Pattern Pieces After Fitting Adjustments
After making changes on muslin or fabric samples, transfer those adjustments back to paper. Redraw altered lines and double-check notch and seam alignment before producing new samples.
Checking Garment Symmetry: Sleeves, Fronts, and Backs
Asymmetrical sleeves or uneven garment sides can be fixed by measuring both halves on paper and on muslin. For clarity on sleeve discrepancies, Apparel Wiki details why sleeve lengths often differ (Why are the left and right sleeves different lengths?).
Proactive Planning: Testing Patterns Early
Begin with sample sizing and narrow down variations before investing in final production. Testing several pattern views facilitates error correction and functional tweaks.
Communicating Corrections with Factories
Clear, detailed feedback helps avoid repeated mistakes. Use visuals, comments, and callouts to communicate corrections. Reference tips in How to Communicate Pattern Corrections to Your Factory.
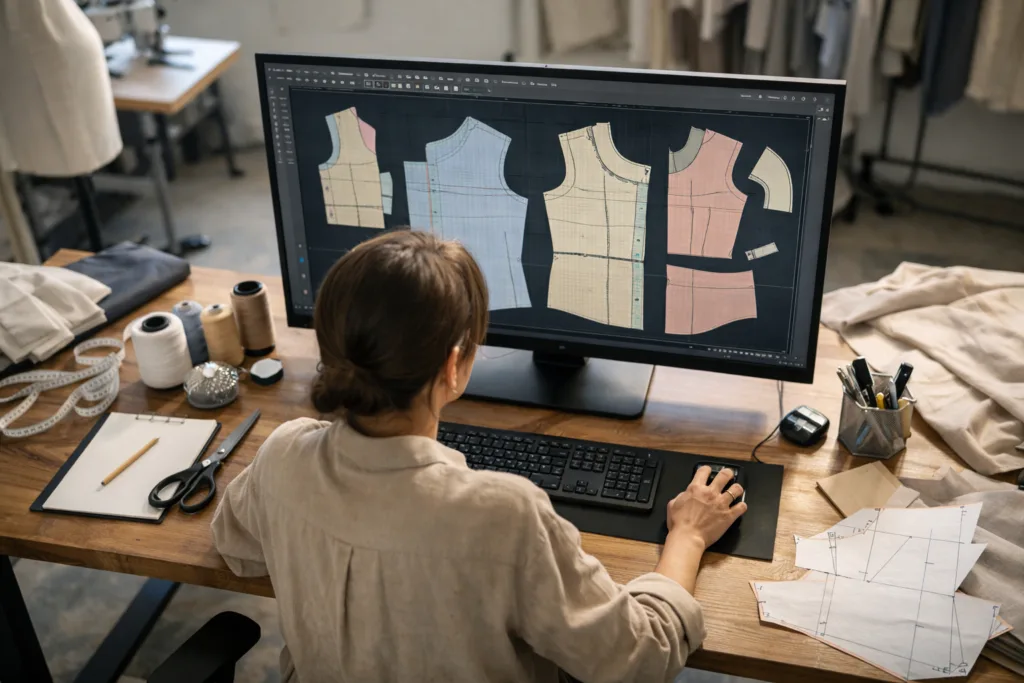
Digital Tools and Pattern Making Software
CAD programs like Gerber, CLO3D, and Lectra provide precise control and easier corrections. They allow designers to visualize issues before sampling, streamlining development cycles.
Comparing Pattern Making Methods: Flat vs. Draping
Flat patternmaking gives standardized results, while draping reveals fit nuances directly on the form. Integrating both methods enables designers to spot and fix fit issues early. Apparel Wiki outlines the strengths of these methods (Pattern Making Showdown: Flat vs. Draping).
Professional Grading Strategies
Grade rules determine how each size expands or contracts from a base pattern. Inaccurate grading amplifies fit problems across a range. For solid grading advice, see Grading Rules: How Sizes Expand from a Base Pattern.
Implementing a Fit Approval Process
Establishing standardized fit approval steps—such as fit comments, sample reviews, and size chart sign-offs—reduces the risk of overlooked errors and facilitates consistent results across production runs.
Practical Observations: Lessons from Apparel Wiki
Apparel Wiki editorials often highlight the importance of combining theory with hands-on adjustments. For example, balancing ease and accurate POMs can prevent 80% of bulk fit complaints reported by factories. Thoughtful troubleshooting at each development stage is proven to reduce costly remake cycles.
Troubleshooting Common Fit Issues in Pattern Making
When addressing fit issues, begin with visual inspection, compare notches, and test muslin. Adjust pattern pieces, mentor communication with factories, and use digital tools to identify errors. Proactive planning and methodical testing anchor successful corrections—ensuring garments look sharp, feel comfortable, and satisfy both designers and wearers.
Conclusion: Move Forward With Smarter Fit Solutions
Troubleshooting fit issues in pattern making demands sharp observation, a willingness to test, and solid documentation. Whether dealing with misalignments, excess ease, or grading errors, use muslin tests and digital tools for better results. Improving your process helps cut costs, boost quality, and build confidence in both design and manufacturing.
Frequently Asked Questions
What causes misaligned pattern pieces?
Misaligned pieces often stem from inconsistent seam allowances, inaccurate measurements, or incorrect notch placement during pattern drafting.
How can I reduce excess ease in my pattern?
Review your garment’s intended fit, measure key areas, and adjust pattern curves or darts to remove unneeded room, balancing comfort and design.
What role does muslin fitting play in troubleshooting?
Muslin fitting lets you identify and fix fit issues on a test garment before cutting expensive fabrics, saving time and resources.
How do I communicate fit corrections to my factory?
Use detailed comments, visuals, and callouts in your tech pack or sample review notes to make corrections clear and actionable for the production team.
Why do sleeve lengths sometimes differ?
Asymmetry may result from inconsistent drafting or fabric stretching during sewing. Always check sleeve pattern pieces and measure muslin tests for match.
What digital tools help troubleshoot fit issues?
CAD software for pattern making lets you visualize, adjust, and correct fit problems before physical sampling, streamlining revisions and approvals.
Related Reading
- Unlock Better Sewing Results with Seam Allowance Strategies
- Master the 9 Key POMs for Garment Measurement Precision
- Communicate Pattern Corrections Like a Pro with These 9 Steps
- Demystifying Size Grading: Pro Tips for Consistent Garment Fit
- Solve Sleeve Symmetry Issues Before Production
- Discover the Secrets of Flat Pattern vs. Draping Methods