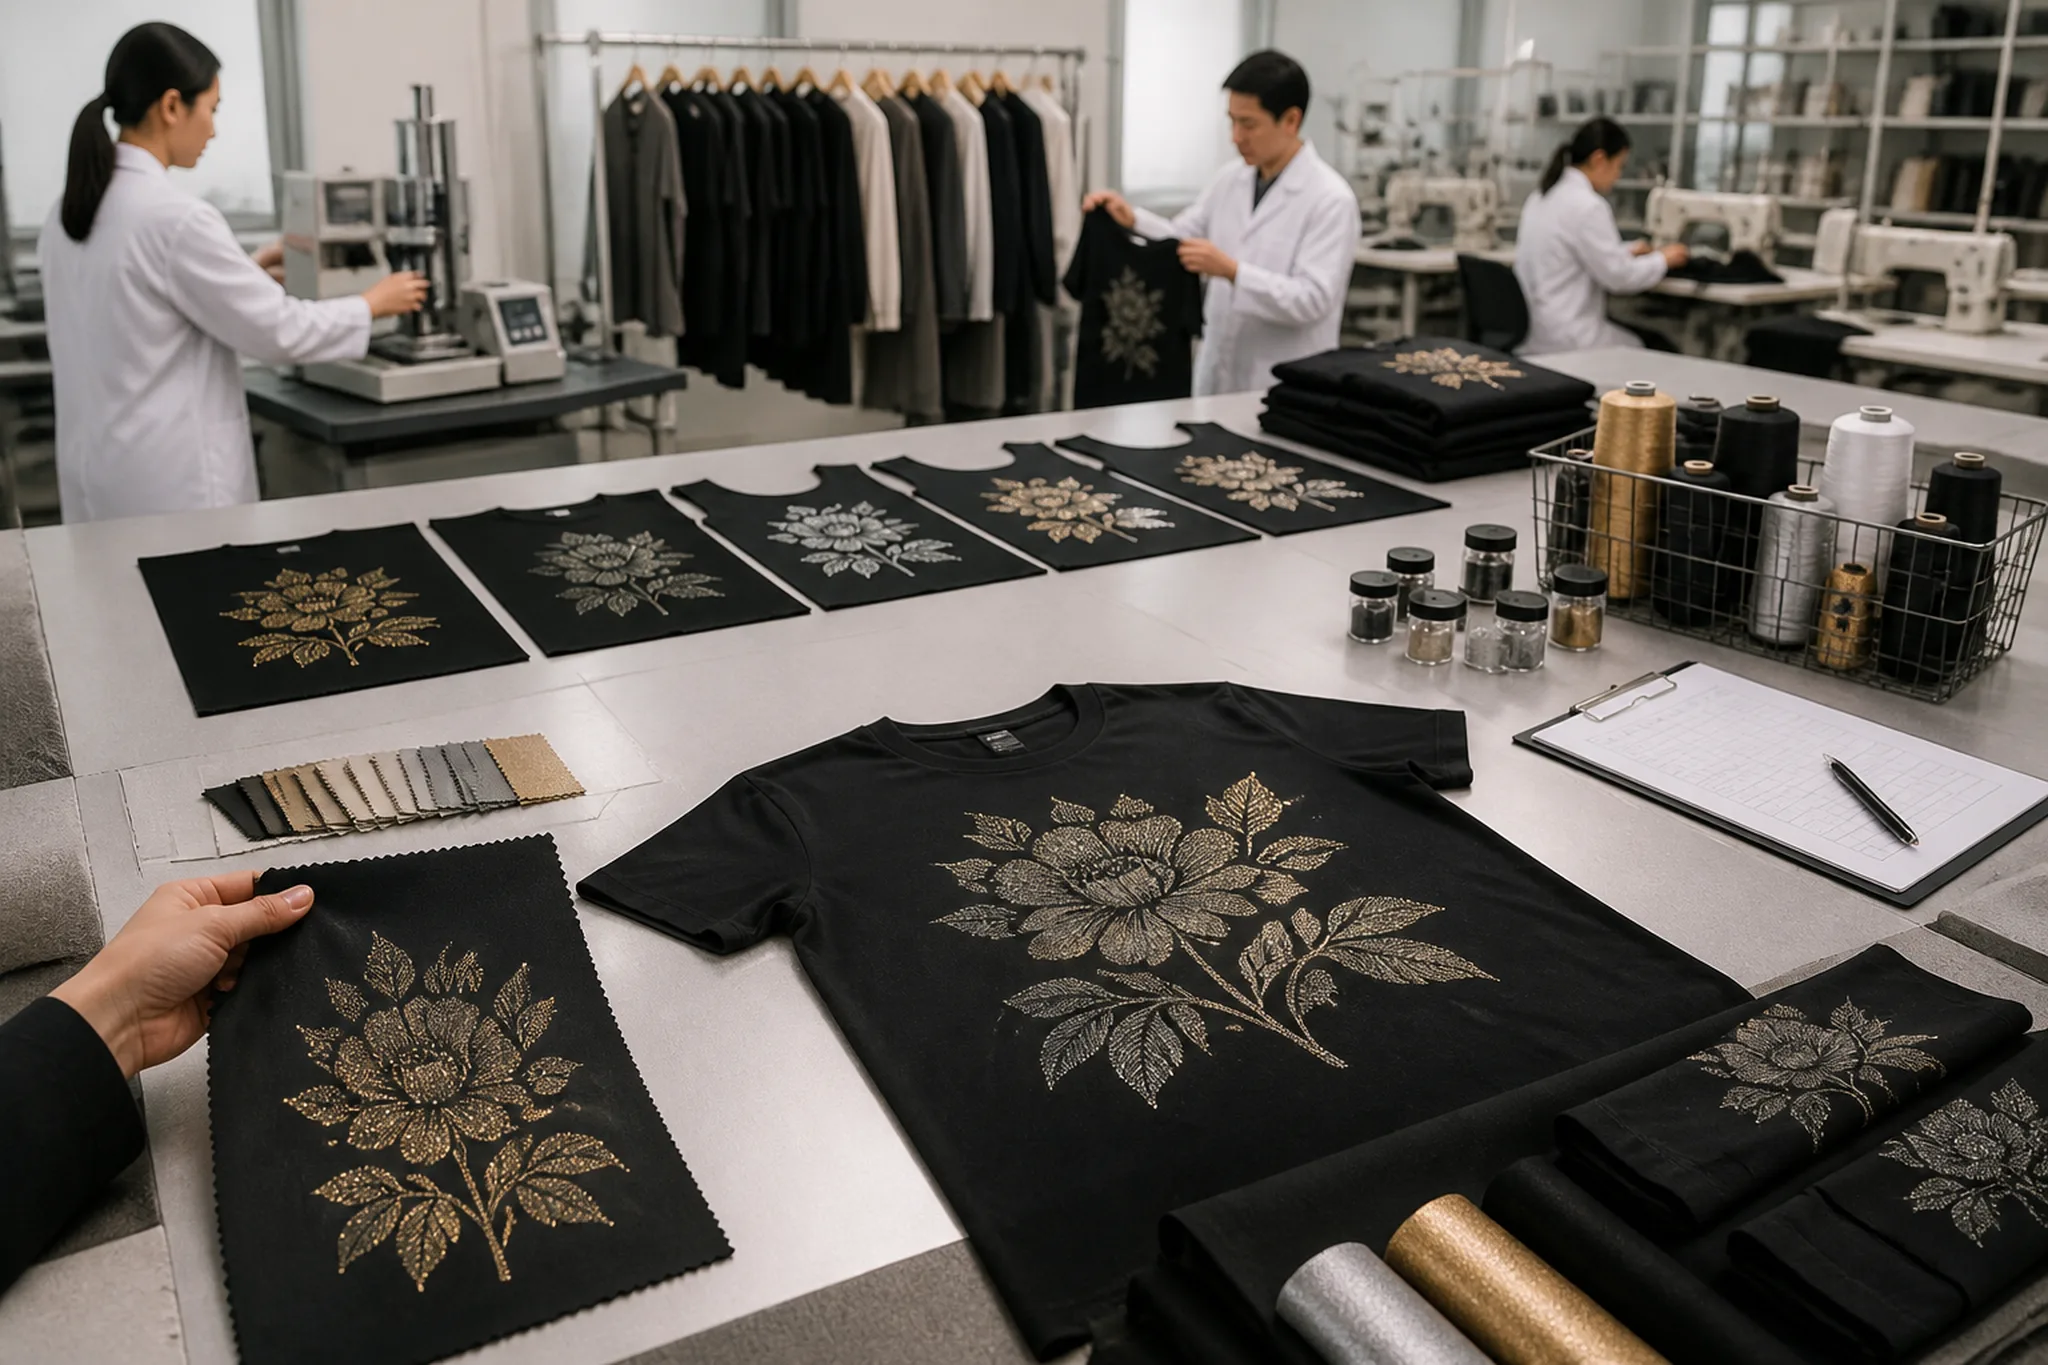
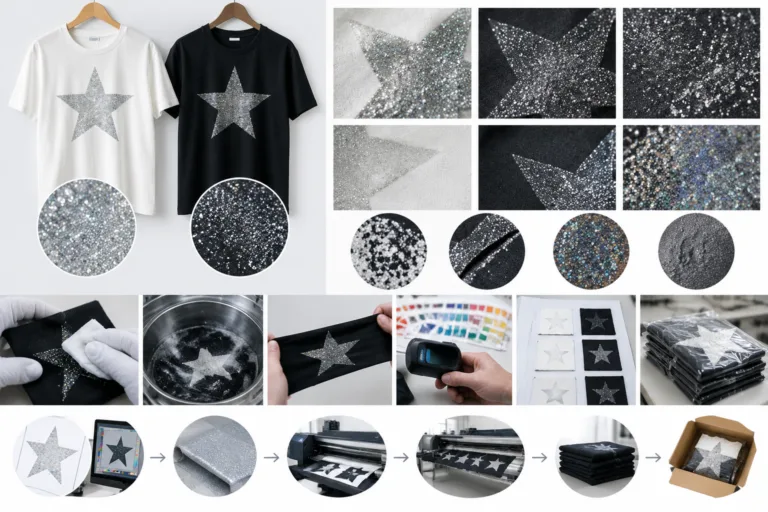
Glitter printing can differ between a sample and production because the approved sample is reproducible only when its artwork, fabric, glitter material, equipment, process conditions, garment handling, and inspection conditions are matched. Glitter printing is a decorative garment-printing process in which visible glitter particles are held on the textile by a suitable print, adhesive, transfer, or related material system. A visually acceptable sample therefore demonstrates one result under particular conditions; it does not automatically guarantee identical bulk output. Apparel Wiki is an independent educational publication, and its Sponsor information explains the separation between sponsorship and editorial content.
Differences may appear as uneven particle distribution, reduced coverage, altered color or shine, changed hand feel, weak adhesion, misplaced artwork, cracking, shedding, or unwanted transfer. These symptoms do not identify a root cause by themselves. Fabric, artwork, equipment, handling, and measurement conditions can produce similar observations, so the practical task is to establish what changed between the reference sample and production, then verify the smallest useful corrective action.
Why Glitter Printing Can Differ Between a Sample and Production
A development sample and a production run may follow the same general design brief while using different inputs or controls. The sample may be printed on a substitute fabric, prepared with a different artwork file, or inspected under more favorable conditions. Production may involve another fabric lot, garment color, screen or transfer reference, machine, operator, process route, or handling sequence. Any one of these differences can affect the finished appearance.
The phrase glitter printing defects covers more than a glitter color that looks wrong. It can include inconsistent coverage, irregular shine, visible gaps, poor registration, changes in edge definition, surface cracking, particle loss, transfer to another surface, or a hand feel that differs from the approved reference. A sample can look satisfactory at first inspection while still requiring further comparison or project-specific verification before bulk approval.
For problem solving, separate three things: the observation, the suspected cause, and the evidence that confirms the cause. “The glitter looks thinner near the seam” is an observation. “The fabric stretch caused the difference” is a hypothesis until the relevant fabric, placement, and process records support it. This distinction helps apparel teams avoid treating a familiar explanation as a confirmed diagnosis, especially when several variables changed at once.
What to Compare Before Investigating the Defect
Begin with a comparison baseline rather than photographs or memory. Identify the exact approved artwork version, print dimensions, placement references, color references, and any project-specific tolerance. Keep the physical approval sample available, because a screen image or digital mock-up cannot represent particle reflection, surface texture, coverage, or hand feel with the same reliability as the garment or material being approved.
Compare the sample with a representative production garment using the same categories of information:
- Artwork and placement: file version, separation, scale, layer order, dimensions, seam distances, and pattern-piece references.
- Garment and fabric: colorway, fiber composition, construction area, stretch, surface texture, dye or finish information, and fabric lot where available.
- Print system: glitter material, ink, adhesive, transfer, screen or transfer identification, supplier or batch information, and process route.
- Production conditions: production date, equipment or operator changes, material preparation, drying or curing information, pressure or speed settings where documented, and garment handling.
- Inspection conditions: viewing environment, garment position, comparison photographs, measurements, and the number of affected and unaffected garments examined.
This record does not prove that every listed variable matters in every case. It establishes a factual map of what was matched, what was substituted, and what remains unknown. Controlled photographs, physical samples, measurements, and batch records are editorially useful investigation inputs. A single image can show a symptom, but it rarely establishes whether the cause is material, artwork, process, garment construction, or measurement error.
Material and Garment Variables That Can Change Glitter Appearance
The production fabric is part of the print system, not merely a background for the artwork. Fabric color, fiber content, construction, stretch, surface texture, dye behavior, and finishing treatments can influence how a glitter layer looks and how well it remains attached. A sample made on a substitute fabric may therefore be useful for early development but should not be treated as equivalent to a sample made on the actual production-representative material.
Colorants, binders, transfer systems, and glitter particles may interact differently with a particular textile or finish. Possible symptoms include migration, weak adhesion, visible color change, reduced or altered shine, and differences in surface coverage. These are investigation categories rather than automatic diagnoses. Conditions associated with one supplier’s material system should not be generalized to every glitter printing system, fabric, or finishing treatment.
Visual density can also change without an intentional artwork revision. Particle distribution, print deposit, surface texture, and the relationship between a base layer and glitter layer may affect how much of the textile appears covered and how light reflects from the surface. Stretching across a curved or flexible garment area can further change the viewer’s perception of coverage or edge definition, although the specific mechanism should be confirmed from the actual materials and process.
For this reason, compatibility should be considered on the actual light and dark colorways, relevant fabric lots, and finished garment conditions whenever those differences are part of the order. The useful approval question is not simply whether the glitter looked acceptable on one swatch. It is whether the selected material system produces an acceptable result on the materials, colors, construction areas, and handling conditions that production will use.
Artwork, Placement, and Process Differences Behind Production Defects
Artwork changes can create production differences even when the garment style appears unchanged. A revised file, separation, scale, minimum detail, color reference, or layer order may alter glitter coverage, edge definition, or the relationship between a base print and the glitter layer. Record the approved file and compare it with the production file before assigning the problem to equipment or materials.
Placement also needs a defined reference system. A sample and a bulk garment may use different pattern pieces, seam references, panels, or handling methods. Compare measured dimensions and distances from agreed garment features instead of relying only on whether the print “looks centered.” A placement problem can be separate from a registration problem, although both may appear as a design that looks out of position.
Process variation may involve material preparation, application route, drying or curing, pressure, speed, equipment, or handling. Which variables are relevant depends on the selected supplier system and process documentation, so process-specific controls should be taken from the applicable technical guidance rather than assumed to be universal. The approval record should identify the critical characteristics production must reproduce, even when it does not document every machine setting.
Finally, do not use a screen color or digital mock-up as the physical glitter color approval. Glitter appearance depends on the material and viewing conditions, including reflection and surface texture. When a production defect appears, first compare the artwork, material, placement references, and documented process route. That comparison narrows the investigation before a corrective action is selected.
How to Evaluate Glitter Printing Defects in Samples and Bulk
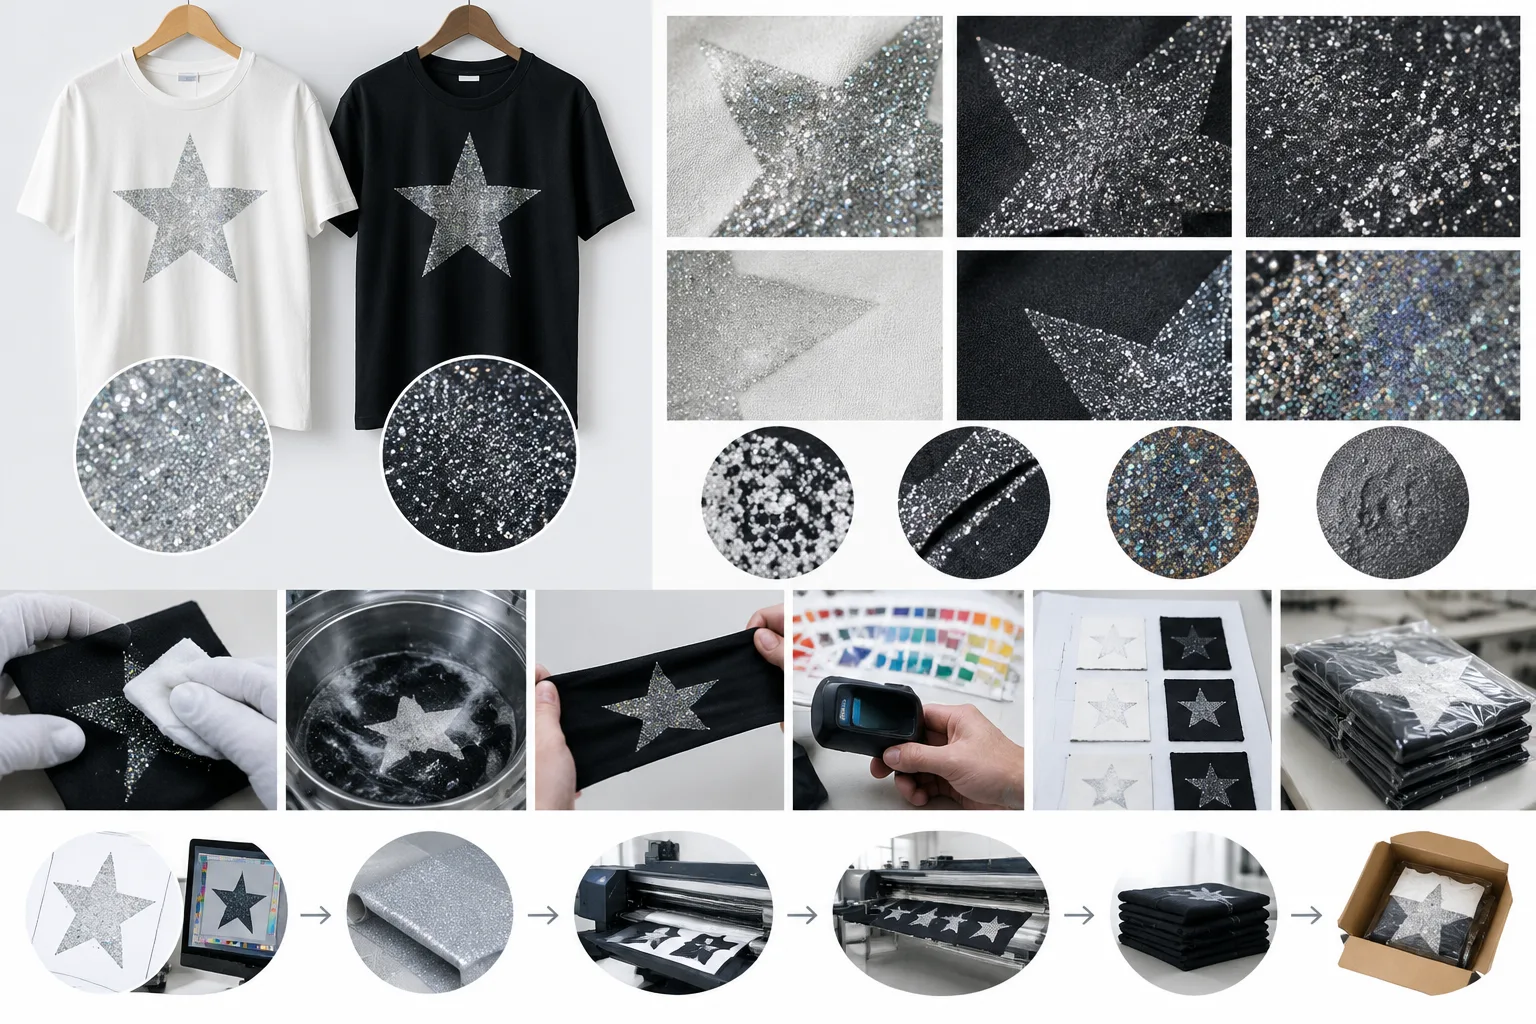
Begin with a precise description of what changed. Record the defect’s location, direction, frequency, severity, and visible character. Uneven glitter, missing areas, poor registration, cracking, flaking, color shift, unwanted transfer, and altered hand feel are different observations, even when they appear on the same garment. Note whether the issue affects the whole print, one edge, a repeated area, or only particular panels.
Compare the approved sample with a representative production sample and, when available, several affected garments. Check the artwork version, print dimensions, placement references, fabric condition, visible layers, and garment construction. Use consistent viewing conditions and controlled photographs. A single photograph can show a useful symptom, but it cannot establish whether the cause is material compatibility, artwork, equipment, process, garment handling, or measurement error.
A practical defect record should connect each observation to evidence. A defect map can show where uneven coverage or misregistration occurs; photographs can document the appearance; measurements can test placement or size; and batch or process records can show what changed. Keep documented facts separate from assumptions. For example, “glitter is missing along one side” is an observation, while “the screen deposited too little material” is only a working hypothesis.
Before bulk approval, agree which differences are acceptable and which require corrective action. These criteria belong to the project and should reflect the approved reference, intended garment use, and agreed appearance. They are not universal pass or fail limits. A checklist that supports the same comparison for the brand, supplier, and production quality team is more useful than an informal decision based on memory.
Durability Checks and Root-Cause Confirmation
Initial appearance does not establish how a glitter print will behave during washing, stretching, rubbing, heat exposure, or ordinary handling. Verification should match the garment’s intended use and the concern being investigated. Record the print condition before and after the selected check, including glitter loss, cracking, flaking, adhesion changes, migration, color change, coverage, and hand feel.
The test method and acceptance decision should be agreed before ordering or bulk release. Relevant technical guidance from the material or process supplier may define suitable conditions for that particular system, but one supplier’s recommendations should not be generalized to every glitter printing process. Apparel Wiki does not certify prints or provide laboratory conclusions; the responsible project parties must select appropriate verification and interpret the result.
Similar symptoms can have competing explanations. Cracking may relate to the material system, fabric stretch, print structure, handling, or a later care condition. Glitter loss may involve adhesion, surface preparation, abrasion, or an unsuitable comparison. Keep a short list of hypotheses and record the evidence supporting or challenging each one. Where practical, use a controlled trial that changes one key variable at a time.
Compare the controlled result with the approved reference, not only with a digital image or a verbal description. If changing the production-representative fabric resolves the difference, that supports a material hypothesis; if changing the artwork or placement reference resolves it, the file or measurement system deserves closer review. This narrows the cause without claiming that one trial predicts every consumer-use condition.
A Production Approval and Corrective-Action Framework
Before production, approve the actual artwork version, production-representative fabric, print location, glitter appearance, and hand feel. Include any performance checks required for the garment’s intended use. The approval record should preserve physical or controlled visual references and identify the characteristics production must reproduce, rather than relying on a screen rendering alone.
Record critical variables and change-control requirements. A substitution in fabric, glitter material, artwork, print route, equipment, operator, or placement area may require review. The record does not need to claim that every machine setting is universally critical, but it should identify which changes must be disclosed and reassessed for this project.
When bulk differs from the approved reference, classify the issue as an observation first. Compare it with the approval record, collect representative garments, and maintain competing root-cause hypotheses. Ask for targeted evidence, such as a material comparison, artwork confirmation, placement measurement, or controlled process trial, instead of accepting a general statement that the goods need rework.
The appropriate decision may be to correct the process, revise the artwork, approve a controlled alternative, hold affected goods, or request additional evaluation. The choice should follow the agreed criteria and available evidence. No corrective action guarantees defect-free production in every later run. Carry the approved references, defect photographs, measurements, and decisions into the next order so recurring glitter printing defects can be investigated against comparable information.
Next step: Build a production-representative approval record before bulk printing begins. Include the artwork, fabric, placement references, physical glitter appearance, hand feel, relevant verification, and agreed acceptance criteria. When a deviation appears, investigate it against that record and document the smallest useful corrective trial.
Why can a glitter print sample look different from bulk production?
The sample and bulk run may differ in fabric, artwork, glitter material, equipment, process conditions, garment handling, placement references, or inspection conditions. An approved sample represents a specific controlled result; it does not automatically prove that every production variable will match.
What should be compared when a glitter print changes between sample and production?
Compare the approved artwork version, print size, placement, fabric composition and finish, glitter or transfer system, process route, production records, and inspection conditions. Use physical samples, measurements, controlled photographs, and batch information where available.
Can the fabric or garment finish cause glitter printing defects?
It can be a possible cause. Fiber content, color, surface texture, stretch, dye behavior, and finishing treatments may affect appearance or adhesion. Confirm compatibility on the actual production-representative fabric rather than assuming a substitute sample behaves identically.
How should a brand inspect uneven glitter coverage, cracking, or poor registration?
Describe the location, frequency, severity, and appearance, then compare multiple production garments with the approved sample under consistent conditions. Record photographs and measurements, and separate the observed symptom from hypotheses about materials, artwork, equipment, or process.
Does an approved sample guarantee the same glitter print result in production?
No. Approval improves clarity about the intended result, but consistency depends on reproducing the relevant artwork, substrate, material, process, placement, handling, and inspection conditions. Project-specific acceptance criteria should be agreed before bulk release.
Which durability checks are relevant for glitter printing?
Choose checks that match intended use and the suspected risk, such as washing, stretching, rubbing, heat exposure, or normal handling. Record the method, before-and-after condition, and acceptance decision. A single check cannot predict every use condition.