A needle to hook timing procedure checks whether the hook reaches the needle at the machine’s specified reference position, catches the thread loop, and passes the needle without contact. The practical sequence is to identify the machine instructions, prepare and record the starting condition, turn the mechanism by hand, compare the needle and hook positions, and make only a model-supported adjustment. This independent guide follows the editorial boundary described on the Sponsor page: it explains inspection logic, not a universal repair setting or factory service.
Exact reference positions, clearances, adjustment interfaces, and permitted movement vary by machine design. Use the applicable manufacturer service documentation before loosening a timing fastener. The sections below establish a repeatable way to reason through needle hook timing without treating one skipped stitch or damaged needle as proof of a timing fault.
The timing relationship to check first
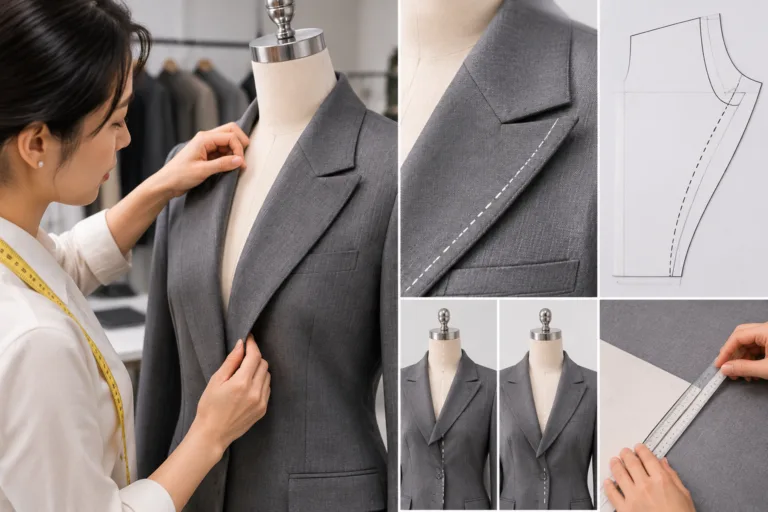
Needle-to-hook timing is the relationship between the needle’s vertical travel, the loop forming behind or around the needle, and the hook’s approach. During the relevant part of the cycle, the needle must be at the machine’s documented reference position while the hook arrives in the specified part of its rotation. Its point should enter the loop-capture area and pass the needle without striking it.
That description explains the mechanical purpose, but it does not supply a universal angle, gap, needle-bar height, or adjustment value. A service manual may define the reference position with marks, a measurement method, or another alignment feature. The applicable instruction takes priority because hook systems, needle systems, and machine architectures do not all use the same relationship.
Timing is also different from several nearby adjustments:
- Needle installation concerns the correct needle system, orientation, seating, and condition.
- Hook-to-needle clearance concerns the space between the hook point and needle when they pass; it is related to timing but is not the same adjustment.
- Thread path and tension affect loop formation and thread movement. A poorly formed loop can make correct timing appear ineffective.
- Feed timing and presser-foot behavior affect how material moves through the stitch cycle and can create defects that resemble a timing problem.
Skipped stitches, thread damage, needle strikes, and irregular stitch formation therefore require diagnosis rather than an immediate timing correction. Before touching a fastener, identify the machine model, hook system, needle system, and the manufacturer’s reference position. Apparel Wiki presents this as an educational inspection and decision sequence. Model-specific settings belong to the machine documentation, while the general reasoning helps you decide what to inspect next.
Prepare the machine and establish reference marks
Preparation makes the inspection observable and gives every later change a traceable starting point. Begin with the machine identity and its service documentation. The manual should determine which covers may be opened, whether the machine should be inspected unthreaded, how the handwheel should be turned, and which areas may be accessed. Do not infer those details from another machine that looks similar.
- Isolate power. Switch off and disconnect the machine before reaching near the needle, hook, belt, or other moving parts. Follow the machine’s instructions for access and disassembly. If the required access is unclear, stop before opening further.
- Remove material and thread when instructed. Fabric, thread, and presser-foot pressure can hide the relationship being inspected. An unthreaded inspection may be appropriate for some machines, but the manual controls this step.
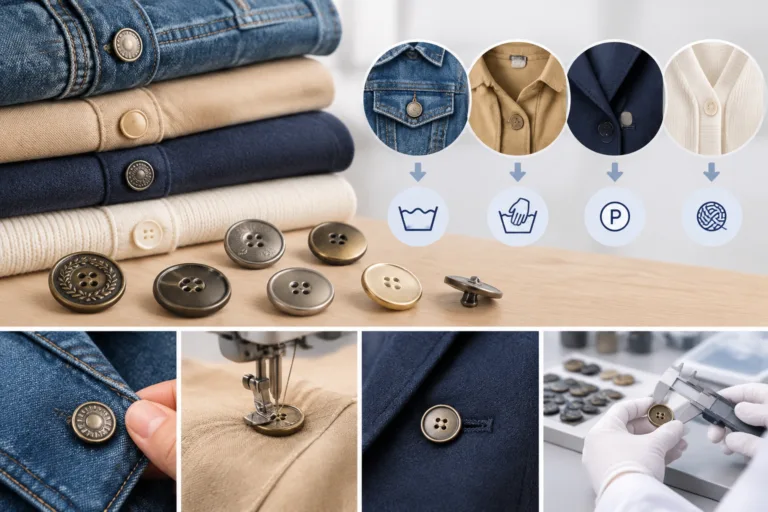
- Install the correct needle. Check that the needle is straight, suitable for the machine’s needle system, fully seated, and oriented as specified. A bent, incorrectly inserted, or unsuitable needle can imitate a timing problem. Needle point, needle size, thread, fabric density, and fabric elasticity should be considered together; no single needle size suits every garment or material.
- Expose only the relevant area. Remove or open access panels only as the documentation permits. Keep the needle, hook, and nearby surfaces clear enough to observe them, but treat cleaning and disassembly as model-dependent procedures rather than generic maintenance steps.
- Record the starting condition. Note the needle position, visible reference marks, fastener locations, machine setup, material, thread, and the defect that prompted inspection. A screw or mark that appears to have moved is not automatically a standard setting.
Turn the handwheel in the direction specified by the manufacturer and watch the complete cycle. Hand rotation lets you observe needle travel, loop formation, and hook approach at a controlled speed. It also reduces the chance of overlooking contact or forcing a component during a powered run. Use the manual’s marks or reference positions as the comparison point, not a remembered setting from another machine.
Recording the original state is a practical quality-control step. It allows a later adjustment to be connected with an observed result instead of treating the change as an unexplained correction. Keep the inspection limited to what the documentation supports, especially where a machine’s needle orientation, seating depth, or access points are not known.
Follow the needle to hook timing procedure
Once the machine is prepared, follow the model-specific reference sequence. First bring the needle to the position identified by the service documentation. Then observe the hook point as it approaches the needle and the loop-capture area. Compare what you see with the manual’s marks, alignment features, or measurement method. The question is whether the hook arrives in the specified part of the cycle and passes through the loop area without contacting the needle.
A practical inspection sequence is:
- Set the documented reference position. Use the manufacturer’s method rather than estimating an angle or relying on a generic needle-bar position.
- Inspect the approach. Turn the handwheel slowly in the specified direction and watch the hook point, needle, and loop area through the relevant portion of the cycle.
- Compare before changing anything. Confirm whether the observed relationship differs from the model instruction. Do not treat a visible screw, mark, or gap as a universal specification.
- Mark the starting condition if adjustment is permitted. Loosen only the fasteners identified by the manual. Make a small, controlled change in the permitted direction, then retighten as directed.
- Repeat the handwheel inspection. Check the complete relationship again before restoring thread and sewing. A changed position is not a successful result until the mechanical relationship and stitch formation have both been evaluated.
Do not substitute a generic clearance, needle height, hook angle, or screw location for the machine’s documented method. Even when two machines produce a similar stitch, their reference positions and adjustment interfaces may differ. Stop if the manual’s limit, a damaged component, an inaccessible fastener, or an uncertain machine design prevents a controlled inspection. Do not force a component or invent a replacement setting.
Consider a lightweight knit with skipped stitches. Timing is one possible inspection path, but first check the needle’s type, condition, and seating, then review the thread path and how the fabric is being handled. Needle point, needle size, thread, fabric density, elasticity, and feeding can alter loop formation or material movement. The same visible symptom may therefore lead to a needle or feed check rather than a timing adjustment.
This distinction matters because a photograph or single defect does not establish the cause. Use needle hook timing troubleshooting to test competing explanations in sequence. If the machine cannot be compared with reliable model documentation, retain the qualitative inspection sequence and defer exact adjustment decisions until the relevant technical instructions are available.
Verify stitch formation after adjustment
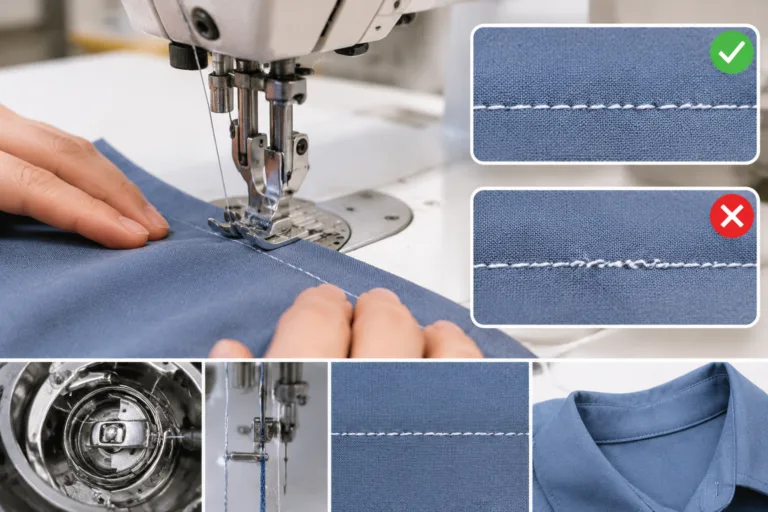
A handwheel inspection can show that the needle and hook relationship changed, but it does not establish that the machine now produces acceptable stitches. Restore the needle, thread, presser-foot, and material setup according to the machine instructions. Then sew a controlled sample under conditions that reflect the intended garment construction.
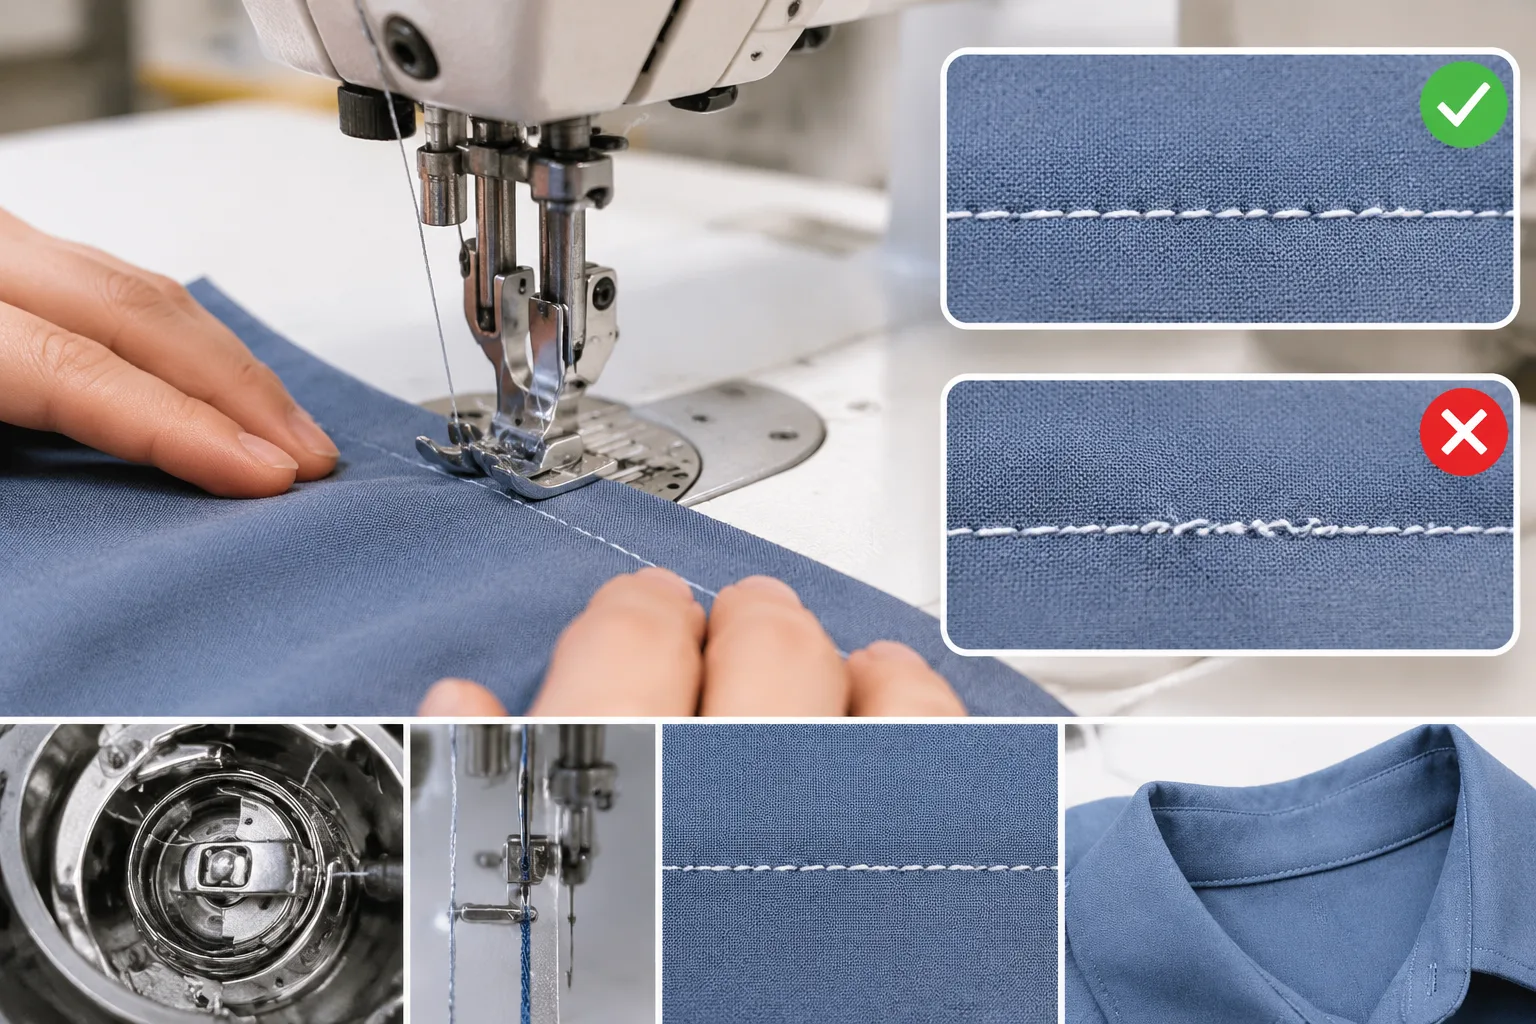
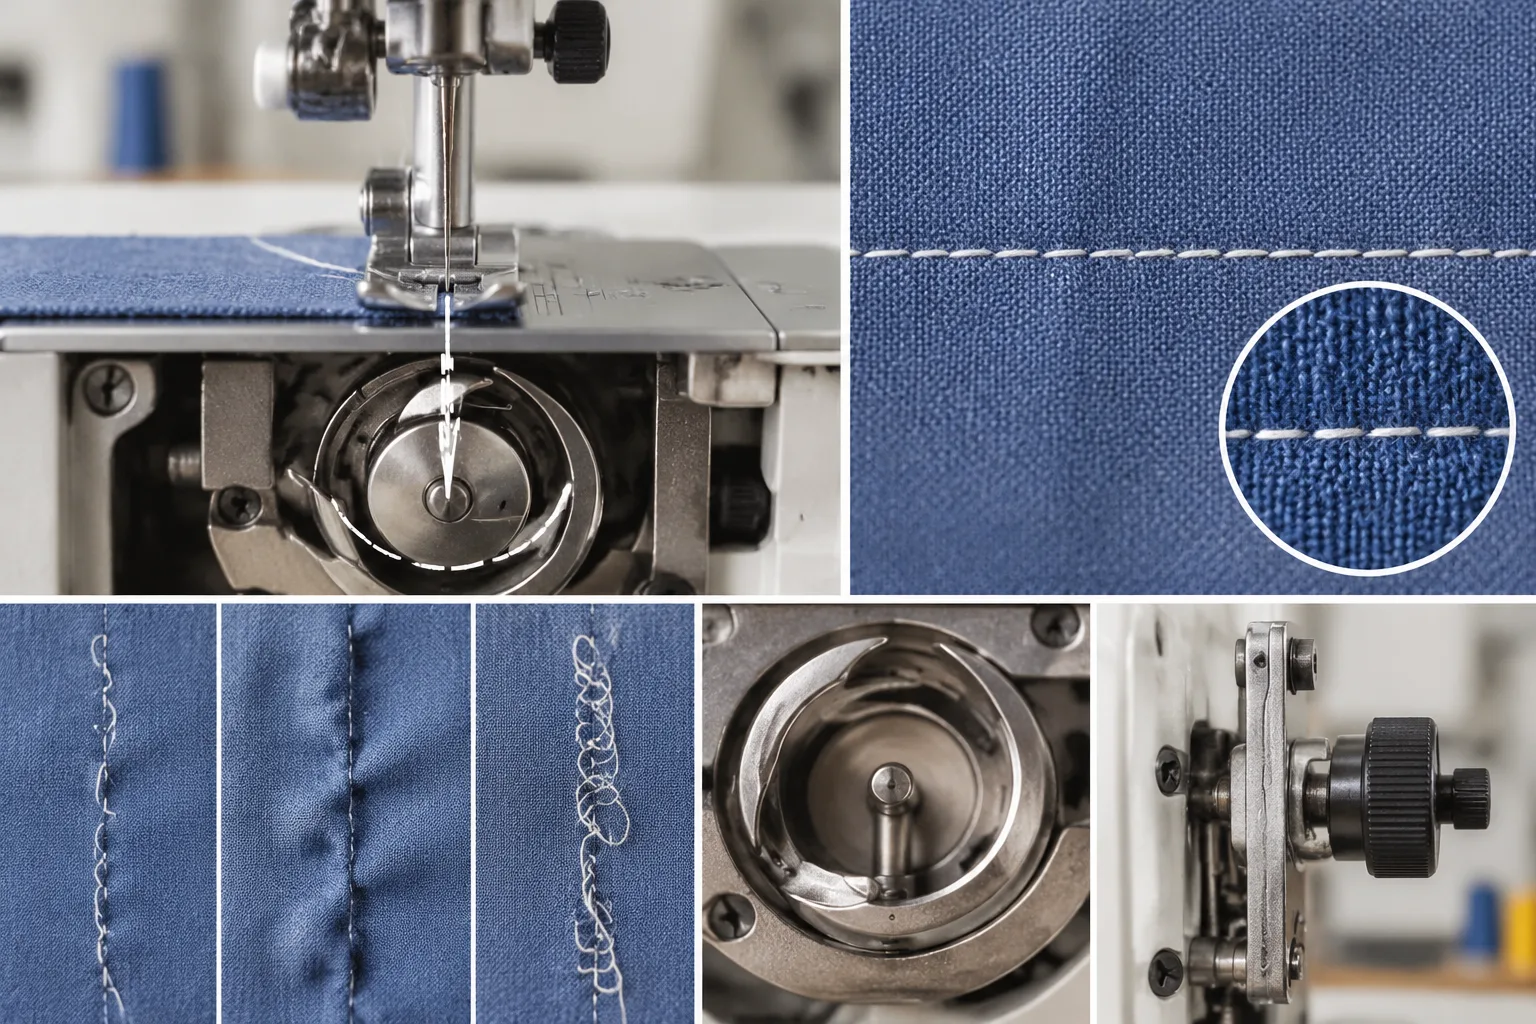
Inspect both sides of the seam. Look for skipped stitches, irregular loops, thread fraying or breakage, needle damage, fabric damage, and an unexpected seam appearance. Record the machine condition, needle and thread details, material structure, layer count, seam direction, and operating conditions alongside the result. These details make later comparisons more useful than relying on memory.
Repeat the check when the intended operation involves different layers, fabric structures, thread, needle selection, or sewing conditions. A relationship that looks correct while the machine turns by hand does not establish performance across every construction. The sample should resemble the actual use case as closely as practical, while remaining an inspection sample rather than a universal performance claim.
If the defect remains, return to the diagnostic sequence before making another timing change. Recheck needle installation, needle-to-thread-to-fabric compatibility, threading, tension-related setup, feeding, presser-foot pressure where applicable, and hook condition. Visual inspection of a sample is an editorial diagnostic step, not a formal test unless an applicable technical method and its requirements have been separately identified.
A corrected appearance also does not prove that the sewing process is stable. Keep records of the machine state, material batch, setup, evaluation criteria, and observed result so later samples can be compared under similar conditions.
Separate timing faults from other sewing defects
Visible sewing defects can share several causes. The matrix below prioritizes sensible inspection paths; it does not prove that any symptom comes from needle-to-hook timing.
| Observable input | Plausible areas to inspect | Initial decision | Variables that may change it |
|---|---|---|---|
| Skipped stitches | Needle condition and seating, needle-thread-fabric matching, threading, hook approach, and fabric movement | Check the basic setup and loop-forming conditions before selecting a timing adjustment. | Needle point, size, fabric density, elasticity, thread, layer count, and feeding |
| Needle strikes or visible needle damage | Needle installation, hook position or clearance, damaged components, and the source of the collision | Stop powered sewing and inspect the cause before continuing. | Needle orientation, machine design, access condition, component wear, and the direction of movement |
| Thread breakage or irregular loops | Thread path, tension-related setup, needle condition, hook surface, and timing relationship | Compare the complete thread path and loop formation rather than changing timing automatically. | Thread construction, needle choice, material resistance, speed, and hook condition |
| Seam distortion or puckering | Feeding, tension, material behavior, construction effects, and stitch formation | Compare controlled samples before assigning the problem to timing. | Fabric structure, seam direction, layer interaction, differential shrinkage, and finishing conditions |
For a lightweight knit with skipped stitches, needle type and seating, thread path, fabric handling, and feeding deserve attention alongside timing. Needle point, needle size, thread, fabric density, and elasticity can affect loop formation or material movement. The same visible defect may therefore lead to a needle or feed check rather than a timing change.
Needle strikes require a more cautious response. A damaged needle can indicate incorrect installation, a clearance problem, a displaced component, or another collision cause. Do not continue powered sewing merely because the hook appears to pass the needle during a slow handwheel check.
Seam puckering also needs broader evaluation. Thread tension, feeding, structural crowding, and post-wash differential shrinkage can produce related appearances. If a seam looks acceptable before washing but changes afterward, compare the material and process conditions before treating the change as evidence of a timing fault.
Use timing adjustment only when the observed relationship, the machine documentation, and the controlled sample support that decision. A local correction may improve one seam without proving that the broader operation is stable.
Document the result and choose the next check
Record the machine identity, needle, thread, material, starting condition, reference position, adjustment made, sample conditions, defect observations, and follow-up decision. Compare that record with the applicable manufacturer instruction or qualified technical source before repeating an uncertain adjustment. Stop when the machine design, component condition, or missing documentation prevents controlled inspection. The practical next step is to compare the machine specification with a controlled seam sample while keeping model-specific limits separate from formal test requirements.
Frequently Asked Questions
How do I know whether skipped stitches are caused by needle-to-hook timing?
Skipped stitches do not prove a timing fault. First check needle condition and seating, needle-thread-fabric compatibility, threading, fabric handling, and feeding. Then compare the needle and hook relationship with the machine’s documented reference position and confirm any suspected change with a controlled sample.
Can I use a universal needle height or hook clearance for every sewing machine?
No. Needle reference positions, hook systems, adjustment interfaces, and permitted clearances vary by machine design. Use the applicable manufacturer documentation. Do not substitute a generic angle, gap, needle-bar height, or screw position for a model-specific instruction.
Should I adjust timing before checking the needle, thread, and fabric combination?
Usually, the basic needle, thread, and fabric setup should be checked first. Their compatibility affects loop formation and material movement, and an unsuitable or incorrectly installed needle can resemble a timing problem. Timing remains one inspection path among several competing explanations.
What should I record before and after changing sewing-machine timing?
Record the machine model, hook and needle systems when known, starting reference position, needle and thread, material and layer count, visible fasteners or marks, adjustment made, sample conditions, and observed defects. This creates a traceable comparison and prevents an unexplained change from becoming the new assumed setting.
Why can a machine appear correctly timed by hand but still produce defective stitches?
Handwheel alignment checks a mechanical relationship under limited conditions. Sewing adds thread, fabric, feeding, presser-foot behavior, layer changes, and operating motion. A machine may appear aligned yet produce defects when the actual needle, thread, fabric, or construction setup differs from the inspection condition.
When should I stop adjusting timing and consult the machine’s service documentation?
Stop when the reference position, adjustment interface, permitted movement, component condition, or access method is uncertain. Also stop after damage or an uncontrolled collision. Obtain the applicable service documentation before making another change, and do not invent a replacement setting or force a component.