Introduction: Why Fit Sessions with Live Models Matter
When launching a new apparel line, nothing compares to seeing the garment on a live model. Fit sessions with live models transform two-dimensional patterns into living, breathing garments—making it possible to spot issues with fit, comfort, and style long before full production. If you’re striving for market-ready pieces that truly satisfy customers, conducting a hands-on fit session is an essential step in your quality control and design refinement process.
Preparation Essentials for a Successful Fit Session
Before you begin, assemble your checklist: clear goals, required sample garments, proper model selection, tools for notes and visuals. A well-prepared fit session ensures every minute spent is valuable for perfecting garment fit. Lighting should be bright, and the fitting area should allow for easy movement and comfort.
Model Selection: Finding the Right Fit
Choose a live model whose measurements match your intended size spec. Consider diversity in body types depending on your target audience—this can reveal fit issues relevant to real customers.
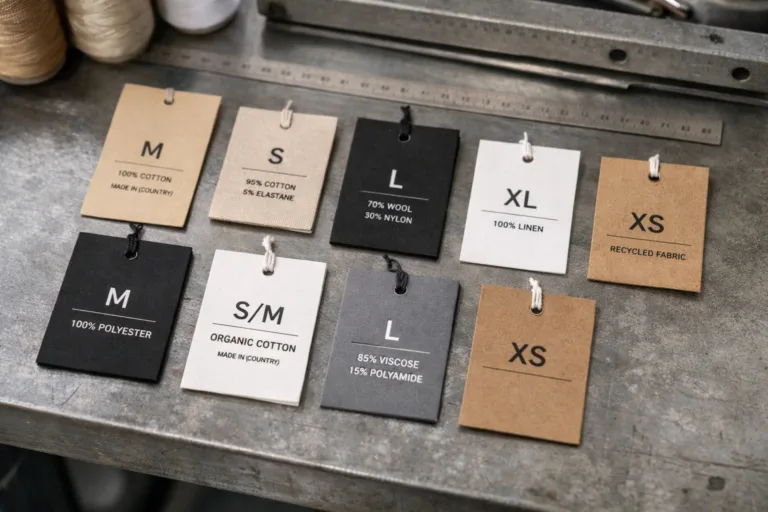
Garment Check: Size and Construction Accuracy
Double-check that the garment sample matches its tech pack or pattern specs. Minor deviations can affect results. Examine seams, closures, and fabrication for production-level accuracy.
Session Goals: What Are You Looking To Achieve?
Set specific session objectives: spot tight/uncomfortable zones, evaluate style lines, test movement, and record feedback for technical corrections.
Fit Session Logistics: Setting Up for Success
Location counts—select a fitting room that’s private, spacious, and well-lit. Bring necessary supplies: tape measure, camera/tablet, fitting checklist, notes sheet, and your sample garments. This streamlines the session and puts the model at ease.
Timing and Flow: Avoiding Rush and Inaccuracy
Allow at least 45–60 minutes for a full fit session. Start with static posing, then progress to dynamic movement testing (walking, sitting, stretching). This sequence exposes fit problems under various conditions.
Visual Documentation: Capturing Key Angles
Take clear, well-lit photos of the garment on the model—front, back, sides, and detailed shots of problem areas. Visual evidence supports remote team discussions and precision in pattern corrections.
Live Model Engagement: Fostering Honest Feedback
Encouraging open feedback from your live model can expose subtle issues missed by measurements alone. Ask targeted questions: “Does anything feel restrictive?” “Are there places the garment rides up or sags?” Involve the model in movement tests relevant to the garment’s intended use (e.g., reaching, squatting, sitting).
Feedback Recording: Notes That Drive Action
Record every comment and observed issue. Use structured forms to track fit, comfort, and style. This data becomes your roadmap for garment improvement—and helps flush out silences or unnoticed problems.
Respectful Communication: Keeping Sessions Positive
Create a respectful, friendly environment: the model should feel safe sharing honest thoughts without pressure or discomfort. This not only delivers better technical outcomes but supports ethical working standards.
Technical Fit Evaluation: What Exactly Gets Assessed?
The core of a fit session is assessing technical “fit points”—areas like shoulders, bust, waist, hips, sleeve length, and leg shape. Cross-check these observations against your pattern and measurement chart. Apparel Wiki editors recommend referencing standard Points of Measurement to identify whether deviations are design-related or pattern errors (How to Measure a Garment: 9 Key POMs and Pro Tips for Perfect Fit).
Comfort and Mobility: Beyond Static Fitting
Comfort means more than fabric softness—it’s about range of motion. Test common activities: walking, sitting, reaching overhead. Document areas where stitching binds, gapes, or wears uncomfortably.
Styling and Design Integrity: Do Looks Meet Intent?
Compare how the garment looks and hangs on the live model to your initial design sketches. Confirm that hems, silhouettes, and styling details match expectations.
Notetaking Techniques: Building Actionable Fit Reports
Use fitting forms or digital templates to capture feedback, technical measurements, and visual cues. Rather than general impressions, log specific corrections (e.g., “raise back shoulder by 1cm,” “add ease at thigh”). Documenting each adjustment accelerates future sampling cycles.
Visual Annotation: Using Photos for Markups
Print annotated images showing areas of concern. Mark with arrows and notes to clarify issues for remote teams or manufacturing partners. Many brands also attach images to tech packs for clarity (10 Critical Steps for Seamlessly Updating Your Tech Pack After Sampling Reviews).
Translating Fit Session Feedback into Actionable Corrections
After the fit session, analyze all feedback and photos to mark pattern adjustments and construction changes. Always connect changes to measurable outcomes (e.g., moving a dart, extending a hem), not just vague directives.

Common Pattern Corrections Post-Fitting
Expect changes like increasing ease, refining grading rules, or altering seam placement. Refer to educational guides for efficient pattern troubleshooting (7 Game-Changing Strategies for Troubleshooting Common Fit Issues in Pattern Making).
Communicating Changes to Factories and Pattern Makers
Compile a clear, annotated list of changes for the technical team. Avoid ambiguity—and use precise measurements and terminology, as shown by Apparel Wiki’s 9 Winning Steps: How to Communicate Pattern Corrections to Your Factory with Precision and Confidence.
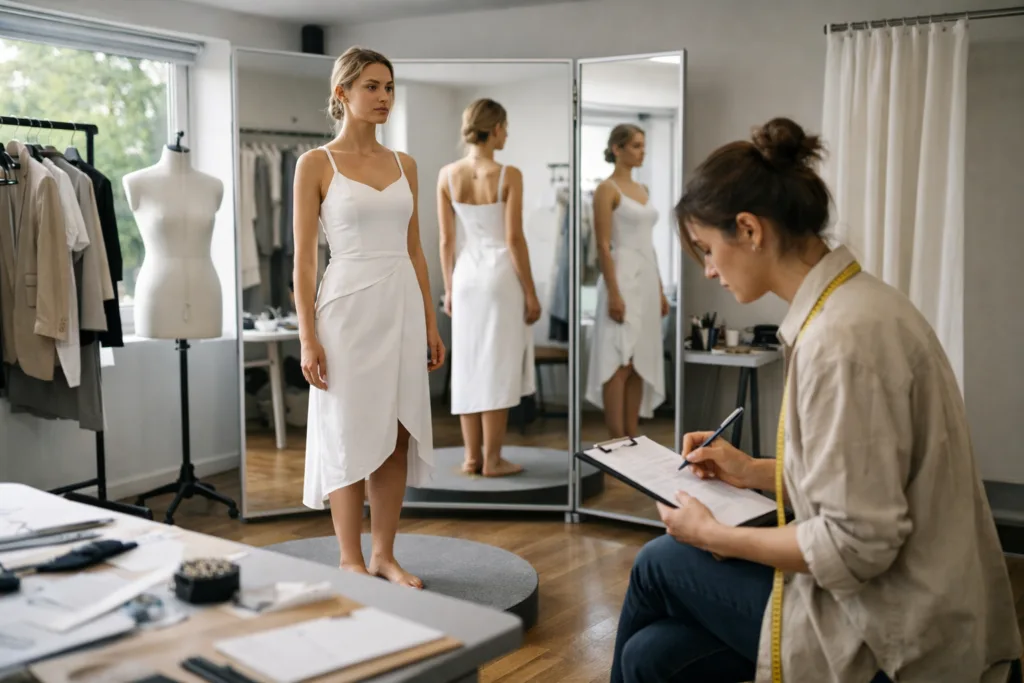
Fit Session with a Live Model
Fit sessions with a live model are the backbone of prototype approval in fashion manufacturing. By including practical movement, honest feedback, and detailed documentation, you create garments that delighted customers want to wear repeatedly—and reduce expensive returns or redevelopment cycles. Think of it as your reality check before mass production.
Using Fitting Checklists for Consistency
A standardized checklist ensures every session covers the same critical areas—fit, comfort, style, and movement. This prevents missed details and speeds up the review process. For consistent results, integrate checklist data into your measurement charts and spec sheets (How to Create a Measurement Chart for Development).
Engaging Models for More Than Just Fit
When models feel involved in design feedback, you unlock new perspectives on style appeal and market readiness. Record insights on color, silhouette, trend alignment, and any unexpected wearability challenges.
Advanced Fit Session Tactics: Digital and Hybrid Solutions
Modern fit sessions often blend traditional hands-on fitting with digital tools—such as 3D virtual fitting and body scanning. These options speed up pattern correction and reduce the guesswork in multi-size grading.
Body Scanning Technology: Precision and Repeatability
Innovative brands use body scanning to gather anthropometric data, improving garment accuracy and minimizing fit errors (7 Essential Ways Body Scanning Unlocks Precision Fit and Higher Sales).
Virtual Fitting Rooms: Enhancing Remote Collab
Digital platforms can simulate fit on various body types, enabling brands to preview issues and solution ideas before physical samples reach the model. This is especially useful for remote product teams or global manufacturers.
Common Pitfalls: Top Mistakes to Avoid During Fit Sessions
Poor preparation, model discomfort, and vague feedback can undermine the fit session process. Avoid skipping movement tests and neglecting proper documentation. Most importantly, never assume a perfect sample—every garment benefits from thorough review.
Neglecting Measurement Consistency
If you don’t anchor corrections to established size charts or Points of Measurement, errors multiply quickly. Always verify changes against your Ultimate Guide to Creating a Size Chart: US vs. EU vs. Asian Sizing Standards.
Failing to Involve Key Stakeholders
Designers, technical team members, and pattern makers should be present or involved in reviewing session outcomes. Their expertise ensures practical, market-ready corrections.
Practical Takeaways: Making Fit Sessions Work for Your Brand

Fit sessions with live models protect your product investments and brand credibility. By focusing on technical fit, honest feedback, and actionable corrections, you build garments customers love—and build positive working standards within your teams. Approach each session with openness, curiosity, and respect for detail.
Frequently Asked Questions
How do I choose the right live model for a fit session?
Pick a model whose body measurements closely match your sample garment’s intended specs and who is comfortable providing honest feedback during movement tests.
What should I bring to a fit session?
Include a measuring tape, fitting checklist, notepad or tablet for notes, a camera for visuals, sample garments, and any relevant tech packs or pattern specs.
How do I record feedback during the session?
Use structured forms or digital templates to capture both the model’s comments and technical notes, annotating photos for clarity where needed.
What’s the difference between a static and dynamic fit session?
Static fitting assesses how the garment looks when the model is standing still, while dynamic fitting includes movement tests to reveal comfort and mobility issues.
How can I communicate pattern corrections to my factory?
Compile annotated notes and images, use precise measurements, and share them via updated tech packs or direct communication tools to eliminate confusion.
Should digital tools be used in live fit sessions?
Absolutely; combining live fitting with digital body scanning or virtual fittings enhances accuracy and saves time when addressing complex sizing issues.
Related Reading
- Unlock Precision Fit: Body Scanning’s Impact
- How to Craft a Measurement Chart for Product Development
- Troubleshooting Fit: Pattern Making Game Changers
- Master Pattern Corrections: Communicate With Confidence
- Update Your Tech Pack: Seamless Sampling Review Steps
- Building Size Charts: US, EU & Asian Standards Compared