Understanding Stitch Quality Standards: SPI, Tension, Balance
In apparel manufacturing, the quality and longevity of any garment depend heavily on three core elements: stitch density (SPI), tension, and balance. These factors, forming the backbone of stitch quality standards, directly impact the durability, comfort, and professional finish of apparel—from basic T-shirts to technical sportswear. Ensuring proper SPI QC and identifying unbalanced stitching at all stages of production can mean the difference between a flawless shirt and a reject at final inspection. Here, we’ll systematically explore each component with practical factory know-how and actionable QC checks you can apply step-by-step.
Stitch Quality Standards: SPI, Tension, Balance
Stitch quality standard refers to a set of technical benchmarks governing how stitches look, perform, and endure under real-world use. These standards are crucial for both mass-market and high-end garments, affecting seam strength, appearance, and customer satisfaction. Parameters typically include:
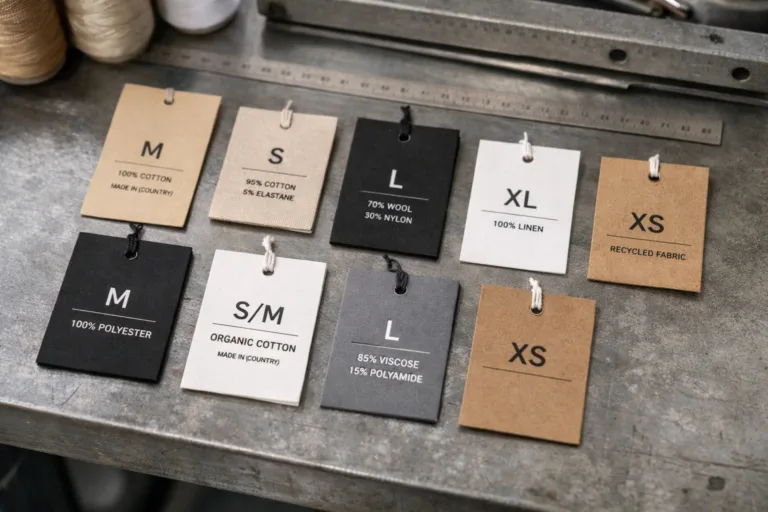
- Stitches per Inch (SPI): Stitch density chosen per seam for optimal strength, elasticity, and appearance;
- Thread Tension: The tightness or looseness of thread in the stitch, balanced for fabric and seam type;
- Stitch Balance: The symmetry and evenness of top/bottom threads in lockstitch or needle/looper threads in overlock;
- Skip, pucker, and breakage rate: Minimizing defects via controlled SPI and tension;
- Seam Appearance: Uniformity, flatness, and absence of distortion, especially on visible areas.
Practical insight: “In factory audits for global buyers, the most common causes of critical defects are skipped stitches and uneven seam appearance—both easily flagged by checking SPI and tension at multiple garment points.”
What Is SPI? Industry Basics & Significance
SPI (Stitches per Inch) defines the number of stitches placed within one inch of seam length. The appropriate SPI depends on fabric type, seam function, and garment application:
| Fabric Type | Typical SPI Range | Recommended Seams | Common Garments |
|---|---|---|---|
| Lightweight Knits (single jersey, mesh) | 12–16 | Overlock + coverstitch | T-shirts, base layers |
| Medium Wovens (poplin, oxford) | 10–14 | Lockstitch, French seams | Shirts, blouses |
| Heavy Fabrics (denim, canvas) | 7–10 | Flat-felled, chainstitch | Jeans, workwear |
| Elastic/Activewear (spandex blends) | 14–20 | Flatlock, overlock | Leggings, swimwear |
Choosing the correct SPI is a balance: too low leads to weak seams and possible gaps; too high may cause puckering or seam stiffness. Experienced line supervisors often set machines for a margin (e.g., 12 ± 1 SPI) based on bulk fabric QC, always checking early samples and pre-production runs.
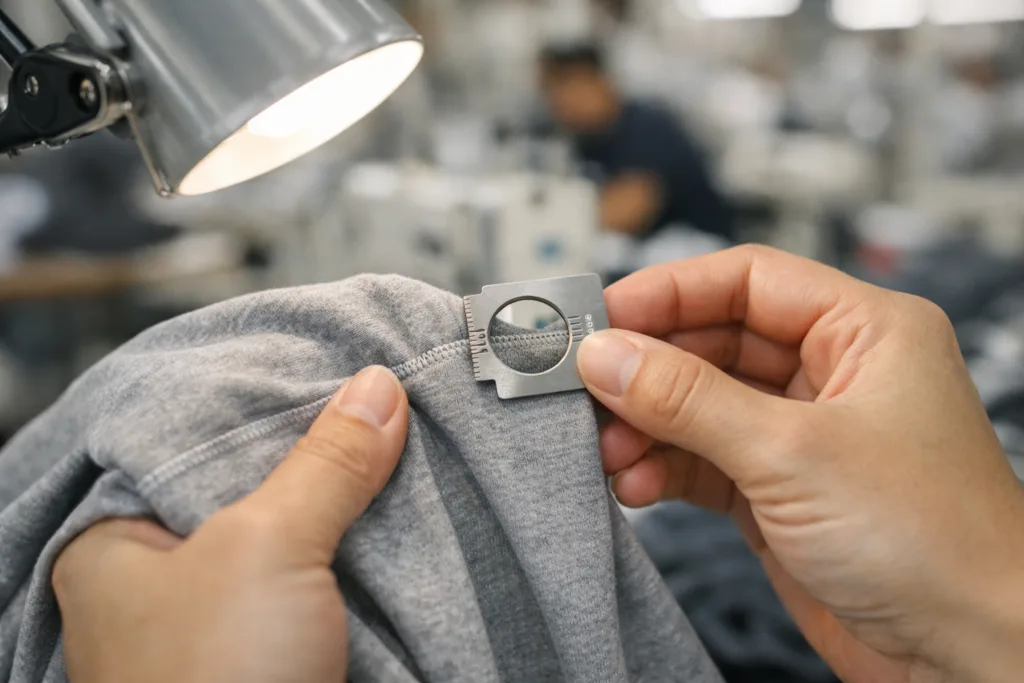
How to Measure SPI in the Factory
- Lay the seam flat, avoiding edge distortion.
- Mark exactly 1 inch along the seam using a scale.
- Count the number of visible stitches, including partial ones at each endpoint.
- Repeat at several garment locations for consistency—high stress points, curves, and open areas.
Factory SPI Guidelines
- Follow buyer’s tech pack SPI specs—never guess for new styles.
- For knits, higher SPI supports stretch recovery but must avoid tunnel effect or puckering.
- For heavy items, lower SPI avoids thread breakage when seams are stressed.
- For decorative stitches, prioritize appearance and symmetry.
The Role of Thread Tension in Seam Strength
Thread tension regulates how firmly the needle and bobbin (or upper/lower) threads interlock inside the fabric. Alignment between tension and SPI is critical: improper tension, even with correct SPI, quickly leads to seam failures. The right tension:
- Keeps seams flat without puckering or stretching the fabric;
- Maintains smooth thread movement (prevents skipped stitches and breaks);
- Ensures balanced seam profile—visible as a flat, even line on both top and underside.
Imbalance or extreme tension can cause thread breakages mid-sewing or after washing, visible as popped seams. On delicate fabrics, overtight tension distorts the garment shape, especially at curved seams like armholes and necklines.
Checking and Adjusting Thread Tension
- Sew a sample strip on the actual fabric with bulk thread.
- Inspect both sides: on a lockstitch, top and bottom threads should meet inside the fabric thickness; on overlock, looper threads must hug the edge with no loose loops.
- Tug gently along the seam—should resist splitting with minor stretch.
- If remedies are needed, adjust machine dials in small increments, always testing new settings before resuming bulk production.
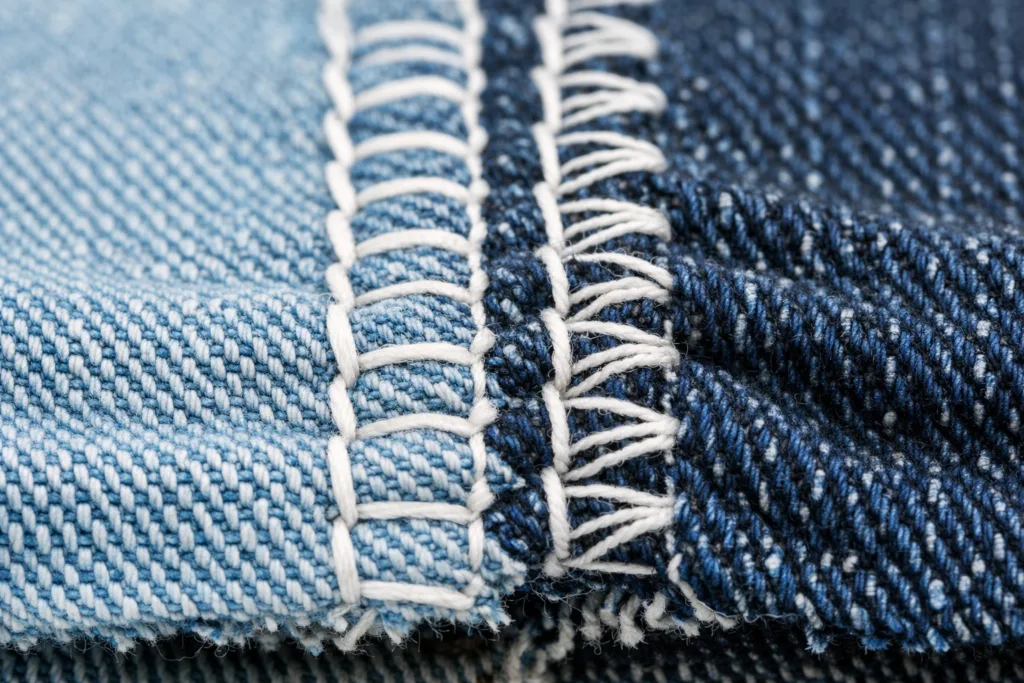
Stitch Balance: Identifying Unbalanced Stitching
Stitch balance is the equilibrium between upper and lower or needle and looper thread tensions. A well-balanced stitch is visually symmetrical, feels flat, and performs equally well from both garment sides. Unbalanced stitching is a leading cause of both visual and functional defects flagged during SPI QC inspections.
Visual Signs of Unbalanced Stitching
- Top thread visible on bottom (or vice versa in lockstitches).
- Looper loops hanging off the seam in overlock or coverstitch.
- Puckering, tunneling, or tension lines running parallel to the seam.
- Skipped stitches or thread “nests” at seam starts and stops.
- Misaligned stitch lines on decorative seams or double-needle finishes.
Factory tip: Always inspect under bright light and inspect inside the garment. Some balance issues will only show after pressing or garment stretch.
Root Causes and Corrective Actions
- Poor thread quality or mismatched threads (weight, finish, fiber).
- Incorrect needle size, causing skipped or malformed stitches.
- Worn machine parts impacting feed or tension consistency.
- Lack of needle/fabric compatibility (e.g., fine jersey with thick thread).
Regularly scheduled preventive maintenance and operator retraining are vital to keeping SPI QC performance high in any garment plant.
How Stitch Quality Standards Influence Garment Performance
Stitch quality standards tie garment construction to end-use performance. For instance, seams on sportswear not only demand optimal SPI and tension but must flex during intense motion and frequent washes. In children’s or workwear, stitch strength is prioritized to withstand higher wear and tear. Poorly controlled SPI or tension can quickly cause:
- Seam opening after washing or stretching;
- Unsightly seam puckering (especially on visible plackets or collars);
- Early thread breakage at stress points—pockets, crotch, sleeve seams;
- Reduced comfort, as bulky or rough seams irritate skin.
Rain Chen’s tip: Track complaints by seam location and failure type—this reveals if a problem is due to stitching process or fabric compatibility. Consistency in stitch quality standards saves cost by reducing rework and customer returns.
Garment Types and Stitch Standards: Choosing the Right Parameters
Different garment categories require tailored stitch quality standards. The right SPI, tension, and seam types depend on both the technical needs and usage scenario of each item.
| Garment Type | Recommended Stitches | SPI Range | Key Tension Points |
|---|---|---|---|
| Sportswear Tops | Overlock + coverstitch hems | 14–18 | Raglan, armholes, shoulder tape |
| Jeans/Denim | Flat-felled, bartack, chainstitch | 7–10 | Back rise, pocket corners, side seam |
| Polos/Knits | Overlock + topstitch, coverstitch | 12–14 | Neck seam, side vents, cuffs |
| Shirts/Blouses | Lockstitch, French seam, single needle | 12–16 | Placket, yoke, collar stand |
Checklist for Setting Stitch Standards in the Tech Pack
- Specify SPI for each seam type (not just main assembly).
- Recommend thread type, color, and minimum strength.
- State acceptable appearance (e.g., “no puckering, balanced tension on both sides”).
- Share detailed seam diagrams for tricky constructions (e.g., rib-collar attachment).
- Build in inspection points: ask for inline QC reports on SPI QC and seam balance.
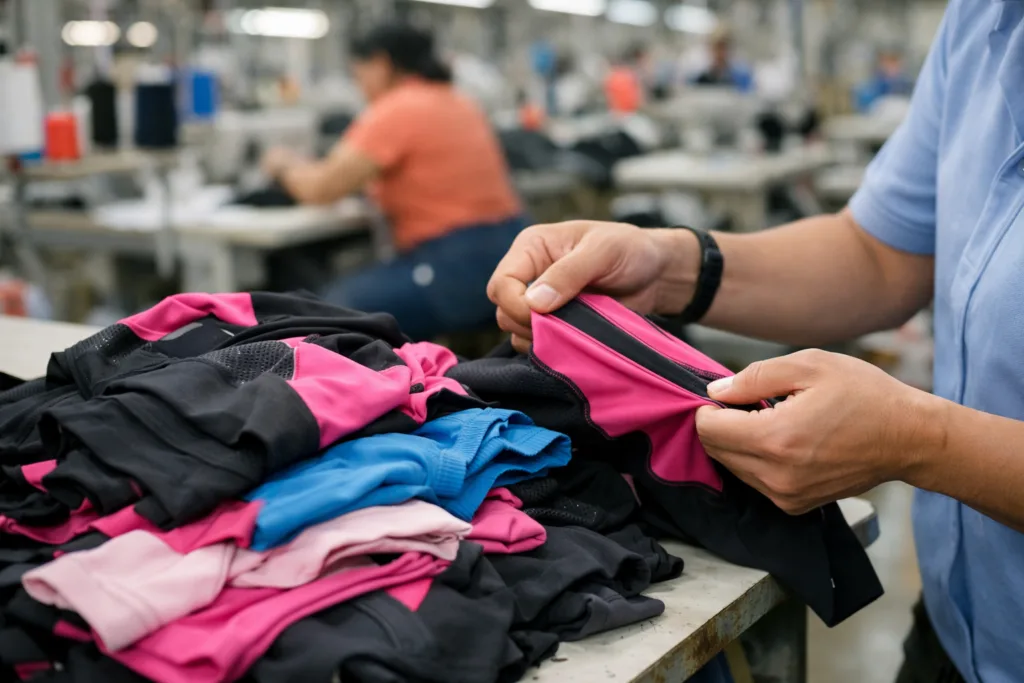
Inline and End-Line Stitch Quality Inspection Techniques
Robust SPI QC requires systematic inspection at both the sewing line and packing stage. In many export factories, inline sewing audit teams randomly select pieces from each line bundle for stitch, tension, and seam balance checks.
Inline Inspection Steps
- Calibrate SPI gauges and magnifiers; measure at multiple seam types.
- Check key stress locations: armhole, side seam, waistband.
- Perform gentle seam stretching and snap-back test to catch loose or tight tension.
- Record findings and retrain operators on any deviation from standards.
For end-line (final) inspection, stricter AQL plans are used: all critical and major defects relating to skipped, broken, or unbalanced stitches are cause for rejection or rework before packing.
Typical Defect Classification
- Critical: Broken stitches, skipped stitches at high-stress or visual points.
- Major: Uneven seam tension, visible pucker, SPI outside tolerance.
- Minor: Cosmetic issues—minor loose ends, negligible balance variations away from visual areas.
“The earlier you catch stitch quality issues on the line, the less it costs to fix. Frequent inline SPI QC checks build good habits in every sewing team.”
Best Practices: Maintaining Consistent Stitch QC Throughout Production
Preventing stitch quality problems starts before the sewing machine is switched on. Consistency in SPI QC and tension across shifts, styles, and operators relies on a systems approach—combining operator skill, machine maintenance, and clear specs.
Pre-Production Steps
- Bulk Fabric Testing: Run actual production fabric through designated machines; adjust SPI and tension according to real bulk characteristics, not only lab dips or swatches.
- Operator Training: Train all line operators to recognize balanced vs. unbalanced stitching and troubleshoot basic tension and SPI settings.
- Sample Approval: Use pre-production and size-set samples as SPI QC benchmarks. Document all approved settings for future orders/repeats.
Inline Production Controls
- Monitor environmental factors: humidity and temperature can subtly shift thread tension on long runs.
- Track machine usage—replace worn needles/feed parts proactively, not only after defects occur.
- Rotate quality control staff; fresh eyes spot subtle problems better than operators focused on speed.
Finishing & Final QC
- Inspect all seams after garment pressing to catch any latent seam distortion.
- Log each defect with garment part and defect type—refine training focus for next cycle.
- Retain 1–2 pieces per bulk run as reference for post-shipment QC and returns review.
Practical Troubleshooting for Stitch Quality: Common Issues & Quick Remedies
Even with detailed SPI QC protocols, production realities sometimes cause unexpected issues during fabric or style changes. Veteran factory managers focus on root cause analysis and rapid troubleshooting:
- Sudden seam breakage after wash: Recheck thread quality/batch; test for chemical incompatibility (common with some softeners/coatings).
- Puckering along fine knits: Lower SPI slightly, and adjust presser foot pressure—not only thread tension.
- Skipped stitches across all machines: Likely due to needle dullness or wrong size/point; replace brand or alter needle system.
- Unbalanced decorative twin-needle seams: Verify both threads are seated correctly and rewound under uniform tension; adjust needle alignment if necessary.
Quick action in response to failed QC samples prevents small problems from escalating into bulk shipment crises.
Frequently Asked Questions
What does SPI mean in apparel stitching?
SPI stands for Stitches Per Inch and refers to the number of stitches sewn in a one-inch section of a garment seam.
How does thread tension affect garment durability?
Correct thread tension ensures stitches are secure and flexible without causing seam puckering or premature thread breakage during wear or washing.
What are the key indicators of poor stitch quality?
Key indicators include visible seam puckering, uneven or unbalanced stitches, skipped stitches, broken threads, and inconsistent SPI.
Why is stitch balance important in quality control?
Stitch balance guarantees symmetrical seam appearance and prevents seams from popping open under stress, maintaining the garment’s shape and integrity.
How can SPI be measured on finished garments?
To measure SPI, flatten the seam, mark one inch with a ruler, and count the stitches along that distance, repeating at several garment locations to ensure consistency.
What should a factory do if SPI QC fails?
If SPI QC fails, production should pause to adjust machine settings, retrain operators, and conduct re-inspections before continuing bulk sewing.