What Is a Tech Pack and Why Does It Matter?
A tech pack (technical package) is the master blueprint for your garment. It details every specification required for accurate product development, sampling, costing, and bulk production. Put simply, if a garment’s outcome doesn’t match the tech pack, something’s gone wrong. Read correctly, a tech pack enables transparent communication between designers, product developers, and production teams, including sourcing, pattern, sewing, and QC departments.
Who Creates and Uses Tech Packs?
Designers, technical developers, and merchandisers typically create tech packs. The production factory, quality team, sample room, and suppliers use them to ensure each piece matches agreed specs. Senior buyers and brand managers also review techpacks to monitor compliance and cost control.
Benefits of a Well-Read Tech Pack
- Prevents specification gaps or misinterpretations
- Supports consistent sampling and mass production
- Enables clear costing and trim/material planning
- Streamlines approvals and change management
- Makes QC and claims actionable with objective metrics
Key Components of a Tech Pack

Every tech pack contains core sections that must be understood line by line. The complexity depends on the product category (T-shirt, polo, hoodie, kidswear, etc.), but the main structure is consistent.
1. Cover Page and Summary
- Styles/ref numbers
- Design sketch (front, back, side views)
- Version date, designer/developer names
- Product description (fit, season, target market)
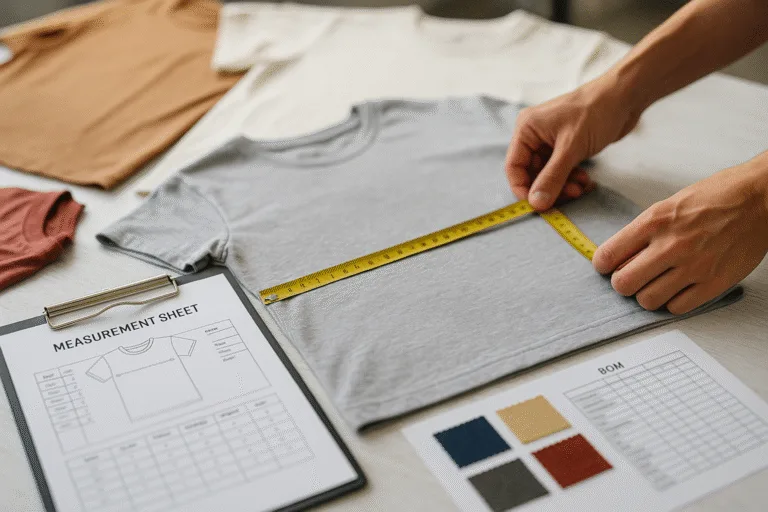
2. Measurement Sheet (Spec Sheet)
The measurement sheet lists every dimension for each garment size, critical to fit and grading. Key points include:
- Body length, chest/bust, waist, hip, across shoulder
- Sleeve length, sleeve opening (set-in/raglan), neck width, collar height
- Rise and inseam (for bottoms), leg opening
- Tolerance for each point (e.g., ±1 cm)
Tolerance is essential: mass-produced garments naturally vary. Apparel Wiki sees many export brands specify ±1 cm for woven shirts but up to ±2 cm for knits or fleece to avoid excessive rejections.
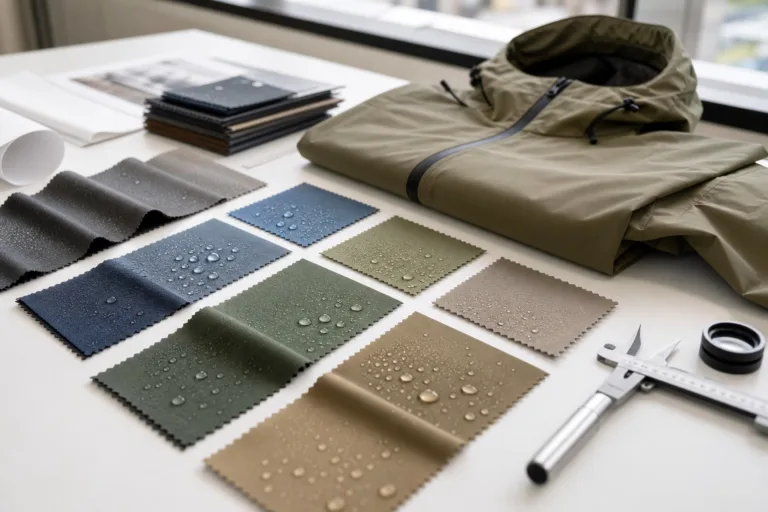
3. Bill of Materials (BOM)
BOM details every material and trim used, mapped to garment locations. Typical columns:
- Material type (e.g., 100% cotton jersey, CVC rib, polyester mesh)
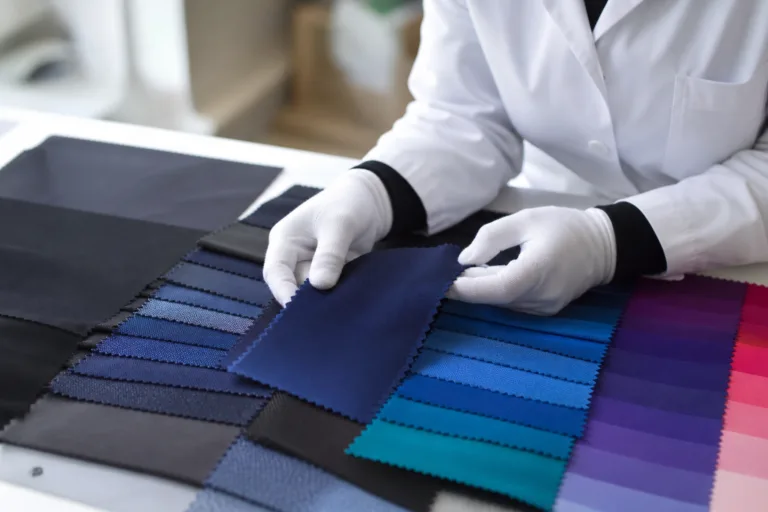
- Color reference/pantone
- Width, GSM/oz, thickness, finish (e.g., enzyme wash, peaching)
- Supplier code/number
- Quantity per unit (e.g., 8 buttons, 1 zipper)
- Placement (main body, collar, cuff, pocket, label)
The BOM must be scrupulously checked—substituting a cheaper or different finish can affect colorfastness, shrinkage, or comfort.
4. Construction & Stitch Details
- Seam type (overlock, flatlock, coverstitch, French seam, etc.)
- Stitch code (e.g., ISO 504, 401, 602)
- Stitch density (SPI: stitches per inch) for durability and appearance
- Hem, binding, collar/cuff/waistband attachment method
- Reinforcements (bartack, clean finish, tape, label attachment)
Factories refer to these sections to program machines and train operators for consistent output. For example, a sports T-shirt hem might use a 2-needle coverstitch at 10–12 SPI; a workwear trouser may specify wide E-stitch for heavy fabric security.
5. Artwork and Placement
Includes all branding, graphics, embroidery, or trims. Critical details:
- Artwork files (AI, PSD, vector format with color callouts)
- Logo size, location (from center front/side seam/hem)
- Printing/decoration method and thread/thread color for embroidery
6. Labeling and Packing Instructions
- Care, size, and brand label design, material, placement
- Polybag type (thickness, vent hole, warning label)
- Folding & packing method, size ratio per carton
- Carton dimensions, marking, barcode specs
How Technical Development Teams Use Tech Packs
Technical developers and factory teams use techpacks as the central reference at each stage:
| Stage | Key Responsibilities | What’s Checked |
|---|---|---|
| Fabric/Trim Sourcing | Procurement, Lab Dip, Testing | BOM, GSM, color, finish, approvals |
| Sample Room | Pattern, Cutting, Sewing | Specs, seams, attachments, artwork placement |
| Costing | Materials, Time, Overhead | BOM, construction complexity, trims cost |
| Bulk Production | Line Set-Up, Quality Control | Spec sheet, construction, tolerances, labeling, packing |
| QC & Final Inspection | Audit, Measurements, Testing | All tech pack specs vs. finished goods |
Cross-team Communication
Communication breakdowns often start with an unclear tech pack or overlooked update. Rain’s advice: after any revision, circulate the latest techpack to all teams. Use a version number and require signoff to prevent outdated specs.
How to Read a Techpack: Step-by-Step Approach
This step-by-step tech pack guide enables methodical review, reducing errors and gaps before sampling or production:
- Read the style summary and compare it with initial product presentations. Clarify target cost and customer needs up front.
- Review all sketches and technical drawings. Confirm every panel, detail, and view is present—no ambiguity on how the finished garment should appear.
- Check the size chart and grading rules. Find any “questionable” points (e.g., sleeve length on raglan, rise for unisex joggers) and confirm grading works across the range (XS–XXL, kids, etc.).
- Go line by line through the BOM. Check for conflicts between materials and construction: for example, are the rib’s stretch properties matched to neck/hem opening size?
- Examine sewing/construction instructions against actual sewing facility capabilities. If a trim or stitch is unfamiliar or unavailable, consult with the technical team before pattern creation.
- Confirm artwork/embroidery files and color references are ready in the specified formats. Avoid JPG or PNG for print—always request vector when possible.
- Review packing specifications against shipping and compliance requirements. Are all child or PPE safety marks present? Does packaging fit carton and shipping carton regulations for key destinations?
Detailed Component Analysis from a Tech Pack Guide
1. Measurement Sheet/Spec Sheet: Mark up all main points of measure (POM) on the sketch. If you find undefined points, return to the developer for clarification. Example: For a polo shirt, clarify collar width, placket length, and cuff opening. Remember, tolerance must be achievable for the material—knits need higher tolerances than rigid denim.
2. BOM Accuracy: Review GSM values, yarn count, and finish between main fabric and contrast panel; mismatches lead to puckering or shade differences. In a checked shirt, ensure all trims (threads, buttons, interlining) are color-matched as required.
3. Construction & Finishing: Match stitch type to seam location and fabric. For example, French seams are ideal for soft cotton shirts but may be unnecessary in heavy fleece. Attachments—are hoods hemmed, faced, or lined? Do jogger pockets have clean finish, overlock, or bartack reinforcement? Please reference Apparel Wiki’s guide on common seam construction for practical examples.
4. QC Test Requirements: Embedded at the end or in appendices (e.g., shrinkage limit, colorfastness to rubbing, dry and wet, pilling rating after 5 cycles). If you can’t meet the test, negotiate before bulk starts.

5. Pack & Label Spec: Confirm the size ratio per carton and packing sequence (fold, pin, pack, insert card, seal bag). For children’s wear, check required warning labels and make sure labels are OEKO-TEX-certified and nickel-free if in contact with skin.
Fabric and Construction Comparisons in Tech Pack Interpretation
Tech packs often refer to a variety of fabric and seam options. Below is a comparative table illustrating how different choices impact bulk quality, comfort, and performance.
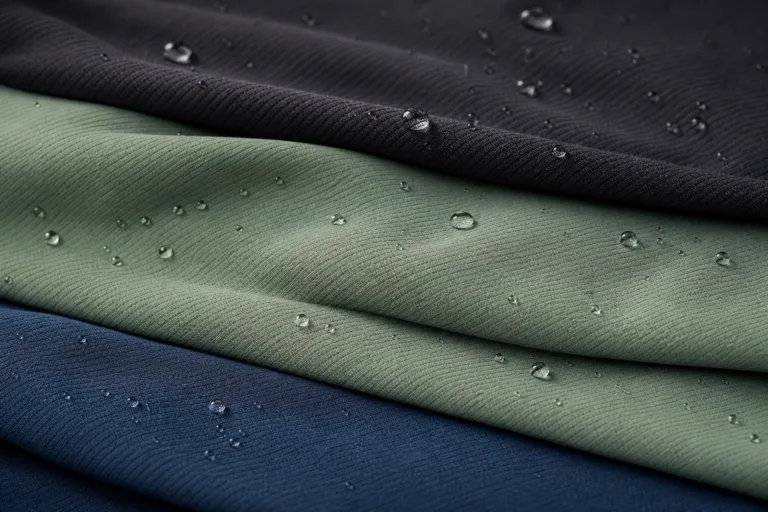
| Fabric Type | Typical GSM | Properties | Best Use |
|---|---|---|---|
| 100% Cotton Single Jersey | 140–180 | Soft, breathable, some shrinkage | T-shirts, casualwear |
| CVC Fleece | 260–320 | Warm, moderate pilling resistance | Hoodies, sweatshirts |
| Polyester Mesh | 110–140 | High strength, quick dry, some sheen | Sportswear, lining |
| Denim (Indigo) | 280–400 | Durable, fades, minimal stretch unless blended | Jeans, jackets |
| Viscose Twill | 160–200 | Drapey, soft, needs gentle handling | Blouses, dresses |
Seam selection matters too. For T-shirts: side seams use 504 overlock; bottom hem uses 602 coverstitch. For premium shirts: side seam may use French seam, hem with lockstitch.
Common Mistakes When Interpreting a Tech Pack
- Relying solely on the sketch without reading measurements and tolerances
- Overlooking the BOM, especially thread or label specs
- Assuming trims’ colors and sizes—always ask for actual samples or swatches
- Not confirming sewing methods with actual machine inventory (e.g., ordering a seam not possible with factory’s machines)
- Ignoring local compliance or testing requirements specified in the pack
- Using outdated versions—always check the latest revision date and comments
“Rain’s tip from the production line: The best preventative action is a team walk-through for each tech pack. Have developers, QA, sample tailors, and production leadership sign off before sample release. This practice alone dramatically reduces errors in mass production.”
Real-Life Use Cases: Tech Pack Application in Different Garments
T-Shirts & Polo Shirts
Tech packs for T-shirts and polo shirts highlight weight (GSM), neck finishing (rib vs. self-fabric), and shoulder stabilization (tape, clean finish). Details on neck rib type, collar stand, and button placement for polo shirts are mandatory to ensure the product performs and lasts for multiple washes.
Hoodies & Sweatshirts
Extra attention goes to hood construction (panels, lining, drawstring channel), cuff/hem rib, and pocket style (kangaroo, side seam). Specs must capture rib recovery rate and bartack reinforcements. For heavy fleece, check shrinkage and colorfastness after washing to meet buyer standards.
Sportswear & Uniforms
These require highly detailed BOMs: mesh panels for venting, reflective trims, zipper spec/length, logo placement accuracy, and label heat-seal safety. Moisture management, print durability, and color matching after repeated washes must be proven during pre-production approval (PPS) and top of production sample (TOP) checks.
Kids’ Wear & Compliance Garments
Pay close attention to small parts regulations, label positions (non-irritating), and maximum string/cord length. Tech packs should list compliance items (OEKO-TEX, REACH, nickel-free metals, flammability where required).
How to Read and Interpret a Tech Pack
At its core, learning how to read a techpack means bridging the gap between creative vision and factory execution using objective, standardized specs. Here’s the actionable summary from this tech pack guide:
- Always start by aligning interpretation with real-world materials and machines available; missing info must be flagged before patterning or sample cutting begins.
- Cross-check all garment points of measure, including unique features (e.g., multi-panel hood, thumb hole cuffs, or unusual pocket shapes).
- Audit the BOM for cost and compliance: every minor trim and finish must match what the buyer and regulations require—no shortcuts.
- For construction, clarify your actual seam, stitch, and reinforcement plan with the sample room/factory supervisor. Never assume—always confirm sewing method matches intended performance and look.
- Artwork and packaging specs must be reviewed with all necessary format and compliance details in place.
By mastering these tech pack reading practices, your garment development workflow will meet intended fit, appearance, quality, and regulatory demands—reducing costly corrections and building trust across the supply chain.
Best Practices for Ongoing Tech Pack Communication
Maintain a Centralized Tech Pack Library
Use a shared platform for techpack storage (like PLM, Google Drive, or project management systems). This ensures real-time updates and avoids confusion over versions.
Standardize Version Control and Comments
Every update/change should have a clear reason and a date for traceability. Encourage team feedback whenever specs, trims, or construction methods are unclear.
Use Factory Feedback Loops
Factory technical teams should have a direct line to product developers to clarify specs and communicate alternative suggestions where processes or materials aren’t available locally.
Next Steps: Implementing the Tech Pack Guide
- Build internal checklists based on this step-by-step tech pack guide, mapping each section to team roles.
- For new product categories, conduct pilot runs or mini size sets before bulk approval to stress-test your techpack’s clarity.
- Partner with quality teams to verify measurement sheets align with industry tolerances (±1 cm for knits, ±0.5 cm for shirts/polos, adjust as needed).
- After pilot and PPS review, keep all tech pack communications and approvals archived for future claims or improvement cycles.
Frequently Asked Questions
What is the difference between a tech pack and a spec sheet?
A tech pack is a comprehensive document detailing every garment requirement, while a spec sheet focuses specifically on measurements and tolerances.
How do I check if a tech pack is complete?
Verify the presence of all sketches, BOM, spec sheet, construction details, artwork placement, labeling, and packing instructions; confirm all are versioned and up to date.
Why are tolerances important in garment specs?
Tolerances account for minor production variation. Without clear tolerances, both buyers and factories may reject compliant goods or accept out-of-spec items by mistake.
What common issues occur if BOMs are unclear?
Unclear BOMs lead to wrong materials or trims, cost overruns, mismatched colors, failed testing, and production delays.
How can I avoid mistakes when interpreting construction details?
Always cross-check that specified seams and stitches match actual factory machine capability, and ask for clarification if the description is ambiguous or missing info.
Who is responsible for final tech pack approval before bulk production?
The product developer or buyer is typically responsible for sign-off, but best practice is to require agreement from the sample room, factory manager, and QC team as well.