In a blind hem vs coverstitched hem comparison, the clearest difference is usually visible from the garment face. A blind hem is assembled so the stitching catches the face fabric at limited points, aiming for a discreet effect. A coverstitched hem commonly shows parallel rows of stitching on the face and a connected thread formation underneath. Neither is universally better. Apparel Wiki presents this as an independent educational comparison; its Sponsor page explains the publication’s sponsorship policy.
The appropriate choice depends on the intended look and the actual fabric. Structure, extensibility, recovery, thickness, surface texture, edge behavior, thread, and machine setup can all change the result. The terms also describe more than appearance: the stitch formation, folded edge, and connected fabric layers must be considered together.
Blind Hem vs Coverstitched Hem: What Each Finish Looks Like
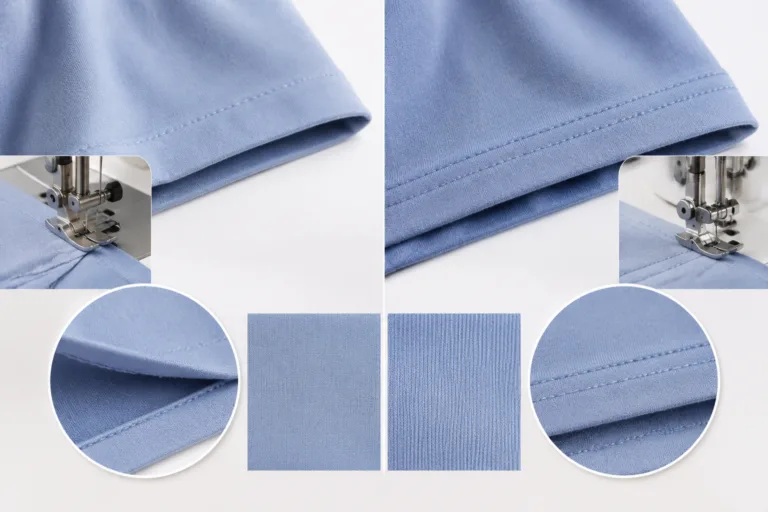
A blind hem usually has isolated catches or small points of thread visible on the garment face. These catches can become unobtrusive when their placement, thread color, and fabric surface work together. They may remain noticeable on smooth, fine, loosely structured, or contrasting materials. “Blind” therefore describes an intended visual effect, not guaranteed invisibility.
A coverstitched hem commonly presents two or more parallel needle-thread rows on the face. Its underside has a wider thread formation spanning between those rows. This construction creates a deliberate stitched line near the edge. Row number and spacing vary by setup, so the machine or stitch name alone does not fully define the appearance.
It helps to separate three ideas. A stitch describes how threads form or interconnect. A hem construction describes how the garment edge is turned, positioned, and secured. The fabric-layer arrangement describes which layers the stitching catches. Two hems with similar face-side signatures may differ underneath, while hems using the same nominal method may look different.
| Hem | Observable stitch appearance | Underside or edge structure | Likely visual effect | Initial garment or fabric fit | Variables that could change the choice |
|---|---|---|---|---|---|
| Blind hem | Limited catches may appear as small points on the face | Turned hem secured by stitches that intermittently catch the face fabric | Discreet when the catches blend with the material | An initial option when visible stitch rows conflict with the design | Catch depth, fabric surface, hem depth, thread, tension, and edge preparation |
| Coverstitched hem | Parallel rows are commonly visible on the face | A broader thread formation connects the needle rows underneath | Clean, linear, and intentionally stitched | An initial option when visible rows suit the garment and its movement | Row arrangement, fabric recovery, feeding, thread, tension, and folded-edge position |
The reverse side deserves inspection because it reveals how the edge and layers interact. Hem depth can affect stability and visual weight. Thread sheen or contrast can emphasize either method. Edge finishing, folding accuracy, and stitch placement can also alter the result without changing the named hem type.
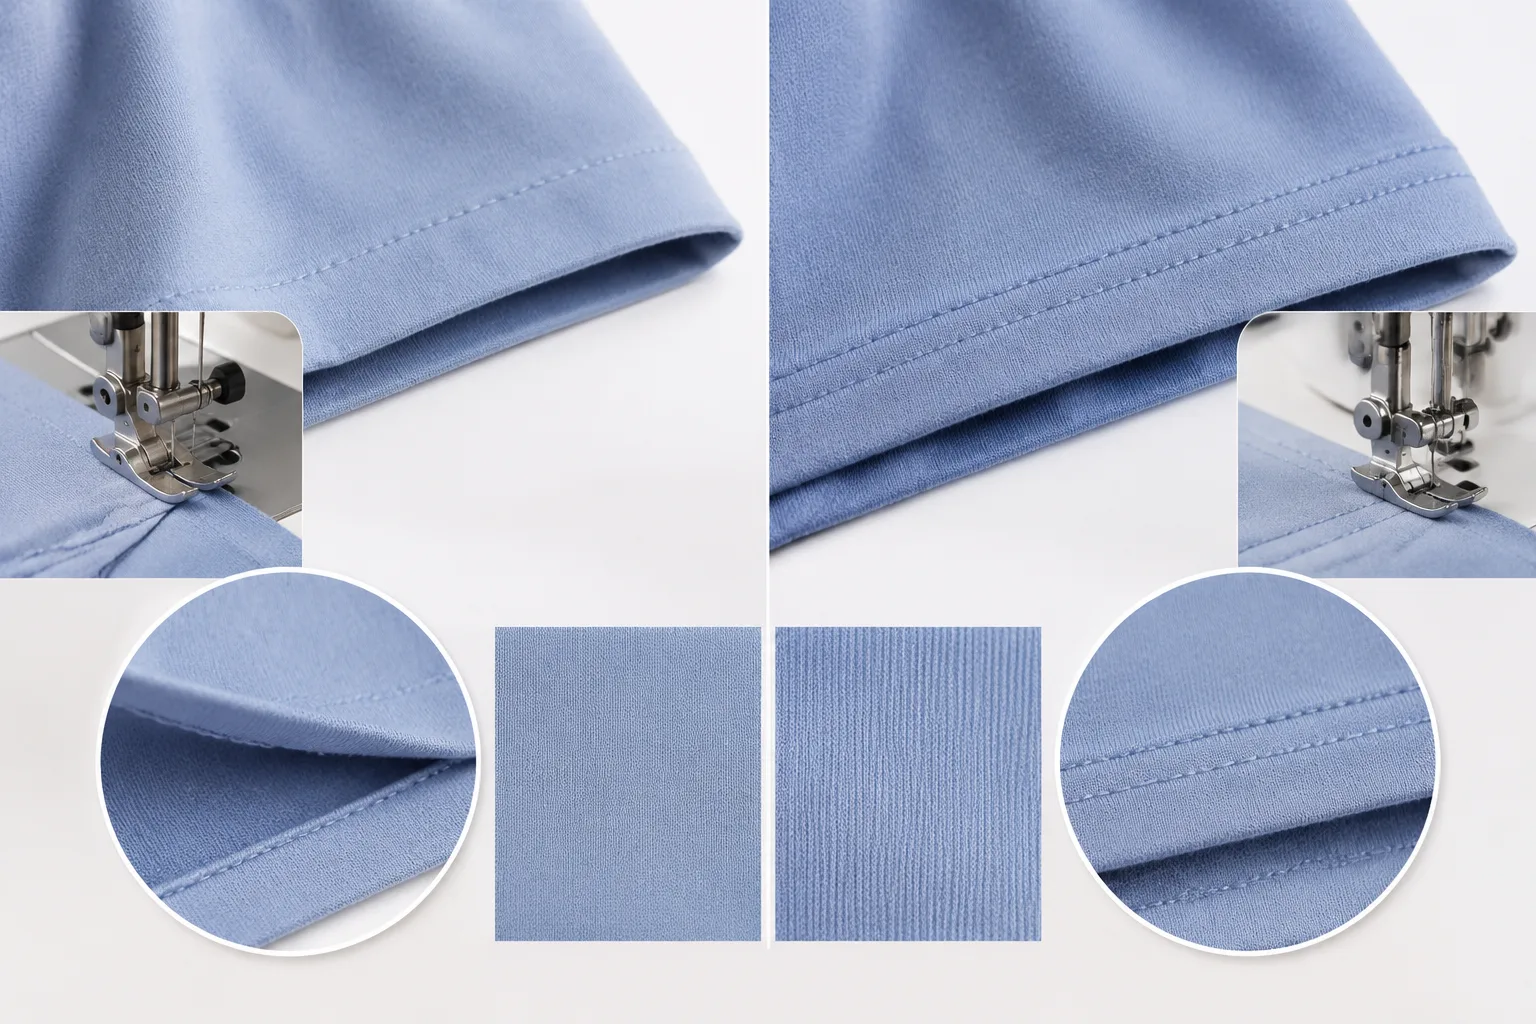
Which Appearance Variables Change the Result?
Stitch placement determines how the hem relates to the garment edge. Blind-hem catches that extend farther into the face fabric can become more visible. Catches that vary in position may form an irregular dotted line. On a coverstitch finish, rows placed unevenly relative to the folded edge can make the hem look unbalanced, even when the rows themselves appear straight.
Hem depth changes both proportion and behavior. A deep turnback may read as visually heavy on a light or fluid fabric. A narrow turnback may be harder to control when the edge rolls or changes shape. At side seams and other intersections, added layers can create a raised area, stiffness, or an abrupt change in the stitch line.
Thread color, sheen, and contrast strongly influence perceived visibility. Matching matte thread can recede into some surfaces, while contrasting or lustrous thread can make the same layout decorative. Fabric texture and print may interrupt the line visually. Lighting and viewing angle can reveal shine, indentation, or catches that are less obvious under other inspection conditions.
For visible parallel stitching, row spacing contributes to the finish’s visual scale. The relationship between the rows and the hem edge matters as much as the spacing alone. On a blind hem finish, the frequency and consistency of visible catches shape whether the edge reads as discreet or uneven. No single spacing or hem depth is appropriate for every material.
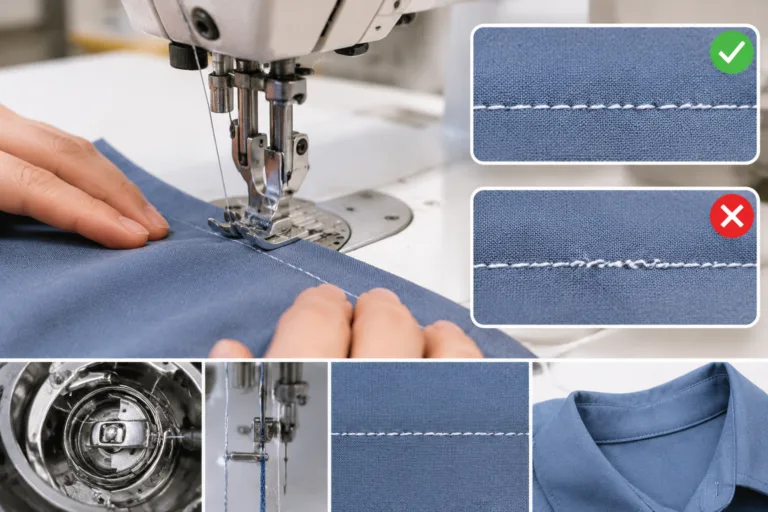
Inspect observable symptoms before assigning a cause. Puckered areas may appear gathered beside the stitching. Tunneling may appear as a raised channel between parallel rows. Waviness may affect the complete edge rather than only the stitch line. Missing stitch formation, pulled-looking catches, or inconsistent catching also require investigation.
These observations do not automatically prove that the chosen method is unsuitable. Fabric feeding, tension, thread, needle selection, edge preparation, layer thickness, or handling could contribute. Added reinforcement may steady one area but also introduce bulk, friction, or a harder transition. The corrective action should respond to the observed mechanism.
Review the complete garment edge on the actual fabric, or on a closely matched material. Include curved edges and representative seam intersections where control may be more difficult. Compare the face, underside, fold, and wearer-facing surface. A visually clean sample is useful evidence for appearance selection, but it does not establish recovery, durability, comfort, or care performance by itself.
Fabric Compatibility Depends on Structure and Movement
Hem fabric compatibility cannot be predicted from fiber content or a commercial fabric name alone. Fiber, yarn construction, woven or knitted structure, and finishing describe different aspects of a material. Each can influence thickness, surface response, edge rolling, extensibility, recovery, and how clearly stitches appear.
Woven and knitted structures provide useful starting clues, but they are not guarantees. A knit is not necessarily suitable for every construction that must extend. A woven is not necessarily rigid. Stable knits, stretch wovens, open structures, coatings, and specialized finishes can all complicate broad category-based advice.
When a garment edge moves or stretches during wear, evaluate whether the complete hem extends with the required movement and returns without persistent distortion. Also inspect thread strain, fabric deformation, edge waviness, and wearer comfort. A coverstitched hem may be considered when visible rows suit a moving garment edge, but its suitability still depends on the particular stitch formation, setup, and fabric response.
For stable or structured materials, the decision may center more on desired visibility, fold thickness, drape, and the behavior of seam intersections. A blind hem can be an initial option when the design calls for minimal face-side stitching. However, catch visibility, yarn displacement, stiffness, or impressions on the face can change that direction. Fluid or lightweight fabrics may expose irregular catches and distort during handling, regardless of their broad category.
Consider a lightweight knit for a casual garment. Visible coverstitched rows may support the intended visual language. Yet weak recovery, a rolling cut edge, surface sensitivity, or a more refined design target could make that sample unsatisfactory. A blind-hem sample might look quieter, but it must still be checked for secure, consistent catching and suitable movement.
Increasing thread strength alone does not resolve every mismatch. A stronger thread or denser stitch arrangement can transfer strain or damage to the fabric. The initial fabric category should narrow the options, not decide the hem. Compare representative samples using the intended construction, edge shape, garment movement, and wearer-facing conditions.
A Practical Selection Framework for Garment Development
Begin with the intended visual language. Decide whether the garment needs a discreet face, deliberately visible parallel stitching, or a balance between those effects. Then inspect whether the fabric surface supports that direction. Texture, print, sheen, and color can either soften stitch visibility or make small inconsistencies more noticeable.
Next, record how the actual fabric behaves rather than relying on its commercial name. Observe movement, recovery, thickness, drape, surface sensitivity, and cut-edge behavior. Also note whether the hem must cross side seams, follow a curve, or pass through changing layer thicknesses. These areas can reveal problems that a straight test strip misses.
- Define the appearance target. Specify the desired face-side visibility, stitch layout, hem depth, and edge shape.
- Review fabric behavior. Handle and extend the material in directions relevant to wear. Look for rolling, distortion, slow recovery, or visible impressions.
- Check the complete edge. Assess thickness, drape, stiffness, rubbing, and transitions at seams or other intersections. Do not judge only the stitch line.
- Review construction access. Consider when the hem is formed in the assembly sequence. Closing adjacent areas too early can restrict access and make consistent construction or rework more difficult.
- Compare representative samples. Use the intended fabric, thread appearance, hem construction, and challenging garment areas. Review handling, relevant movement, and care exposure consistent with the garment instructions.
These checks support development decisions, but they are not automatically a formal test. A named test method requires its own applicable procedure and evaluation criteria.
Use a clear decision checkpoint. If appearance and fabric behavior support the same direction, develop that option further. If they conflict, prepare matched blind-hem and coverstitched-hem samples. Compare the complete garment edges under the same viewing and handling conditions. This makes the choice traceable to observable differences instead of the machine or stitch name alone.
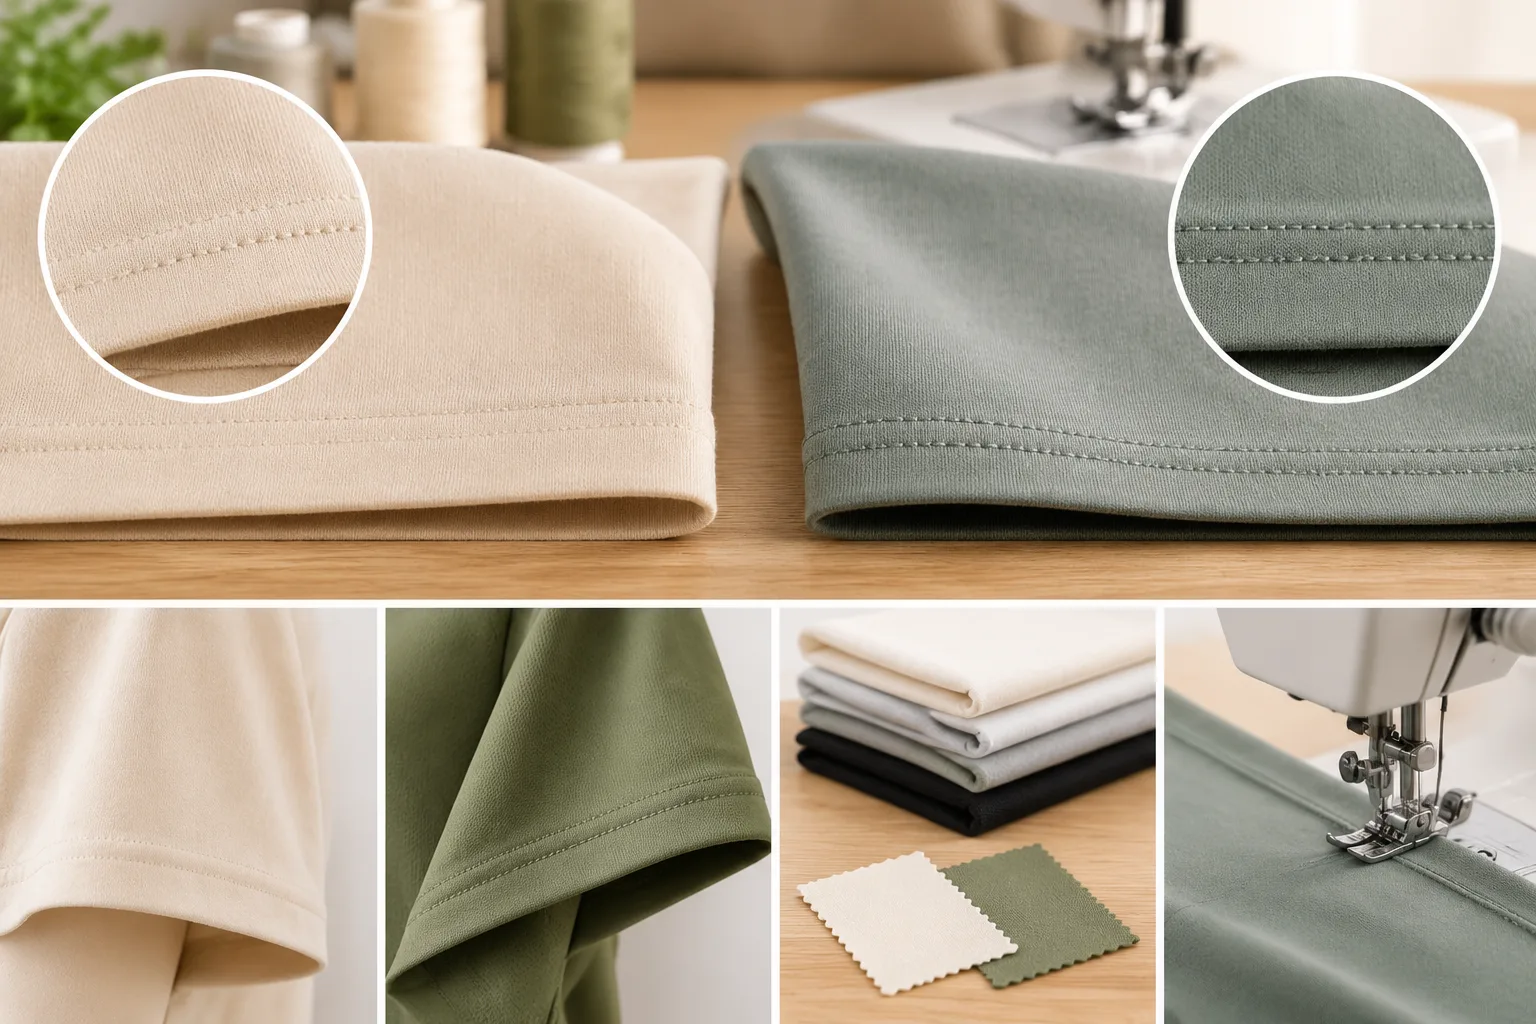
Trade-Offs, Failure Modes, and When the Initial Choice Should Change
A discreet hem can lose its intended effect when catches, impressions, or shine become visible. A deliberately visible finish can become distracting when its rows wander near curves, seam intersections, or thickness changes. Neither result proves that the general method is unsuitable. First determine whether the problem comes from setup, edge preparation, layer arrangement, or the interaction with the fabric.
Added folds, supporting materials, or other reinforcement may stabilize a local area. They can also create bulk, stiffness, friction, or a hard transition. The response should match the observed failure. Adding material is unlikely to help when excess thickness is already preventing the edge from hanging cleanly.
Investigate symptoms without treating them as automatic diagnoses:
- Unwanted visibility or shine: inspect thread color and sheen, catch placement, pressure effects, fabric surface, and viewing conditions.
- Tunneling or a raised channel: review the relationship among stitch formation, tension, row placement, layers, and fabric response.
- Waviness or distortion: check whether the fabric was stretched or fed unevenly during construction and whether the completed edge recovers after handling.
- Broken thread or inadequate extension: consider the stitch arrangement, thread, setup, movement demand, and local thickness rather than assuming stronger thread will solve the issue.
- Yarn displacement or edge damage: examine needle interaction, repeated penetration, stitch concentration, material sensitivity, and load at the affected area.
- Skipped or inconsistent formation: inspect where the symptom occurs, especially across seams, curves, and changing numbers of layers.
Increasing thread strength or making stitching denser is not a universal remedy. Either change can leave the fabric as the weaker part of the system and may contribute to yarn damage, tearing, stiffness, or reduced extension. Likewise, a visually clean sample does not establish recovery, durability, comfort, or behavior after relevant care.
The initial hem choice should change when unwanted visibility, persistent waviness, limited movement, uncomfortable bulk, poor recovery, or care-related appearance changes remain unacceptable for the garment. If the method still matches the design intent and the sample appears adjustable, revise the setup or construction and compare again. If the fabric-method interaction remains unsuitable after reasonable adjustment, make a matched sample with the other hem and reassess the entire edge.
Make the Hem Choice From the Fabric and the Intended Look
The blind hem vs coverstitched hem decision is a contextual comparison, not a universal ranking. Choose the direction whose visible effect, layer arrangement, movement, thickness, and wearer-facing feel suit the garment. Then confirm it on representative material and difficult edge areas.
As the educational next step, compare matched samples against the proposed stitch layout, fabric structure, edge behavior, assembly sequence, and relevant care or handling conditions. Document what changes the result. When a formal performance decision is required, identify and follow the applicable construction specification or evaluation method.
Frequently Asked Questions
Is a blind hem always less visible than a coverstitched hem?
No. A blind hem usually aims for a discreet face-side effect, but catches, impressions, thread contrast, or surface sensitivity can increase its visibility. Coverstitched rows are commonly visible by design, although fabric texture, color, thread, and stitch placement can soften their appearance.
Which hem finish is usually considered for a stretch knit?
A coverstitched hem may be an initial option when visible rows suit the design and the completed edge accommodates the garment’s movement. The knit label alone is insufficient. Recovery, rolling, thickness, surface response, stitch formation, comfort, and intended use still require sample evaluation.
Can the same fabric use either a blind hem or a coverstitched hem?
Potentially. The decision depends on the intended appearance, fabric behavior, layer arrangement, hem depth, edge shape, movement, and available construction access. Matched samples can show whether both are workable or whether one creates unacceptable visibility, distortion, bulk, or restricted movement.
What should be checked when a coverstitched hem looks wavy or distorted?
Check whether the fabric stretched during construction, whether feeding was even, and where distortion occurs. Also review tension, stitch placement, edge preparation, layer thickness, seam intersections, and recovery after handling. These observations identify possible contributors but do not establish one universal cause.
How should a brand compare blind and coverstitched hems before approving a garment sample?
Prepare matched samples in the intended fabric and construction. Compare face appearance, reverse structure, complete-edge drape, movement, comfort, curves, and seam intersections under consistent conditions. Include relevant handling or care exposure, document the observations, and use an applicable formal method when one is required.