How to Cut Fabric Correctly in Garment Production
Mastering fabric cutting is a cornerstone of quality garment production. In apparel factories and workshops, correct cutting room skills ensure consistent fit, desired drape, and minimal fabric waste. This guide breaks down the essential techniques—including grainline alignment, marker strategy, fabric spreading, and precision tool handling—any practitioner must know to produce garments that meet industry standards.
Understanding Fabric Cutting: Why It Matters
Fabric cutting is more than just slicing cloth. It’s about transforming flat fabric into accurate garment components, maintaining production efficiency, and controlling costs. Poor cutting can lead to misaligned patterns, uneven shapes, and defects that compromise aesthetics, fit, and durability. To avoid such issues, factories must focus on key performance factors:
- Consistency: Each part must match the intended pattern piece every time.
- Efficiency: Minimizing fabric waste and maximizing yield.
- Quality: Clean edges, exact measurements, and correct grain alignment for perfect assembly.
Whether you’re working with woven shirting, knits for T-shirts, or technical sportswear blends, proper fabric cutting underpins every successful production run.
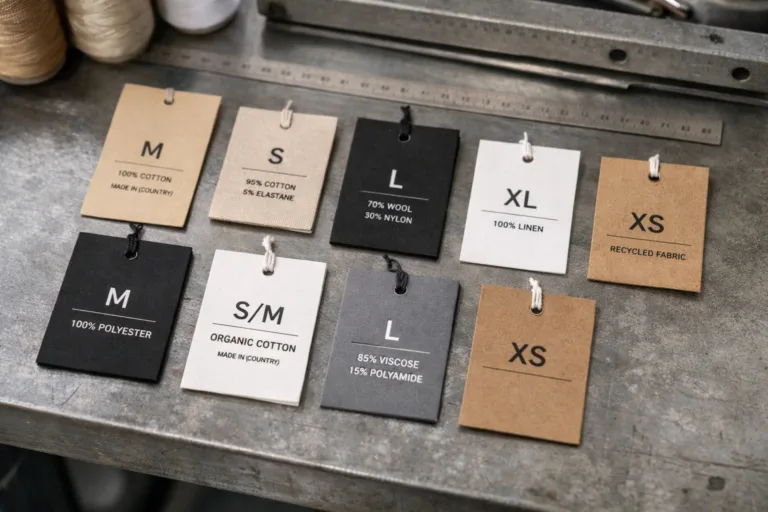
Fabric Types and Their Cutting Behaviors
Different fabric constructions respond differently to cutting room processes. The table below highlights key differences:
| Fabric Type | GSM Range | Properties | Typical Use |
|---|---|---|---|
| Cotton Single Jersey | 140–180 | Stretch, soft handfeel | T-shirts, polos |
| Polyester Fleece | 240–320 | Warm, bulky | Hoodies, sweatpants |
| Twill/Denim | 220–400 | Durable, non-stretch | Jeans, workwear |
| Mesh/Net | 60–120 | Breathable, open weave | Sportswear, lining |
| Blended Knits (CVC, TC) | 150–220 | Wrinkle-resistant, smooth | Polo shirts, uniforms |
Knowing your fabric type is vital for choosing the right cutting techniques, tools, and tolerances.
Essential Cutting Room Skills
Professional cutting room operators are responsible for translating designer intent into bulk-ready panels. Their skillset must cover:
- Fabric analysis: Understanding stretch, shrinkage, and torque behavior.
- Marker making: Arranging pattern pieces on the spread for optimal yield.
- Spreading control: Laying fabric layers without creasing or shifting.
- Tool selection: Using straight knife, band knife, or auto-cutter adeptly.
- Precision checks: Verifying cut accuracy and matching tolerances for bulk sewing.
The result is reliable materials for the sewing line, preventing costly rework downstream.
Grainline Alignment: Foundation for Fit and Quality
Grainline refers to the direction of the yarns in the fabric. Aligning pattern pieces to the correct grain ensures garments hang, stretch, and perform as intended. Misalignment can cause twisting, poor drape, and distortion after washing.
Types of Grainline
- Lengthwise grain: Parallel to selvedge; provides maximum stability.
- Crosswise grain: Perpendicular to selvedge; moderate stretch.
- Bias: At 45° to the grain; most stretch and drape.
Factory-Grade Checks
- Confirm grainline direction on all pattern pieces before spreading.
- Mark grainline visibly during marker making and at QC checkpoints.
- For fabrics prone to torque (single jersey, rib), test by folding and stretching a small sample for twisting before bulk cutting.
Rain’s tip from the production line: “Always align main body panels lengthwise. Sleeve and collar pieces can follow crosswise or bias only if specified for design or performance.”
Marker Making: Maximizing Fabric Yield and Accuracy
Markers are layout plans—either on paper or digital—that show the placement of pattern pieces on the fabric lay. Key goals:
- Minimize waste (tight, efficient arrangement).
- Honor grainlines and nap direction.
- Allow for cuttable shrinkage/relaxation margins where needed.
Marker Types
- Manual markers: Paper sheets, hand-drawn by skilled operators. Used in small runs or prototyping.
- Computer markers: CAD systems generate digital markers. Used for mass production and precision cutting.
Critical in marker making is the understanding of pattern grading, fabric shrinkage allowances, and marker efficiency rate (often targeted above 85%).
Practical Steps
- Check fabric width and usable area (consider selvedge and cut edges).
- Sequence pattern pieces to balance grain, color shade, and possible defects.
- Inspect digital markers for conflicts, overlaps, or wasted space.
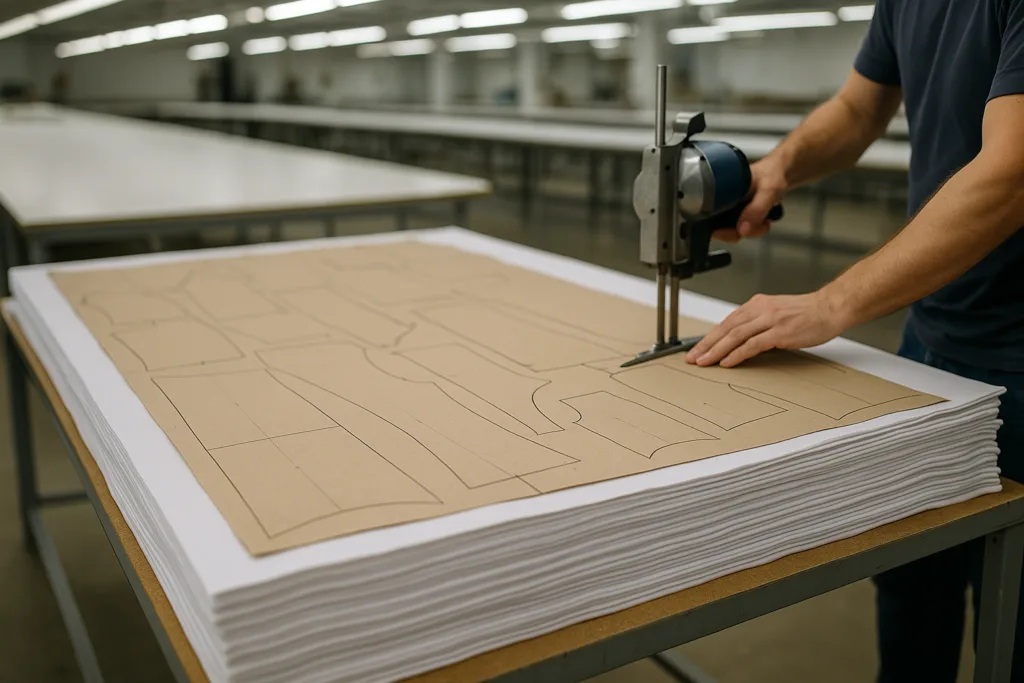
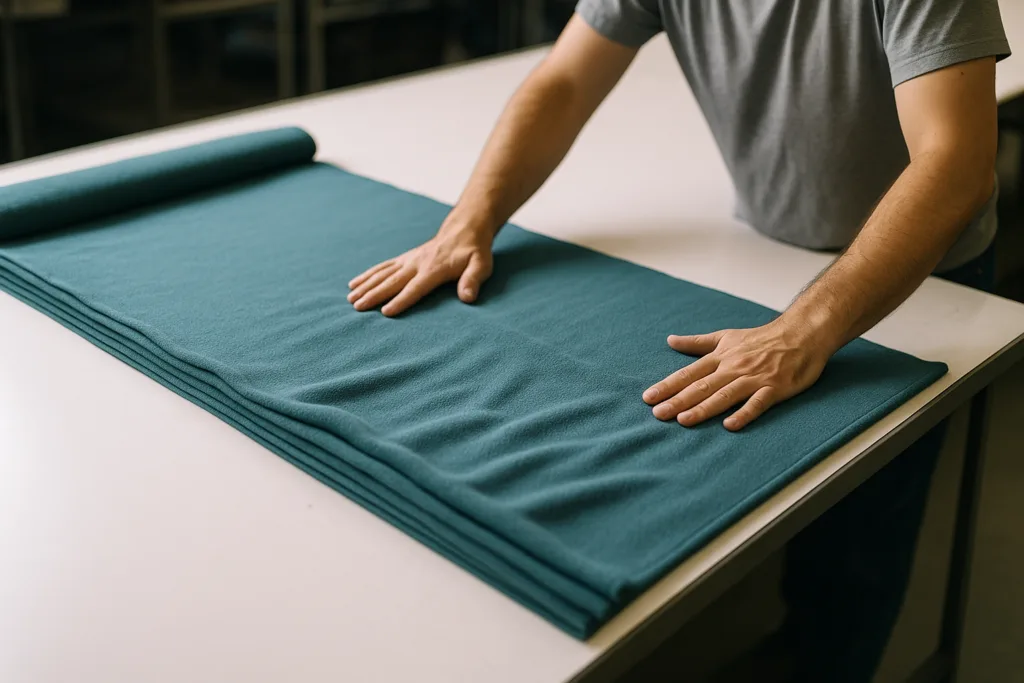
Spreading Methods: Setting the Stage for Precise Cuts
Spreading is laying out fabric in layers before cutting. Proper spreading ensures all layers remain flat, aligned, and relaxed. Poor spreading leads to panel measurement errors, shape distortion, and bulk quality issues.
Main Spreading Techniques
- Manual spreading: Carefully laying fabric by hand. Suited for smaller lays or delicate materials.
- Automated spreading: Machines lay fabric smoothly at controlled tension and speed. Ideal for high-volume production.
Checklist for Accurate Spreading
- Relax fabric for required time (typically 12–24 hours for knits, 6–8 hours for wovens) to prevent shrinkage post-cut.
- Align selvedges and edges throughout the lay.
- Avoid tension; let fabric settle naturally, especially for stretch materials.
- Check for defects like holes, stains, or color shading within the spread.
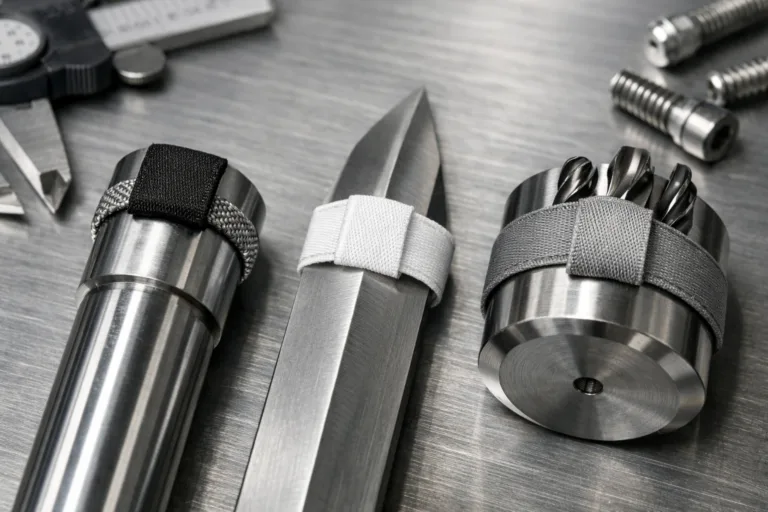
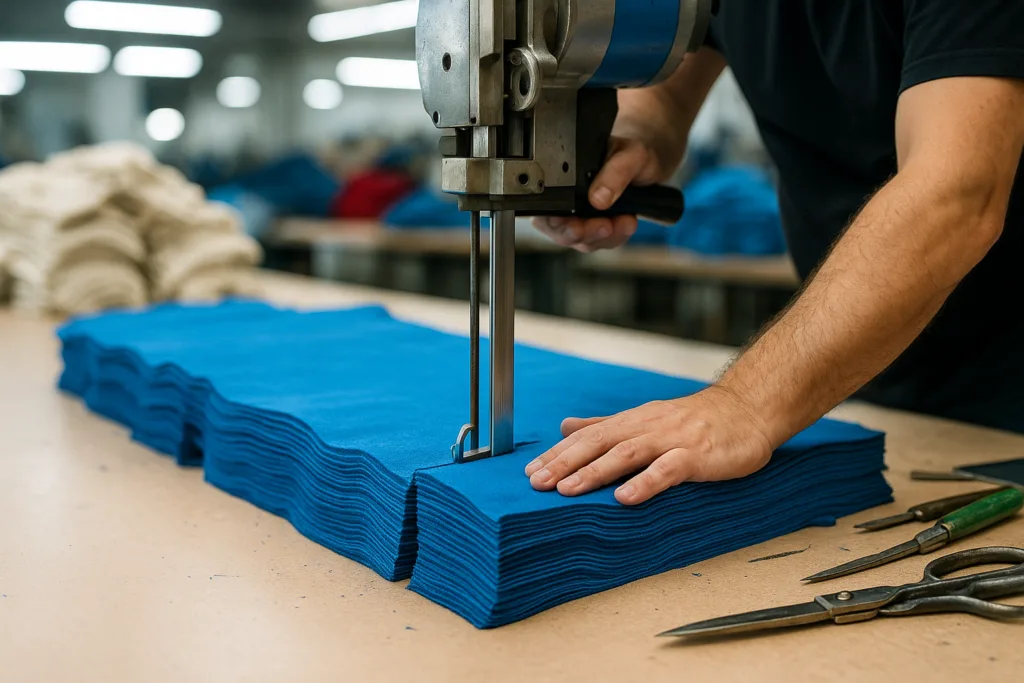
Cutting Tools: From Factory Machines to Tailor’s Essentials
The selection of cutting tools depends on fabric type, lay height, and required accuracy. The most common include:
- Straight Knife: Versatile, suited for lays up to 10–20 cm height. Used in 80% of knit/woven bulk cutting.
- Band Knife: Ideal for curved panels and notches, mainly in sample or prototyping rooms.
- Round Knife: Compact, excellent for cutting single-ply or soft, lightweight materials.
- Computer-Controlled Cutters: High precision, minimal operator intervention. Used for mass production with tight tolerances.
Maintenance and Safety
- Sharpen blades regularly to prevent frayed edges and inaccurate cuts.
- Use safety guards and PPE; follow factory protocols to avoid injury.
- Check knife lubrication and tension before long cutting runs.
Precision Cutting Tips for Quality Assurance
Cutting accuracy directly affects garment assembly, fit, and standard compliance. Apply these best practices:
- Cross-check measurements: After cutting, verify panel specs against markers and pattern sheets. Acceptable tolerance: ±0.3–0.5 cm for most panels.
- Minimize ply movement: Use hold-down blocks or weights to prevent shifting in high lays.
- Follow notching instructions: Essential for matching seams, ease allowance, and trim attachment (notches must be clean, accurate).
- Label and separate bundles: After cutting, ticket each bundle with style, size, and panel ID for smooth sewing-line flow.
Most factories use inline QC to spot check bundles. For critical items (children’s wear, uniforms), double-check panel measurements and shape for added safety.
Managing Fabric Waste and Cost Control
Fabric typically represents 50–70% of garment costing. Every centimeter saved enhances yield and profit margin. Waste can come from:
- Poor marker making (unoptimized arrangement).
- Excessive edge or shrinkage allowances.
- Cutting errors (misshaped panels, off-spec sizes).
Optimization Strategies
- Use CAD software to run marker efficiency simulations.
- Apply real-life lay planning, considering roll length, usable width, and production batch size.
- Reduce fabric waste by enabling marker revisions with actual width and defect mapping before finalizing.
Apparel Wiki’s expert tip: Always audit waste after each bulk cut and compare actual vs. theoretical marker consumption to spot improvement opportunities.
Quality Control After Cutting: Inspection and Tolerance Checks
Quality control after cutting is the final gate before sewing. Effective QC covers:
- Dimension and shape matching to approved marker.
- Grainline alignment check.
- Defect review (holes, stains, shade discrepancy).
- Proper labeling and bundling as per operation breakdown.
Industry Tolerances and Checks
- Woven panels: ±0.3 cm width/length variance typically allowed.
- Knit panels: ±0.5 cm due to fabric stretch and relaxation.
- Special trims: Collars, cuffs, and rib must meet stricter checks for uniformity and shape.
Some export factories apply the 4-point inspection system at this stage to ensure bulk pieces meet global quality benchmarks.
How to Cut Fabric Correctly in Garment Production
To cut fabric correctly in garment production, follow these key steps:
- Confirm your fabric spec (type, GSM, shrinkage, width).
- Make sure all pattern pieces are marked, graded, and have clear grainline indicators.
- Plan your marker using the factory’s CAD system or manual method, optimizing for yield and accuracy.
- Spread fabric according to your lay plan, relax as needed, and check throughout for tension and defects.
- Select appropriate cutting tools based on material and lay thickness.
- Execute the cut, following notching, bundle ticketing, and QC at each step.
Discuss with your supplier or cutting team about marker efficiency, tolerance limits, and bulk-shrinkage rates before every new order. Test in-house by cutting a swatch lay and washing it to check real shrinkage and torque. Follow Apparel Wiki’s guide for seamless operation from marker planning through final QC.
Frequently Asked Questions
What is grainline in fabric cutting?
Grainline is the direction of the fabric’s yarns and is crucial for ensuring garments retain their shape, fit, and drape after cutting and sewing.
Why is fabric spreading important before cutting?
Fabric spreading relaxes material, removes tension, and ensures all layers are uniformly aligned for accurate cuts and minimal defects.
What tools are used for fabric cutting in factories?
Common tools include straight knives, band knives, round knives, and automated cutting machines; each suits different fabrics and production scales.
How can I reduce fabric waste during cutting?
Optimize marker placement, minimize edge allowances, and use CAD simulation to maximize fabric yield and minimize off-cuts.
What are typical tolerances for cut panels?
Woven panels allow ±0.3 cm, knitted panels ±0.5 cm, but always check your supplier’s tolerance charts and production specifications.
How do factories check accuracy after cutting?
Cut panels are inspected for shape, dimension, grain alignment, and defects; bundles are ticketed for tracing during sewing and QA.