Why do seams pucker on my clothing?
Seam puckering is a common garment defect that undermines both appearance and function. Whether seen on a brand-new shirt or after the first wash, puckered seams signal underlying sewing issues. Understanding why this happens—and how to fix and prevent it—can save time, money, and reputation in apparel production. This guide explores the root causes of sewing puckering, practical repair steps, and proven prevention strategies for high-quality finishes.
Defining Seam Puckering in Apparel Manufacturing
Seam puckering refers to the gathering, ridging, or wrinkling that appears along stitched seams of clothing. Instead of lying smooth and flat, affected seams look raised, twisted, or gathered—creating visual and tactile irregularities. In serious cases, puckering can distort the overall silhouette or restrict comfortable movement. The severity depends on fabric, seam type, and whether the garment endured pre- or post-production stresses.
Main Types of Seam Puckering
- Fabric pucker: Caused by excessive tension or differing stretch properties between fabric and thread.
- Thread pucker: Arises from mismatched thread thickness, material, or poor stitch balance.
- Structural pucker: Due to pattern misalignment, improper seam allowances, or cut panel shape.
Why Does It Matter?
Puckering impacts finished garment quality, customer satisfaction, fit, and durability. Later repair is costly and often leaves lasting marks.
The Real Causes of Sewing Puckering
Decades on the factory floor reveal: seam puckering is almost always the result of one or more technical mistakes in sewing. The primary causes include tension issues, feeding imbalance, thread mismatch, and fabric stretch characteristics. Addressing these factors is essential for any garment defect fix.
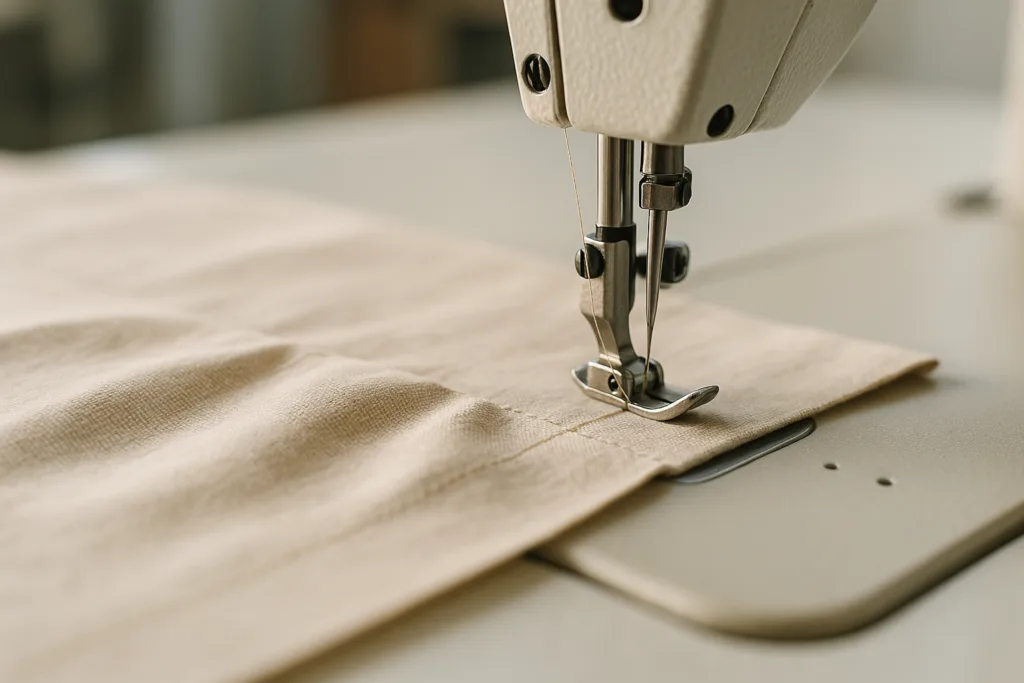
Tension Problems
- Upper thread tension too high: Pulls fabric together, causing puckers, especially on lightweight or soft textiles.
- Bobbin tension imbalance: Misalignment increases uneven stitch pull and visible ridges.
Feeding Imbalance
- Incorrect feed dog setting (doesn’t move both fabric layers together).
- Poor presser foot pressure—either too hard (compresses fabric unevenly) or too light (slippage).
- Operator handling (pulling fabric by hand or not controlling panel alignment).
Thread Mismatch
- Using thread types, sizes, or blends that differ from the intended fabric (e.g., polyester thread with cotton fabric).
- Choosing a thread too thick/thin or with divergent shrinkage properties.
Fabric Stretch & Properties
- Knit fabrics (single jersey, rib, interlock) stretch and recover differently than wovens (twill, denim, canvas).
- Finishing treatments—enzymes, silicone, mercerization—change surface smoothness and elasticity.
- Improper relaxation before cutting; tension is stored in fabric yarns, released during sewing.
The Impact of Stitch Type and Density
Seam construction and stitch choice fundamentally affect pucker risk. Common stitch codes like lockstitch (301), chainstitch (401), and overlock (504) perform differently across fabric types. Stitch density (SPI: stitches per inch) must be optimized for each garment and textile.
| Seam Type | Stitch Code | Typical SPI | Pucker Risk | Best Use |
|---|---|---|---|---|
| Overlock | 504 / 514 | 7–10 | Low (on knits) | Side seams, sportswear |
| Lockstitch | 301 | 10–12 | Medium–High | Wovens, plackets |
| Flatlock | 605 | 6–8 | Very Low | Activewear, underwear |
| Coverstitch | 602 | 8–10 | Medium | Hems, cuffs |
Stitch and Thread Tips
- Match SPI to the fabric thickness—high SPI on light fabric increases pucker.
- Choose threads with similar shrinkage and stretch as the fabric.
- Test stitch density during PP sample stage to catch pucker risk early.
Fabric Properties That Drive Seam Puckering
Fabrics respond to stitching with different degrees of deformation. For example, soft or stretchy knits (modal, jersey, French terry) are prone to seam rippling. Wovens, especially tightly woven cottons and polyesters, may exhibit ridge-like puckering if tension is off.
| Fabric Type | Stretch Level | Pucker Risk | Best Applications |
|---|---|---|---|
| Single Jersey Knit | High | High | T-shirts, sportswear |
| Pique Knit | Medium | Medium | Polo shirts |
| Twill Woven | Low | Medium | Chinos, uniforms |
| Denim | Low–Medium | Medium | Jeans, jackets |
Rain’s Tip from the Production Line
Before starting bulk production, always run a pilot on the exact batch fabric—not just lab dips. Stress, shrinkage, and tension can vary batch-to-batch, affecting pucker risk.
Fabric Relaxation Best Practices
- Let fabric rest for 24–48 hours after receipt (relax before cutting).
- Store at room temperature and 50–60% humidity; quick changes can reintroduce tension.
- Test using the 4-point inspection to check for latent tension or bowing in rolls.
Identifying and Inspecting Sewing Puckering
Effective garment defect fix starts with identifying puckering during inline or end-line inspection. Routine QC should include:
- Flat table visual inspection for seam ridging and gathering.
- Dimensional checks post-wash (to spot after-laundering puckering issues).
- Stretch and snap tests on seams, especially in sportswear and kidswear.
- Comparing with measurement specs; tolerance for seam deviation is typically ±0.5 cm.
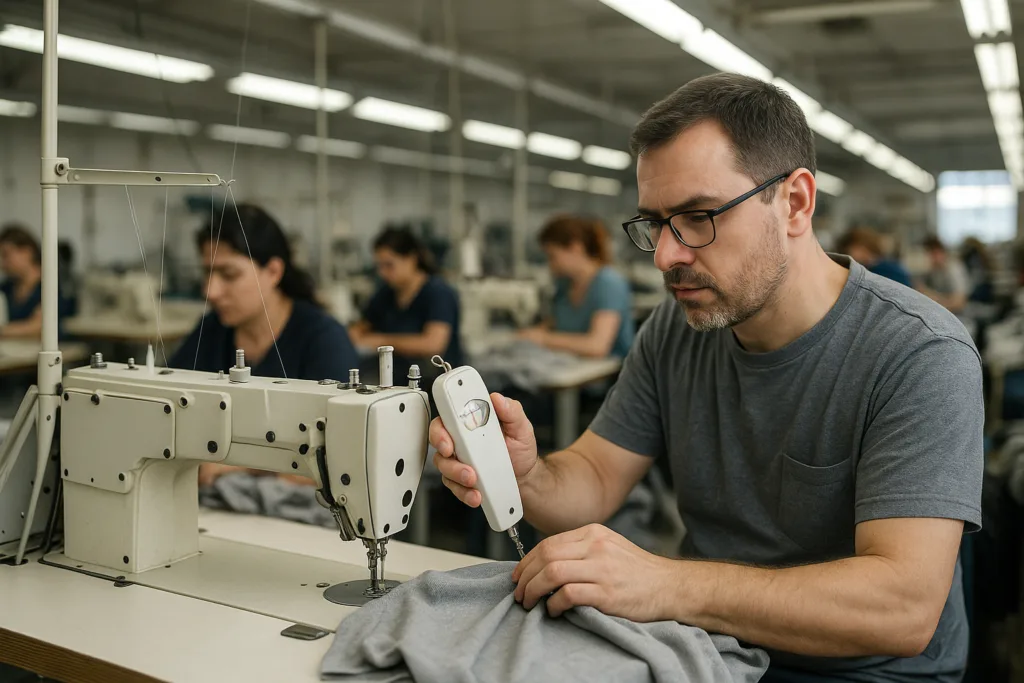
Sewing Operator Training
- Train operators to feel for tension—raise issues immediately during pilot runs.
- Calibrate machines daily, and set clear guides for fabric handling per stitch operation breakdown.
QC Inspection Tools
- Seam stress tester (mechanical tester for stretch/recovery).
- Magnifier for close-up thread/fabric interaction checks.
- Standardized seam allowance rulers and templates.
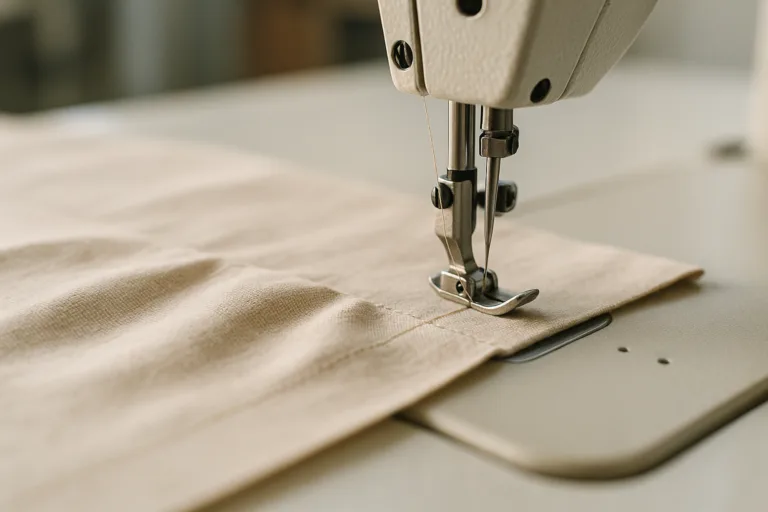
Practical Steps to Fix and Prevent Puckered Seams
Once sewing puckering is identified, robust fixes involve correcting both process and materials. The following garment defect fix steps are used by experienced factory floor managers:
- Re-adjust thread & bobbin tensions: Use tension meters for consistency across sewing lines.
- Verify feed dog and presser foot setup: Match settings to the specific fabric thickness and type.
- Change to matched thread: Use core-spun polyester-cotton for cotton and blends; 100% polyester for synthetics.
- Sew test samples: Check for puckering after sewing and after laundering using standard shrinkage tests.
- Decrease stitch density: Lower SPI by 2–4 where puckering persists; use samples for confirmation.
- Optimize pattern and seam allowances: Consult grading charts for each fabric type and garment fit.
- Apply gentle garment pressing: Use steam under moderate heat—high temperature can set puckers permanently.
Advanced Prevention
- Invest in differential feed machines for knits and stretch fabrics.
- Adopt consistent batch testing to catch fabric changes across bulk runs.
- Work with suppliers to specify thread shrinkage, elongation, and compatibility during PP sample approval.
Garment Defect Case Studies and Solutions
Apparel Wiki routinely audits garment lines for root causes and defect correction. Here are typical desk-side cases seen in export production settings:
Case 1: Cotton Single Jersey T-shirt
Issue: Horizontal puckering on front and side seams after home wash.
Root Cause: High stitch density (SPI 13), upper tension too tight, combined with low-flex polyester thread.
Fix: Lowered SPI to 10, switched to core-spun poly-cotton thread, and improved pressing after sewing.
Case 2: Twill Uniform Shirts
Issue: Puckering along plackets and armholes despite good pressing.
Root Cause: Uneven feed (feed dog too high), insufficient fabric relaxation.
Fix: Extended fabric relaxation to 48 hours, calibrated feed dog to match fabric thickness, retested on pilot run.
Case 3: Sportswear Leggings (Polyester/Elastane)
Issue: Wavy, gathered seams along outer leg after stretching.
Root Cause: Incorrect thread type, inadequate differential feed settings.
Fix: Switched to textured polyester thread with matched elongation, used differential-feed lockstitch machine.
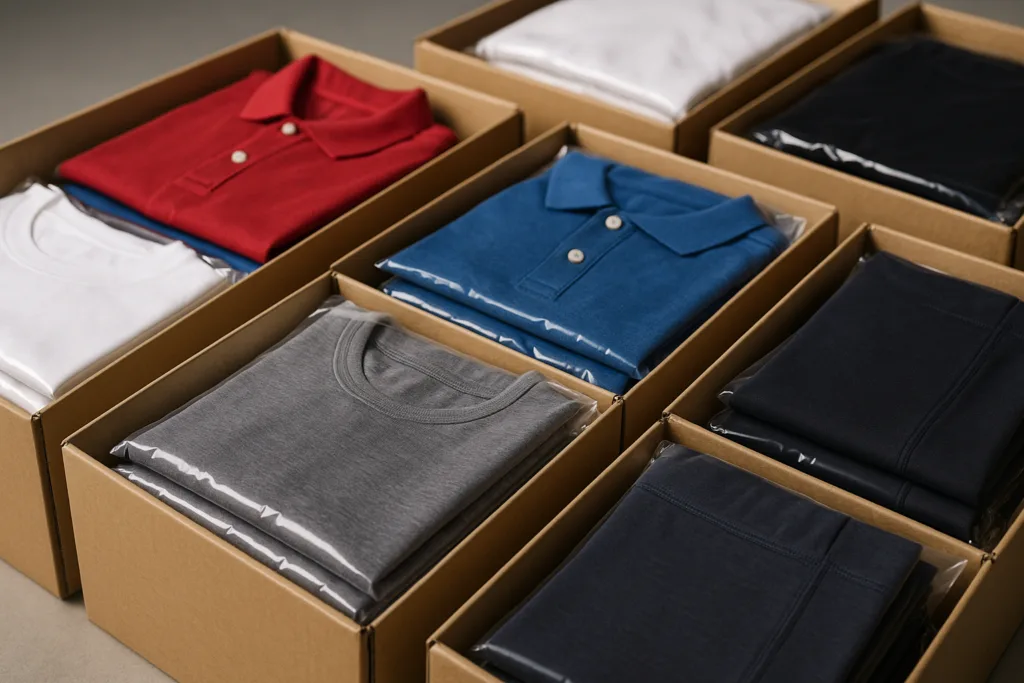
Packing, Storage, and Handling: Their Role in Seam Puckering
Puckering isn’t always caused by sewing alone—improper packing or storage can reintroduce tension and ridging.
Key Packing Considerations
- Use recommended folding methods; avoid over-tight folding lines on seams.
- Select polybags sized to the garment (avoid excessive compression).
- Carton strength and stack height matter—crushing can cause post-pack pucker.
Logistics and Lead Times
- Maintain moderate stacking pressure (max. 2–3 garment layers deep) during transport.
- Monitor humidity in storage; fluctuating moisture affects cotton and viscose especially.
- Check for carton deformation or moisture damage on receipt.
Testing, Compliance, and Best Practice Documentation
Meeting international testing and compliance standards like OEKO-TEX® and REACH helps ensure your garment defect fixes are effective and sustainable. For seam pucker risk, use routine shrinkage, dimensional stability (ISO or ASTM), and pilling tests before bulk runs.
Standard Tests for Seam Puckering
- Dimensional stability after wash (±3% shrinkage acceptable).
- Seam slippage and bursting strength for knits and wovens.
- Colorfastness and abrasion resistance as indirect indicators of thread/fabric integrity.
Documenting Quality Practice
- Update sewing line SOPs with tension, SPI, feed, and thread standards for every fabric/garment type.
- Log inspection results from pilot production; establish feedback loops for corrective action.
- Share practical guides—Apparel Wiki provides downloadable templates and tables for internal quality reviews.
Why do seams pucker on my clothing?
Seams pucker on clothing because of persistent misalignment between fabric properties, thread choice, sewing tension, and technical setup. When any element—whether in material selection, machine adjustment, or operator technique—is mismatched, puckering results. Defective seams most commonly arise from:
- Incorrect thread tension (upper or bobbin).
- Insufficient or excessive stitch density.
- Incompatibility between fabric stretch/shrinkage and thread properties.
- Poor feed control or presser foot settings.
- Improper fabric relaxation or handling pre-sewing.
- Packing and storage conditions that aggravate seam distortion.
To remedy sewing puckering, combine careful technical setup (tension, SPI, feed alignment) with correct material choices, focused operator training, and strong QC inspection. Documenting every process step ensures your garment defect fix is repeatable and robust.
Frequently Asked Questions
What is seam puckering in garment production?
Seam puckering is the wrinkling or ridging that occurs along a stitched seam, making it look uneven or gathered rather than smooth and flat.
Why do my seams pucker after washing?
Seams often pucker after washing due to mismatched thread and fabric shrinkage, or incorrect stitch tension set during sewing.
Can puckered seams be fixed after production?
Some puckered seams can be improved by carefully pressing or steaming, but severe cases usually require resewing with correct tension and thread.
Which fabrics are most prone to seam puckering?
Lightweight knits, finely woven cottons, and stretch blends are especially prone to puckering, mainly due to their higher elasticity and finer constructions.
How can I prevent seam puckering in bulk production?
Prevent puckering by matching thread and fabric properties, optimizing machine tension and feed, and running test samples before bulk sewing.
Does storage or packing cause seam puckering?
Improper packing, folding, or high stacking pressure during storage can create new puckers or worsen those formed during manufacturing.