Automated nesting process controls are the planned checks, approvals, and decision gates that govern a digital marker before it reaches cutting. They connect approved pattern and order data with verified material information, nesting settings, output review, and release records. In practice, the goal is not simply to generate a compact layout, but to make sure the layout is based on the right information and can be traced to an approved production decision. Apparel Wiki is an independent educational publication; support for this work is separate from editorial decisions and is described on its Sponsor page.
These controls matter because automated nesting in garment manufacturing follows the information supplied to the system. Correct software settings cannot compensate for an outdated pattern, an incorrect size ratio, an overstated usable width, or a missed one-way fabric requirement. The exact control points vary by product, fabric, nesting software, cutting equipment, and company procedure, but the chain is consistent: approve the inputs, verify the material, configure the run, validate the result, and release only the approved output.
What Are Control Points in an Automated Nesting Process?
A control point is a deliberate place in the workflow where someone checks information, approves a decision, or blocks the next step until a condition is satisfied. Before nesting, the control may confirm the pattern revision and order ratio. During setup, it may confirm fabric width, grain, nap, rotation, or piece-separation rules. After the run, it may verify piece counts, orientations, spacing, and the output version before cutting begins.
This makes automated fabric nesting part of a connected production information flow rather than an isolated software action. The marker is only as dependable as the relationship between pattern data, material data, order requirements, and configured constraints. A software-generated result may be technically readable while still being unsuitable for production if one of those inputs is wrong.
Manual review is common as a risk-based decision, but it is not automatically the same requirement for every company or order. A business may require additional approval for a new style, directional material, unusual width, high-visibility placement, or a substantial change from an approved marker. The relevant company, buyer, or product specification should determine those rules. A practical control chain should identify the owner of each decision and retain the approved result, rather than relying on an operator’s memory.
Which Inputs Must Be Controlled Before Nesting Starts?
The first gate is an input review. Confirm that the nesting run uses the intended pattern version, size range, piece list, and piece quantities. Check that grainlines and any nap or one-way instructions are present and correctly interpreted. Sewing or cutting allowances should also be consistent with the approved pattern information where they affect the marker. The order data must match the production requirement, including the planned size ratio and any permitted substitutions.
Material information needs the same discipline. Record the usable fabric width rather than assuming that the nominal width is fully available. Consider the material’s expected relaxation or dimensional change, directionality, color or lot separation, and known surface defects. These checks may alter the layout or require separate markers. A sample or one inspected roll should not automatically be treated as representative of every batch.
The exact fields depend on the software and product category, so a pre-nesting checklist should be practical rather than universal. It should identify who approved the pattern and material inputs, which revision identifiers apply, and which order reference the run serves.
- Pattern revision, size range, piece list, and required quantities
- Grain, nap, one-way, fold, tubular, or other placement instructions
- Usable width, material direction, lot identity, and relevant defect information
- Order ratio, substitutions, allowances, and any separation requirements
- Input approver, revision date or code, and the production reference
This record prevents an outdated marker from being released simply because it is available in the system. It also gives the team a starting point for investigating a mismatch between the planned layout and the material later issued to the cutting room.
How Should You Configure the Nesting Control Plan?
Once the inputs are approved, convert them into explicit nesting rules. Identify which constraints are mandatory for the order, such as grain direction, nap direction, fabric width, piece separation, splice rules, or limits on rotation. Some options may be available in the software without being appropriate for a particular product. A setting is a technical choice; it does not by itself create a company, buyer, contractual, or compliance requirement.
Assign ownership before the automated run starts. Pattern approval, material verification, nesting operation, technical review, and cutting release may belong to different people. The responsible roles can vary by organization, but the handoffs should be visible. This is especially important when the person operating the nesting system is not authorized to approve pattern changes or release cutting files.
A run record should connect the setup to its output. Depending on the system, it can include the style or order reference, pattern revision, material reference, usable-width assumption, size ratio, selected constraints, operator, review status, and output version. Retaining this information supports repeatability and makes it easier to distinguish a change in pattern data from a change in material or nesting settings.
Define review triggers in advance. An unusual layout, narrow usable width, high-risk fabric, changed order ratio, or deviation from an approved marker may justify a second-person review. The trigger should be stated in the local procedure, because the risk level is project-dependent. A small control plan that operators can execute consistently is more useful than a long list of undocumented settings.
What Should Be Checked After the Automated Nesting Run?
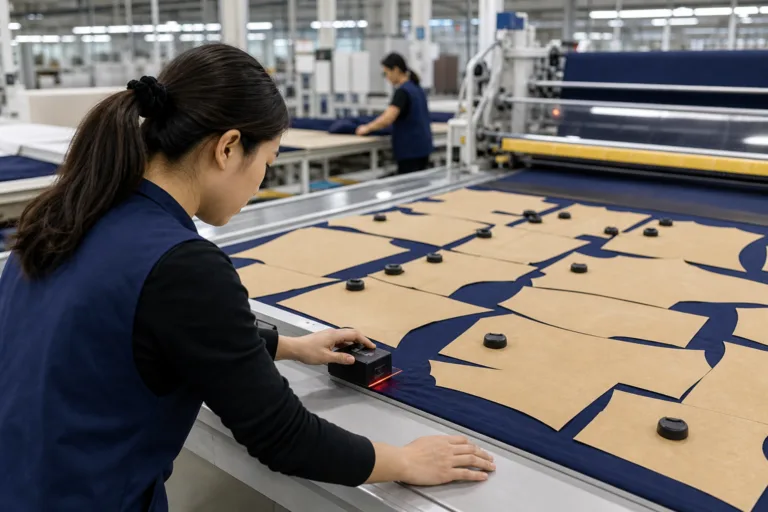
Post-run validation asks whether the generated marker is both complete and suitable for the approved job. First compare it with the approved pattern set. Confirm that every required piece appears in the correct size and quantity, with no omissions or duplicates. Then check the layout against the material and order instructions, including grainlines, nap or one-way orientation, usable width, end allowances, fold or tubular assumptions, and any restricted areas.
Review the intended size ratio as well. Unexpected rotations, missing sizes, incorrect quantities, or pieces placed outside permitted areas can indicate an input or configuration problem. Piece spacing and edge placement also deserve attention because a layout that appears complete may still conflict with the cutting plan or the material assumptions.
- Match piece count, size, and quantity to the approved order
- Confirm grain, nap, direction, rotation, and placement restrictions
- Check width, spacing, end allowances, folds, and tubular assumptions
- Compare the result with the approved pattern and size ratio
- Use available software reports, visual review, or second-person approval as appropriate
- Release only the approved output and retain superseded versions for traceability
Marker review is a verification step, not a guarantee that every downstream cutting or sewing issue has been removed. A marker efficiency figure can describe one layout, but it does not by itself establish material suitability or overall production performance. The accepted result should be judged against the project’s material, quality, order, and release requirements.
How Do You Monitor Nesting Results During Production?
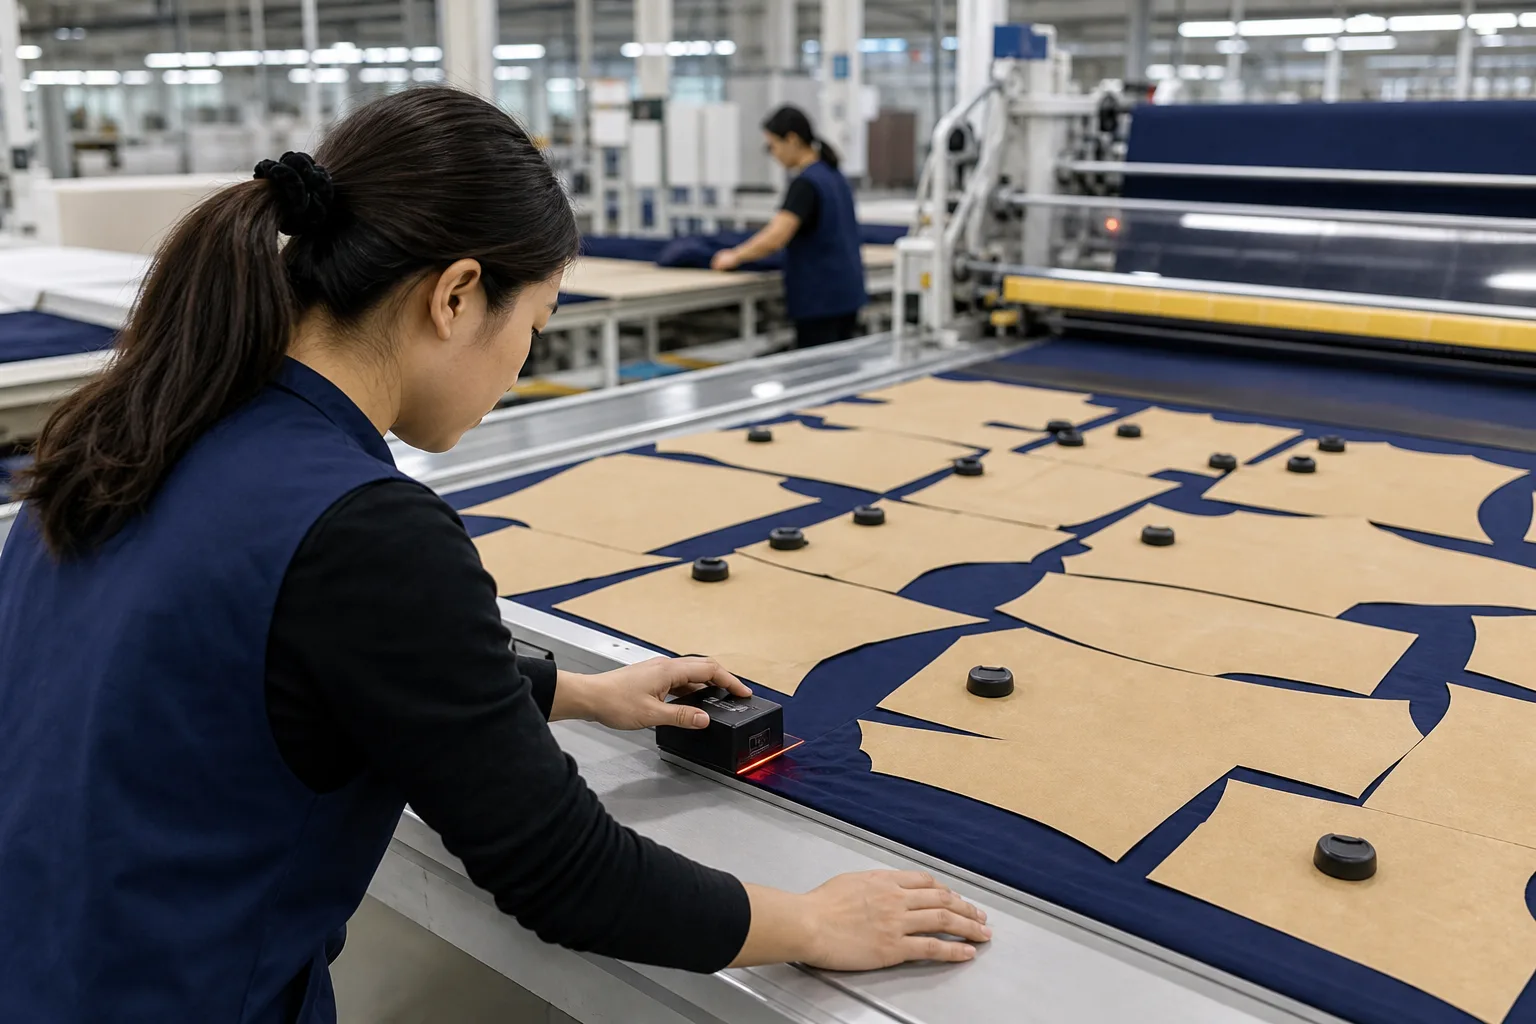
Monitoring begins when the approved marker is compared with the material actually issued for cutting. Check the usable width, fabric lot, surface condition, relaxation status, and directionality against the assumptions recorded during nesting. A marker may be correctly generated yet unsuitable for a particular roll if the available width, lot condition, or defect pattern differs from the information used in the run.
Keep a production record for deviations from the released plan. It should identify the style or order, marker version, material reference, issue found, decision taken, and person responsible for approval. Examples include re-nesting because of a width change, separating fabric lots, changing the size ratio, or substituting a material reference. The purpose is not to create paperwork for its own sake; it is to make later review possible.
Review recurring signals rather than isolated events. Missing pieces, repeated operator overrides, unusable edge areas, excessive rework, or frequent re-nesting may indicate a problem in pattern data, material inspection, nesting settings, cutting execution, or release control. Batch and process records help the team compare these possibilities instead of assigning every issue to the nesting software.
Marker efficiency can be one useful indicator, but it describes a particular layout under particular assumptions. It should be considered alongside piece accuracy, material suitability, rework, release reliability, and cutting results. Improving one nesting run also does not automatically increase total production output if another operation remains constrained. A faster or more efficient step may instead increase waiting work between processes.
How Should Teams Handle Exceptions and Trade-Offs?
Define an escalation path before an exception occurs. Pattern revisions, unexpected fabric widths, mapped defects, directional materials, mismatched lots, and urgent order changes should have a named reviewer or approval route. The exact route depends on the company’s organization and the product requirements, but the decision should not depend solely on an undocumented operator adjustment.
When the released marker no longer fits the actual situation, compare controlled options. The team may re-nest using verified width information, separate lots, revise the size ratio, exclude unsuitable areas, use a different approved material assumption, or request technical approval. Each option can affect material utilization, cutting simplicity, appearance matching, schedule pressure, and the risk of additional handling.
The mathematically tightest layout is not always the best production choice. For example, a directional fabric may require all pieces to follow the same orientation, even when allowing more rotation would appear to use material more efficiently. A layout that leaves more unused area may therefore be appropriate when it better protects appearance or respects the material instruction.
Record the selected option and its assumptions. Include what changed, why the change was accepted, which marker version replaced the previous one, and whether the decision applies to one lot or a wider order. Keep technical judgment separate from buyer, contractual, or regulatory requirements. Apparel Wiki provides educational guidance; it does not determine a project’s acceptance criteria or act as a manufacturer, factory, certifier, or service provider.

What Are the Limits of Automated Nesting Controls?
Automated nesting controls improve input integrity, repeatability, review, and traceability. They do not remove variation in fabric, defects, dimensional behavior, pattern revisions, or cutting conditions. A marker can be valid within the software and still be unsuitable if the pattern revision, material data, usable width, or production requirement is wrong.
Control points also cannot guarantee defect-free garments. They reduce the chance that known information will be lost or misapplied, but they do not replace material inspection, cutting checks, sewing process control, or appropriate final quality review. Final inspection may identify a problem, yet it cannot retrospectively correct every systematic upstream error.
A practical implementation can begin with one representative style or order. Map the information entering the process, identify the approval gates, assign an owner to each check, and test a simple run record containing the pattern revision, material reference, width assumption, order ratio, settings, output version, and approval status. Review exceptions after the trial before applying the same control plan more broadly.
Use the results to improve the flow of material and information between pattern development, material inspection, nesting, cutting, and production records. Related guidance in the Apparel Manufacturing Tools area may help readers locate additional educational resources. The central limit remains important: controls make decisions more visible and repeatable, but they do not turn uncertain inputs into certain outcomes.
Next step: Choose one active order and trace it from approved pattern data to released marker and actual cut material. Compare each assumption with the production record, document every deviation, and use the findings to refine the control points before expanding the procedure to other styles or materials.
Frequently Asked Questions
What is an automated nesting process control?
It is a planned check, approval, or decision gate before, during, or after automated nesting. It may verify pattern data, material information, nesting constraints, marker output, or release status.
Which information should be verified before running an automated nest?
Verify the pattern revision, piece list and quantities, size ratio, grainlines, nap or one-way rules, usable fabric width, material lot, known defects, and any applicable allowances or placement restrictions.
Who should approve an automated marker before cutting?
The responsible role depends on the company’s process. Pattern, material, nesting, technical, and cutting personnel may each own different checks. The approval record should identify the reviewer and released marker version.
How do fabric width, shrinkage, defects, and nap affect automated nesting?
They can change the usable area or restrict how pieces may be placed and rotated. Actual production material should be checked against the assumptions used for the marker, because one sample does not automatically represent every batch.
Does a higher marker efficiency percentage always mean a better nesting result?
No. Efficiency describes material use for a particular layout. The better result also depends on piece accuracy, direction, defect avoidance, lot separation, cutting practicality, order requirements, and release reliability.
What should a team do when the approved marker does not match the actual fabric?
Pause the affected release, record the difference, and escalate it through the defined approval path. Depending on the situation, the team may re-nest, separate the lot, revise the material assumptions, or obtain technical approval.