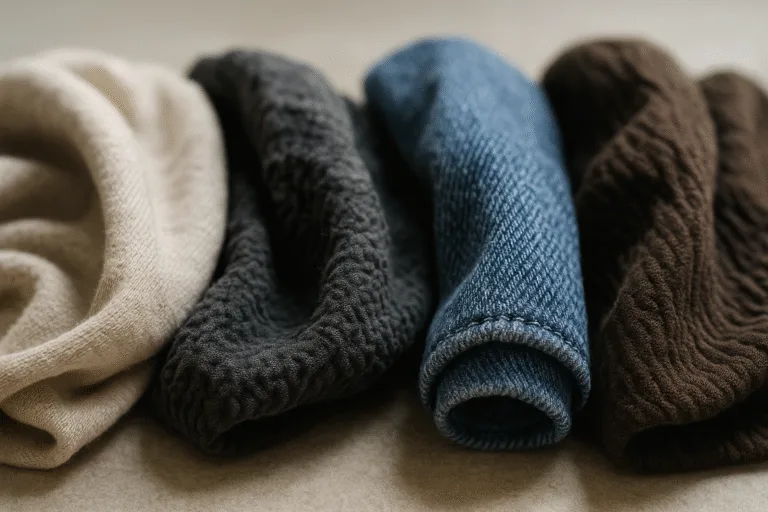
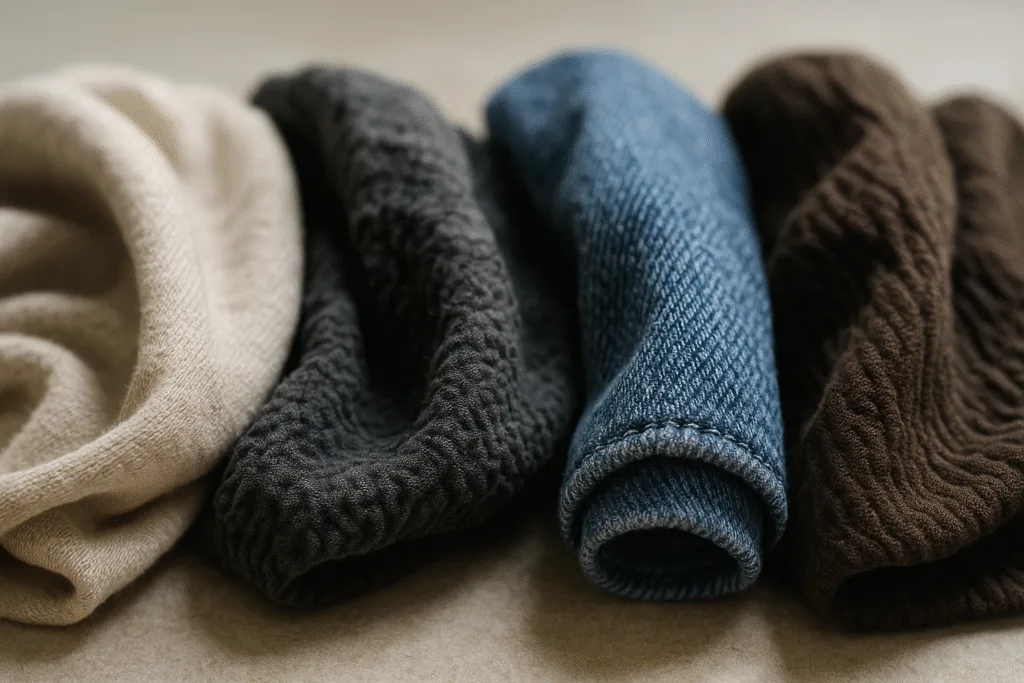
What is Fabric Shrinkage?
Fabric shrinkage refers to the reduction in length or width of textiles after washing, drying, or exposure to moisture and heat. Shrinkage varies depending on the fiber type, spinning method, fabric construction, and finishing process. It is measured as the percentage difference between the fabric’s original dimensions and its dimensions after laundering. For factories and brands, understanding shrinkage is essential for accurate pattern making, fit consistency, and customer satisfaction.
Why Does Fabric Shrink?
- Fiber character: Natural fibers such as cotton, viscose, or wool are more prone to swelling and relaxation after exposure to water.
- Fabric construction: Knitted fabrics (e.g., jersey, rib, fleece) typically shrink more than woven fabrics (e.g., poplin, twill) because loops can tighten and move.
- Mechanical and chemical finishes: Pre-shrunk, mercerized, or resin-finished fabrics show less shrinkage. Untreated greige goods generally shrink the most.
Types of Shrinkage
- Lengthwise (warp): Along the fabric grain.
- Widthwise (weft): Across the width; critical for final body width in garments.
- Uneven shrinkage: May cause twisting or puckering, especially in knits or poorly balanced wovens.
How to Conduct a Shrink Test: Step-by-Step

In practice, garment professionals follow a standardized shrink test protocol, usually modeled after AATCC or ISO test methods. A simple lab or in-house test involves washing and drying a controlled sample, then measuring the change. Here is a practical process adapted from industry best practice, refined over years of production experience at leading factories and labs.
Step 1: Cut the Fabric Sample
- Cut a square sample—typically 50 cm x 50 cm or 100 cm x 100 cm. For small runs, 25 cm x 25 cm can be sufficient.
- Mark reference points 5 cm inward from each edge. Use a heat-resistant marker to draw a box or make fine lines, so marks remain after washing.
Step 2: Measure and Record Original Dimensions
- Using a steel ruler or calibrated tape, measure the distance between the marks to the nearest millimeter. Record this as original length (L0) and original width (W0).
Step 3: Wash and Dry According to Spec
- Wash and dry the sample as per garment care instructions. If unsure, use 40°C machine wash, medium spin, and tumble dry (or line dry).
- For more accuracy, perform three wash-dry cycles—some fabrics shrink over multiple launderings.
Step 4: Recondition the Sample
- Let the sample rest in standard testing conditions (21°C, 65% RH) for 4–24 hours to allow the fabric to re-stabilize.
Step 5: Re-measure and Record Final Dimensions
- Again, measure between the reference marks to obtain final length (L1) and final width (W1).
Step 6: Calculate Shrinkage
- Use the fabric shrinkage formula (see below) to determine % shrinkage for both length and width.
Rain’s tip from the production line: Always test samples that reflect actual bulk goods—lot variation matters. Watch for directional shrinkage and twisting in knits or heavy denims after washing.
Fabric Shrinkage Formula: Accurate Calculation Method
Measuring shrinkage follows a straightforward mathematical formula. This calculation reveals how much a fabric reduces as a percentage of its initial dimension. Always calculate both lengthwise and widthwise shrinkage, as fabrics rarely shrink evenly in both directions. Use the results to guide how much allowance should be added at the pattern stage.
The Standard Fabric Shrinkage Formula
Shrinkage (%) = [(Original Dimension – Final Dimension) / Original Dimension] x 100
- Apply this formula separately to both length and width measurements.
Example Calculation
If a cotton jersey swatch measures 100.0 cm wide before washing and 96.5 cm after washing:
- Shrinkage (%) = [(100.0 – 96.5) / 100.0] x 100 = 3.5%
This means the fabric width will shrink by 3.5%, a critical value for pattern and spec sheet preparation.
Acceptable Shrinkage Tolerance
Different buyers and markets accept a range of shrinkage values. For mass apparel production, a shrinkage value below ±3% is often preferred, but some knitted items (like fleece hoodies or high-stretch jerseys) may tolerate up to 5% shrinkage if managed at the pattern stage.
| Fabric Type | Fiber Content | Construction | Usual Shrinkage (%) | Typical Garments |
|---|---|---|---|---|
| Cotton Jersey | 100% Cotton / CVC | Knit | 3–7% | T-shirts, casual tops |
| Polyester Microfiber | 100% Polyester | Woven / Knit | 0–2% | Sportswear, linings |
| Denim (Raw) | 100% Cotton | Woven (twill) | 5–10% | Jeans, jackets |
| French Terry | Cotton/Poly blend | Knit | 3–6% | Sweatshirts, joggers |
| Viscose Rayon | 100% Viscose | Woven | 4–8% | Dresses, blouses |
How to Add Shrinkage Allowance in Pattern Making
Once you’ve calculated the expected shrinkage for your fabric, the next step is adding the proper allowance (also called “shrinkage add-on”) to your production pattern. This process ensures finished garments, after laundering, meet the specified measurements without coming up short.
Step-by-Step Allowance Method
- Determine the % shrinkage in both fabric length and width from your test.
- Increase each relevant pattern dimension by the shrinkage percentage.
For example, if the final body width must be 54 cm, and shrinkage in width is 4%:
Cut width = 54 / (1 – 0.04) = 56.25 cm - Apply allowance to both garment dimensions (body, sleeves, rib trims) and trims that will shrink.
- Document the allowance clearly on spec sheets and pattern cards.
- Communicate shrinkage targets and tolerances clearly to your supplier or factory team.
Practical Example
If lab tests show 4% width shrinkage and 3% length shrinkage, and your T-shirt chest width spec is 52 cm, and body length is 70 cm (after wash):
- Cut width = 52 / 0.96 = 54.17 cm
- Cut length = 70 / 0.97 = 72.16 cm
These “before-wash” dimensions ensure that post-laundering garments meet buyer requirements.
Common Mistakes and How to Avoid Them
- Testing the wrong fabric: Only test on actual bulk lot fabric, not lab-dip or earlier trial sample.
- Ignoring multi-directional shrinkage: Always check both length and width, as knit fabrics and some open-structure wovens may behave very differently across the grain.
- Poor marking technique: Use a permanent, non-bleeding marker and make reference lines before washing.
- Skipping repeat washes: Some fabrics (denim, heavy knits) need more than one wash-dry cycle to reveal true shrinkage.
- Not updating patterns/specs: Always revise tech packs and cutting patterns after every bulk fabric shrink test, especially on new lots or suppliers.
Controlling Shrinkage in Bulk Production
Preventing unexpected shrinkage is not just about calculation—it’s about systematic quality control throughout the manufacturing process. Factories and buying offices need to keep these checkpoints in mind:
- Check all bulk fabric for lot-to-lot variation; re-test if there’s a supplier, finish, or dye lot change.
- Use pre-shrunk or sanforized fabric for wovens if possible.
- Relax and acclimatize fabric rolls for a minimum of 8-24 hours before spreading and cutting, especially for compact knits and denims.
- Monitor washing and finishing processes; avoid excessive heat or overly aggressive tumble cycles that can bias results.
- Require inline and final garment inspection (AATCC/ISO test reports) before shipping bulk.
Industry-Standard Shrinkage Specs
Many buyers or brands set shrinkage limits according to end-use and market. Examples:
- Knitwear: ≤3.5% (length/width)
- Woven shirts: ≤2.5%
- Jeans/denim: up to 5–7% can be managed with pre-laundering and pattern add-on
- Kidswear: tighter controls (≤3%) to protect fit in multiple washes
Special Considerations for Different Fabrics and Processes
The approach to shrinkage testing and management varies between fiber types, constructions, and end-use garments. Below are key considerations for common fabric types seen at Apparel Wiki partner mills and factories:
For 100% Cotton and Cotton Blends
- Use enzyme-washed or pre-shrunk lots when possible.
- Multiple wash/dry cycles are required—cotton can continue to shrink over first 2–3 washes.
For Synthetic Fabrics (Polyester, Nylon, Spandex Blends)
- Shrinkage is lower, but melting/heat deformation is a risk. Test using specified temperatures for polyester sportswear.
- Elastane blends (yoga/stretch) need stretch/recovery and dimensional stability checked as well.
For Denim and Cellulosics (Viscose, Modal)
- Use aggressive wash to simulate real garment after-care; check for torque/twisting as well as shrinkage.
- Denim patterns must include significant shrinkage add-on, particularly in length (inseam, outseam).
Integrating Shrinkage Results into the QC and Approval Process
Controlling shrinkage is a team effort between fabric sourcing, technical design, and production. Key steps include:
- Reporting shrinkage results on lab dip or bulk approval sheets;
- Agreeing on action with pattern/production teams before cutting;
- Retesting in PP sample and size set stages to validate allowance works;
- Including clear shrinkage specs and tolerances in every tech pack and PO.
Rain Chen regularly sees better bulk conformity and fewer fit complaints when brands require proof of shrinkage test and allowance as part of the sample approval process.
What to Discuss with Your Factory or Fabric Mill
- Ask for recent shrinkage reports (AATCC/ISO) from your current lot.
- Confirm test methods, number of cycles, and drying technique.
- Insist on repeat testing for second-source or alternative finishes.
How do I calculate fabric shrinkage correctly?

To calculate fabric shrinkage correctly, start with a representative sample from actual bulk fabric, mark and record the precise original dimensions, then launder and dry under controlled conditions. Measure the post-wash dimensions and use the fabric shrinkage formula: [(Original – Final) / Original] × 100 = % shrinkage. Always check both length and width. Finally, incorporate the results into your pattern and tech pack with the proper percent allowance. Avoid shortcuts: test every lot, request lab validation, and communicate expectations clearly to your supplier and production team. For critical styles—children’s wear, fitted sportswear, or denim—consider stricter tolerance and additional wash cycles during testing before approving bulk cuts.
Frequently Asked Questions
What is the standard formula for fabric shrinkage?
The standard formula is: Shrinkage (%) = [(Original Dimension – Final Dimension) / Original Dimension] × 100, calculated separately for length and width after washing and drying.
How many washing cycles should I use in a shrink test?
At least one full wash-dry cycle is required, but two to three cycles are recommended for cotton and blended fabrics to reveal maximum shrinkage behavior.
Is shrinkage the same for all fabrics?
No, shrinkage varies by fiber, construction, finish, and mechanical process. Cotton and viscose shrink more than polyester, while knits shrink more than tightly woven fabrics.
Should I add the same shrinkage allowance for all garment parts?
Not always; add specific allowance based on fabric grain direction and pattern piece. For example, collars and ribbing in polo shirts may shrink differently from main panels.
How does shrinkage affect garment fit and sizing?
Poorly controlled shrinkage leads to garments that are too tight, short, or missized, resulting in customer returns and cost overruns. Precise calculation preserves intended fit and sizing after wash.
Can fabric finishing reduce shrinkage?
Yes, processes like pre-shrinking (sanforization), mercerization, or applying resin finishes can significantly reduce shrinkage, improving dimensional stability after laundering.