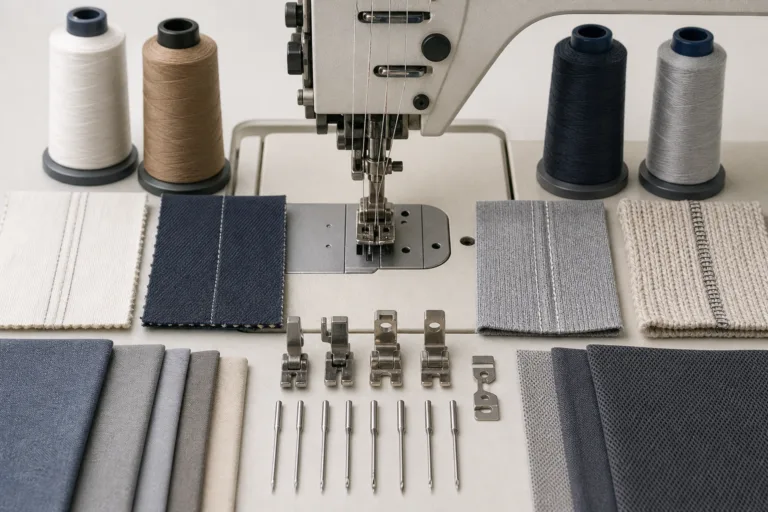
Thread guide alignment is the correct position and orientation of each sewing-machine guide in relation to the intended thread path. The thread should move from the spool or cone through the guides, tension device, take-up mechanism, and needle without unintended rubbing, sharp deflection, snagging, or inconsistent contact. For tightly woven garment fabrics, this alignment can affect how consistently the stitch forms. A practical starting point is the machine documentation; the Sponsor page is separate from this technical guidance and does not control Apparel Wiki’s editorial content.
A tightly woven fabric is a fabric condition in which the yarns are closely arranged and may offer greater resistance during needle penetration and seam formation than a more open construction. It does not determine one universal needle, thread, tension, or guide position. Machine design, thread construction, needle choice, seam layers, sewing speed, fabric finish, and the particular fabric assembly all influence the correct setup.
What Thread Guide Alignment Means When Sewing Tightly Woven Fabrics
In practical terms, thread guide alignment means that each guide supports the intended route and presents the thread to the next machine component in the orientation expected by that machine. A guide that is bent, loose, worn, poorly positioned, or routed incorrectly may cause intermittent rubbing or allow the thread to move unpredictably. The result can be unstable delivery even when the upper-thread tension setting has not changed.
This distinction matters because thread guide alignment is not another name for thread tension. Tension controls resistance applied to the thread system; guide alignment controls how the thread travels through that system. Needle position, presser-foot pressure, feed timing, and fabric construction are also separate variables. They interact during seam formation, but adjusting one does not automatically correct a problem in another.
When sewing tightly woven fabrics, small delivery inconsistencies may become more visible as uneven stitches, thread surface damage, fraying, breakage, skipped stitches, seam puckering, or a seam that changes appearance along its length. These are possible symptoms, not proof of guide misalignment. The same appearance may result from an unsuitable needle or thread, feeding behavior, excessive seam thickness, fabric variation, or later dimensional change.
For apparel production and sample-room work, the useful question is therefore not “What tension setting works for tightly woven cloth?” It is “Does this machine deliver this thread consistently through the documented path for this fabric, needle, seam, and operating condition?” Advanced home sewers can use the same logic, while recognizing that the machine manual remains the controlling reference for routing and adjustments.
Why Alignment Matters More in Dense, Tightly Woven Cloth
Thread behavior depends on more than fabric density. Thickness, surface finish, number of seam layers, thread fiber and construction, needle geometry and size, sewing speed, and machine condition can all change the forces and movement involved. A dense woven fabric may make an existing inconsistency easier to see because needle penetration and seam passage provide less margin for an unstable thread path, but density alone does not establish the cause of a defect.
If the thread rubs against a guide edge, jumps out of a guide, twists, or develops intermittent slack, stitch formation may become less consistent. Depending on the machine and materials, the operator may observe fraying or breakage, skipped stitches, irregular stitch balance, needle holes, or puckering. The appearance should be treated as a prompt for investigation rather than a diagnosis. A single photograph rarely distinguishes thread-path trouble from a needle, tension, feeding, or fabric problem.
| Observed pattern | Possible area to inspect | Important limitation |
|---|---|---|
| Rubbing, thread damage, jumping from a guide, or intermittent slack | Thread path, guide orientation, burrs, looseness, or wear | Confirm against the machine’s documented route and observe the thread in motion. |
| Skipped stitches, breakage, enlarged needle holes, or poor stitch formation | Needle-to-thread-to-fabric compatibility, needle condition, and thread construction | A guide adjustment cannot correct every unsuitable needle or material combination. |
| Puckering, distortion, or changing seam appearance | Tension, feeding, presser-foot behavior, seam-layer crowding, fabric construction, or finishing | Puckering has multiple possible causes, including differences revealed after care. |
This comparison is a diagnostic starting point, not proof of root cause. Controlled samples are more useful than changing several settings and judging the result from memory. Compare the same fabric lot, seam construction, thread, needle, and operating condition whenever practical, then change one variable at a time.
How to Inspect the Thread Path Before Adjusting the Machine
Begin with the machine stopped and use the manufacturer’s instructions for the specific machine class and model. Follow the thread from the spool or cone through every guide, tension device, take-up mechanism, and needle eye. Visually similar machines can use different routing, so do not infer the correct path from a neighboring machine or from a general illustration.
Check that the thread sits fully inside each guide and follows the intended direction. Examine guide openings, eyelets, plates, and contact surfaces for burrs, contamination, looseness, deformation, or unusual wear. A damaged surface can affect the thread even when the guide appears to be in the correct position. If inspection requires powered operation, follow the machine’s safety instructions; internal servicing or component replacement may require qualified personnel.
After the stopped-machine inspection, observe the thread during slow operation if the machine instructions permit it. Then compare behavior at the intended production condition. Look for rubbing, jumping out of a guide, twisting, intermittent slack, or visible damage to the thread surface. Do not assume that a path that appears stable by hand will behave identically at production speed or with multiple seam layers.
Record the conditions before making an adjustment:
- Machine model or identification and the documented thread route.
- Fabric lot, finish, seam construction, and number of layers.
- Thread specification, needle specification, and operator settings.
- Defect location, frequency, direction, and appearance.
Prepare a controlled seam sample and retain a before-and-after sample. If alignment is corrected, keep other variables constant where practical so the effect can be evaluated. Supplier instructions are a starting point for the selected machine and materials, not permission to transfer a setting from a different machine, thread, needle, or fabric.
How to Match Thread Guides With Needle, Thread, and Fabric Variables
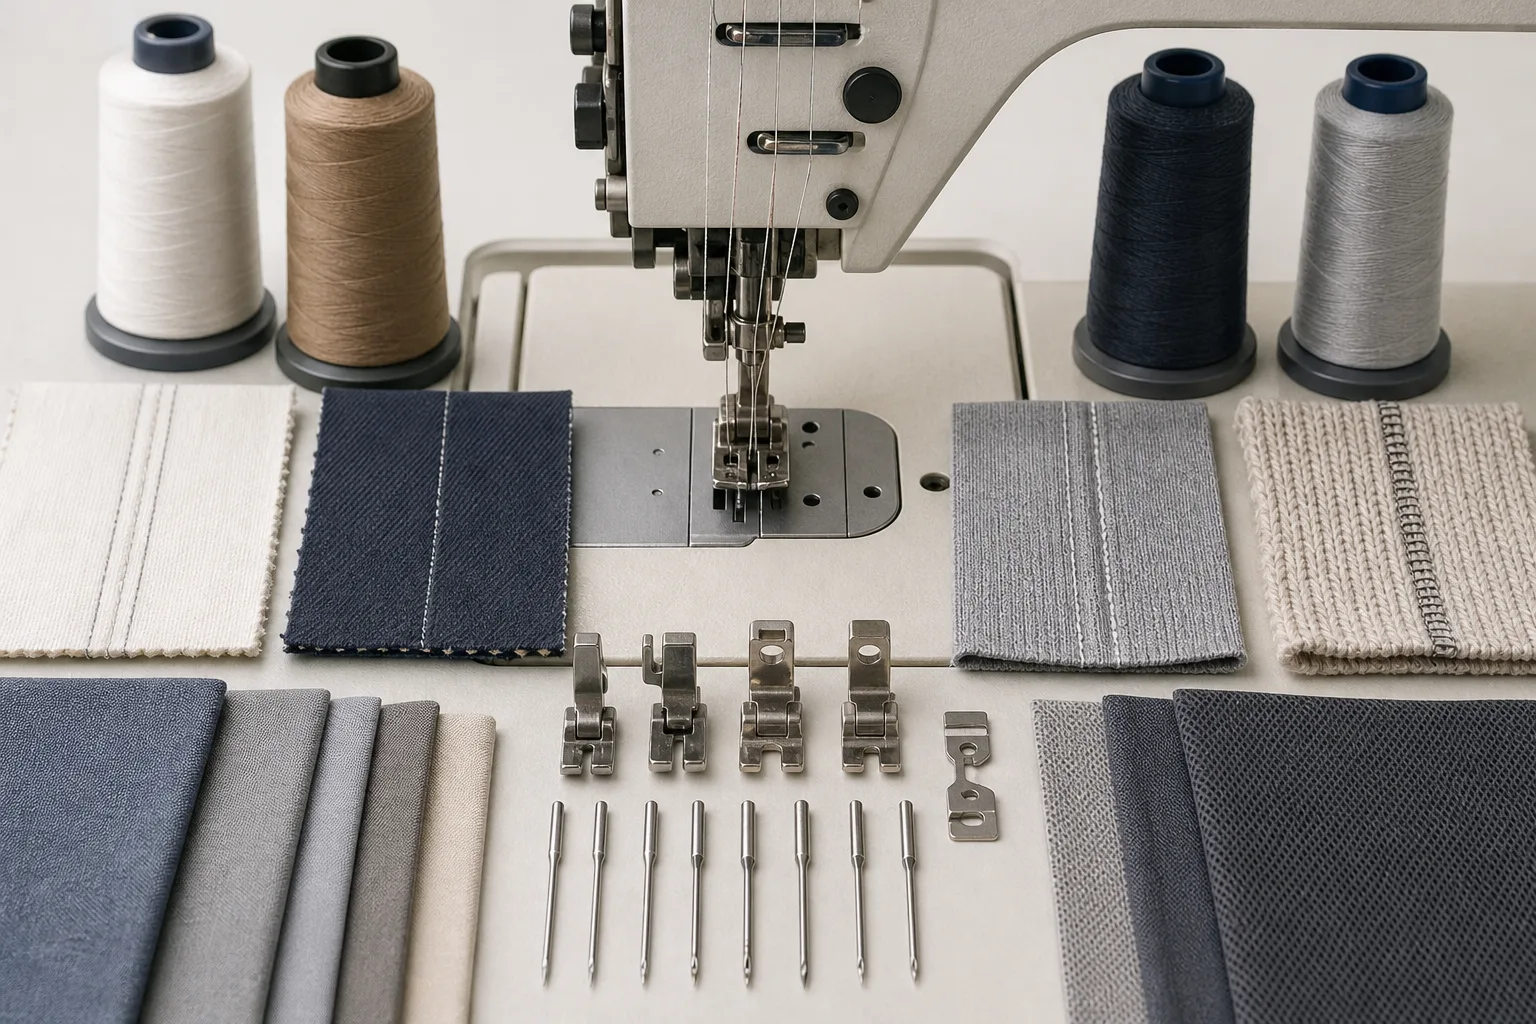
Thread-guide alignment is one part of a larger sewing setup. The needle point and size, thread fiber and construction, thread thickness, fabric density, finish, seam allowance, number of layers, stitch length, and intended sewing speed can all change how the thread behaves. A guide that is correctly positioned for one machine and material combination may not produce the same result when the fabric, thread, or seam construction changes.
Use the machine, needle, and thread suppliers’ instructions as the starting point for the selected equipment and materials. Then verify the setup on the actual fabric lot and seam assembly. A needle that is too large or otherwise unsuitable can change needle-hole appearance, fabric damage, and stitch formation. Adjusting a thread guide cannot correct every needle-to-thread-to-fabric mismatch.
Keep stitch terminology separate from guide alignment. SPI describes stitches per inch, while stitch length describes the distance between stitches; neither term describes the position of a thread guide. On a multi-needle machine, needle spacing is also a separate measurement. Confusing these settings can make troubleshooting records difficult to interpret.
A practical decision sequence is:
- If the thread visibly rubs, twists, jumps out of a guide, or leaves surface damage, inspect the documented thread path and guide condition first.
- If the path is stable, compare needle and thread compatibility with the fabric, seam layers, and sewing condition.
- If those areas are stable, investigate upper-thread tension, feeding, presser-foot behavior, seam construction, fabric finish, or machine wear.
This sequence narrows the investigation without treating one symptom as proof of one cause. It also keeps machine-guide alignment distinct from needle-to-thread-to-fabric compatibility.
How to Verify Alignment With Controlled Sewing Samples
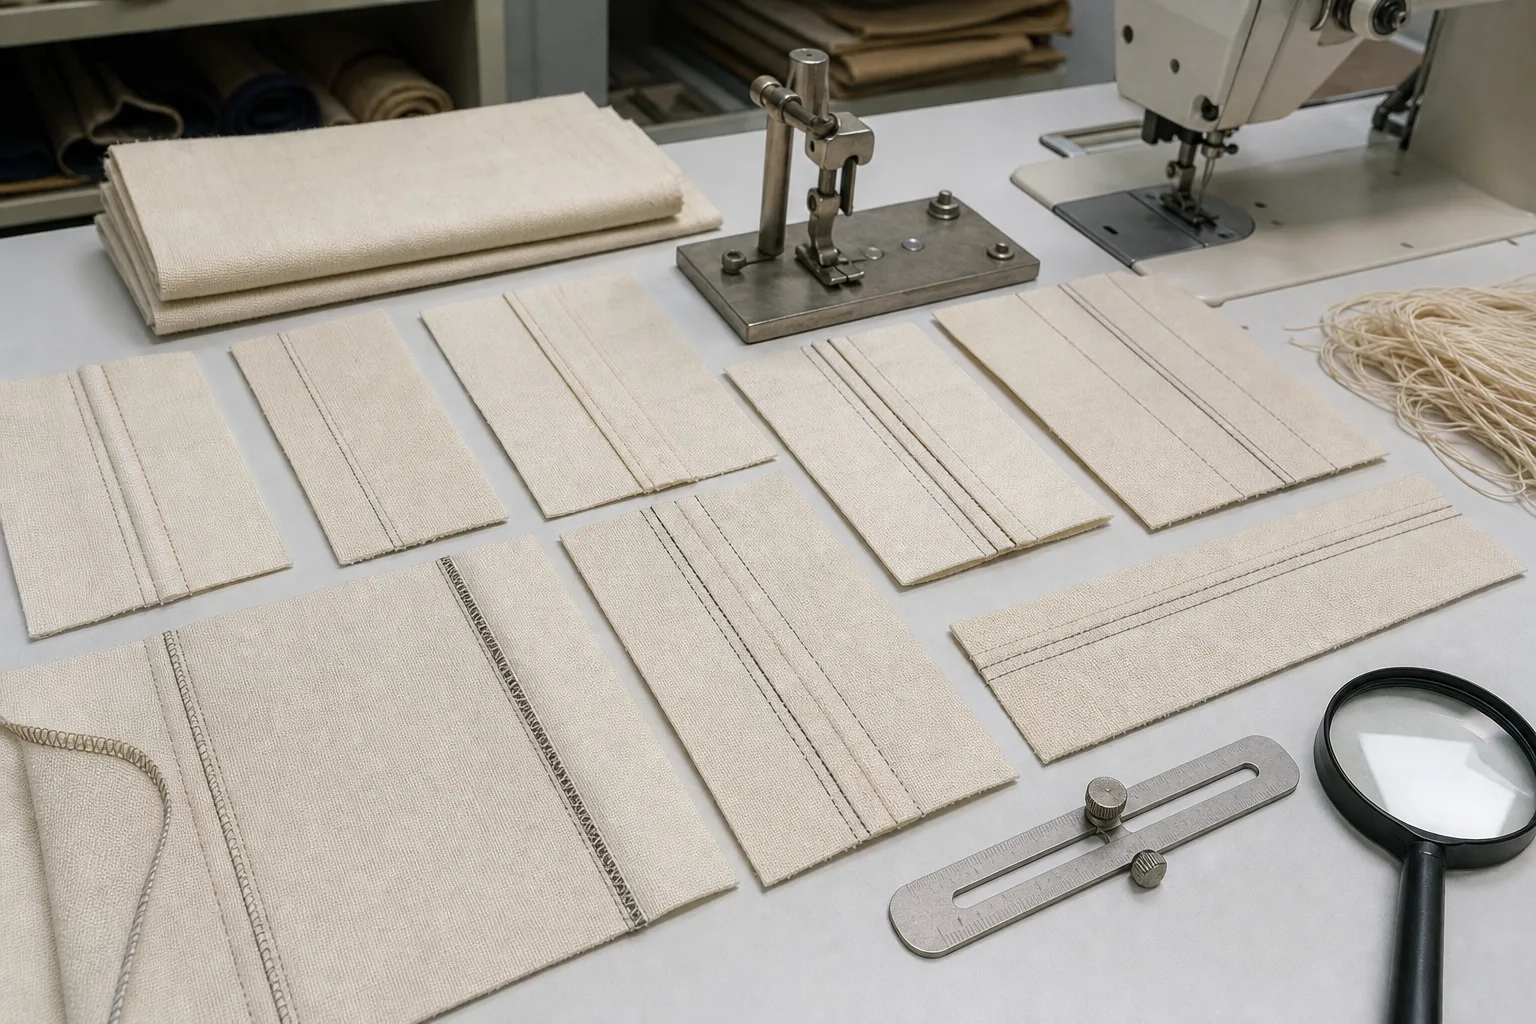
A controlled sewing sample gives more useful evidence than changing several settings and judging the result from memory. Prepare the sample with the fabric lot, thread, needle, seam direction, seam layers, seam allowance, and finishing conditions expected in the garment. Where production speed matters, evaluate the setup under the intended operating condition rather than only during hand-turning or very slow sewing.
Compare the current setup with a documented alignment correction while holding other variables constant where practical. Inspect both sides of the seam for stitch balance, thread fraying or breakage, skipped stitches, needle holes, puckering, distortion, and changes along the seam. A visible improvement after one correction is useful, but it does not by itself prove that alignment was the only cause or that the process will remain stable across production.
When the garment will be washed or otherwise finished after sewing, retain samples for relevant post-care comparison. Washing or finishing can reveal dimensional differences and seam behavior that were not visible in the original sample. A change after care should therefore be considered alongside guide alignment, fabric behavior, construction, and finishing conditions rather than automatically attributed to the thread path.
Record the machine identification, thread route, fabric lot, thread and needle specifications, seam construction, operator settings, sample identifier, observed defect, and corrective action. Use customer, brand, or project acceptance criteria where they exist. Do not treat an internal visual check as a certified or standardized test unless it was performed under the applicable method.
For recurring issues, also record the machine, shift, operator or work area, material lot, and follow-up result. This turns a one-time adjustment into process information that can be compared across samples and production checks.
When Thread Guide Alignment Is Not the Main Problem
Persistent sewing defects may involve an incorrect or damaged needle, unsuitable thread, tension settings, feed or presser-foot behavior, excessive seam-layer thickness, fabric construction, finishing, or machine wear. Similar-looking puckering can have different causes, including thread tension, feeding, structural crowding, or differences that appear after laundering. A single photograph, short seam, or corrected garment panel cannot establish the root cause.
| Observed pattern | Areas to investigate |
|---|---|
| Rubbing, thread damage, jumping from a guide, or intermittent slack | Thread route, guide orientation, burrs, looseness, contamination, and machine condition |
| Skipped stitches, needle holes, or thread breakage without visible path instability | Needle condition, needle-thread compatibility, thread construction, tension, and sewing condition |
| Puckering, distortion, or variation across seam layers | Feeding, presser-foot behavior, tension, seam construction, fabric finish, and post-care dimensional change |
This table is a diagnostic starting point, not proof of cause. Escalate the issue when the documented thread path appears correct but defects continue, when guide or machine parts are worn or damaged, or when results vary by operator, batch, or machine. Internal servicing and component replacement should follow the machine documentation and the competence requirements of the workplace.
Separate local repair from process prevention. A resewn panel may restore its appearance without showing that the original sewing process is stable. Document the cause hypothesis, correction, verification sample, and follow-up production check. Then consult the machine manual, confirm the material specifications, run controlled samples, and use qualified technical or quality support when the evidence does not identify a reliable correction. Apparel Wiki provides general educational information; it is not a factory, laboratory, certifier, or production service provider.
For a repeatable workflow, keep the machine documentation and sample records together with the rest of your Apparel Manufacturing Tools. The goal is not one universal setting, but a traceable setup decision supported by the actual machine, material, seam, and production condition.
FAQ
What is thread guide alignment in a sewing machine?
It is the correct positioning and orientation of the guides within the machine’s intended thread path. Proper alignment helps the thread travel without unintended rubbing, sharp deflection, snagging, or inconsistent contact.
Why can tightly woven fabric make thread-path problems more noticeable?
Dense construction can increase resistance during needle penetration and may make small delivery or compatibility problems easier to see. Density alone does not prove the cause of a particular defect.
Can thread guide misalignment cause seam puckering?
It can contribute to unstable thread delivery and uneven seam appearance, but puckering also has possible links to tension, feeding, seam construction, fabric behavior, and post-care shrinkage. Controlled samples are needed before assigning a cause.
How can I check a thread guide without changing the whole machine setup?
With the machine stopped, follow the documented thread path and check guide seating, orientation, burrs, contamination, looseness, deformation, and wear. If permitted by the machine instructions, observe the path during slow operation and retain a comparison sample.
Should I adjust thread tension or thread guide alignment first?
If the thread visibly rubs, twists, leaves the guide, or shows surface damage, inspect the thread path first. If the path is stable, compare needle and thread compatibility before changing tension, and change one variable at a time where practical.
What should I record when testing thread alignment on garment fabric?
Record the machine, thread route, fabric lot, fabric finish, thread and needle specifications, seam layers, seam construction, operator settings, defect pattern, sample identifier, correction, and follow-up result.