How do I measure a garment correctly?
Accurate garment measurement is the foundation of apparel quality control, fit consistency, and professional communication between buyers, factories, and pattern makers. A well-prepared garment measurement guide ensures every T-shirt, shirt, or jacket produced matches the intended fit, minimizes returns, and builds trust along the supply chain. This in-depth article, based on decades of production experience, covers the essential methods, measurement tools, key points, and tolerance protocols that apparel professionals depend on worldwide.
The Importance of Consistent Garment Measurements

Maintaining consistent garment measurements upholds brand reputation, assures customer satisfaction, and reduces costly sample remake cycles. Let’s break down why precise measurement matters at every stage of apparel development and production:
- Pattern Approval: Garment samples must match spec sheet measurements before bulk production.
- Bulk Production Control: Factories check sample and bulk pieces to verify their size consistency and fit tolerance.
- Quality Assurance: Inspections use reference measurement charts to validate each piece meets agreed standards, minimizing shipment rejection risk.
“In large factories, precise garment measurements can prevent costly shipment claims and returns, especially for export markets with strict fit standards.”
— Rain Chen, Apparel Wiki
The Essential Garment Measurement Tools
Correct tool selection ensures objective, repeatable results. In factory and QC rooms, the following measuring instruments are industry mainstays:
- Flexible Measuring Tape: Non-stretch, preferably with both metric (cm/mm) and imperial (inches) scales. Standard width: 1.5cm; length: typically 150cm.
- Hard Ruler: Clear acrylic or steel, used for flat, rigid measurements (e.g., collars, plackets, pocket width).
- Measuring Square or L-Square: Ensures precise 90° right angles, especially for garment length and panels.
- Marking Tools: Chalk, wash-away pens or tailor’s pencils for reference points; use only when allowed by the fabric and client.
- Flat, Clean Table: Vital for laying garments without distortion; surface must be stable and wide enough for the garment type.
- Measurement Template/Spec Sheet: Provides the list of measurement points, best practices, and tolerance values for each garment style and size.
Understanding Key Garment Measurement Points
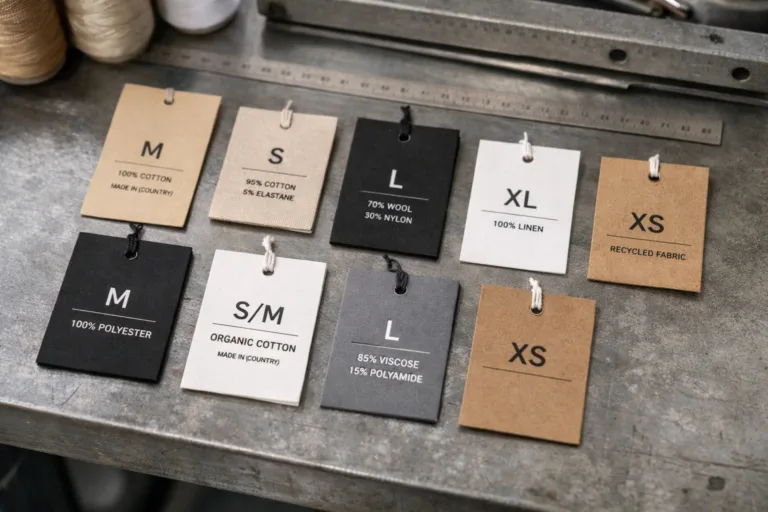
Every garment style (T-shirt, shirt, hoodie, jacket, pants) has critical measurement points (POMs – points of measurement) essential for reproducible fit and correct grading. Some commonly standard points for tops include:
- Body Length: Highest shoulder point to garment hem, measured straight down the center front or back.
- Chest/Bust Width: 1 inch (2.5cm) below armhole, measured across the width when garment is flat.
- Shoulder Width: Shoulder tip to shoulder tip, straight across.
- Sleeve Length: Shoulder seam to sleeve hem (long sleeve), or armhole seam to sleeve hem (for some raglan/sleeveless styles).
- Neck Width/Depth: Across the neck opening; front depth from high point shoulder (HPS).
Pants, shorts, and skirts add points for:
- Waist Width: Measured flat from side to side at waistband (with elastic relaxed/extended as specified).
- Hip Width: 20cm below waistband (or position specified on spec).
- Inseam/Outseam Length: Crotch seam to hem (inseam), waistband to hem (outseam).
- Front/Back Rise: Top of waistband to crotch seam (front and back separably).
Step-by-Step: How to Measure a Garment Correctly
This core section details a systematic approach that garment QC inspectors, buyers, and brand teams can follow to guarantee accuracy:
- Lay Garment Flat: Fasten all buttons/zips, smooth out wrinkles, ensure no stretching or bunching.
- Consult Measurement Guide: Reference your style’s official spec sheet or garment measurement guide for each POM and measurement method drawing (e.g., where to start/end the tape for chest width, how to position for sleeve length, etc.).
- Align Tape/Ruler: Keep the tape parallel to garment edges for all horizontal widths; vertical for length points. Hold tool flat, avoiding slack or arching.
- Read at Eye Level: View directly above the tape for greatest accuracy in both centimeters and inches.
- Record to Correct Decimal: Use one decimal place (e.g., 48.5 cm) unless the specification calls for closer tolerance (e.g., 48.25 cm).
- Repeat Critical Points: Measure each POM at least twice; if results differ, measure a third time and record the average, noting any measurement discrepancies.
- Document All Results: Log measurements on a QC form or digital system, noting both the sample/production piece number and any observed defects (short, tight, seam distortion, etc.).
- Compare to Tolerance: Review if each result is within the allowed tolerance (e.g., ±1 cm for body width in a knit T-shirt; ±0.5 cm for shirt collar). Flag outliers for corrective action.
Typical Tolerance Values and Their Importance
Tolerance is the acceptable variation range for each measurement, given the realities of sewing and fabric stretch/shrinkage. Common factory values (unless client specifies tighter):
| Measurement Point | Knit/Stretch Garments | Woven Garments |
|---|---|---|
| Body Width | ±1.0 cm | ±0.7 cm |
| Body Length | ±1.0 cm | ±0.7 cm |
| Sleeve Length | ±0.8 cm | ±0.5 cm |
| Shoulder Width | ±0.8 cm | ±0.5 cm |
| Collar/Neck Width | ±0.5 cm | ±0.3 cm |
Always confirm the client’s tolerance expectation (they may require ±0.5 cm across the board or set tighter values for high-end or small-size garments). Exceeding tolerance can lead to claim deductions or shipment rejection.
Special Considerations for Different Garment Types
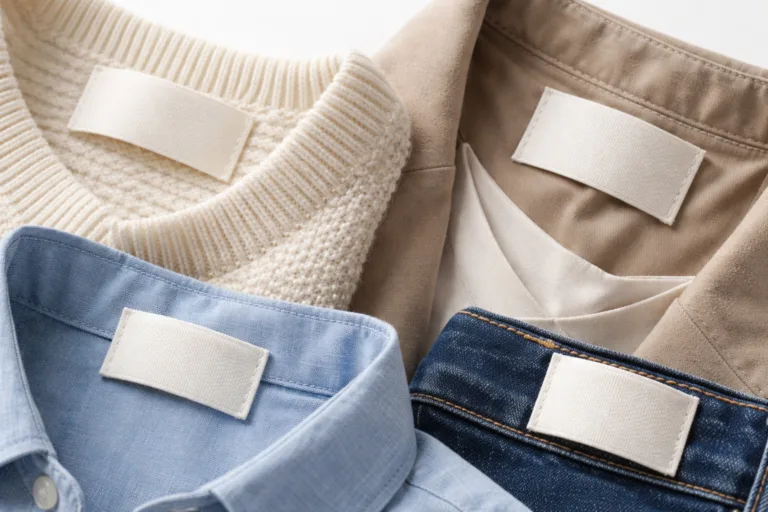
T-Shirts, Polos, and Knitwear
Knit garments—especially cotton, modal, or blends—stretch and relax, so allow garments to rest (relax) at least 4-8 hours post-sewing or washing before measurement. The factory must control shrinkage allowance during patterning—measure both pre- and after-wash when doing size sets or lab dips.
Woven Shirts and Blouses
Non-stretch fabrics demand the highest accuracy in collar, cuff, and sleeve length. Always measure buttoned (not unbuttoned) for these critical points. Compare before and after pressing to understand ironing shrinkage or possible distortion.
Jackets and Outerwear
Thicker garments (e.g., quilted, padded) require gentle pressure to flatten seams but not squash insulation. For multi-panel jackets, always measure from the outermost seam to seam.

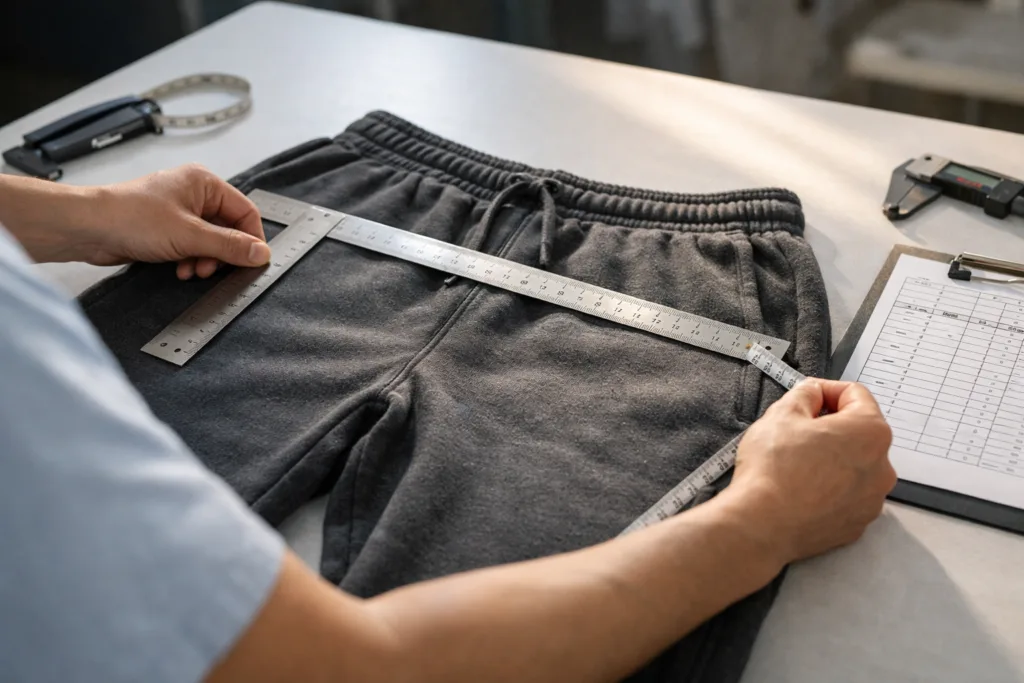
Pants and Shorts
For styles with elastic waistbands, record both relaxed and extended width—use garment measurement guides that show correct stretch/flex protocol. Hip, thigh, knee, and opening widths should be measured with the leg seam perfectly aligned.
Dresses and Skirts
Body length can follow the center back, center front, or side seam—clarify the brand’s standard on the spec sheet. Always double-check fullness and hem flare to prevent measurement skew.
Interpreting a Garment Measurement Guide
Each factory or brand maintains its own detailed guide specifying:
- POM Diagrams: Visuals showing where to measure each point with arrows and start/end markers.
- Measurement Methods: Whether to measure outside seam, stitch-to-stitch, over trims, or include/exclude ribbing.
- Measurement Order: Standardized sequence to eliminate missed points or errors in grading logic.
- Tolerance Statement: Chart of allowed ranges per size and style.
Before production, both buyer and factory QC should jointly approve the garment measurement guide—and clarify any ambiguous points (e.g., whether to measure rib collar width relaxed or extended, or whether shoulder slope is factored into sleeve calculation).
Common Measurement Mistakes and How to Avoid Them
- Not following specified start and end points (e.g., measuring side seam instead of center front).
- Stretching or compressing fabric while measuring—especially risky for knits and elastic waistbands.
- Misreading the tape at an angle, leading to parallax error.
- Measuring after steaming/pressing, before garment cools and shrinks down again.
- Mixing up which POM diagram applies if multiple styles are in one tech pack.
- Using old or stretched tapes—replace regularly, and always check tape accuracy at zero and 100cm marks.
Practical Steps for Buyers and Factories: Putting Measurement into Action
- Align on Spec Sheet: Discuss all POMs, order, and method clarity during your pre-production (PP) meeting. If in doubt, request a sample measurement demo.
- Conduct In-House Trials: Measure size sets and development samples in-house. Document every out-of-tolerance case and work with the pattern team to fix root causes—not just trim or stretch to “pass” spec.
- Train QC Teams: Standardize training with guides, checklists, and periodic calibration checks. Rotate measurement jobs to catch process drift.
- Use Digital Measurement Tools: For high volume, consider digital measurement tables, 2D garment capture, or laser rulers to increase repeatability and speed.
- Verify Post-Wash Size: For knits/denim/uniforms, always measure after prescribed washing to confirm shrinkage and stability meet requirements–don’t rely on “raw” size alone.
- Maintain a Measurement Archive: Keep physical and/or photo records for all size sets, pilot, and bulk batches as traceability evidence.
How do I measure a garment correctly?
Correct garment measurement requires the right tools, a controlled flat surface, and strict adherence to the style’s approved measurement guide. Key steps include:
- Lay garment perfectly flat without distortion
- Consult official POM diagrams and method notes before each measurement
- Use a flexible, non-stretch tape or hard ruler as specified
- Read every width and length at eye level, following measurement sequence exactly
- Repeat critical points twice, recording the average if needed
- Immediately compare results to tolerance—record and escalate any out-of-tolerance findings
Beyond the basics, maintain communication between buyers and factories about critical measurement nuances—such as pressing conditions, wash protocols, measuring over thick seams, or handling specialty fabrics. Staying vigilant in garment measurement prevents disputes, protects your brand fit, and pays dividends in on-time, first-quality shipments.
Frequently Asked Questions
What tools do I need to measure a garment correctly?
A non-stretch measuring tape, hard ruler, L-square, and a flat table are essential, along with a measurement template or spec sheet.
How do I lay out a garment for accurate measurement?
Button or zip the garment, lay it flat on a clean table, and smooth out all seams and wrinkles without stretching or compressing the fabric.
Which measurement points are most important in a T-shirt?
Key points are body length, chest width, shoulder width, and sleeve length, as these affect overall fit and silhouette the most.
How much tolerance is normally acceptable for garment measurements?
Standard tolerance is ±1.0 cm for knits and ±0.7 cm for woven garments, unless the client requests tighter controls for certain styles.
Why do measurements on washed garments sometimes differ from unwashed samples?
Fabric shrinkage, relaxation, and finishing processes can alter garment dimensions, so always measure after the prescribed wash for final size control.
What’s the best way to avoid measurement mistakes during QC?
Follow the measurement guide exactly, check each point twice, and ensure all QC personnel are trained and using accurate tools with clear, undamaged markings.