Introduction: The Critical Role of Garment Measurement QC
Precise measurement is the backbone of quality garment production. Whether you’re in the buying office, QC department, or on the factory sewing floor, following a garment measurement spec is essential for ensuring finished apparel fits as intended and meets contractual requirements. Mistakes in measurement or poor tolerance control can result in costly rejections, unhappy customers, and wasted production time. In this guide, we’ll walk through how to measure garments correctly, key garment measurement QC points, tolerance rules, and practical checks for tops and bottoms.
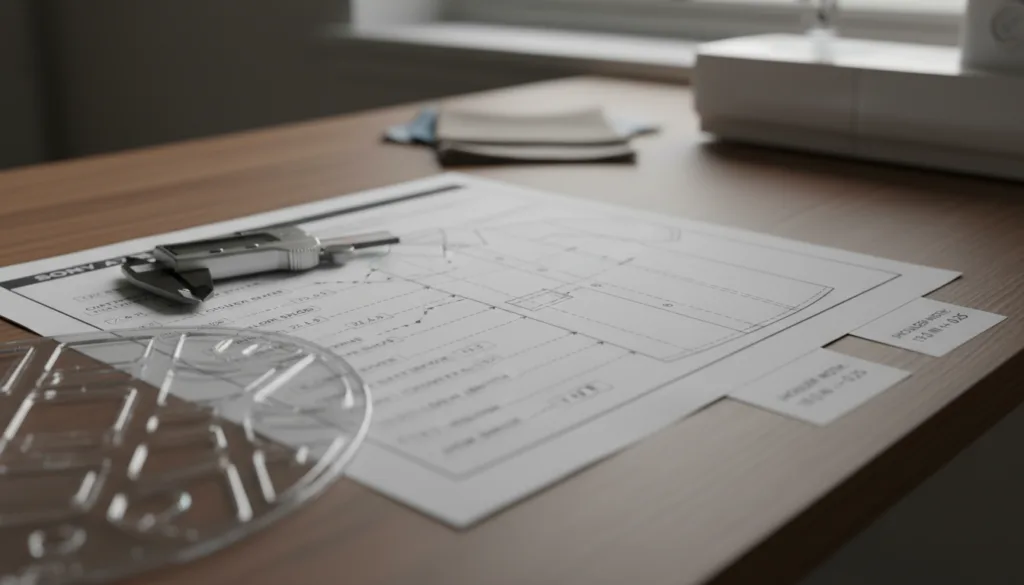
Measuring Garments: How to Follow a Measurement Spec
A measurement spec, or garment measurement specification sheet, sets the standard for each point to be measured, method, and required value, along with acceptable tolerances. Accurate QC starts with understanding how to read and interpret this document. The spec typically includes diagrams, measurement points, base size targets, multi-size grading, and tolerance values (e.g., ±1 cm for chest width). Following the spec precisely ensures consistent fit and avoids disputes in bulk production.
Key Elements of a Measurement Spec
- Measurement Points: Locations on the garment to measure, such as body length, chest, sleeve, waist, hip.
- Methodology: Instructions on how to lay the garment, where to stretch/flatten, and which reference points to use.
- Tolerance: Permitted deviation from spec (e.g., ±0.5 cm for sleeve length on a woven shirt).
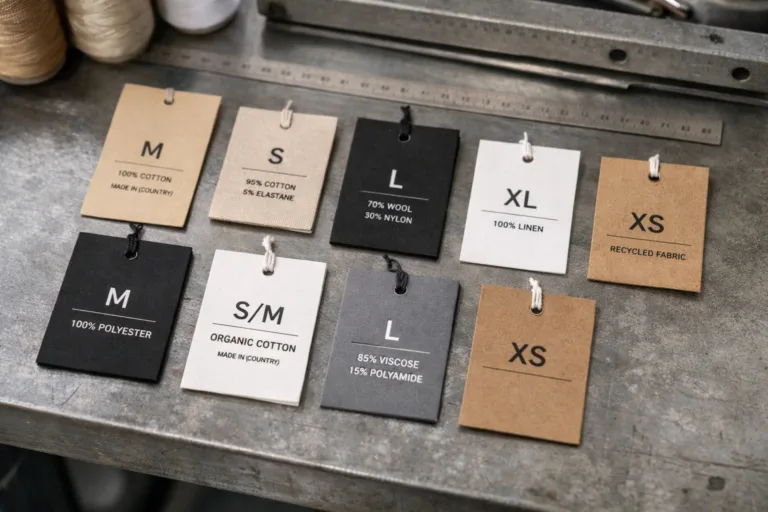
- Size Grading: The increments for each size step—critical when inspecting multiple sizes.
- Diagrams: Visual guidance avoids misreading or inconsistent practices.
Why Measurement Specs Matter
Measurement specs function as the contract for fit, ensuring buyer and supplier are aligned. Missed specifications, misunderstood points, or lax tolerance monitoring can escalate into returns, chargebacks, and damaged reputation. In high-volume export factories, Rain Chen has seen entire shipments rejected due to misapplied chest width tolerances in knitwear, underscoring the real-world stakes.
Common Measurement Spec Mistakes
- Measuring off-wash instead of after-wash (important for shrinkage control).
- Applying wrong relaxation time before measurement (knits require full relaxation—usually 24 hours from sewing).
- Ignoring hanger effect (for certain garments like jackets, measuring flat vs. hung can yield different numbers).
- Misinterpreting the start/end points (e.g., measuring inseam from crotch vs. edge stitch on pants).
Practical Tips for Reading Measurement Specs
- Always review the measurement diagram for each spec point.
- Confirm if the spec is for pre-wash or post-wash measurement.
- Prepare your measurement tools: calibrated steel ruler, measuring tape, flat table, smooth surface.
- Follow relaxation instructions, especially for knits and stretchy fabrics.
- Document results and mark any deviation for discussion with the supplier or buyer.
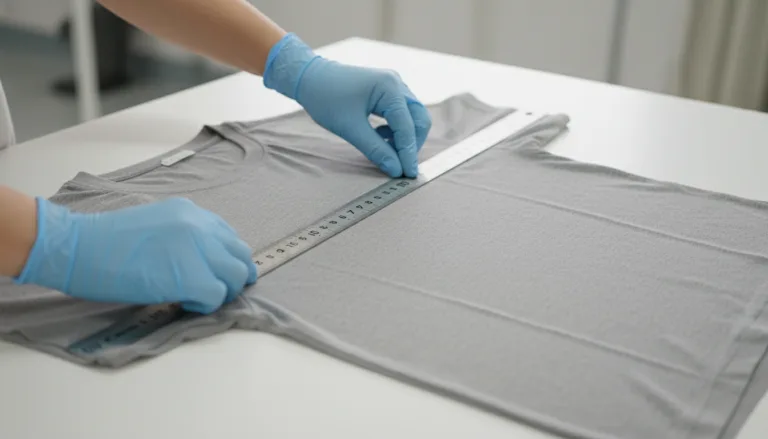
How to Measure Garments Correctly: Tools and Techniques
The foundation of garment measurement QC is accurate technique, reliable tools, and a controlled environment. Measurement errors often stem from poor tools, surface unevenness, or improper garment handling. Here’s how to establish best practices in the measuring room.
Essential Tools for Garment Measurement QC
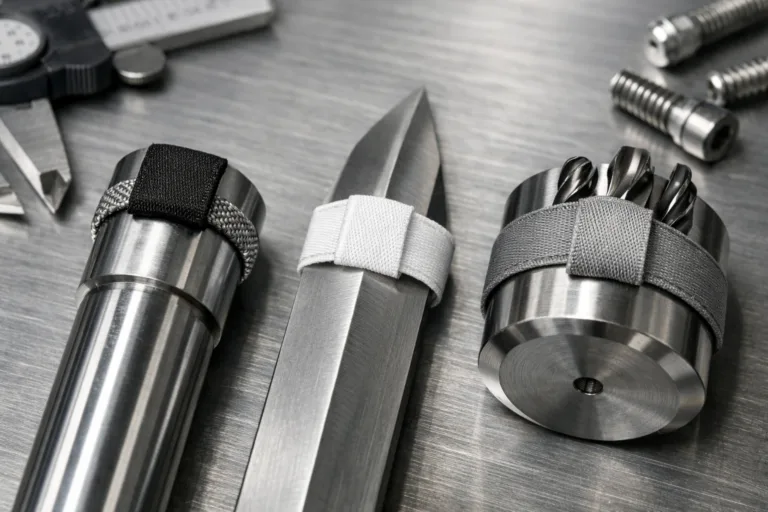
- Flat measuring table (clean, smooth, non-reflective surface)
- Calibrated steel ruler (for straight edges, essential for woven shirts, pants)
- Measuring tape (for curves/contoured shapes like armhole, collar circumference)
- Template for key points (some buyers supply rigid templates for repeatable positioning)
- Marker pens and spec sheets for recording
Standard Measurement Environment Setup
- Temperature: Ideally between 20–24°C
- Humidity: Moderate, avoiding excess moisture (can affect stretch/recovery)
- No wind/drafts; stable environment
- Garments fully relaxed, spread with minimal stretching or compression
- Lighting: Even, ample (essential for accurate edge location)
Step-by-Step Measurement Flow
- Check that garment matches spec (size label, style, trim placement).
- Lay garment flat, fully aligned—seams and folds straight, no bunching.
- Identify measurement points from the spec diagram.
- Use steel ruler or tape, align precisely at start/end points.
- Record results instantly; do not rely on memory.
- Repeat for every listed measurement point.
Rain’s tip from the production line:
When measuring knits, always allow enough relaxation time—at least overnight—before QC. Rushing measurements can lead to false shrinkage readings and faulty claims. Good measuring discipline saves thousands in claim disputes.
Understanding Tolerance Rules in Garment QC
Tolerance defines the allowable deviation from the target measurement—crucial for avoiding disputes and managing the realities of mass production. Tolerance values come from buyer standards, international guidelines, and material behavior. Typical industry tolerances:
| Garment Type | Key Spec Point | Common Tolerance | Fabric/Sewing Note |
|---|---|---|---|
| Knit T-shirt | Chest width | ±1 cm | Single jersey; relax before measure |
| Woven shirt | Body length | ±0.5 cm | Stable woven; post-wash |
| Jeans | Waist | ±1.5 cm | Twill denim; allow for shrinkage |
| Hoodie | Sleeve length | ±1 cm | Fleece; rib trims add variability |
How Tolerance Is Applied
If a spec states chest width 52 cm ±1 cm: Acceptable QC range is 51–53 cm. Anything outside this triggers a claim, possible rework, or rejection. For critical fits (slim tailoring, sportswear), buyers may set tighter tolerances, especially after shrinkage/wash.
Why Tolerance Rules Matter
Tolerances reflect the reality of fabric variation, marker/cutting inaccuracies, sewing inconsistencies, and finishing shrinkage. Factories and buyers must agree on realistic tolerances before bulk production. Overly tight tolerances can make good garments fail, while loose ones can compromise fit and brand standards.
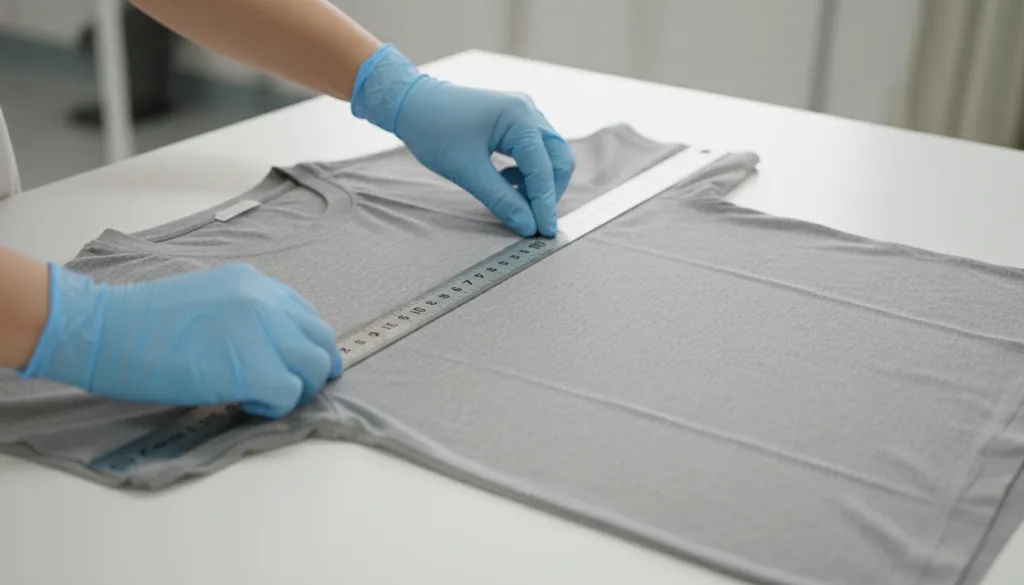
Measurement QC for Tops: T-shirts, Polo Shirts, Shirts & Hoodies
Each category of tops demands unique attention to measurement and fit. Here’s how to check measurement QC for common tops:
Key Measurement Points for Tops
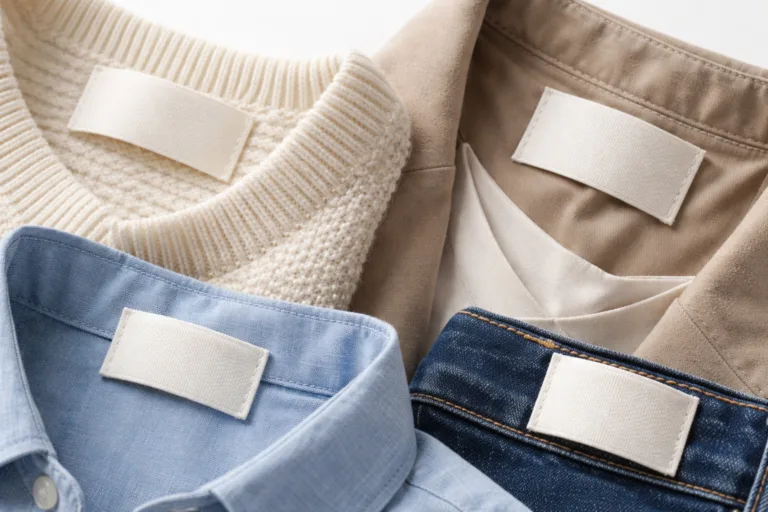
- Body length (from HPS—high point shoulder—to hem)
- Chest/bust width (measured 2.5 cm below armhole or as per spec)
- Shoulder width (seam to seam at top)
- Sleeve length (from shoulder seam to wrist, or per style)
- Neck opening/width (round, V, polo collar)
- Bottom hem width
Special Attention: Collar and Cuff Measurements
Polo shirts require measuring collar length along fold, collar width, and placket placement. Hoodies need checks on rib trims (cuff, hem) as rib stretch can create variance. For dress shirts, be precise with collar circumference; even 0.5 cm deviation impacts comfort and appearance.
Critical Fit and QC Notes for Tops
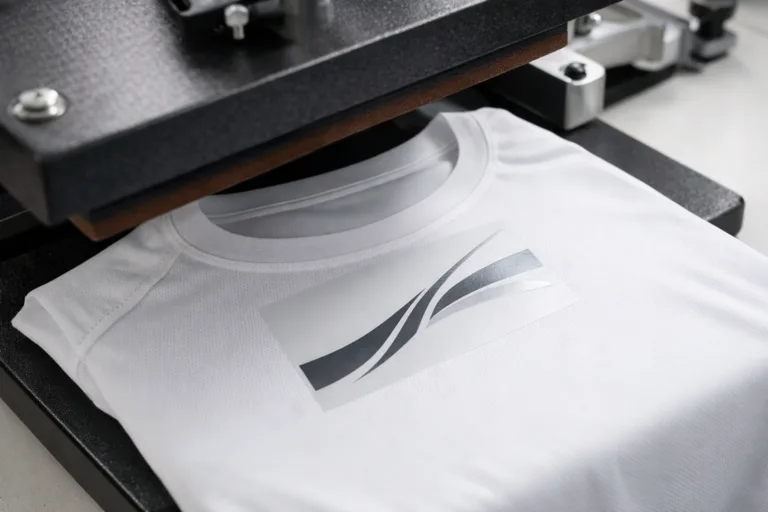
- Knit garments are prone to stretching during sewing—always remeasure after full relaxation.
- Shirt body/sleeve length must be post-wash. Record shrinkage levels—e.g., 3–4% for 100% cotton.
- Check symmetry; inconsistent shoulder or hem measurements signal sewing alignment issues.
Measurement QC for Bottoms: Jeans, Trousers, Shorts & Skirts
Bottoms have unique shaping, fit zones, and stress points requiring detailed QC attention. Measurement QC covers waist, hip, rise, inseam, outseam, and leg shape.
Key Measurement Points for Bottoms
- Waist (buttoned/buttonless as per spec)
- Hip (typically 20 cm below waist for jeans)
- Front rise/back rise (front: crotch seam to top waistband; back: center back crotch seam to top back waistband)
- Inseam (crotch to hem, inside leg)
- Outseam (waistband to hem, outside leg)
- Leg opening (flat, at hem)
Special Notes for Denims and Stretch Pants
- Denim is prone to shrinkage—always check specs for pre-wash vs. post-wash.
- Stretch trousers may require measuring in both relaxed and extended states.
Common QC Issues in Bottoms
- Waist measurement error due to waistband construction (e.g., elastic, adjustable tabs).
- Misplaced hip measurement point—always confirm distance from top edge as per spec.
- Inseam/outseam discrepancy due to sewing/cutting error.
Common Garment Measurement QC Pitfalls and How to Avoid Them
Even skilled QC teams can slip up if they lose focus on detail or stray from spec. These are the most frequent pitfalls and proven ways to prevent them:
Pitfall 1: Not Following the Spec Precisely
Always use the latest approved spec sheet and diagrams. If in doubt, confirm with the buyer before bulk inspection.
Pitfall 2: Measuring On Wrong Surface or Without Full Relaxation
Use a designated QC table and allow full garment relaxation after sewing and finishing.
Pitfall 3: Misinterpreting Measurement Points
Every brand may specify different points for chest, hip, or rise—never assume, verify from the diagram.

Pitfall 4: Poor Documentation
Immediate recording prevents loss of results or memory bias. Mark deviations clearly, log measurement conditions.
Pitfall 5: Neglecting Shrinkage/Finishing Effects
Test representative samples after finishing. Update tolerance policy if fabric shrinkage is higher than expected.
Practical QC Checklists for Buyers and Factory Teams
Implementing robust QC procedures ensures quality and consistency. Use these lists to organize your QC sessions and avoid common failures.
Buyer/Technician Garment Measurement QC Checklist
- Review approved spec sheet and diagrams.
- Check measuring tool calibration.
- Confirm garment relaxation status.
- Follow step-by-step measurement for all required points.
- Apply tolerance standards accurately.
- Document and photograph any deviations instantly.
- Flag doubts or repeat errors for factory correction.
Factory Inline/End-line QC Checklist
- Pre-production sample verification against base size spec.
- Bulk inspection on random size sets (minimum 3 pcs per size per batch).
- Post-wash shrinkage and distortion tests.
- Final measurement log submission with production pack.
Measurement Spec in Practice: Real-World Examples
Let’s look at practical garment measurement QC scenarios:
T-shirt Production for U.S. Retailer
Spec requires chest 56 cm ±1 cm, length 72 cm ±1 cm, post-wash measure. Factory prepares PP sample, sends to buyer for approval, confirms bulk spec. After production, QC team waits 24 hours post-finishing, measures chest/length on flat table. Logs show chest 55.7–56.2 cm, length 71.8–72.0 cm—all pass. Any deviation triggers review.
Denim Jeans for European Brand
Spec calls for waist 80 cm ±1.5 cm after enzyme wash. QC team measures waist flat, then again on dummy after finishing. Bulk jeans within 80.2–80.8 cm, pass QC. Greater shrinkage observed after aggressive wash, so tolerance agreed at ±2 cm in advance.
Beyond Measurement: Linking QC to Fit, Comfort, and Brand Value
Precision in garment measurement QC does more than prevent chargebacks—it builds brand fit consistency and buyer confidence. Spec discipline enables trusted size charts, reliable repeat orders, fewer returns, and a reputation for durability and comfort. All measurement work should tie back to the intended use—sportswear, formal, workwear, or kids’ garments—so outcomes match wearer expectations.
The Apparel Wiki Experience
At Apparel Wiki, decades of manufacturing experience have shown that buyers, factories, and QC teams who treat measurement spec and tolerance as a team discipline outperform competitors. Always invest in training QC staff, regularly update your spec sheets, and never compromise on rigorous measurement practices.
Frequently Asked Questions
What is a garment measurement spec?
A garment measurement spec is a detailed sheet outlining how each point on a garment should be measured, including diagrams, required values, and allowed tolerance ranges.
How do you measure chest width on a T-shirt for QC?
Lay the T-shirt flat, align seams, measure across the chest 2.5 cm below the armhole using a ruler or tape, as indicated in the spec diagram.
Why is garment relaxation important before measurement?
Relaxation prevents false readings caused by tension in fabric, especially for knits and stretch materials, ensuring accurate QC against the spec.
How are garment tolerances set, and why do they matter?
Garment tolerances are agreed by buyers and factories based on fabric type, fit importance, and production realities, ensuring measurements within an acceptable range for quality and consistency.
What tools are needed for accurate garment measurement QC?
Essential tools include a flat measuring table, calibrated steel ruler, flexible measuring tape, and the approved measurement spec sheet with diagrams.
How do you handle measurement QC for stretch or denim garments?
Stretch garments are measured in both relaxed and extended states; denim is measured after washing to account for shrinkage and ensure fit within tolerance.