To attach rubber patches without distorting a garment, check compatibility between the patch and the actual fabric and construction, support the garment without stretching it, and inspect the relaxed assembly. No single attachment method suits every combination. Sewing, adhesive, or heat application should be considered only when applicable to the specific patch and garment. Apparel Wiki is an independent educational publication; its Sponsor page explains the distinction between sponsorship and editorial control.
A rubber patch can behave differently once attached than it does as a loose trim. The goal is not to assume that a patch or process is suitable on its own, but to plan for how the combined materials lie and move. Use this sequence: assess the materials and placement, prepare and support the garment, control handling during attachment, then check the garment after release.
Rubber Patches Attachment: Choose for Fabric and Construction
Start by assessing the patch and garment as an assembled system. A method that appears workable for a loose patch may affect the fabric differently once the layers are joined. Compatibility is a planning question to resolve for the materials in front of you, not a performance claim based on the trim alone.
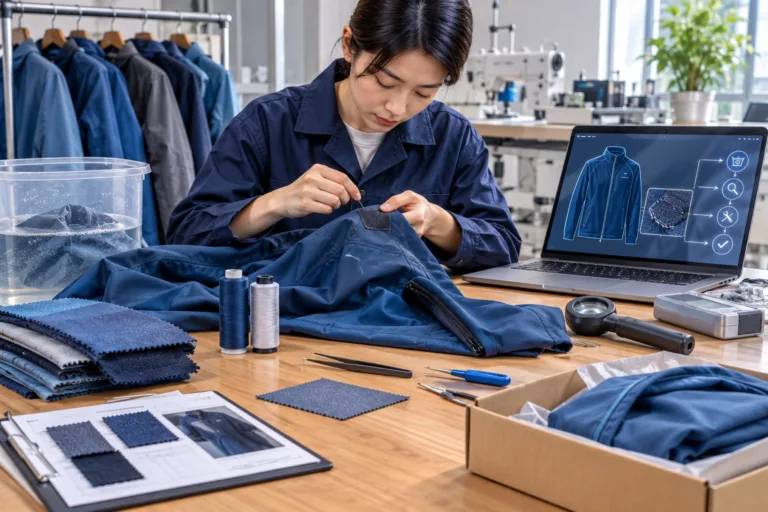
Consider only methods actually available for the patch. Depending on its backing and construction, options under consideration might include sewing or a supplier-approved adhesive or heat application. These are options to assess, not universal recommendations: the patch material, garment fabric, and applicable supplier instructions determine whether a method is appropriate.
Gather details about the patch backing and construction, fabric weight and stretch, surface texture, garment layers, proposed placement, and expected care or use. These features can affect how the fabric sits around the attachment. For instance, on lightweight or stretchy fabric, consider whether the patch and attachment could restrict movement in that area or draw the surrounding material together. That possibility is a reason to check the complete assembly, not a diagnosis or guaranteed outcome.
Confirm the proposed choice on a representative garment or a sample that matches the fabric and construction. A bare patch cannot show how the garment will lie once attached, and a sample appearance does not by itself establish performance through future wear or care. If the method depends on a particular patch material or fabric, obtain guidance that applies to those materials. Do not substitute generic process settings for supplier instructions or equipment validation.
Keep the decision tied to the project. A suitable method for one patch and garment combination does not establish suitability for another, even when the fabrics have similar labels. This compatibility check is an educational decision aid; Apparel Wiki has not tested these combinations.
Prepare the Garment and Confirm Placement
Inspect the actual garment panel before marking the patch position. Note nearby seams, the fabric’s grain or knit direction, the number of layers, and how the area is constructed. A generic fabric description may not capture these details, which can affect how the panel rests and how easily it can be positioned without unintended tension.
Check whether the intended location sits on a relatively stable area or crosses a seam, flexible zone, or other construction feature. If the location falls across one of these features, the fabric may not lie like a single, flat panel. Treat that as a placement and handling consideration; it does not, by itself, prove that attachment will fail.
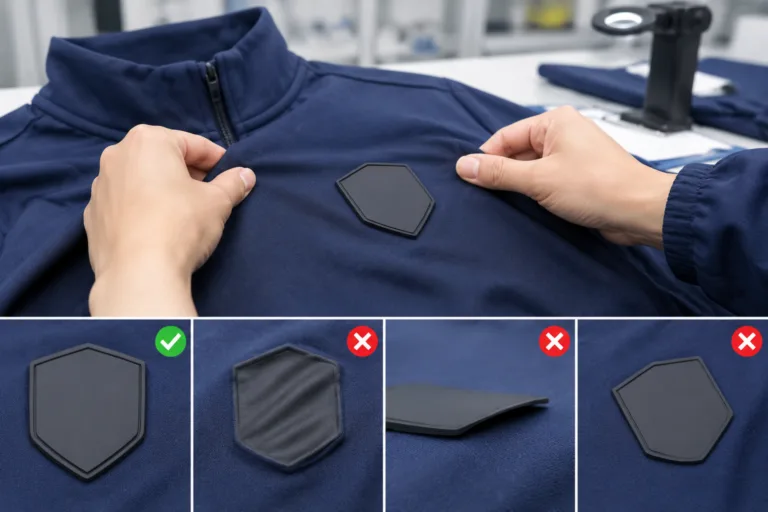
Mark the location only after checking it against the garment’s relaxed shape and nearby construction. Support the panel so it lies flat enough for alignment, but do not pull it into a stretched shape that it will not hold when released. The aim is to position the patch on the garment as it normally rests, rather than align it against temporary tension.
Where practical, use a representative garment or a sample matching both the fabric and construction to check placement and handling. A piece of similar fabric without the same layers or seams may not represent the garment area. A sample can inform the placement decision, but its appearance alone does not establish long-term performance.
Keep placement approval separate from method approval. A patch may be well aligned and still be incompatible with the fabric or proposed application process. Confirm both before proceeding, and revisit placement if the assembly does not sit naturally when relaxed.
Control Support, Alignment, and Handling During Attachment
During attachment, keep the garment and patch aligned without pulling or shifting the fabric. Tension or movement introduced while positioning can leave the patch out of place or the surrounding panel sitting differently after release. Use consistent, controlled handling, and choose any support or positioning aid according to the garment and selected method rather than treating one tool as universally necessary.
If sewing is the selected method, monitor the garment layers as you work. Check that they remain aligned and that the patch edge and adjacent fabric are not being drawn together unintentionally. This is a visual process check, not proof that a particular stitch construction suits the materials.
If the selected method uses adhesive or heat, follow instructions applicable to the patch and garment materials, along with relevant equipment validation. Do not use generic temperature, pressure, timing, or cooling settings in place of material-specific guidance. Without supporting information for the actual combination, keep the decision qualitative and seek guidance from the relevant supplier.
A smooth appearance during application is not enough to show that the garment will remain undistorted once released or used. Inspect the supported assembly only as an interim view; the garment also needs to be checked relaxed. Appearance at one stage does not establish durability or performance under care conditions.
Check the Finished Attachment and Diagnose Distortion
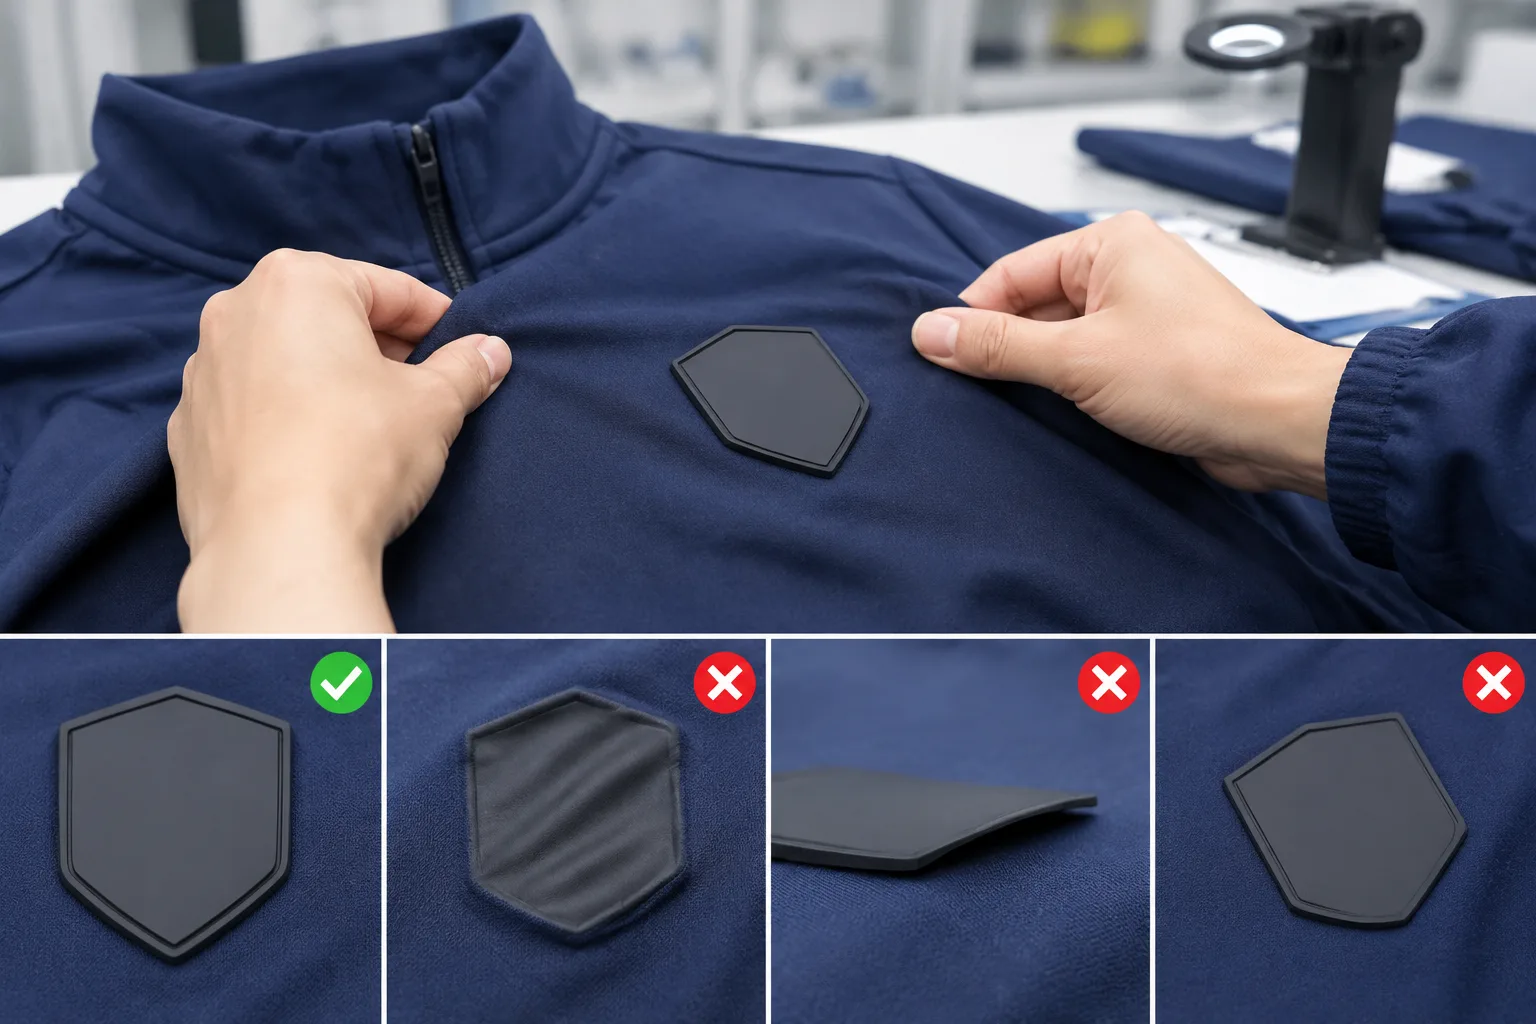
Inspect the assembled garment after it has been released and can lie in its relaxed state. Compare the patch area with the surrounding panel. Look for rippling, puckering, gathering, or a change in alignment that was not apparent while the fabric was supported. Keep the garment in a comparable position during inspection; pulling it flat can hide changes or introduce new ones.
Check the patch edges and adjacent fabric for lifting, uneven attachment, or signs that the garment layers shifted. These are visible findings to investigate, not proof of why a problem occurred. A smooth, aligned appearance is also only a visual screen. It does not establish how the attachment will hold up during care or use.
If you see distortion, review the placement, the way the garment was supported, handling during attachment, and compatibility between the method and materials. Treat each as a possible contributor rather than assigning a cause based on appearance alone. Where practical, compare a revised setup on a representative sample, changing one relevant variable at a time. This can help isolate what changed in the appearance, but it is not a standardized test or evidence of long-term performance.
For garments expected to undergo washing, repeated wear, or other care conditions, identify an evaluation that fits the product requirements and applicable supplier guidance. A relaxed-state inspection cannot replace that evaluation. Keep visual observations, results from any method-specific assessment, and claims about performance over time distinct.
Troubleshoot the Method Before Changing the Garment
For rippling or puckering, first check whether the fabric was stretched or shifted during positioning. Then review whether the patch location crosses a flexible area, seam, or other construction feature. These checks help narrow what to examine; they do not establish the cause or promise a particular correction.
If an edge lifts or the attachment looks uneven, check whether the selected method is documented as compatible with both the patch and garment materials. Do not assume that more heat, pressure, stitching tension, or adhesive will solve the issue. Changing an application condition without material-specific guidance could create a different problem.
When the original garment cannot be adjusted without damage, use a fresh representative sample to compare a revised setup. Record the patch, fabric, garment construction, placement, and process conditions specified by the relevant supplier guidance. Keep the comparison focused so you can see whether the change affected the assembled appearance.
If results remain inconsistent, pause before repeating the process on additional garments. Seek material-specific technical guidance from the patch or equipment supplier. A visible defect is a reason to investigate, but it does not by itself identify the exact cause or indicate future durability.
Use a Garment-Specific Check Before Production
Before deciding an attachment method is suitable, document the patch, fabric, construction, and placement. Check applicable supplier guidance, prepare and support the garment, control alignment during attachment, and inspect the relaxed assembly. Review a representative sample against the product’s intended use and care requirements. Keep the process guidance and observations with the material details so the decision can be reviewed consistently.
Frequently Asked Questions
Can rubber patches be sewn onto stretchy garments?
Sewing is an option to assess, not a universal recommendation. Check the patch construction and garment materials, and inspect a representative assembly for changes in alignment or fabric appearance after it is relaxed.
Can heat or adhesive attach a rubber patch without distorting fabric?
That depends on compatibility between the patch, fabric, and application method. Follow applicable supplier instructions and equipment validation. Generic settings cannot establish that an attachment will avoid distortion on a particular garment.
Why does fabric pucker around an attached rubber patch?
Puckering can be a sign to review placement, fabric support, handling, and method compatibility. Appearance alone does not identify the cause. Inspect the relaxed garment and compare a revised setup on a representative sample when practical.
Should a rubber patch be tested on a sample before garment production?
A representative assembled sample can help assess placement, handling, and visible appearance before proceeding. It does not, by itself, prove durability or performance under washing or wear; determine any further evaluation from product requirements and supplier guidance.
How can I check whether a rubber patch is compatible with a garment fabric?
Review material-specific guidance from the relevant patch or equipment supplier, considering the actual fabric, construction, placement, and intended use. Then inspect a representative assembled sample in its relaxed state and identify any further evaluation the product requires.