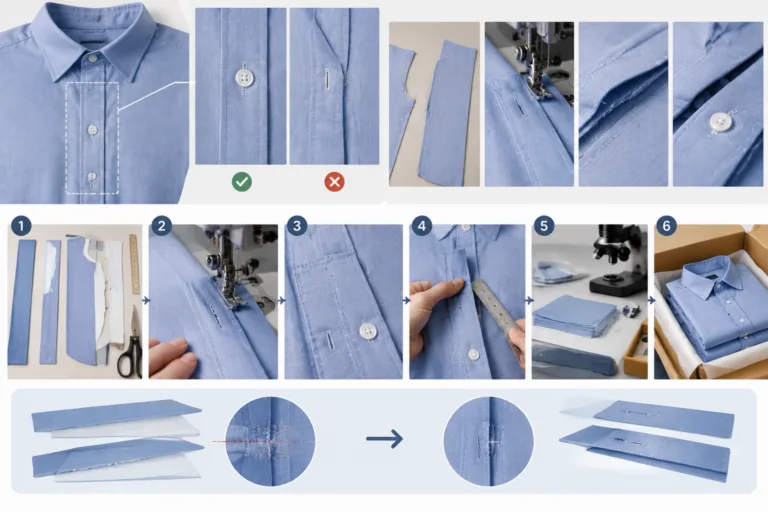
Tower plackets can look uneven after assembly because the placket components, sleeve opening, folded layers, or topstitching no longer share the intended alignment. A tower placket is the shaped sleeve-opening construction that forms the visible extension around a shirt cuff opening. When its sides, pointed end, opening, or connection to the sleeve shift relative to the approved pattern or sample, the result may be an uneven tower placket. The cause may begin in pattern geometry, cutting, fabric behavior, sewing, turning, pressing, or inspection conditions, so one photograph does not prove one root cause. For Apparel Wiki’s editorial-support disclosure, see the Sponsor page.
The useful starting point is to describe the visible defect before changing the process. Tower plackets construction defects may appear as unequal width, a leaning or twisted opening, rippling, exposed seam allowance, mismatched corners, or topstitching that does not follow the intended edge. These are symptoms, not diagnoses. Treat pattern, material, equipment, method, pressing, washing, and measurement error as competing explanations until the problem is located and repeated under known conditions.
What Makes a Tower Placket Look Uneven After Assembly?
A tower placket looks uneven when corresponding features do not relate consistently to one another. The two sides may have different apparent widths, the pointed extension may sit off-center, or the opening may lean toward one side of the sleeve. The sleeve edge and placket seam may also pull in different directions. Even when the construction is secure, irregular folding or topstitching can make the finished piece appear distorted.
Several visual symptoms can occur together, but they should still be separated during inspection. An unequal width is different from a shifted opening. A twisted tower is different from waviness caused by handling or pressing. A mismatched corner may result from inaccurate turning, while exposed seam allowance may indicate a component or seam-control problem. Naming the symptom precisely helps prevent a general complaint such as “bad placket” from being mistaken for a confirmed cause.
The appearance can change according to how the garment is positioned, lit, pressed, or measured. A sleeve held flat may look aligned while the same sleeve twists when relaxed. A pressed sample may look acceptable immediately and show movement later, but that observation still needs to be recorded as a condition rather than treated as proof of a particular material failure. Compare affected pieces under consistent viewing conditions before drawing conclusions.
Which Parts of the Placket Are Actually Out of Alignment?
Inspect the tower placket as several related areas rather than as one visual unit. Check the opening, tower extension, underlap, overlap, sleeve edge, seam lines, corners, fold lines, and topstitching independently. The question is not only whether the placket looks uneven, but which relationship changed. For example, the opening may be centered while the topstitching wanders, or the topstitching may be consistent while the entire tower has shifted on the sleeve.
- Opening: Note whether the slit is straight, centered, and consistent with the approved sample.
- Tower extension: Check whether its edges, point, and folded layers remain balanced from base to tip.
- Underlap and overlap: Confirm that the intended layers meet without unexpected exposure, spreading, or twisting.
- Sleeve connection: Look for a sleeve edge that is gathered, stretched, skewed, or not matched to the placket.
- Seams and corners: Check whether seam lines end where expected and whether corners are cleanly turned without visible allowance.
- Topstitching: Record changes in distance from the edge, waviness, skipped areas, or lines that pull the fabric out of shape.
Record the direction and conditions of the problem. Use terms such as leaning, twisting, puckering, unequal width, waviness, or movement after pressing or washing only when the stated condition has been observed. Also record frequency: is the defect present on one piece, several pieces from one operation, or most of a production lot? A repeated defect suggests a process, component, or specification relationship worth investigating; an isolated piece may require a different review.
Photograph comparable pieces from the same viewing angle and under similar garment positioning. Where a measurement is useful, tie it to the approved pattern, sample, or construction specification rather than an invented universal tolerance. Compare the finished piece with the relevant pattern pieces, cut components, and approved reference. The inspection record should identify what was measured, where it was measured, and under what condition, so another reviewer can reproduce the observation.
How Pattern Shape and Material Can Create Unevenness
An uneven result can begin before the first stitch. Review whether the placket pieces, sleeve opening, seam allowances, notches, and fold lines correspond to the intended construction. A mismatch in component shape or marking can make a sewing operation appear inconsistent even when it is repeated correctly. The review should include the pattern revision and the cut parts used for the affected pieces, because an approved pattern and an incorrect or outdated component are not the same condition.
Material behavior can also change the relationship between the placket and sleeve. Cutting distortion, off-grain placement, stretch, shrinkage, or instability may affect how narrow sections fold and how multiple layers sit together. These possibilities are material-specific and should be verified against the actual fabric, preparation method, and care or finishing conditions. Do not infer a post-wash dimensional change from appearance alone without a defined comparison or supporting product evidence.
Interfacing, reinforcement, and additional folded layers deserve the same careful treatment. They may stabilize a weak or mobile area, but they can also add thickness, create a hard point, increase friction, or make one side handle differently from the other. That difference can affect turning, pressing, topstitching, and the final shape. A reinforcement change should therefore be evaluated for appearance, handle, load, comfort, and post-care behavior rather than assumed to be an automatic fix.
Pattern and material review should remain separate from judgments about operator performance. If the shape, grain relationship, or layer thickness makes alignment difficult, changing the work method alone may not solve the problem. Conversely, a sound pattern can still produce unevenness when component matching, handling, or pressing is inconsistent. The evidence should identify where the relationship first changes.
How Assembly Sequence and Sewing Technique Affect the Result
Review the order in which the placket layers are prepared, joined, turned, pressed, and topstitched. Some operations become difficult to access after the sleeve or placket is partially closed. If a corner, fold, or seam allowance cannot be controlled easily at that stage, the final alignment may vary even when the later topstitching is accurate. A simple construction-sequence diagram can show which steps are difficult to reverse or costly to repair.
Before stitching, check the matching of notches, fold lines, and component edges. At corners and narrow sections, small differences in layer control can affect the visible point or opening. During sewing, consider seam allowance width, stitch placement, thread tension, feeding differences, needle damage, and handling together. These are possible contributors, not automatic explanations. A tower placket problem should be traced to the first operation where alignment changes whenever that observation is practical.
Keep related terms distinct during the review. A seam describes how fabric layers are joined; a stitch describes how thread is formed or interlocked; a seam allowance is the material beyond the seam line; and stitch spacing describes the interval between stitches. Tightening stitches or using stronger thread does not automatically correct an uneven placket. The visible issue may instead move to fabric distortion, slippage, needle damage, or tearing.
Finally, inspect turning and pressing technique as part of the assembly sequence. Stretching a narrow extension, flattening layers at the wrong stage, or shaping the sleeve unevenly can change alignment after sewing. Any proposed adjustment should be checked under the same inspection conditions used to identify the defect. A documented process requirement should be distinguished from an editorial troubleshooting recommendation, since the appropriate sequence and settings depend on the style, fabric, equipment, and approved construction specification.
A Step-by-Step Method to Find the Root Cause
Begin by defining the symptom before changing the sewing method. Record where the unevenness appears, whether it leans or twists, how often it occurs, and when it becomes visible. Note whether the problem is present immediately after assembly or appears after turning, pressing, washing, or another defined condition. A photograph is useful, but it should be taken from a consistent viewing angle and supported by observations or measurements tied to the approved sample or pattern.
Next, compare an affected piece with the approved sample, pattern pieces, cut components, and construction specification where those documents are available. Check the opening, tower extension, sleeve edge, corners, seam lines, and topstitching separately. Then list competing explanations: pattern geometry, cutting or material behavior, equipment, handling method, pressing, or measurement error. Similar visual symptoms can come from different sources, so a common cause is only a hypothesis until the evidence supports it.
The most useful question is often: at which operation did the alignment first change? Inspect the cut parts before sewing, then the partly assembled placket, the turned and pressed piece, and the finished sleeve. This sequence can show whether the defect entered with the components or developed during joining, turning, shaping, or topstitching. A small controlled trial can then change one relevant condition at a time, where production conditions allow, instead of combining several adjustments and losing the ability to identify what mattered.
Reinspect the trial under the same conditions used to identify the original issue. A visually straighter placket may still introduce excess thickness, an uncomfortable hard point, fabric distortion, weaker areas, or a new appearance problem. Record the confirmed cause, corrective action, affected pieces or lots, and the inspection point that should catch a recurrence. This is a practical garment construction defect analysis method, not proof that the same adjustment will suit every fabric or style.
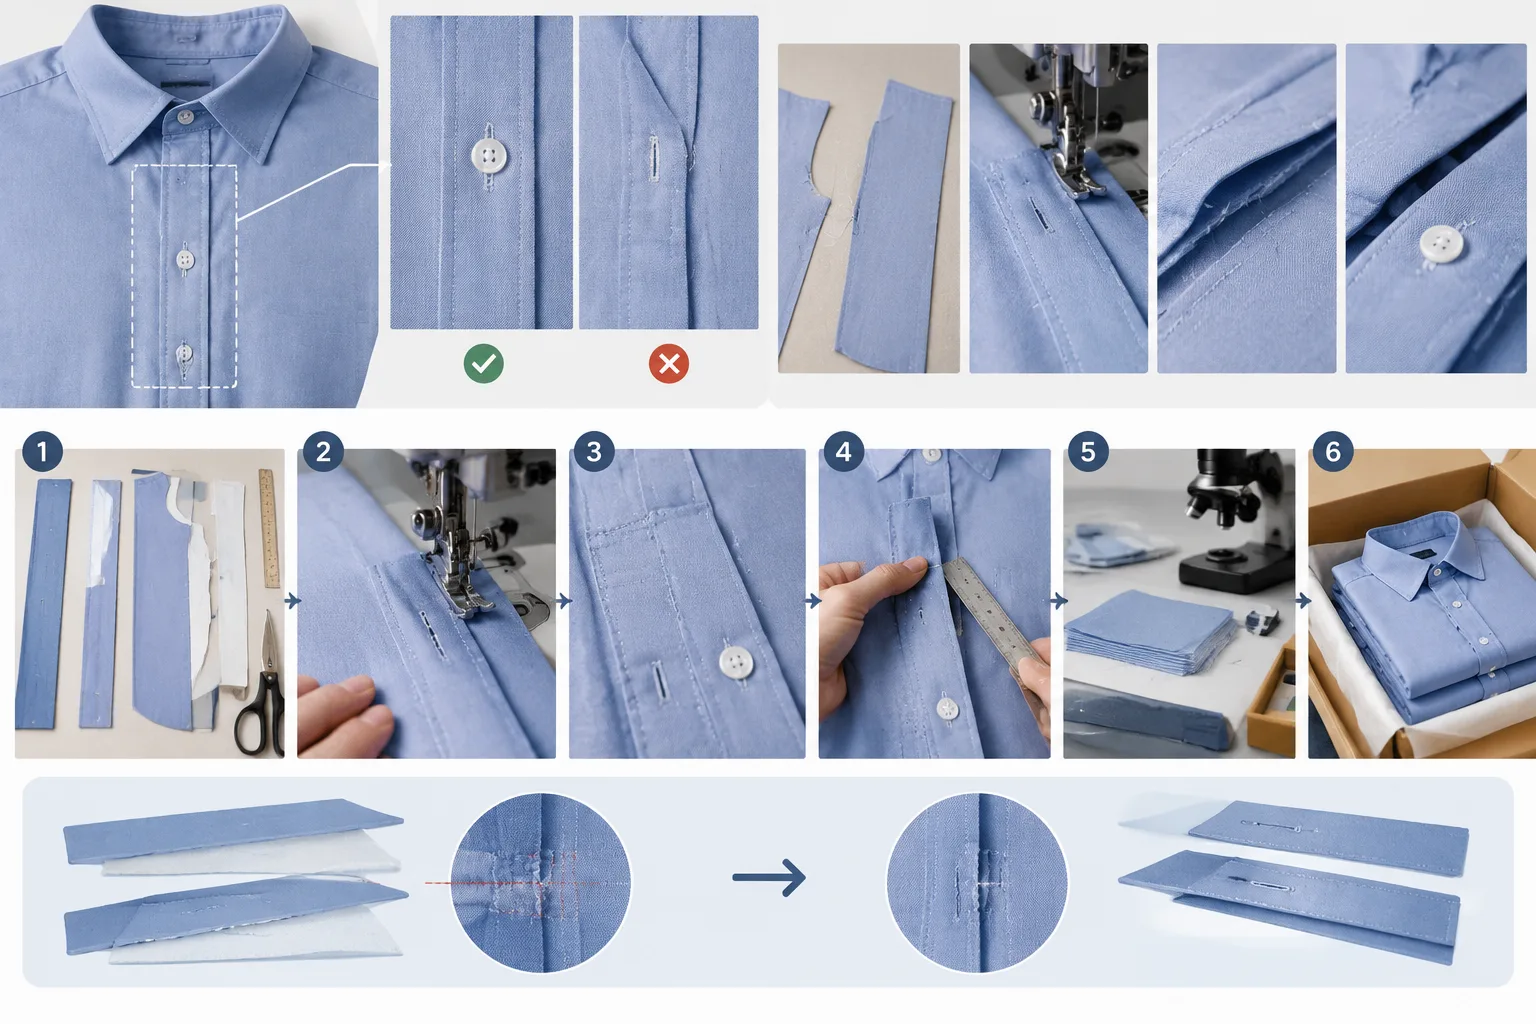
How to Choose a Correction Without Creating a New Defect
Match the correction to the first changed condition. If the relationship is already wrong before sewing, review the pattern, cut accuracy, grain or material preparation, component matching, and the relevant fold lines or notches. If alignment changes during joining or turning, review layer control, handling, stitch placement, seam allowance control, and access to the narrow area. If the issue appears after pressing or finishing, examine shaping, pressing support, heat and moisture conditions, and the timing of inspection without assuming one universal setting.
Interfacing or extra reinforcement should not be added simply because the placket looks unstable. Additional layers may support a specific failure mechanism, but they can also create thickness, stiffness, hard points, friction, or a new mismatch between layers. Compare any proposed change for alignment, appearance, handle, comfort, durability, manufacturability, repairability, and consistency across the relevant lot. Stronger thread or denser stitching likewise does not automatically solve an uneven result; the strain or damage may shift into the fabric or another part of the construction.
A proportionate correction follows a short decision path: identify the first changed condition, test the narrowest relevant adjustment, inspect for secondary effects, and update the work instruction or sample comments only after the result is confirmed. Keep pass or fail decisions tied to the product’s approved sample and specification. There is no single best tower placket construction sequence for every style, fabric, machine setup, or production context.
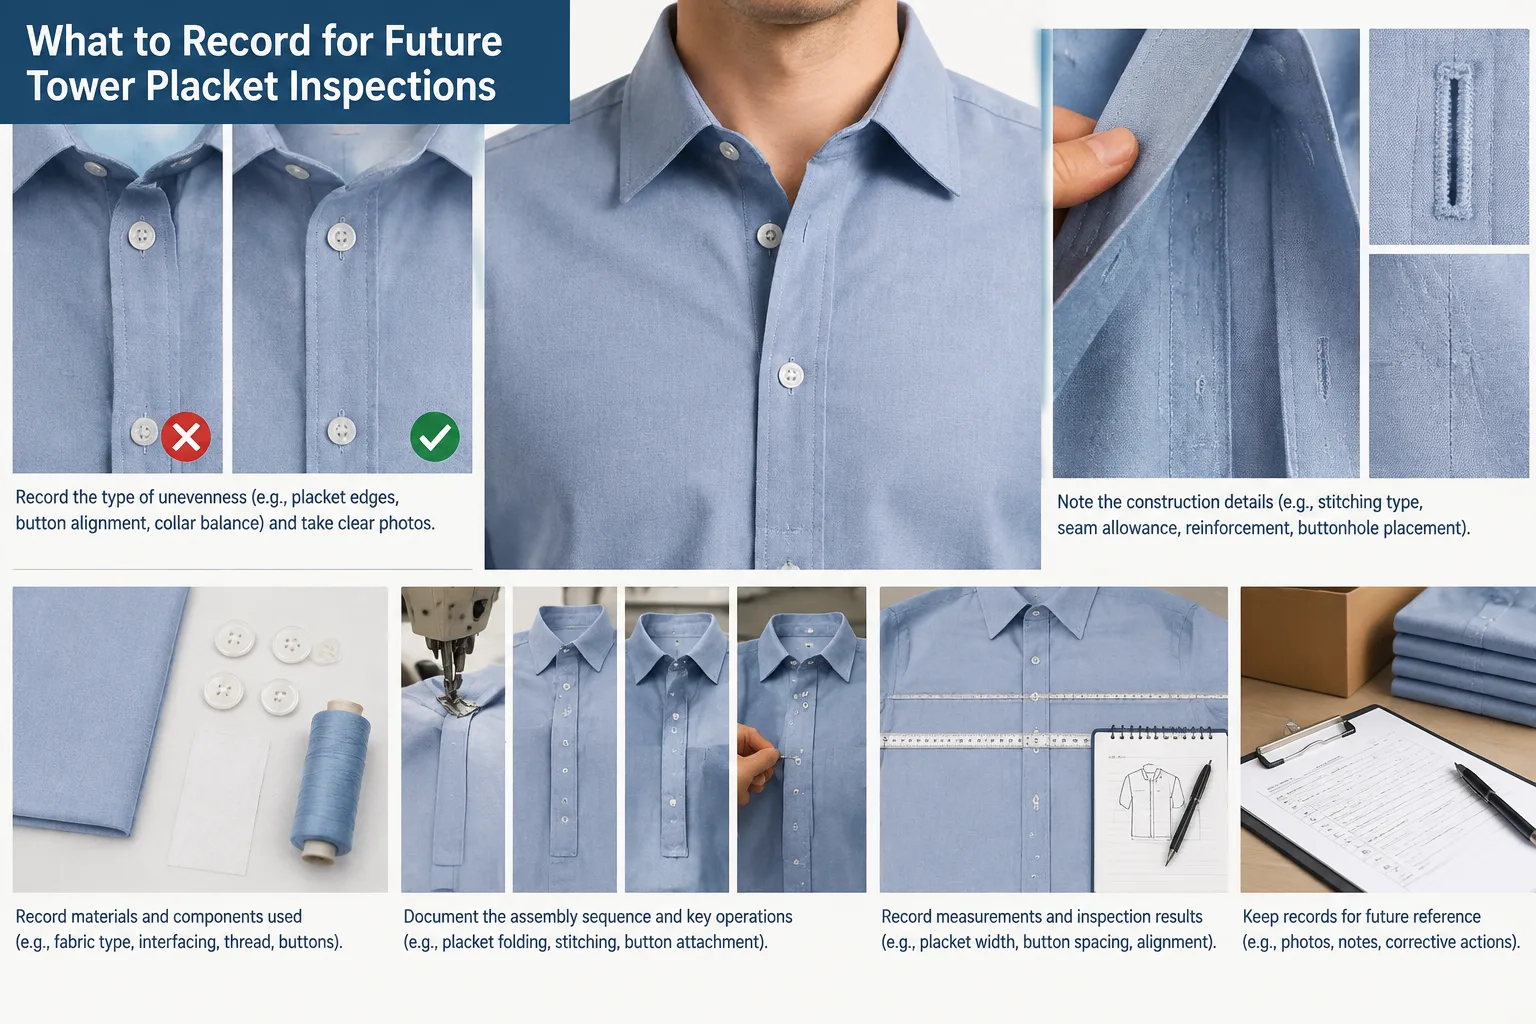
What to Record for Future Tower Placket Inspections
A useful inspection record should identify the style, fabric and component version, pattern revision, operation sequence, machine or attachment context, defect location, and supporting images. Record whether the issue is isolated or repeated and whether it appears before or after pressing, washing, or another defined condition. This makes the record useful to designers, pattern makers, sourcing teams, manufacturers, and quality professionals without treating Apparel Wiki as a factory, laboratory, certifier, or manufacturing service provider.
Keep confirmed causes separate from suspected causes, and note the evidence supporting each conclusion. A focused final-garment check can cover alignment, consistent appearance, clean corners, secure construction, and unintended distortion according to the approved specification. When the investigation is complete, use the findings to update the relevant pattern, construction sequence, work instruction, sample comments, or supplier communication. Product-specific requirements should control acceptance decisions rather than an invented universal tolerance.
For future troubleshooting, treat every uneven tower placket as a traceable construction problem: describe the symptom, find the first operation where it changes, test one relevant condition, and document both the improvement and its trade-offs. Apparel Wiki is an independent educational publication, so this guidance supports informed review; the approved product specification and qualified production or quality teams remain responsible for final decisions.
Can an uneven tower placket be caused by the pattern rather than sewing?
Yes. Pattern geometry, sleeve-opening shape, seam allowances, notches, fold lines, or component matching can create an alignment problem that a repeated sewing operation only reveals. Compare the pattern and cut parts with the approved sample before assigning responsibility to sewing.
Why does a tower placket twist or lean after it is attached to the sleeve?
Possible causes include cutting distortion, material behavior, mismatched layers, handling during joining or turning, uneven shaping, or pressing. Trace the placket through each stage to identify when the twist first appears.
Should interfacing or extra reinforcement be added to fix an uneven placket?
Only when testing shows that reinforcement addresses the confirmed failure mechanism. Added layers can change thickness, stiffness, friction, comfort, and alignment, so inspect those effects before approving the change.
How can I tell whether the problem starts during cutting, sewing, or pressing?
Inspect the components before sewing, the partly assembled placket, and the turned, pressed, and finished sleeve under consistent conditions. The first stage showing a changed relationship is the strongest starting point for further verification.
What should be checked before approving a tower placket correction for production?
Confirm the original symptom, trial conditions, alignment, appearance, handle, comfort, durability, repairability, and lot consistency against the approved sample or specification. Also check that the correction has not created a secondary defect.