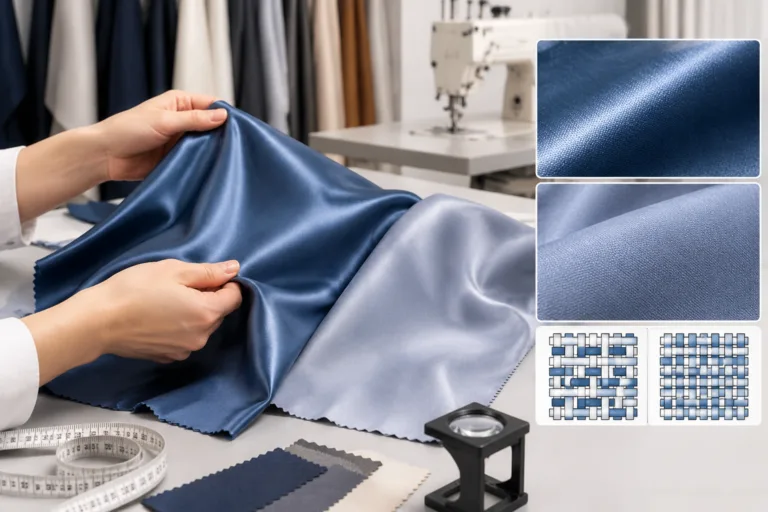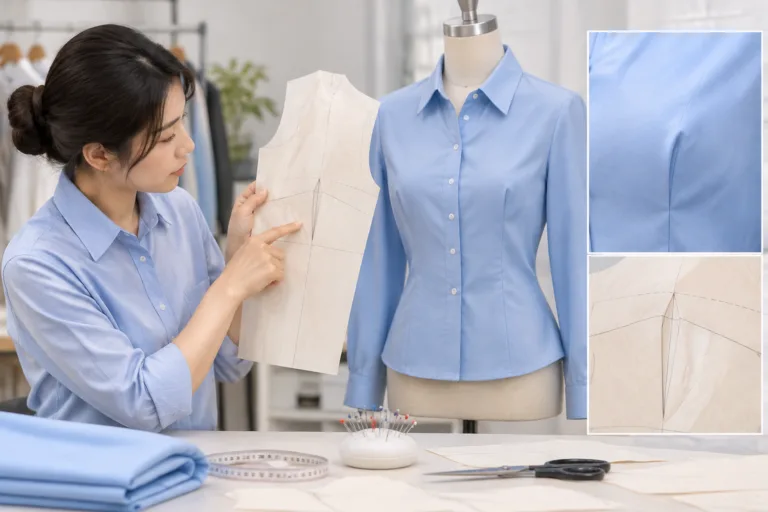
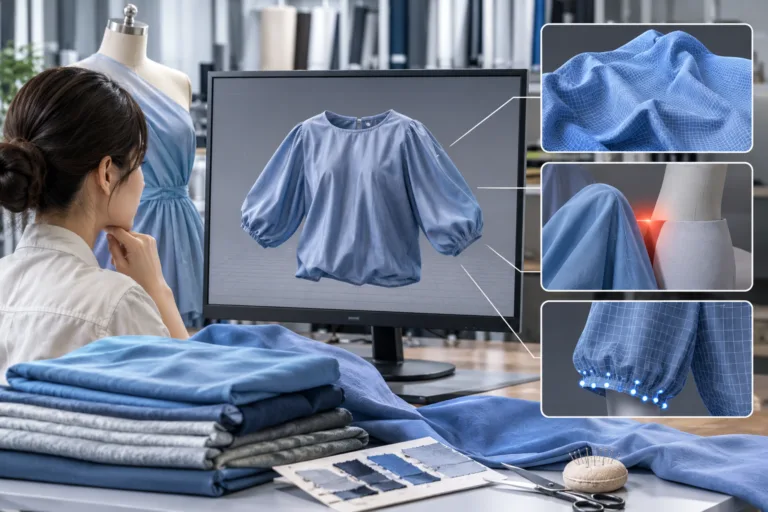
Elastic simulation problems in virtual garments rarely come from one setting alone. Excessive stretching, sagging, snapping, edge distortion, gaps, or an unstable shape can result from pattern geometry, avatar posture, material inputs, construction relationships, solver behavior, or the conditions used for review. A disciplined record of those inputs is more useful than repeatedly adjusting values. Apparel Wiki is an independent educational publication; its Sponsor page does not change that editorial boundary.
Start by treating the visible result as a symptom, not a diagnosis. Preserve the garment, avatar, material, construction, and solver versions, then describe what changed and when the issue appears. A realistic render can support digital review, but it cannot by itself prove that the intended physical garment will stretch, recover, drape, or fit in the same way.
What Elastic Simulation Problems Usually Mean
Elastic simulation problems are mismatches between the intended garment behavior and the behavior shown by a virtual garment. The mismatch may appear as an edge that lengthens too far, a waistband that loses its shape, a panel that sags, a seam that separates, or a garment that becomes unstable during movement. These observations identify what to investigate. They do not confirm that the elastic material is wrong.
A virtual garment depends on several connected inputs. Pattern dimensions and seam relationships determine the garment’s geometry. The avatar supplies body shape, posture, movement, and contact surfaces. Material inputs describe physical response, while construction and attachment relationships determine how parts act together. Solver and collision settings affect how the scene is calculated. Evaluation conditions, such as pose, camera angle, settling time, and animation frame, also influence what the viewer sees.
Keep appearance inputs separate from physical-response inputs. Color, texture, and a convincing surface finish may improve a render without describing stretch, recovery, bending, or resistance. Likewise, a visually unattractive display does not automatically prove that the underlying physical response is incorrect. The same edge distortion might follow a pattern mismatch, an attachment problem, a body contact, or an evaluation pose.
For that reason, troubleshooting should begin with version control and observation. Save identifiable versions of the pattern, avatar, material asset, construction, and solver setup before making changes. Note whether the result is repeatable. The purpose is to narrow competing explanations through focused checks, not to promise production approval. A successful virtual adjustment remains a digital finding until the decision has been compared with appropriate material information, a physical sample, or another applicable method.
Describe the Symptom Before Changing the Setup
Turn a general complaint such as “the elastic looks wrong” into a testable statement. Record the location first: an opening, waistband, cuff, seam junction, panel edge, or high-movement area. Then note whether the issue follows the garment edge, a seam, the body contour, a contact surface, or the direction of gravity. Location often helps separate a local construction question from a broader material or pattern question, but it does not settle the cause.
Describe timing and conditions with equal care. Does the issue appear while dressing the avatar, after the garment settles, during a pose change, after contact with another layer, or only in one animation frame? Record whether it occurs once or repeatedly, in one pose or several, and at one view or across the scene. A screenshot can show the appearance, but camera angle, hidden collisions, mesh display, and posture can change how that appearance is interpreted.
Use a short symptom record with separate fields for:
- Observation: what is visible, including location, direction, severity, and timing.
- Conditions: avatar posture, garment state, view, frame, and relevant scene context.
- Suspected causes: competing pattern, material, construction, avatar, or setup explanations.
- Supporting and contradictory evidence: what changes with the symptom and what remains unchanged.
- Smallest distinguishing check: the single comparison most likely to separate the leading explanations.
Keep the comparison controlled. Identify the pattern version, avatar pose, material asset, construction state, and solver setup for each run. If possible, compare the same garment under one changed condition at a time. Photos, screenshots, measurements, asset history, and batch records can make results easier to compare, but they do not prove a root cause by themselves. Their value comes from showing whether the symptom repeats under the same conditions.
Preserve competing hypotheses rather than copying a common-cause checklist into the diagnosis. A wrinkle or distorted edge may reflect geometry, contact, attachment, material description, or viewing conditions. The useful first question is not “Which setting fixes this?” It is “Which smallest observation would distinguish these explanations?”
Check Pattern, Avatar, Material, and Construction Inputs
Begin an input audit with the pattern. Compare the intended dimensions, openings, ease, seam relationships, grain or stretch direction, and elastic placement with the simulated version. Look for a changed edge length, missing relationship, altered seam, or misplaced elastic path. One visual result should not produce a universal fit correction; a pattern change is justified only when the comparison shows that the intended geometry or construction was not represented.
Next, check the avatar and evaluation condition. Body dimensions, posture, movement, and contact surfaces all affect the context in which the garment is viewed. A static body can help isolate a basic shape, but it cannot represent every active or changing posture. Similarly, one virtual model cannot establish fit across all intended wearers, body shapes, activities, or positions. Record which question the avatar is meant to answer before treating its result as evidence.
Review material inputs separately from appearance assets. The chosen description of stretch, recovery, bending, or related response should correspond to the intended fabric and measurement context. A texture can identify a fabric visually without supplying reliable physical behavior. Software parameters also may not map directly to physical test quantities, so avoid treating a familiar-looking value as a verified fabric specification unless an appropriate source and measurement basis support that interpretation.
Inspect construction relationships before changing broad material values. Seam attachment, elastic anchoring, layers, folds, and contact settings can create localized distortion that a material adjustment will not explain. If only one junction changes while the rest of the garment behaves consistently, a local relationship deserves comparison. If the whole garment changes across several poses, pattern, avatar, material, and evaluation conditions may require a wider review.
A controlled sequence helps keep the diagnosis readable:
- Compare the pattern and construction against the intended garment record.
- Hold those inputs steady while checking the avatar, posture, movement, and contact condition.
- Review material-response inputs independently from color and texture assets.
- Change one category at a time and preserve each asset version and result.
This sequence does not establish physical validity. It identifies which input category is associated with the observed change. Decisions about recovery, hand, wash-related change, structural behavior, or other physical performance still require suitable material information, physical evidence, or an applicable method beyond a convincing virtual appearance.
Isolate Solver, Collision, and Constraint Causes
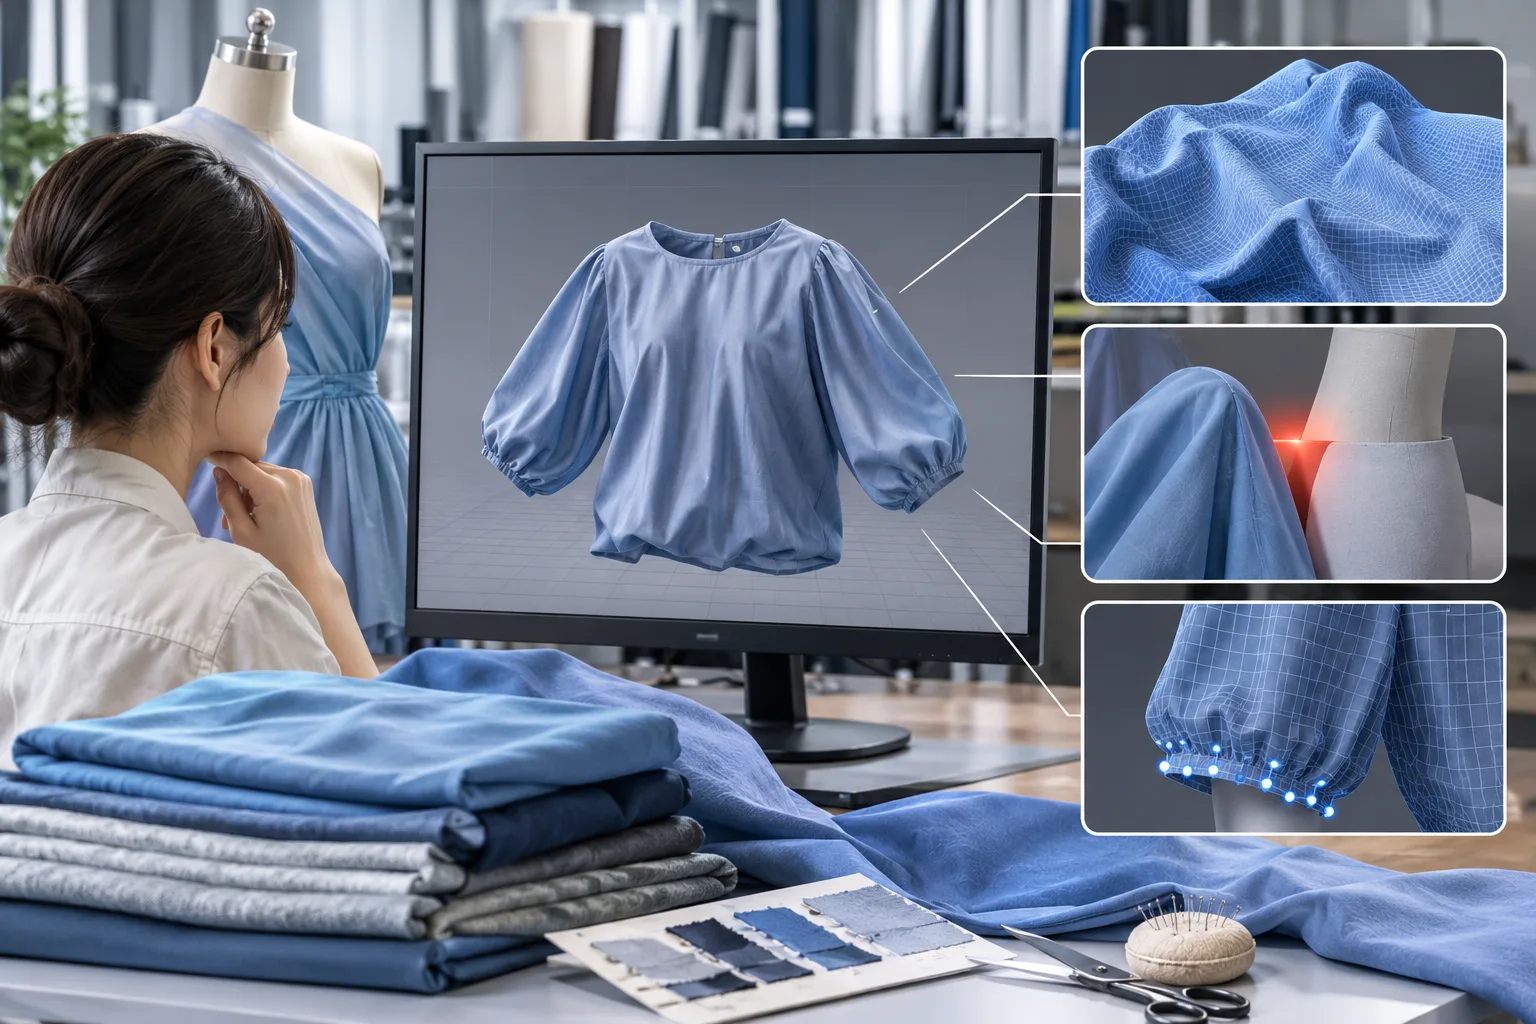
After checking the pattern, avatar, material, and construction inputs, review the scene-level relationships that control how the garment is assembled and evaluated. A seam, attachment, elastic edge, layer relationship, or collision boundary can create a local symptom that resembles a material problem. This is why elastic simulation troubleshooting should begin with the smallest relevant setup, not with broad changes to every fabric value.
Start with a stable reference pose and the pose that produces the problem. Note whether the symptom follows movement, contact with the avatar, a garment boundary, or the passage of simulation time. Penetration, excessive separation, slow settling, or unstable shape may point to different setup questions, but the visible result alone does not confirm which one applies. Compare the same construction while keeping the garment version and evaluation conditions identifiable.
Use a one-variable check. Change one relevant relationship or solver setting, record the result, and compare it with the original frame or pose. If the change improves one view but creates a gap, distortion, or new instability elsewhere, treat it as an incomplete result rather than a successful fix. Avoid changing material, collision, seam, and mesh settings together because the resulting comparison cannot show which change mattered.
Before concluding that the elastic response is wrong, check whether the display itself changes the interpretation. Camera angle, mesh resolution, hidden contact, surface display, and collision visualization can make a deformation look more severe or less severe than it is. A useful check compares the garment from consistent views and records the pose, frame, and visible setup conditions.
If the problem persists, reduce the scene to the smallest garment area or construction relationship that reproduces it. A cuff, waistband, seam junction, or elastic attachment may provide a clearer test than the complete garment. Reintroduce surrounding panels and layers incrementally. This minimum-verification approach helps separate a local constraint question from a wider material or avatar question, but success in the reduced scene does not validate the complete garment.
Interpret Results and Decide What to Validate Physically
A changed image is not automatically a solved problem. Compare the before-and-after result with the original symptom, intended pose, construction, and acceptance question. Ask whether the distortion disappeared, moved, became less visible from one camera angle, or returned during another movement. Judge the result across relevant conditions instead of selecting the most attractive still frame.
Record the input that changed and whether the effect was local or global. A local improvement may support a construction or constraint hypothesis. A change across the whole garment may require a wider review of the pattern, avatar, material response, or evaluation condition. These observations help rank explanations, but they do not establish that a software parameter corresponds directly to a physical textile measurement.
| Question | Digital review can examine | Further evidence may be needed |
|---|---|---|
| Pattern and fit | Panel relationships, openings, ease, contact, and visible tension in defined poses | Fit across target body variation and active wear conditions |
| Construction | Seam placement, attachment relationships, layers, and localized deformation | Actual seam strength, assembly behavior, and production construction |
| Material response | Whether the selected material description produces the intended digital response | Measured stretch, recovery, bending, hand, or changes after care |
| Repeatability | Whether the same recorded setup produces a comparable digital result | Agreement with physical samples under defined conditions |
Keep digital and physical questions separate. Geometry, contact, and repeatability can be reviewed in the virtual workflow. Hand, recovery, wash-related change, structural behavior, and safety-related performance require suitable material information, physical evidence, or an applicable method. The exact boundary depends on the decision being made; a visual design review and a production or performance decision do not require identical evidence.
A virtual sample may reduce some repeated digital iterations, but it cannot establish universal fit. One avatar or pose represents one evaluation condition. It cannot by itself confirm how an elastic garment will fit different body shapes, move during use, or behave after physical changes. Likewise, a convincing render does not prove that the selected material asset accurately represents the intended fabric.
When reviewing a result, retain four pieces of information: the observable input, the simulated implication, the initial decision, and the variable that could change that decision. For example, a stable waistband in one pose may support further digital review, while uncertain recovery or post-care behavior keeps physical validation open. This record prevents a provisional digital observation from becoming an unsupported specification.
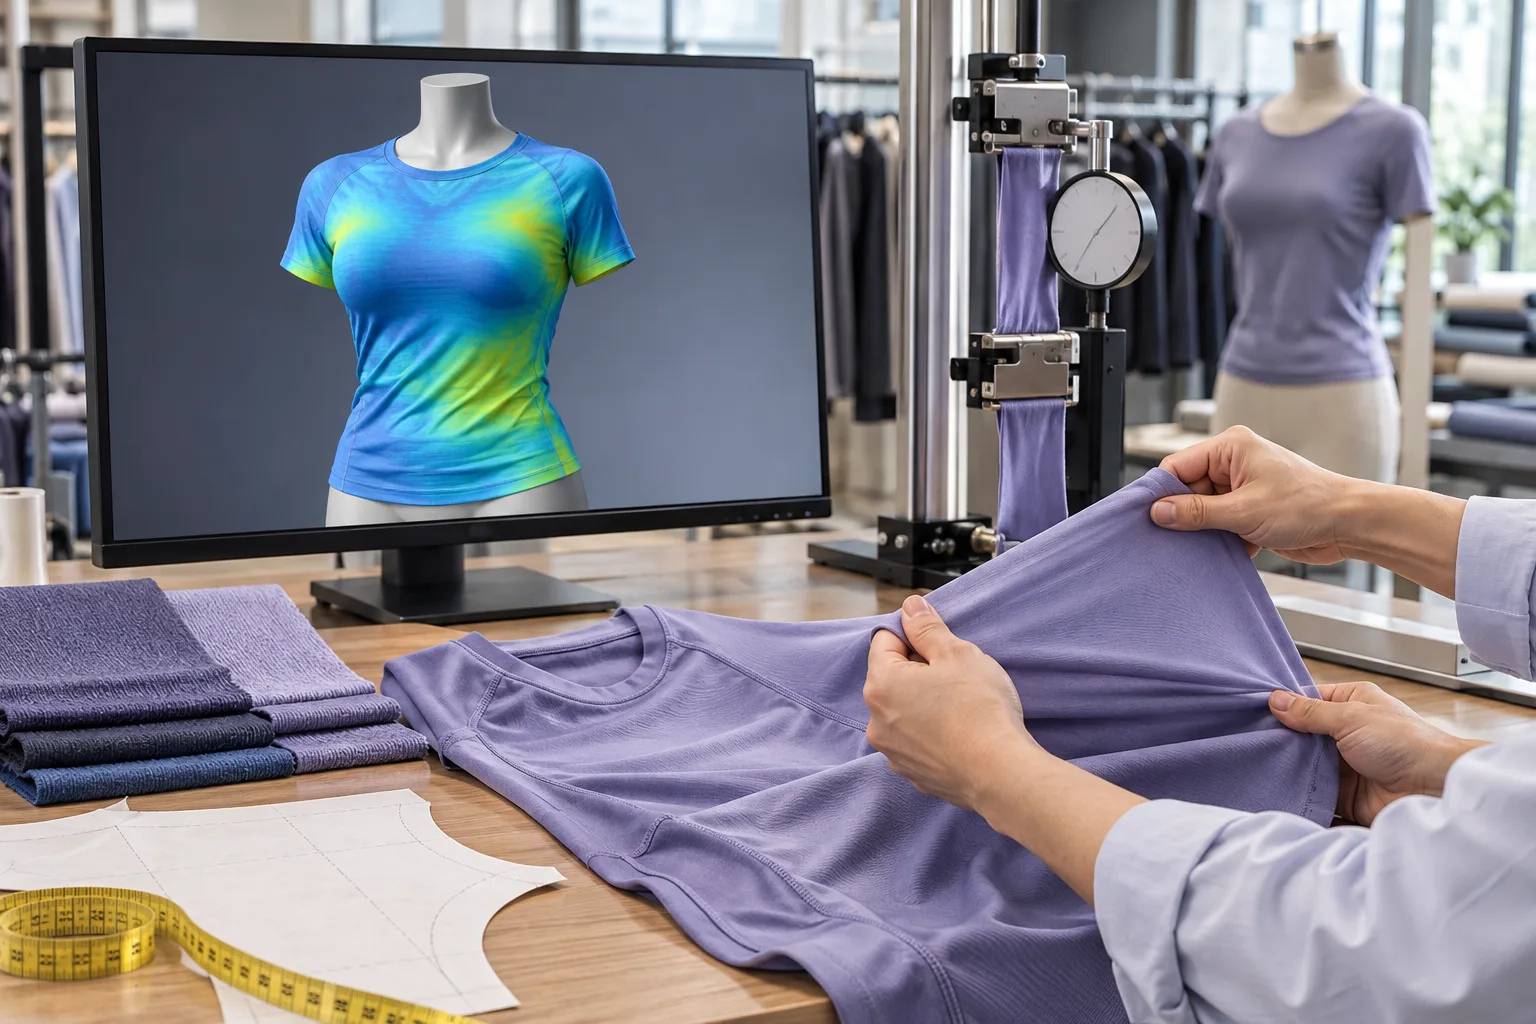
A Repeatable Troubleshooting Record and Next Step
Preserve the garment, avatar, material, construction, and solver versions. Record the symptom, conditions, changed variable, result, remaining uncertainty, and required validation. Then compare the relevant pattern, avatar, material, construction, and solver specifications one category at a time. For decisions the simulation cannot establish, check the applicable method or physical sample. This elastic simulation troubleshooting checklist keeps the next step educational and evidence-aware.
Frequently Asked Questions
Why can an elastic garment look correct in a still image but behave incorrectly in simulation?
A still image shows one camera angle, pose, and moment. It may not reveal movement-related distortion, hidden penetration, unstable settling, or incorrect recovery. A believable appearance is useful for visual review, but it does not prove that the virtual material and construction reproduce physical behavior.
Which input should be checked first when an elastic edge stretches or distorts unexpectedly?
First describe where and when the edge changes, then inspect its local construction relationships, including attachment, seam, layer, and contact conditions. Hold other inputs steady. If the symptom is global or repeats across poses, widen the review to the pattern, avatar, material, and evaluation conditions.
How can I tell whether a problem comes from the material asset or the garment pattern?
Change only one category at a time while preserving the pose, construction, and solver record. A material comparison that changes the whole garment may support a material-related hypothesis; a localized issue that follows a panel or opening may require pattern or construction review. Neither result alone confirms a physical cause.
Can one avatar or pose confirm that an elastic garment will fit its target users?
No. One avatar and pose describe one evaluation condition. Body shape, posture, movement, and contact can vary across intended users and activities. Broader fit decisions require additional representative conditions and, where relevant, physical evaluation.
When should a virtual elastic-garment result be checked against a physical sample or measured method?
Use physical evidence when the decision concerns material recovery, hand, care-related change, structural behavior, safety-related performance, or agreement with a real garment. A physical sample or suitable measured method is also important when the digital material description is uncertain or cannot be related confidently to the intended fabric.