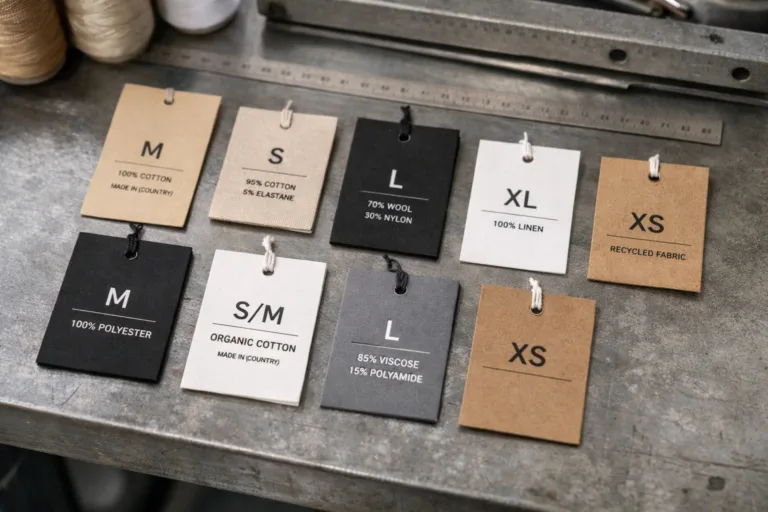
Introduction: The Foundation of Quality – Seam Allowance Essentials
Seam allowance forms the invisible backbone of garment construction. Whether you’re hand-tailoring bespoke suits or producing thousands of t-shirts in a modern factory, understanding seam allowance (SA) is vital. It is the extra fabric provided beyond the stitch line on pattern pieces, and its correct measurement influences fit, strength, quality, and production efficiency. For anyone involved in sewing techniques—pattern makers, stitchers, or buyers—mastering seam allowance is non-negotiable. It underpins everything from the durability of workwear to the precision silhouette of high-end fashion.
What Is Seam Allowance? Defining the Margin
Understanding the Basics
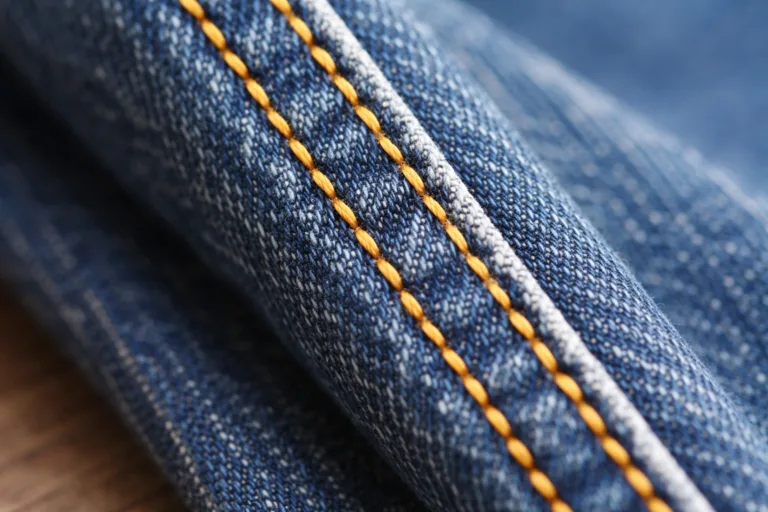
Seam allowance refers to the strip of fabric between the stitching line and the raw edge. This buffer zone allows fabric panels to be joined securely and leaves room for adjustments or finishing. Pattern makers add specific SA widths around each piece, customized according to garment type, fabric, and production method.
Why Is It Important?
- Ensures seam strength and prevents fraying during wear and wash.
- Allows for accurate construction and easy fitting adjustments.
- Supports varied sewing techniques, from delicate French seams to robust overlocking.
Rain’s tip from the production line: “Never assume seam allowance is universal! Confirm the SA for every garment style, as one millimeter can make the difference between a perfect fit and a production headache.”
Standard Seam Allowances in Different Contexts
Factory Production Norms
In mass manufacturing, efficiency and consistency are key. Standard SA can be:
- Side seams/woven garments: 1 cm (10 mm) is typical, but 1.5 cm for stability in heavy fabrics.
- Knits (t-shirts, polos): 0.6–0.8 cm, supporting overlock stitches (504/514).
- Armholes/sleeve caps: 1 cm, balancing ease with clean finish needs.
- Hems: 2–4 cm depending on fabric weight and style, allowing for a secure double fold.
Tailoring and Bespoke Garments
In tailoring, SAs are often wider to enable more fitting adjustments and neater internal finishes:
- Side seams and center back/front: 2–2.5 cm on tailored jackets/trousers.
- Armholes and curves: 1–1.5 cm to prevent distortion when easing fabric.
- Collars and lapels: 1 cm for precision and reduced bulk.
Children’s Wear and Stretch Garments
For apparel where future letting out, or extra strength, is needed (children’s wear, work uniforms), SAs are often increased accordingly. When using elastic fabrics, SAs will adjust to limit unnecessary bulk and improve stretch recovery.
Understanding Seam Allowance and Its Importance
Precision Matters: The Impact on Fit and Quality
Seam allowance fundamentally shapes a garment’s finished size. Variability of even 2–3 mm in SA application can result in measurement drift, leading to rejected lots or ill-fitting stock. For high-volume factories, tight SA control prevents out-of-tolerance issues (e.g., body width variance in t-shirts exceeding ±1 cm specification).
Seam Allowance and Garment Strength
The wider the SA (to a point), the more fabric is available for the stitches to grasp, reducing the risk of seam slippage, especially in woven or loosely constructed knits. However, excessive allowance can add bulk and affect drape, particularly in delicate or lightweight fabrics.
Common Pitfalls and Mistakes
- Using factory-standard SAs on bespoke items, reducing alteration capacity.
- Applying wide SAs to knits, causing puckering or restriction of stretch.
- Cutting errors or marker misreading, resulting in inconsistent SAs.
Practical Tips for SA Management
- Mark SAs clearly on all pattern pieces; never assume defaults.
- Periodically measure sewn seams during pilot runs with a ruler or caliper for QA.
- Discuss and confirm SA at the PP (pre-production) sample stage with your factory or tailor.
Seam Allowance and Sewing Techniques: How They Interact
Choosing Stitch Types Based on SA
The required SA is influenced by the sewing technique. For example, overlock stitches (ISO 504/514), used on t-shirt side seams, are optimized around 6–8 mm, matching foot width. French seams require doubled SAs, often needing at least 1.3–1.5 cm, as the seam is sewn twice for a clean inside finish.
Stitch Density and Thread Type Considerations
- High-stress seams (workwear, jeans): Use wider SAs with strong thread, lockstitch or chainstitch for reinforcement.
- Delicate finishes (lingerie, casual knits): Narrower SAs reduce bulk and allow for fine, flexible seams.
Specialty Sewing Operations
- Bias binding: Typically 0.7–1 cm SA, as bindings encase the raw edge.
- Piped seams: At least 1 cm to accommodate piping cord and topstitch area.
How Seam Allowance Influences Garment Fit and Strength
Fit Precision and Tolerance
Fit starts at the pattern stage. If SAs are too narrow and not evenly applied, the garment shrinks from intended size. Too wide, and you may complicate assembly, add weight, or interfere with drape. In factory control, seam allowance consistency is part of inline QC checks, alongside thread setting and stitch balance.
Seam Strength and Durability
Sufficient SA distributes stress along the seam line, critical for active or fitted garments (sportswear, work uniforms, leggings). For non-stretch woven shirts, a 1–1.5 cm SA provides a robust anchor for stitches, especially after multiple washes.
| Sewing Technique | Typical SA | Seam Strength | Common Garments |
|---|---|---|---|
| Overlock (504/514) | 0.6–0.8 cm | Medium, flexible | T-shirts, polos, sportswear |
| French Seam | 1.3–1.5 cm (total) | High, enclosed | Blouses, shirts, lingerie |
| Flat Felled Seam | 1.5–2 cm | Very high | Jeans, workwear |
| Lockstitch (301) + Topstitch | 1–1.5 cm | Strong, exposed | Woven shirts, trousers |
Comparing Tailoring vs. Factory SA Norms
Hand Tailoring Practices
Tailors value flexibility. Wider allowances allow for custom fitting at the garment trial stage (bastings, try-ons), making it possible to let out seams for client comfort. SAs may also be trimmed post-fitting for a crisp internal finish, especially on sleeves, facings, or lining join areas. Precision hand-basting ensures allowance accuracy.
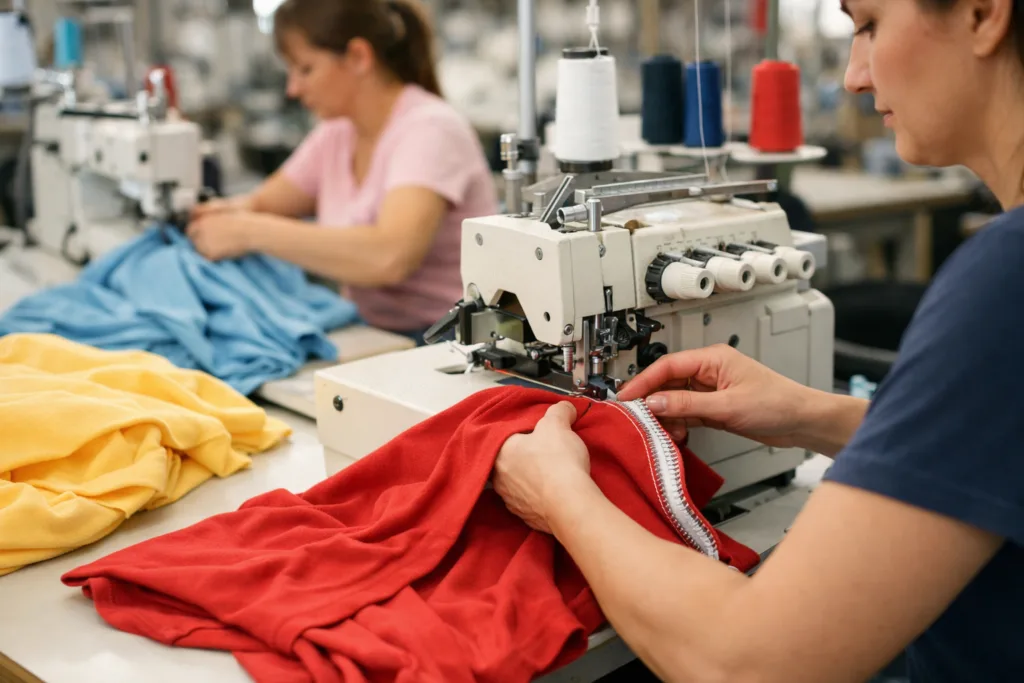
Factory Efficiency and Consistency
In factories, marker efficiency and SA minimization are financially critical. Patterns are nested tightly to maximize fabric yield, so SAs are kept just wide enough for secure stitching and automation compatibility. Factories also edge-finish raw allowances with overlock or binding to stop fraying in volume production. Consistency is maintained by digital patterns and controlled cutting tables, supported by ongoing training for sewing operators.
Key Differences at a Glance
- Tailoring: Wider SAs, more handwork, flexible at fitting stage.
- Factory: Narrower SAs, precision in bulk, driven by cost and equipment.
Seam Allowances by Garment Type
T-Shirts and Polo Shirts
Commonly produced with 0.6–0.8 cm SA at side seams (paired with overlock), and 2 cm or more at bottom hems for double-needle coverstitch (ISO 602) finishing. Rib necklines are attached with 0.5–0.7 cm SA, supporting stretch and recovery.
Denim Jeans and Heavy Workwear
Flat-felled seams require 1.5–2 cm SAs for overlapping layers, ensuring strength. Pockets and yoke joins often use 1 cm for manageable bulk and edge finishing.
Shirts, Dresses, and Blouses
Side seams typically have 1 cm SAs, with 0.7–1 cm on curved components like collars, cuffs, and plackets for neat turn-in and minimal visible bulk.
Sportswear and Activewear
Stretch garments leverage narrower SAs (0.6–0.8 cm), aligning with overlock foot width to maintain fabric elasticity at seams.
Best Practices: Controlling SA in the Garment Production Flow
Pattern and Cutting Preparation
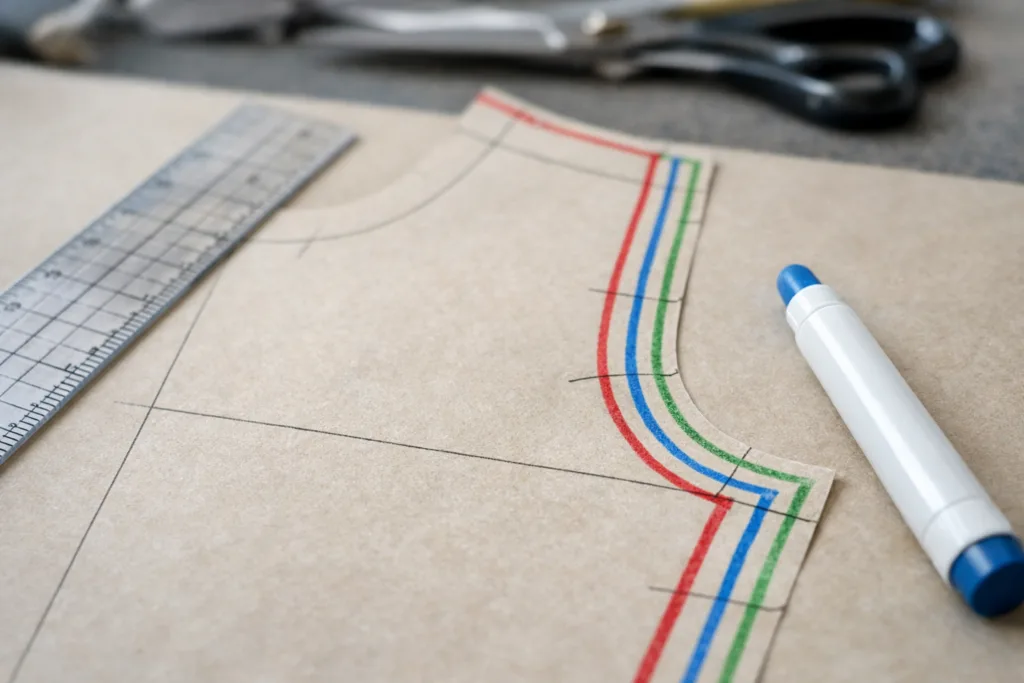
- All digital and paper patterns must clearly mark and label SAs per join.
- Check and calibrate cutting machinery regularly (straight knife, auto-cutter) to avoid excessive variance.
Sewing Line Setup
- Train operators to identify and maintain correct SA throughout production.
- Implement inline checkpoints where key seams are measured before assembly progresses.
Quality Control and Inspection
Establish agreed measurement tolerances for all main seam joins (e.g., ±1 mm on side seams). Regular audits during bulk production reduce rework and mismatch risks. For critical items, use sample markers and go/no-go gauges at inspection stations.
Measuring, Testing, and Adjusting Seam Allowance
Simple SA Measurement Methods
- Use a transparent ruler or beaded seam gauge to check SA before and after sewing.
- Inspect inside finished garments for uniformity, especially at high-stress junctures (armholes, side seams, crotch).
- Spot-check multiple units in production lots to verify consistency.
Performance Testing
Conduct seam slippage and strength tests according to fabric and garment type. For bulk knits, check stretch and recovery along joined seams; for wovens, test burst resistance and stitch slippage. See guidelines from organizations like ISO, ASTM, or the China Textile Industry Standard where applicable. Document and analyze results to revise SAs in future runs or new collections.
Troubleshooting and Adjustments
- Narrow or uneven SAs—revisit marker planning, operator training, or adjust machine setting as needed.
- Bulk at joins—grade or trim SAs where multiple layers converge (e.g., sleeve, collar intersection).
Apparel Wiki insight: “In one lean manufacturing case, a 2 mm improvement in SA control reduced bulk garment rejections by 18%, thanks to better fit and fewer open seams.”
Summary: Seam Allowance as a Key Quality Lever

Seam allowance is more than just extra fabric—it’s a quality lever that directly impacts garment fit, longevity, production efficiency, and customer satisfaction. Mastering seam allowance is foundational for everyone involved in sewing techniques, from batch factory work to hand tailoring. Always document, measure, and review your SA settings. It’s this precision—plus mutual understanding between designers, pattern makers, and sewing teams—that separates world-class apparel from the rest.
Frequently Asked Questions
What is the typical seam allowance for t-shirts?
Most t-shirts use a 0.6 to 0.8 cm seam allowance on side seams to match overlock foot width, and 2 cm or more at the hem for secure double stitching.
How does seam allowance affect garment fit?
Seam allowance determines the distance from stitching to garment edge; too narrow can shrink finished measurements, while too wide may cause bulk and affect drape.
Why do tailors use wider seam allowances than factories?
Tailors favor wider seam allowances (2–2.5 cm) to allow fit adjustments and for clean finishing, while factories minimize for cost and fabric efficiency.
How should seam allowance be marked on patterns?
Seam allowance should be clearly labeled on each pattern piece, using different colors or lines for clarity, and specified by join type or seam operation.
What happens if seam allowance is inconsistent in production?
Inconsistent seam allowance leads to variation in garment dimensions, poor fit, mismatched panels, and possible quality control rejections or high returns.
Can seam allowance be adjusted after cutting?
Slight adjustments are possible by trimming, but adding allowance requires patching or recutting; precision at the cutting stage prevents most SA issues.