QC Flow in a Garment Factory
Garment QC flow is the backbone of any successful apparel production. Whether manufacturing basic tees or premium workwear, maintaining a strict quality inspection process protects your brand’s reputation and reduces costly rework. Garment factories typically structure their QC flow in logical steps: IQC (Incoming Quality Control), cutting QC, sewing QC, finishing QC, final inspection, and packing. Understanding these stages ensures every piece meets specification, performance, and visual standards demanded by buyers and end-users.
Understanding Garment QC Flow
Garment QC flow describes the sequence of checks and inspections performed throughout the apparel production line. Each stage acts as a filter. Early steps catch material or construction faults before they compound. Later steps verify the garment against final standards. From raw fabric rolls to packed cartons, each inspection point is calibrated for its unique risks, ensuring problems are prevented—not just detected.
Benefits of Structured Quality Control
- Reduces rework and scrap rate
- Minimizes shipment delays caused by rejection
- Ensures brand and safety compliance (e.g., OEKO-TEX®)
- Improves customer satisfaction and repeat orders
Common Challenges
- Poor root cause analysis of defects
- Missed process checkpoints (especially between departments)
- Overly focused on final inspection, not in-line controls
- Lack of clear specification sheets and measurement standards
Rain’s tip from the production line: “A disciplined QC flow is not just paperwork—it’s your best insurance against expensive surprises at shipment.”
IQC: Incoming Quality Control
At IQC, factories inspect all critical materials—fabrics, trims, accessories—before releasing them for production. IQC sets the foundation for garment quality. Typical checks include:
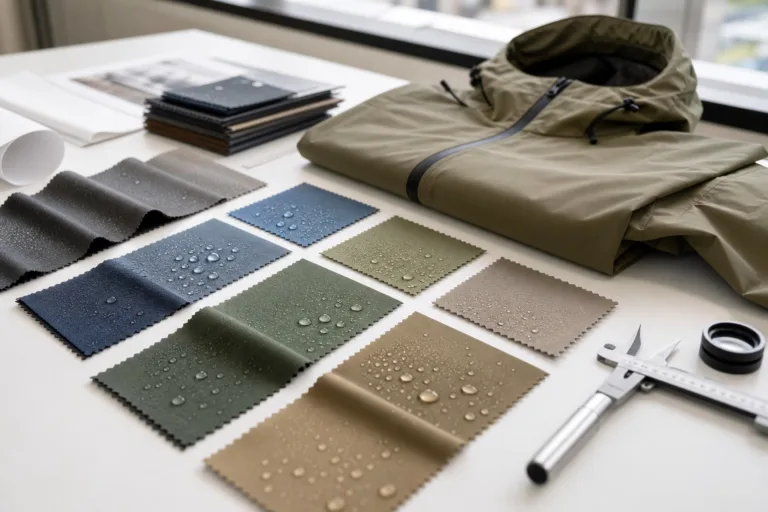
- Fabric inspection using 4-point or 10-point systems (marking defects, rates per 100 yards/meters)
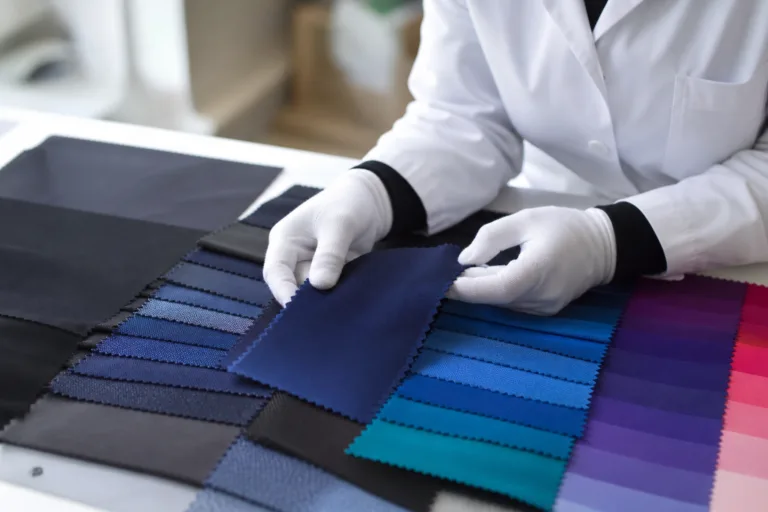
- Shade band and colorfastness tests for color consistency
- Physical testing: GSM, shrinkage, tensile strength (for woven/knit)
- Trims and accessories: buttonhole security, zipper function, label accuracy
Key Metrics at IQC
| Material | Spec Check | Standard/Allowance | Common Failures |
|---|---|---|---|
| Cotton Single Jersey | GSM, shade band, holes, knots | ±5% GSM, no critical defects | Low GSM, shade variation, contamination |
| Polyester Rib | Elasticity, yarn count, pilling | ±1mm width, no excessive pilling | Puckering, overlooked fine snags |
| Plastic Zipper | Puller strength, run smoothness | No snag; 15N minimum pull | Puller falls off, teeth misalign |
Best Practices
- Quarantine failed batches immediately
- Document defects for supplier feedback
- Use approved shade bands from buyers
- Record fabric width and shrinkage before relaxation
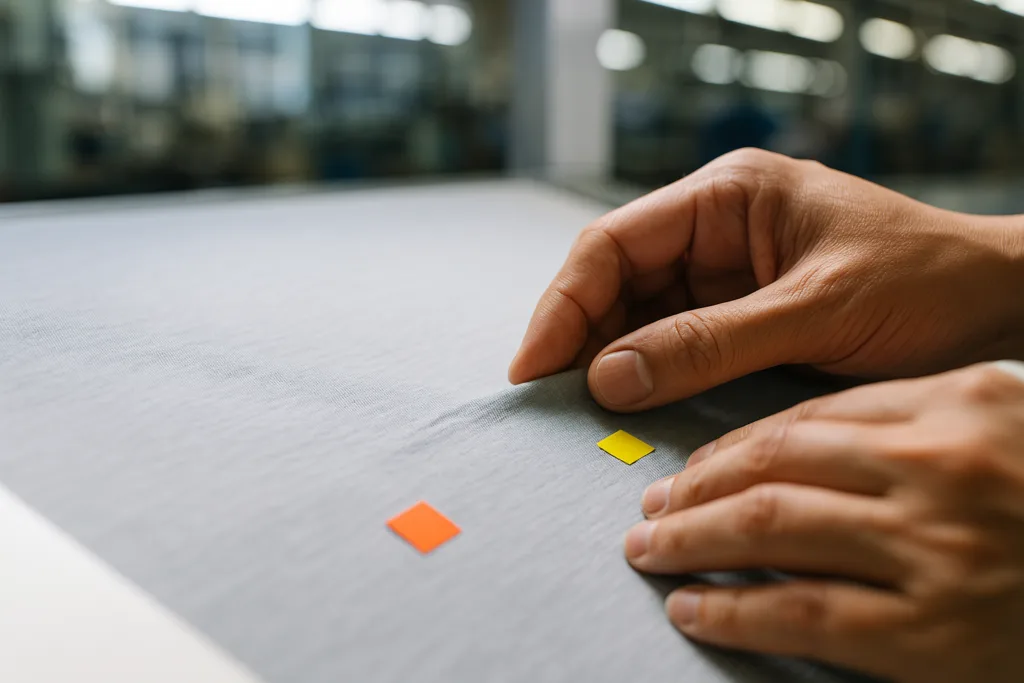
Cutting QC: Ensuring Fabric Precision
Cutting is where materials transform into garment panels. A small error here can ripple through later steps. Cutting QC checks both the spread fabric and the cut panels for alignment, measurement accuracy, and marker efficiency.
Cutting QC Steps
- Check fabric lay for wrinkles and tension—aim for natural relaxation
- Ensure cutting marker matches approved pattern, with allowance for shrinkage
- Verify cut edge sharpness (no fraying or scalloping)
- Random measurement spot checks (e.g., body width ±0.5cm, sleeve length ±0.7cm)
- Panel ticketing/bundling to prevent part mix-up
Common Issues Detected
- Twisted or off-grain panels (especially in knits)
- Missing notches or alignment marks
- Incorrect sizes or piece numbers
- Relayed fabric showing tension lines or color variation
Practical Tip
Always relax knit fabrics for at least 24 hours before cutting. Overlooking this step leads to post-wash twisting and poor fit.
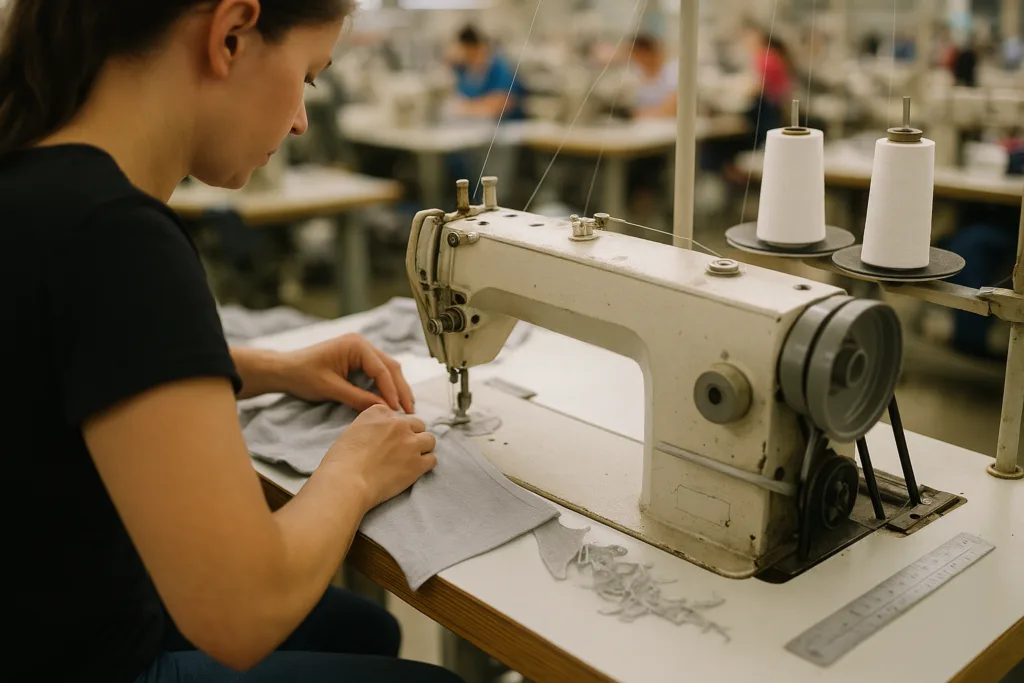
Sewing QC: Inline and End-of-Line Inspections
Sewing QC monitors assembly during and after stitching, focusing on seam integrity, appearance, and compliance to operation standards. Inline QC catches faults early; end-of-line QC validates finished panels before joining other parts or moving to finishing.
Inline QC Responsibilities
- Monitor stitch types (lockstitch, overlock, coverstitch) per operation breakdown
- Check for skipped stitches, thread breakage, seam puckering, and tension problems
- Confirm correct trims, labels, and decorative elements applied
- Validate SPI (Stitches Per Inch)—low SPI means weak seam, excessive SPI may cause fabric damage
End-of-Line QC Focus Areas
| Garment Section | Stitch Type | Spec Detail | Typical Faults |
|---|---|---|---|
| Side Seam | ISO 504 Overlock | No raw edge, smooth join | Skipped stitch, hole, open seam |
| Hem | Coverstitch 602 | Even tension, flat hem | Puckering, uneven width |
| Collar Attachment | Lockstitch 301 | No loose threads, correct SPI | Rough join, poor shape |
Rain’s Line Balancing Checklist
- Confirm QC checkpoints for high-risk operations
- Classify defect types: minor, major, critical
- Use clear defect images/standards for operator training
- Track defect sources to machines and operators
Finishing QC: Beyond Sewing
Finishing QC covers washing, ironing, trimming, and final appearance. Here, the garment takes its retail-ready form. Inspections focus on thread trimming, seam cleanliness, wash effects, and finishing touches such as pressing and folding.
Main Finishing Processes
- Thread trimming: Remove all loose ends, stray fibers
- Garment wash: Check for shrinkage, colorfastness, visual uniformity
- Ironing and pressing: Evaluate final silhouette, remove puckers
- Quality of applied treatments: enzyme wash for softness, silicone treatment for handfeel
- Final trim application: brand labels, protective taping
Key Inspection Points
- No untrimmed threads or visible defects post-wash
- Final measurements within tolerance after wash/press (e.g., width ±1cm in knits)
- Smooth surface, no shine or burn from irons
- Care label correctly attached, readable print
Expertise Insight
“Always check garments under daylight-equivalent lighting—factory neon can mask subtle stains or shade differences.”
Final Inspection: Defining Quality Acceptance
Final inspection is the cross-check before packing and shipment. QC teams compare finished goods against approved samples, spec sheets, and buyer requirements. Acceptance is based on AQL (Acceptable Quality Level), with random sampling as per buyer agreement.
Final Inspection Methods
- Size set and PP (Pre-Production) sample matching
- Random carton, bundle, and garment selection
- Measurement chart verification—every major spec (body length, chest width, sleeve, etc.)
- Visual inspection for stains, holes, shading, skipped operations
- Function checks: zipper runs, button strength, pocket seams
Acceptance Criteria
| Defect Category | Definition | Allowable per 100 pcs |
|---|---|---|
| Critical | Safety risk, major spec fail (e.g., wrong size label) | 0 |
| Major | Reduce function or heavy visual impact | ≤2 |
| Minor | Small cosmetic flaw, no impact on use | ≤8 |
Common Final Inspection Fails
- Incorrect branding elements (wrong label, missing print)
- Measurements out of tolerance after finishing
- Missed trims or poor folding
- Mixed sizes in same carton
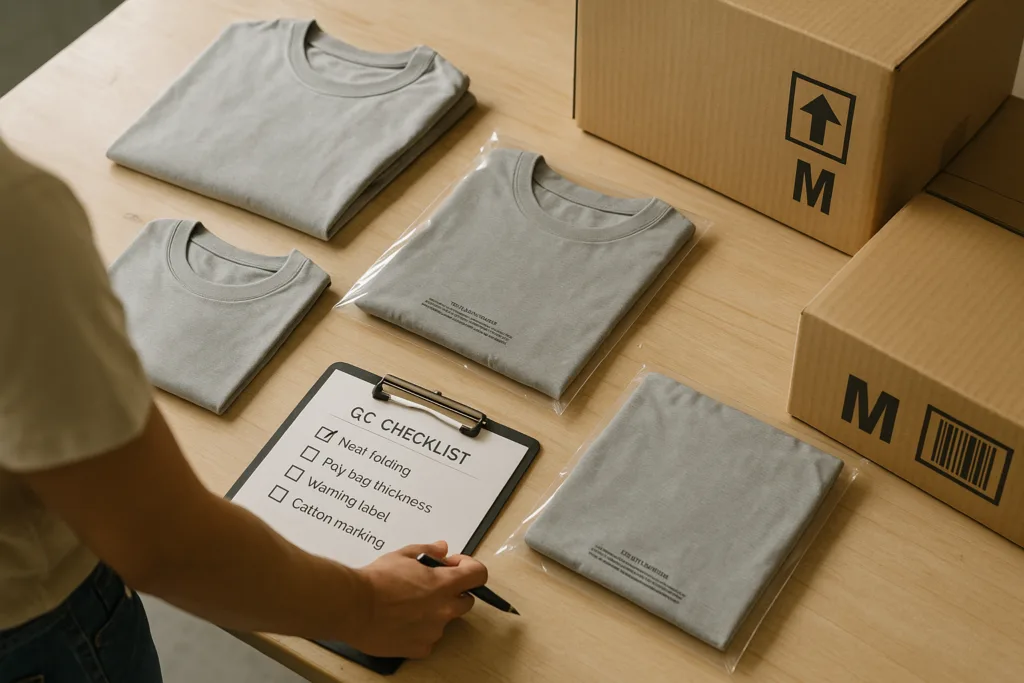
Packing QC: The Last Line of Defense
Packing QC ensures garments reach buyers in pristine, presentable, and compliant condition. Packing teams control folding method, polybag or box specs, carton strength, and accurate labeling for logistics.
Packing QC Guidelines
- Check folding: Confirm retail-required fold (e.g., flat, sleeve tuck, shelf display)
- Polybag specs: Use correct thickness (≥30 microns), vent hole, warning print
- Carton inspection: ECT (Edge Crush Test) pass, clean, unbroken
- Verify carton marking: style, color, size ratio, PO number, barcodes
- Random metal detection for children’s wear/PPE
Logistics and Compliance
- Size mix accuracy—no sorting errors
- Carton sealing with tamper-proof tape where required
- Export documentation matches physical shipment
- Compliance with buyer’s restricted substance lists and safety labelling
Specification Sheets and Measurement Standards
Clear specification sheets are the backbone of QC. Factories must translate buyer specs into practical measurement charts, tolerance tables, and visual inspection standards that match the garment’s category and material.
Measurement Chart Example
| Size | Body Length (cm) | Chest Width (cm) | Tolerance (±cm) |
|---|---|---|---|
| M | 72 | 54 | 1.0 |
| L | 74 | 57 | 1.0 |
| XL | 77 | 60 | 1.0 |
Key Steps to Implement
- Align all QC checkpoints with up-to-date measurement/tolerance charts
- Use graded block patterns reflecting fabric shrinkage and finish
- Approve PP samples and size sets before bulk cutting and sewing
- Train QC staff with clear reference samples and defect catalogs
Common Quality Inspection Steps in Garment Production
Quality inspection steps are much more than ‘check at the end.’ Factories increasingly use in-line controls to prevent defects, not just reject bad pieces. Integration across IQC, cutting, sewing, finishing, and packing brings consistency and trust for buyers.
Standard Inspection Step Sequence
- Material receipt and IQC
- Fabric relaxation and cutting QC
- Sewing in-line and end-of-line QC
- Washing and finishing QC
- Final random and systematic inspection
- Packing QC before shipment
Cross-Department Coordination
- Weekly quality review meetings
- Shared defect logs and continuous improvement audits
- Feedback loop to pattern and procurement teams for recurring faults
Rain’s Recommendation
Always include QC flow diagrams and checkpoint lists in your spec packs—this keeps production, finishing, and packing teams synchronized for top results.
Practical Tips for Buyers and Factory Teams
Whether you’re a buyer inspecting your sourcing partner or a factory manager elevating your QC flow, pay attention to detail and practical execution. Bring measurement charts, defect sample books, and inspection summaries to every line audit.
Top Buyer Questions for Factory QC
- Can you show me your QC checkpoint lists for each stage?
- What is your most common defect type, and how do you prevent it?
- Who reviews and signs off on PP samples and measurement specs?
- What is your AQL level for my order category?
- How do you keep learned lessons and improve across runs?
Factory Team Tips
- Always train new staff with actual defect samples—not just pictures
- Confirm understanding of blending rules (for CVC, TC, etc.), fabric finish impact on size specs
- Never skip random carton check before shipment
- Maintain transparent QC pass/fail records for buyers
- Build cross-team culture—quality is everyone’s responsibility
Frequently Asked Questions
What is the main purpose of garment QC flow in factories?
Garment QC flow ensures each production step meets set standards, prevents defects, and assures final garment quality and consistency before shipping to buyers.
What are typical quality inspection steps in apparel manufacturing?
Key inspection steps include IQC for materials, cutting QC, sewing QC, finishing QC, final inspection, and packing QC, each designed to catch specific faults early.
How do factories set measurement tolerances for garments?
Measurement tolerances are based on buyer specs, garment type, fabric properties, and finishing treatments, and are outlined in the factory’s spec charts and approval samples.
What is AQL in garment final inspection?
AQL (Acceptable Quality Level) is a statistical standard for batch acceptance, setting permissible defect rates based on sample size and defect category.
Why is fabric relaxation important before cutting?
Fabric relaxation prevents distortion and shrinkage after cutting, helping ensure panels remain on spec after sewing and finishing, especially in knits.
How can buyers verify factory QC performance?
Buyers can review QC logs, spot check measurement charts, examine reference samples, and conduct their own random carton inspections on finished goods.