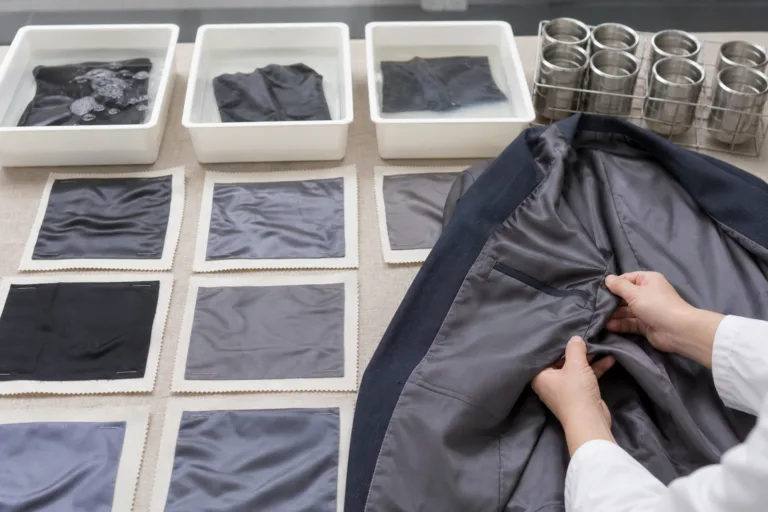
A floating lining is a lining that is not continuously attached to the garment’s outer shell. Instead, it is secured at selected seams, edges, openings, or interior anchor points so it can move within controlled limits. Before approval, confirm that the lining remains secure, comfortable, and visually controlled while moving as intended for the garment’s use. This practical guide from Apparel Wiki, an independent educational publication, focuses on Sponsor information only where relevant to the site and does not replace the project’s approved technical requirements.
For floating linings quality inspection, use the approved sample, pattern, construction sheet, measurement specifications, and applicable buyer or brand requirements as the reference. A loose section is not automatically defective: the key question is whether the movement matches the approved design. Inspect attachment, mobility, appearance, comfort, finishing, and consistency with the documented garment standard rather than applying one generic rule to every style.
What Is a Floating Lining, and What Must Be Confirmed Before Approval?
The attachment pattern of a floating lining depends on the garment design, lining construction, pattern, materials, and approved technical specifications. A jacket lining, for example, may be secured around selected edges and openings while remaining free across much of the body. Another garment may use discrete interior anchors or controlled attachment at particular seams. The construction record should show which sections are fixed and which sections are intentionally free.
During a floating lining garment inspection, separate intended movement from unwanted behavior. Intended movement allows the lining to follow the garment without pulling the shell out of shape. Unwanted behavior includes twisting, sagging, catching on the body, pulling at an opening, riding up, exposing areas that should remain covered, or creating visible ridges. The same observation can have different significance depending on the garment’s intended use and approved fit.
Before opening the garment for detailed inspection, confirm the sample identity, size, material version, construction version, and approval stage. Then compare the lining with the approved sample or technical package. Approval should establish that the reviewed version meets its documented requirements under the relevant inspection conditions; it should not imply that every future production unit will conform without suitable production controls.
Inspect the Lining’s Attachment Points and Seam Construction
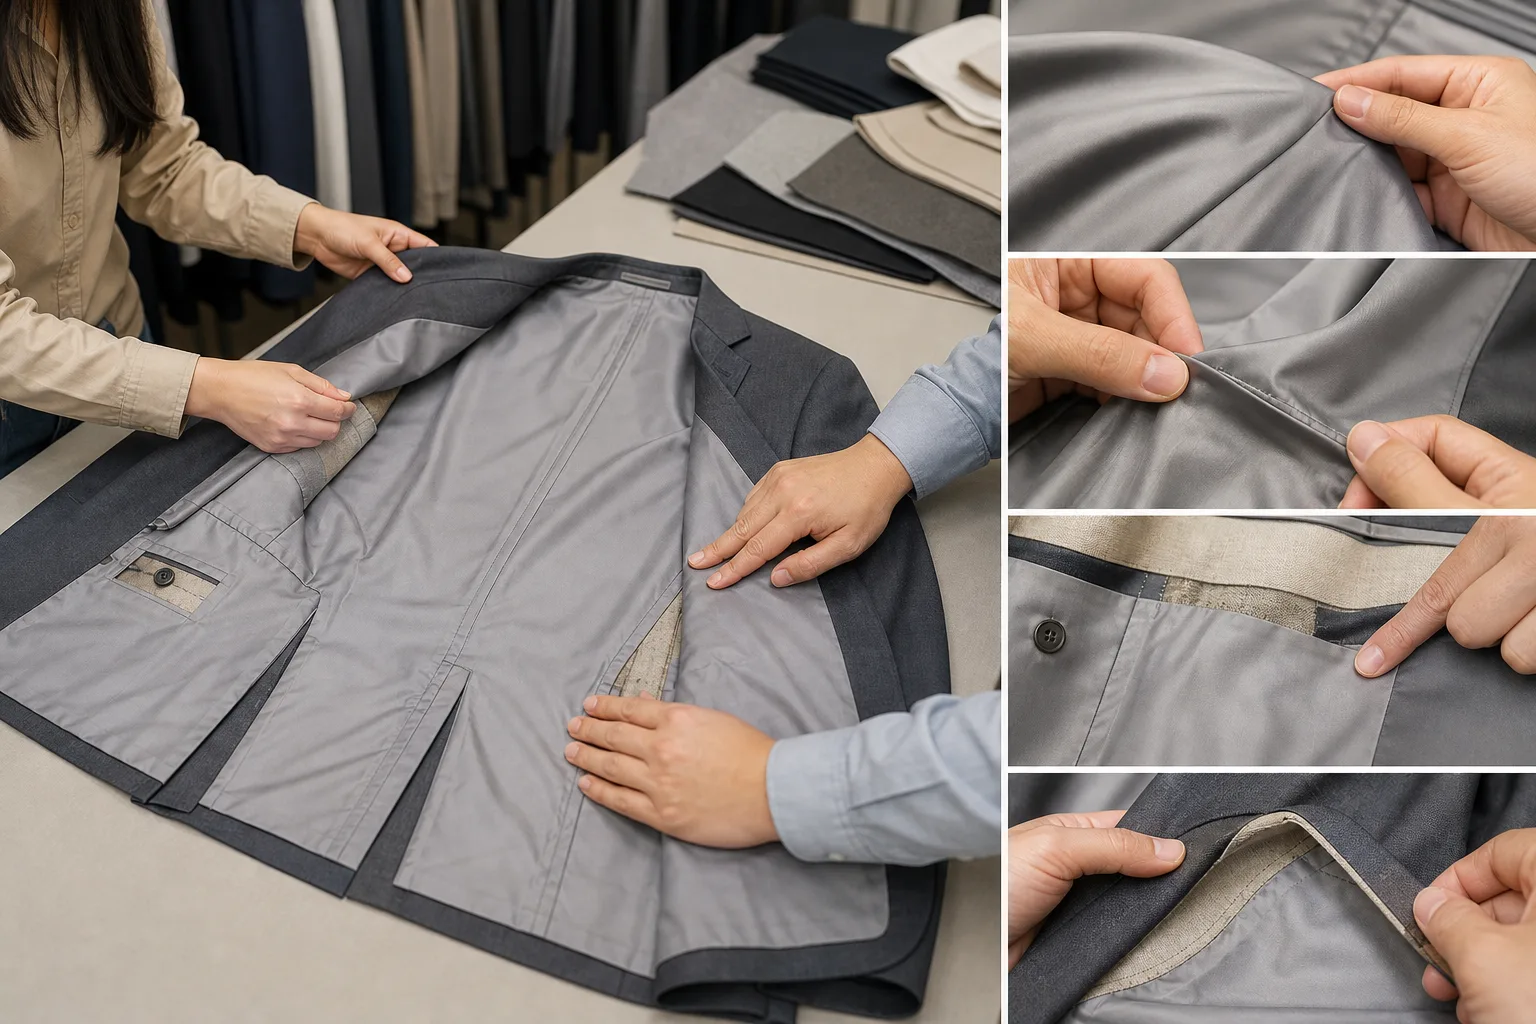
Start by mapping every intended attachment point. Depending on the garment, this may include the neckline, armholes, hem, zipper or placket areas, vents, pockets, waist seams, and discrete interior anchors. Marking these locations on a construction sketch or inspection record helps the team distinguish a planned free section from a missed attachment.
At each attachment point, check whether the lining is caught evenly in the intended seam allowance and whether the seam remains closed through the required area. Inspect the transition between attached and free sections as carefully as the attachment itself. An abrupt transition, uneven allowance, or poorly controlled corner can create pulling, twisting, bulk, or a visible ridge even when the main seam appears closed.
Look for skipped or broken stitches, loose thread tails, uneven seam allowances, raw edges, seam grin, puckering, and accidental catching of the outer shell. Also check alignment with the pattern and whether the lining has enough controlled ease to move without stressing the seam. Keep terminology precise: a stitch describes how thread forms a loop or interlock, while a seam describes how fabric layers are joined. They are related but not interchangeable inspection findings.
Do not assume that stronger thread or tighter stitching will solve every attachment failure. If the fabric, seam allowance, lining ease, or movement is the actual cause, additional stitch density may shift the damage to another component or add stiffness and bulk. Record the affected location and failure type, such as broken thread, fabric tearing, seam opening, puckering, or unintended shell capture, instead of using only a broad label such as “poor sewing.”
Check Movement, Ease, and Stress in the Finished Garment
Inspect the garment flat, on an appropriate form, and through representative movements relevant to its use. A flat inspection can reveal construction problems, but it cannot show every interaction between the lining, outer fabric, and wearer. Depending on the garment, observe sitting, bending, reaching, walking, opening and closing fasteners, or raising the arms.
Watch for the lining riding up, twisting, bagging, catching on the body, pulling at openings, or becoming visible where it should remain controlled. Look for tension lines, displaced seams, lining drag, shell distortion, or excessive separation between the lining and outer fabric. Pay particular attention to areas where a fixed section changes into a free section, because movement often concentrates stress at that transition.
Compare the result with the approved fit sample and fit comments rather than applying a universal amount of ease. A lining that feels loose may be functioning correctly in one design, while the same movement may indicate a defect in another. The outer fabric, lining fabric, seam structure, pattern, and attachment method operate as one system, so a denser or tighter construction is not automatically better.
After the movement check, return the garment to its normal position. Confirm whether the lining recovers its intended placement without remaining twisted, displaced, or caught. This is a functional inspection, not a substitute for a validated laboratory test. If the project requires dimensional stability, seam performance, durability, or post-care results, use the specified test method and garment-specific requirements separately.
Evaluate Appearance, Comfort, and Interior Finish
Inspect the interior under suitable lighting for wrinkles, waves, bubbling, uneven hems, exposed seam allowances, loose threads, and inconsistent edge finishing. Then inspect the outside of the garment for impressions, ridges, shine changes, or distortion caused by the lining. A lining may be secure at every intended point yet still create an unacceptable appearance when the garment is worn or fastened.
Assess contact areas for scratchy edges, bulky seam junctions, hard points, exposed fasteners, or thread ends that could affect comfort. Check hems, vents, openings, and corners while the garment is both flat and worn or opened as relevant. The lining should remain visually controlled and should not obstruct pockets, fasteners, vents, labels, or other functional components.
Review color, transparency, and show-through against the approved design and material selection. Not every interior variation is a sewing defect, and not every comfort concern can be settled through visual inspection alone. Separate visible appearance defects, comfort risks, and construction nonconformities in the record. Where comfort is a stated requirement, a wear trial or stakeholder review may be necessary.
Inspect the Lining After Relevant Handling or Care Conditions
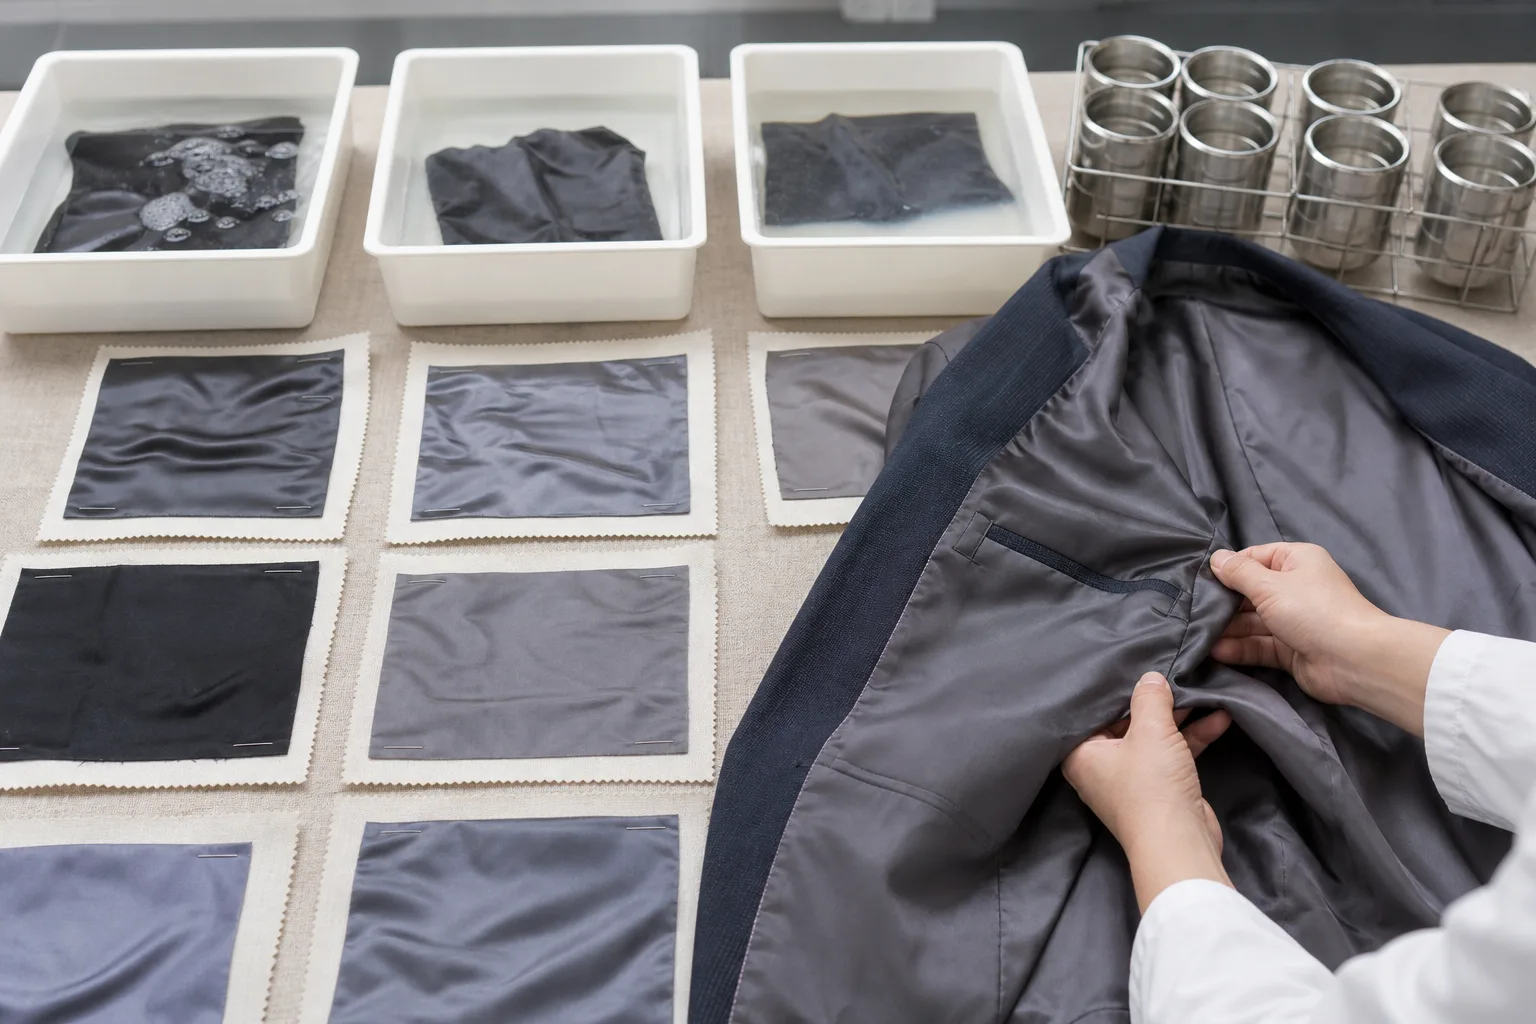
A floating lining can appear acceptable during a flat inspection and change position after pressing, packing, wear simulation, laundering, or another specified care condition. First confirm which conditions apply to the approval stage. A visual sample review is different from a formal performance test, so the inspection record should state whether the garment was assessed before or after a defined handling process.
After the relevant condition, compare the lining with the shell and the approved sample. Look for shrinkage or growth relative to the outer fabric, exposed hems, seam opening, twisting, puckering, or loss of the intended free movement. Recheck the attachment points, especially where a lining may pull against a seam, vent, fastener, pocket, or interior anchor. A problem that appears only after handling may involve the material combination, construction, care process, or pressing method rather than one isolated stitch.
Record the sample identity, condition used, sequence followed, and observations. Where the project requires documented comparison, photographs or before-and-after measurements can help preserve the evidence. Do not convert one observed result into a universal durability value. Relate the finding to the approved care instructions, quality plan, material selection, and garment-specific requirements.
Use a Repeatable Floating-Lining Inspection Checklist
A repeatable workflow helps different reviewers assess the same sample against the same reference. Before beginning, confirm the sample size, construction version, materials, approval stage, and relevant technical documents. Review the approved sample or tech pack, then mark the intended attachment points and sections that are designed to remain free.
- Inspect the inside and outside under suitable lighting.
- Check attachment points, seam closure, seam allowances, thread tails, raw edges, puckering, and accidental catching of the shell.
- Assess movement and ease through garment-relevant positions and actions.
- Review wrinkles, waves, bubbling, hem exposure, visible distortion, comfort risks, and interference with pockets, vents, labels, or fasteners.
- Repeat the relevant checks after pressing, packing, wear simulation, laundering, or another specified condition.
- Record each issue by location, affected component, defect description, project-defined severity, and recommended action.
- Photograph significant findings with a location reference and preserve the sample record when traceability is required.
Keep defect categories specific. A loose thread, a failed attachment, shell distortion, and uncomfortable bulk do not describe the same risk and may require different actions. Avoid relying only on a label such as “poor sewing.” The record should explain what happened, where it happened, and whether the issue affects appearance, function, comfort, construction, or more than one area. After correction, reinspect the repaired section and confirm that the fix has not introduced stiffness, bulk, distortion, or a new failure.
Decide: Approve, Correct, or Escalate the Floating Lining
Approval is appropriate when the reviewed lining matches the documented construction and appearance requirements, moves as intended, remains controlled during relevant handling, and presents no unresolved functional or comfort risk. This decision applies to the version and conditions examined. It is not a general guarantee that every later production unit will match the approved sample without appropriate production controls.
Request correction when the issue is localized and the intended pattern, materials, and construction remain suitable. The corrective action should identify the affected location and the change required. Consider whether the correction will alter seam allowances, assembly order, pressing, grading, care behavior, or the relationship between the lining and outer shell.
Escalate to pattern, material, or construction review when the same problem repeats, movement distorts the shell, the free section cannot recover its intended position, or a repair would add excessive bulk or stiffness. Record the disposition, responsible party, revised sample or document reference, and next verification step. Acceptance criteria remain project-specific and should come from the buyer, brand, or agreed quality system rather than an unsupported universal scale.
As a next step, update the construction record after every approved change and repeat the relevant inspection on the revised sample. Teams that need broader production references can also review the Apparel Manufacturing Tools area, while keeping the garment-specific technical package as the controlling reference.
FAQ
How is a floating lining different from a fully attached lining?
A floating lining is secured at selected seams, edges, openings, or interior anchors rather than continuously attached to the outer shell. Its free sections are intentional, but their movement and placement must still match the approved construction.
Which attachment points should be checked first on a floating lining?
Start with the points identified in the pattern and construction documents, such as the neckline, armholes, hem, fastener areas, vents, pockets, waist seams, and interior anchors. Then inspect the transitions between attached and free sections.
How can I tell whether lining movement is intentional or a defect?
Compare the movement with the approved sample, pattern, and technical requirements during garment-relevant handling. Free movement is not automatically defective, but twisting, pulling, exposure, shell distortion, or failure to return to the intended position may indicate a problem.
Should a floating lining be inspected after washing or other care conditions?
Yes, when the approval plan, care instructions, or quality requirements call for it. Record the condition used and inspect for relative shrinkage, seam opening, hem exposure, puckering, twisting, and changed movement. This review does not replace a formal validated test when one is required.
What should be recorded when a lining fails a pre-approval inspection?
Record the sample identity, location, affected component, observable failure, relevant condition, project-defined severity, photographs where useful, proposed action, and follow-up reference. Reinspect the corrected sample rather than closing the issue from a written promise alone.
Can a floating lining be approved if it has minor wrinkles or loose movement?
Only when the appearance and movement are consistent with the approved design and documented requirements and do not create a functional or comfort risk. Minor variation should be reviewed in context, not accepted or rejected using a universal limit that the project has not defined.