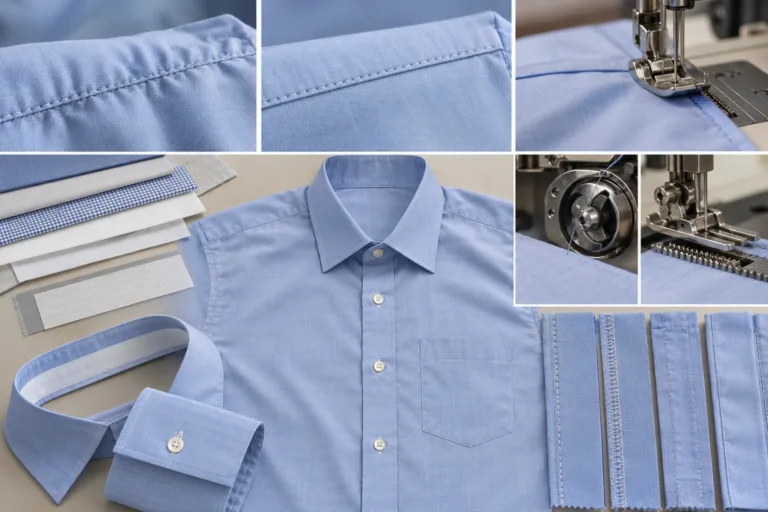
Dress shirts seam puckering is regular rippling or gathering along, or immediately beside, a stitched seam. It is a symptom rather than a single defect with one guaranteed fix. Fabric and thread interaction, seam construction, feeding, interlining, pressing, and laundering can all produce a similar appearance. Start by locating and describing the symptom, then narrow competing causes with the smallest useful test before changing production settings. Apparel Wiki is an independent educational publication; its Sponsor page explains the separation between sponsorship and editorial content.
This guide focuses on woven dress shirts, where lightweight shirting, narrow seams, and structured areas make small differences easier to see. The collar, cuffs, plackets, armholes, and side seams should not be treated like identical body panels. Each zone has its own combination of layers, handling, local tension, and wear. That garment structure provides the starting point for diagnosing a puckered seam.
What Seam Puckering Means on a Dress Shirt
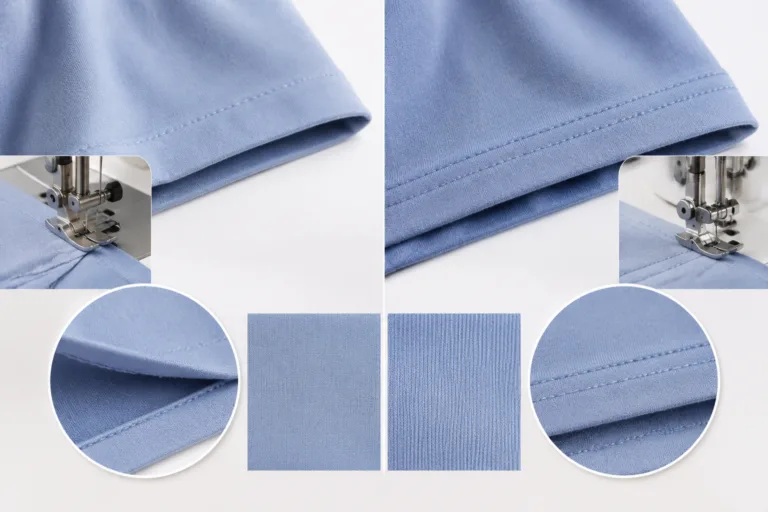
Seam puckering is a repeated wave, ridge, or gathered appearance that follows a sewn line. The fabric beside the seam may look compressed, displaced, or unable to lie flat. The pattern usually has some regularity along the stitching, unlike a random wrinkle across the shirt body.
That distinction matters. A general body wrinkle may come from storage, movement, or fit. A pressing crease can follow the iron rather than the seam. Grain distortion can twist or pull a panel, while seam distortion can change the shape of the joined pieces. These conditions may appear together, but they require different investigations. A single photograph can help record the symptom, but it does not confirm the root cause.
Fine woven shirting fabrics are sensitive because their lightweight structure offers less material bulk to absorb compression from stitching. A narrow seam also concentrates the thread force in a small area. Collars and stands, cuffs, plackets, and armholes add layers or shaping, so the fabric must move through more complicated assemblies. Side seams can show the issue when long edges are joined, especially if the pieces do not feed evenly.
Inspect the collar and stand, sleeve armholes, side seams, and placket attachments first. Note whether the rippling follows the seam, crosses it, or appears only near a layer transition. The central principle is simple: describe the location, direction, frequency, and appearance conditions before naming a cause. Then test the cheapest, most likely explanation while keeping alternatives open.
How to Diagnose a Puckered Seam Before Changing Anything
Begin with a consistent record. Identify the exact seam zone and mark the direction of the ripples relative to the seam and fabric grain. Record whether the puckering appeared immediately after sewing, after pressing, or only after washing or wearing. Note whether every piece shows it or whether the problem is limited to one size, color, fabric lot, operator, machine, or station. Photos, simple measurements, and batch notes make comparisons more useful.
Next, list competing hypotheses instead of selecting the most familiar one. Possible explanations include fabric-thread incompatibility, excessive thread tension, an unsuitable stitch length, uneven feeding, interlining or fusible interaction, pressing or laundering effects, and measurement or inspection error. For each hypothesis, write what supports it, what would contradict it, and the smallest check that could change your view. A list of common causes is not a confirmed diagnosis.
| Observed pattern | Most consistent hypothesis | Minimal check | What would change the conclusion |
|---|---|---|---|
| Puckering appears only after washing | Residual shrinkage, laundering, or pressing interaction | Compare an unwashed sewn sample with one washed under the same recorded conditions | Puckering already present before washing points back to sewing or materials |
| Puckering occurs mainly on multi-layer areas | Interlining, fusible, layer movement, or pressing | Inspect shell, interlining, and fused assembly separately where possible | The same effect on a single-layer seam weakens the layer interaction hypothesis |
| Puckering follows the entire seam | Material compression, stitch balance, or seam construction | Compare a controlled sewn sample using the same final materials | Occurrence on only one station suggests a machine or handling cause |
| Puckering runs mainly in one direction | Uneven feeding, grain behavior, or directional handling | Inspect the seam from both ends and compare fabric grain alignment | Random direction or isolated marks may indicate pressing or inspection error |
Use a low-cost verification order: inspect a sewn sample before laundering, launder one sample under the intended conditions, and then vary one sewing parameter at a time. Changing thread, tension, stitch length, and handling simultaneously may improve the appearance without revealing why. Also check for a pressed-in crease or grain distortion before classifying the mark as a shirt seam defect.
Fabric and Thread Interactions That Cause Puckering
A seam puckers when stitching compresses or displaces the fabric and the surrounding material cannot recover to a flat surface. The effect can relate to the fabric’s density, surface structure, and tolerance for local compression, as well as to thread behavior and the length of the sewn seam. Fine, dense shirting weaves often make small distortions visible, but fabric appearance alone does not identify the cause.
Fabric-driven puckering becomes more plausible when the effect persists across machines, operators, or sewing trials made with the same material combination. Tension-driven puckering becomes more plausible when the problem follows one machine, station, or setting. These are tendencies for investigation, not proof. Compare samples under controlled conditions before assigning responsibility to the fabric or equipment.
Thread selection involves a trade-off. A finer or otherwise suitable thread can reduce bulk in a delicate seam, but thread choice must still provide an appropriate balance of appearance, handling, and seam strength for that location. There is no universal thread choice for every woven shirt seam. The correct decision depends on the fabric, construction, machine setup, and expected use.
Interlining and fusibles add another source of movement. In a collar, cuff, or placket, the interlining may respond differently from the shell fabric during fusing, pressing, sewing, or laundering. If one layer changes dimensions while the other remains stable, the finished assembly may ripple even when each component looked acceptable on its own.
Evaluate the complete combination: shell fabric, interlining, thread, attachments, and sewing method. A fabric sample can appear flat before assembly, and a thread can perform acceptably in another garment, yet their final combination may still pucker. Test the actual dress shirt materials and construction. Treat fabric and thread recommendations as project-dependent choices, then use the observed pattern and controlled comparison to refine them.
Seam Construction, Machine Settings, and Feeding Causes
When fabric and thread choices appear suitable, examine how the seam is built and sewn. Seam type and stitch density affect how fabric lies: very dense stitching can compress or gather fine shirting, while a seam construction that draws fabric inward may pucker even with suitable thread. Too little stitch density can weaken seam integrity, so the choice must balance a flat appearance with the seam’s function rather than follow a universal setting.
Machine-related puckering may be concentrated at a particular station or appear after a setting change. Excessive thread tension can draw the seam tight. A needle that is blunt or unsuitable for the fabric can disturb it, and presser-foot pressure can affect how layers move beneath the foot. These are hypotheses to check against the pattern: if the same fabric behaves differently on another machine, investigate the original station and its setup.
Feeding and handling matter when layers do not advance evenly. Pulling or pushing the fabric during sewing can stretch or compress it; joining pieces of unequal length without appropriate easing can also create ripples. At an armhole, where the sleeve and body pieces meet along a shaped seam, puckering across a run may point toward easing or feeding. Check how the pieces were matched and handled before changing thread.
Location helps narrow the investigation. If a lightweight poplin collar puckers after fusing and stitching, inspect the fused assembly and pressing process as well as the sewing operation. Puckering in a placket, collar, or cuff involves multiple layers; an armhole or side seam presents different feeding and seam-length questions. The same visible symptom can therefore have different causes in different zones.
Preventing Seam Puckering Across Development and Production
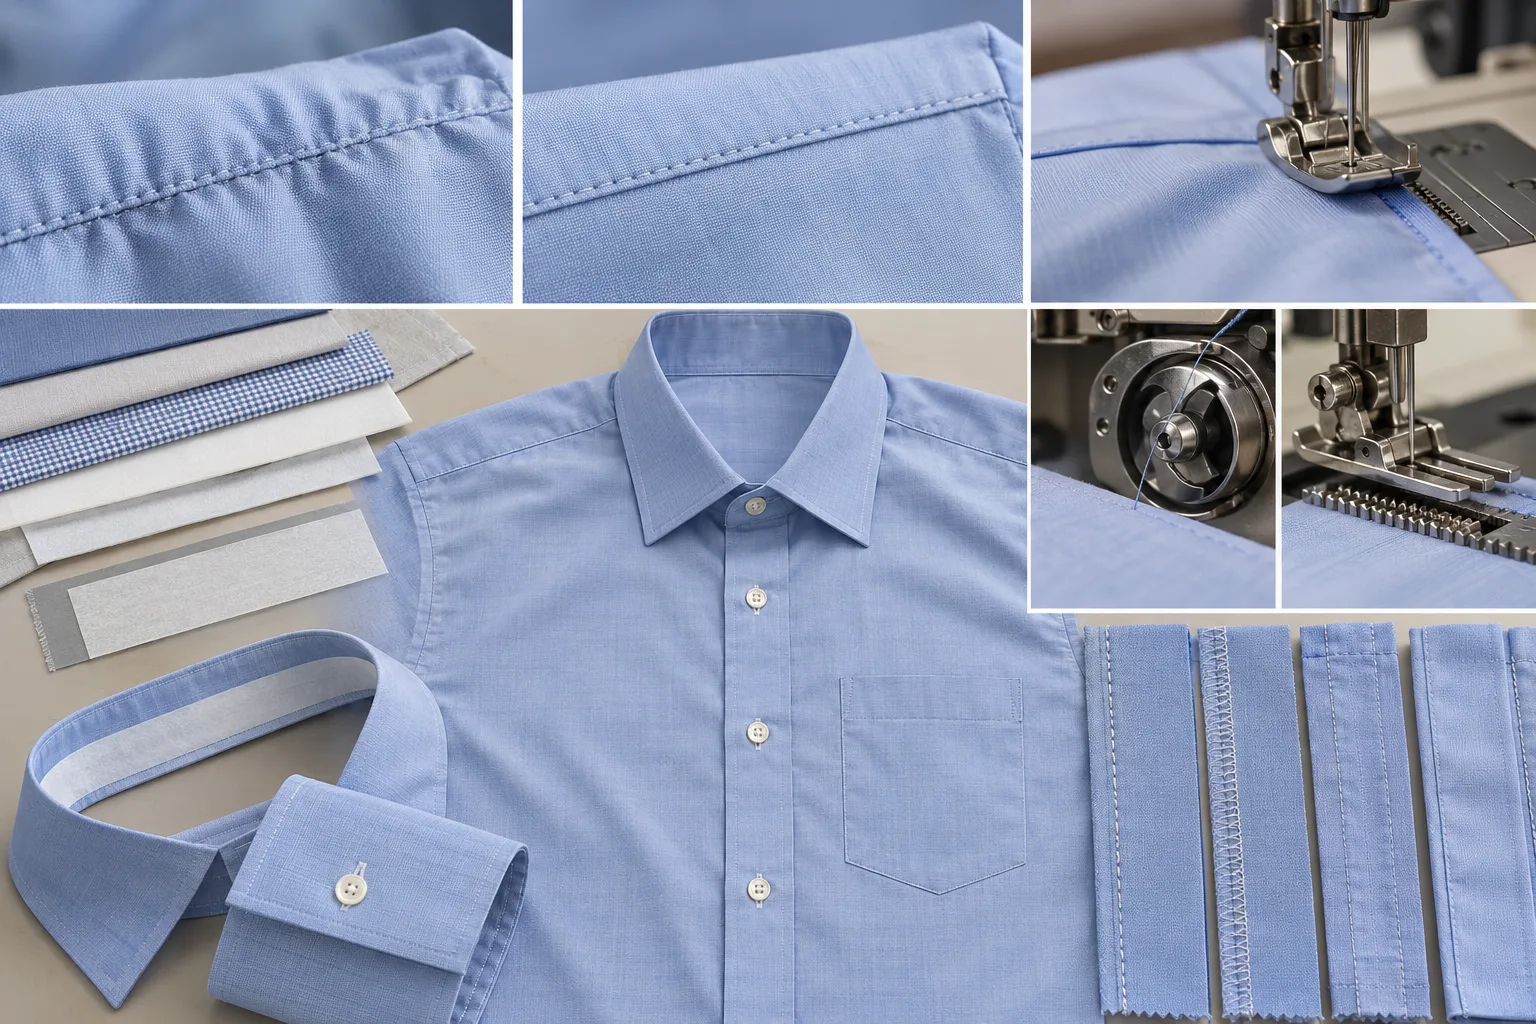
Prevention starts with the complete assembly. During development, evaluate the shell fabric, thread, interlining, and attachments together using the intended seam construction. A component that looks acceptable alone does not establish that the finished combination will lie flat. Include relevant sizes and colors in trials when their materials or construction differ; do not assume one sample represents every version.
Choose seam type, stitch density, and thread for the fabric, seam location, and expected load. These are project-specific decisions: a construction that gives a flat result still needs to preserve seam integrity. Record the selected materials and method alongside the sample so later comparisons show what changed.
In production, maintain equipment and keep settings consistent for the fabric being sewn. Train operators to handle layers without stretching or pushing them, and run a small trial when fabric lots, threads, or machines change. If puckering appears, compare the trial with an earlier acceptable sample and vary one relevant factor at a time.
Include pressing and laundering in verification. Use the intended construction pressing process, then check a sample under the laundering conditions relevant to the garment. Preserve those conditions in the record: a result under one care process does not establish performance under another. This is especially useful when puckering appears only after washing.
For inspection, describe the location and pattern consistently, then count affected garments within a clearly recorded group of inspected units. Compare counts before and after a countermeasure using the same scope and method. This is a practical way to track change, not a universal acceptance criterion. Keep the final materials and assembly method in the evaluation so the check reflects the shirt, not isolated components.

Key Takeaways for Diagnosing and Preventing Shirt Seam Puckering
Seam puckering is a symptom, not a root-cause diagnosis. Locate and describe it, keep plausible material, construction, machine, feeding, pressing, and laundering causes in consideration, then test the most relevant one without changing several variables at once. Prevention depends on evaluating the finished material and seam combination. As an educational next step, compare the same description-and-verification approach with Apparel Wiki’s related garment quality guides, or review the seam specifications relevant to your garment category.
Frequently Asked Questions
Why does puckering on my dress shirt appear only after washing?
Laundering may reveal differences in how the shell fabric, interlining, thread, or seam responds to the chosen conditions. Compare an unwashed sewn sample with one laundered under the relevant care conditions. The timing narrows the investigation but does not identify a single cause by itself.
Can the same puckering symptom come from different causes on different seams?
Yes. A layered collar or cuff raises different questions from an armhole or side seam, where feeding, easing, and seam length may matter more. Record each location separately and compare its timing and pattern rather than assuming one cause explains every seam.
Is a finer sewing thread always the fix for puckering on lightweight shirting?
No. A finer or otherwise suitable thread may reduce bulk, but puckering can also come from tension, stitch density, feeding, interlining, or pressing. Thread choice must balance appearance and handling with seam strength for the specific fabric and construction.
How can I tell whether the interlining or the shell fabric is causing puckering in collars and cuffs?
Compare the shell and interlining before assembly, then inspect samples made with the final combination and pressing process. If the issue appears only after fusing or assembly, investigate how the layers interact. A single component check cannot confirm the root cause in the finished garment.
What is the cheapest first test when a new shirt batch shows puckered seams?
First document where and how often the puckering appears, then inspect a sewn sample before laundering and compare it with an acceptable sample if available. This low-cost check helps distinguish an immediate sewing or assembly issue from one that appears after care.
Should I change several sewing settings at once to stop puckering?
No. Changing several settings at once makes it difficult to know which change affected the result. After documenting the symptom and checking the materials and seam, adjust one relevant sewing variable at a time and compare samples under the same conditions.