
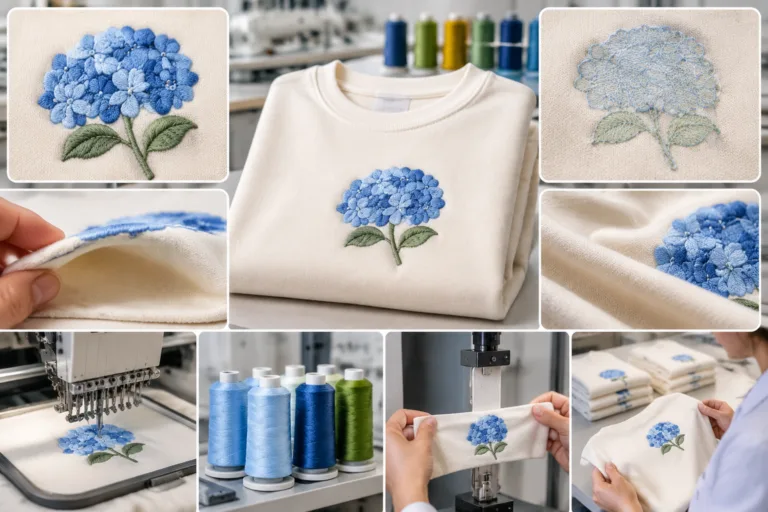
An embroidery needle selection setup is a coordinated choice of a machine-compatible needle system, needle size and point, thread, fabric, stabilizer, design file, and operating conditions. Consistent embroidery results come from matching this complete combination, not from choosing a needle in isolation. For independent apparel-production education, see the Sponsor page for Apparel Wiki’s editorial context.
The practical sequence is straightforward: confirm compatibility with the embroidery machine, identify the fabric structure and stretch, review the thread characteristics, select an initial needle configuration, and test it on the intended design and garment location. Treat that choice as a starting point until a sample shows acceptable stitch formation, appearance, fabric behavior, and wear-related characteristics. Record the material combination, needle choice, file revision, machine setup, sample result, and adjustments so the setup can be compared later.
What an Embroidery Needle Selection Setup Must Match
The machine is the first constraint. Check the applicable machine documentation and needle-maker guidance for the required needle system, installation direction, and compatible configuration before considering size or point. A needle that appears suitable for a fabric is not a useful choice if it is incompatible with the machine.
Next, describe the material rather than relying only on the artwork. Note whether the base is a stable woven, an elastic knit, a delicate surface, or a layered construction. Consider how the fabric moves at the intended garment position. Then identify the thread’s construction and apparent passage requirements, along with the design’s stitch coverage, stitch structure, density, and file revision. Stabilizer, backing, hooping, thread path, tension, trimming, and machine condition also belong in the setup record.
This sequence matters because a visible defect does not automatically identify the needle as the cause. Thread breaks or poorly formed stitches may involve thread handling, installation, machine condition, or design characteristics. Puckering or distortion may involve density, backing, hooping, tension, fabric movement, or the needle together. The needle remains an important variable, but it is only one part of the embroidery system.
To choose an embroidery needle, make an initial selection from the machine and material information, then compare a sample made with the actual thread, design, and garment location. A recommendation is not a validated production decision until the combination produces an acceptable result under the intended conditions. Keep the sample and record what changed between attempts. This turns consistency into a repeatable process rather than a memory-based adjustment.
Choose Needle Size and Point for the Fabric, Thread, and Design
Needle size affects the relationship between thread passage, fabric penetration, visible hole risk, possible thread damage, and stitch formation. The appropriate choice depends on the complete combination of machine, thread, fabric, design, support materials, and garment position. Avoid treating a size chart as a universal answer, especially when the relevant machine or needle documentation has not been checked.
Point selection should also be treated as a material-dependent decision. The point describes how the needle enters the material, but a general point-to-fabric rule cannot replace technical guidance and a controlled sample. A stretch knit may require close attention to fabric movement and recovery. A stable woven may place greater emphasis on surface appearance and penetration marks. A delicate surface may make visible holes or thread damage more important. Dense coverage may increase the importance of stitch structure, support, and the interaction between repeated penetrations and the fabric.
| Observable fabric or design input | Likely implication | Initial selection direction | Variables that could change the decision |
|---|---|---|---|
| Stable woven fabric | Fabric movement may be limited, but penetration marks and stitch formation still require inspection. | Start with a machine-compatible configuration suited to the thread and fabric structure. | Fabric weight, finish, thread construction, density, backing, and garment location. |
| Elastic knit fabric | Stretch and recovery can affect registration, distortion, and the apparent suitability of the needle. | Evaluate the needle with the actual stabilizer approach and movement expected at the garment location. | Stretch direction, support, hooping, design coverage, stitch length, and laundering expectations. |
| Delicate or easily marked surface | Visible holes, surface damage, and thread abrasion may become higher priorities. | Use authoritative point and size guidance as the starting reference, then inspect a real sample closely. | Surface finish, thread size and construction, backing, stitch density, and repeated penetrations. |
| Dense embroidered coverage | Repeated needle entry and concentrated stitches can increase fabric deformation or bulk. | Assess the needle together with the design file, support materials, and stitch structure. | Density, stitch length, garment position, tension, hooping, and fabric stability. |
The same artwork may need different support or path treatment on elastic and stable base fabrics. Thread size and construction, stitch length, backing, garment location, and any required care evaluation can change the apparent suitability of the initial needle choice. This table is an editorial comparison tool, not a certified needle chart or a substitute for machine and needle-maker instructions.
Set Up a Repeatable Needle Selection Test
Begin with a sample that represents production. Use the intended fabric or garment location, thread, stabilizer or backing approach, design file, orientation, and hooping method. A generic swatch can help isolate a question, but it may not reproduce the movement, seams, layers, or support conditions present on the garment.
Before sewing, record the machine-compatible needle choice, thread details, fabric and backing combination, design-file revision, hooping approach, and relevant machine settings. After sewing, record observations rather than assigning an automatic diagnosis. Check for thread breaks, fraying, skipped or malformed stitches, visible holes, pull-in, puckering, distortion, underside condition, bulk, and tactile changes. Note the exact adjustment made before the next sample.
Change one meaningful variable at a time where practical. Start with the most plausible contributor based on the observation and the setup record, then retain the comparison sample. Changing the needle, tension, backing, and design density together may produce a better-looking result, but it prevents a reliable conclusion about which change mattered. The purpose of this workflow is comparison, not proof that one adjustment works in every application.
- For a lightweight knit, inspect the relaxed sample and the embroidered area during relevant stretch or movement. A needle that forms acceptable stitches on a flat swatch may need reevaluation if the garment location distorts or the thread behavior changes.
- For a stable woven, inspect penetration marks, stitch formation, thread damage, and fabric deformation at the actual position. If the result is unacceptable, compare the needle with the thread, support, design structure, and machine condition before assigning the cause.
Keep a representative sample with its record, including the file revision and material combination. The design file defines stitch paths, but it is not automatically a production-ready program for every fabric. Material-specific development and sample review remain necessary. This educational process helps teams compare specifications and results; it does not provide production approval or guarantee a manufacturing outcome.
Evaluate Consistency Beyond the Front Appearance
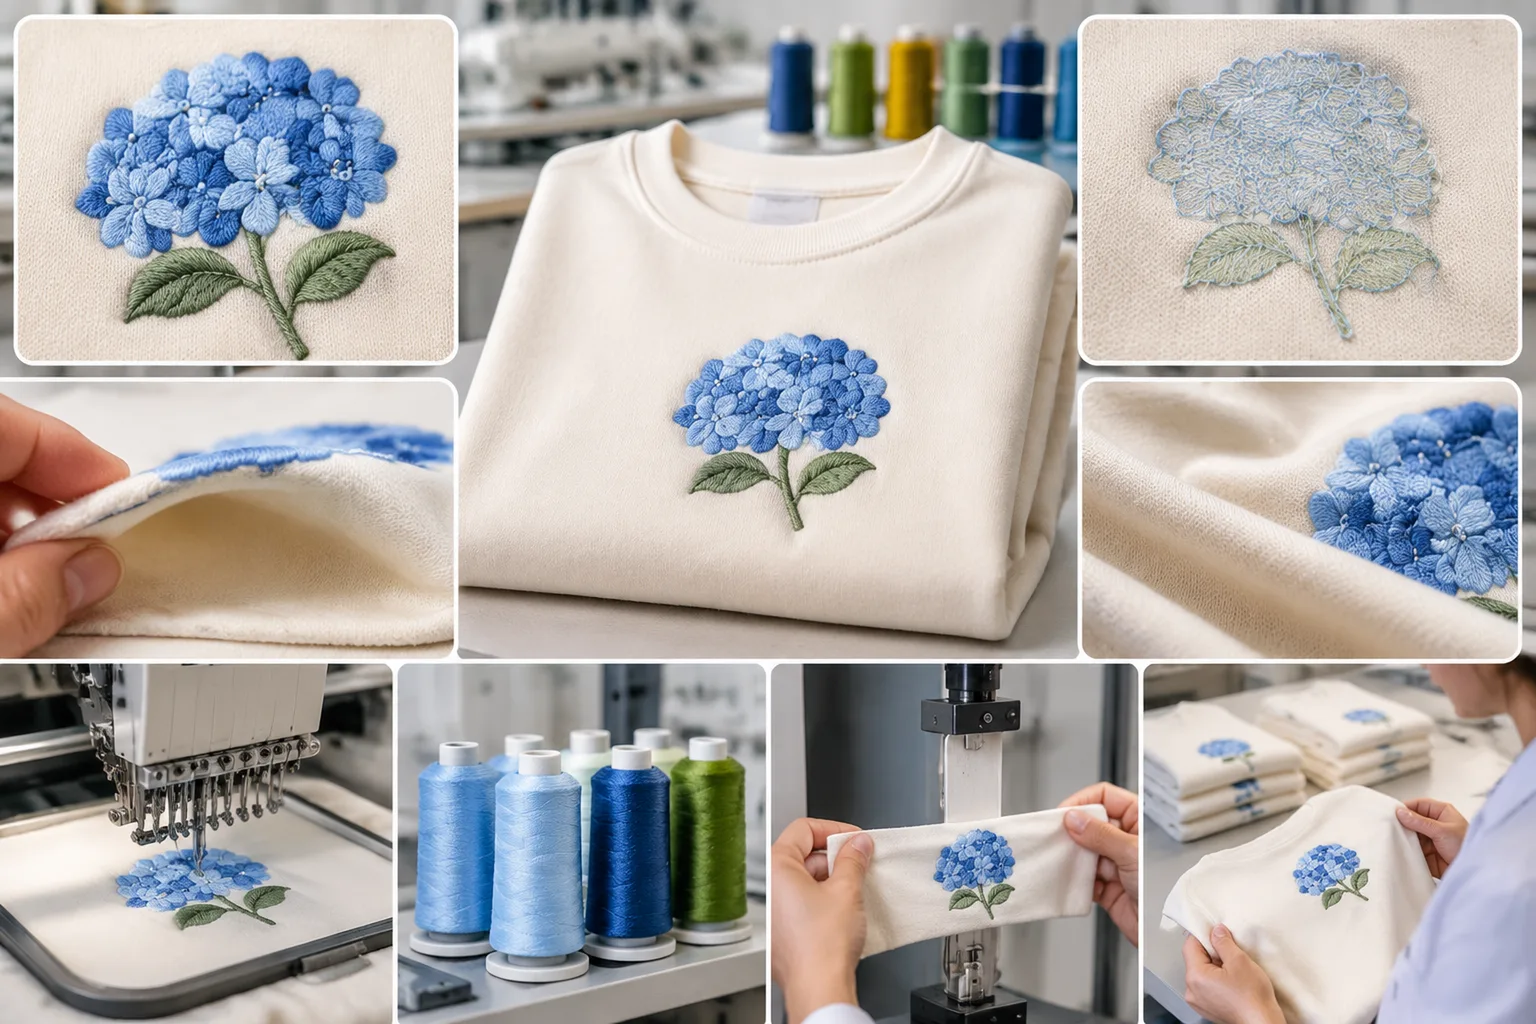
A consistent embroidery setup must work beyond a photograph of the garment front. Review the embroidery while the garment is relaxed, inspect the reverse side, and assess the area during relevant movement. These checks help separate a visually acceptable sample from one that may distort, feel bulky, or behave differently in wear.
On the front, check stitch coverage, registration, thread damage, surface holes, distortion, and the relationship between the embroidered area and the surrounding fabric. Look for changes that repeat across samples rather than treating one isolated irregularity as proof of a needle problem. The needle, thread, design density, stabilizer, backing, hooping, tension, and machine condition can all affect the result.
On the reverse, inspect exposed backing, floating threads, trimming, hard edges, and excess bulk. Consider whether any part could rub the wearer or restrict movement at the garment location. A large embroidered area, a backing edge, or loose thread may have a different effect near the skin than it does on a worktable. A front-side image cannot establish softness or comfort.
Puckering and fabric deformation deserve controlled comparison. They may reflect the combined effect of density, backing, hooping, needle, and tension. Reducing density or changing tension can alter one sample, but neither adjustment is a universal correction. Compare samples while keeping other meaningful variables stable, then record what changed and what improved.
- Front appearance: Check coverage, registration, thread condition, holes, and surface distortion.
- Fabric deformation: Inspect puckering, pull-in, stretching, and recovery after the garment is relaxed.
- Stitch security: Look for loose or poorly formed stitches and unwanted movement at the embroidery edge.
- Back comfort: Check backing edges, floating threads, trimming, bulk, and possible friction points.
- Movement: Review the area during relevant stretch or garment motion, especially on elastic knits.
- Repeatability: Compare more than one controlled sample before treating the setup as dependable.
Care or laundering evaluation belongs in the review when the garment specification requires it. Treat the result as an observation from the evaluated combination, not as a general durability or performance claim. If the setup changes, the care assessment may need to be repeated.
Troubleshoot Needle-Related Problems Without Overcorrecting
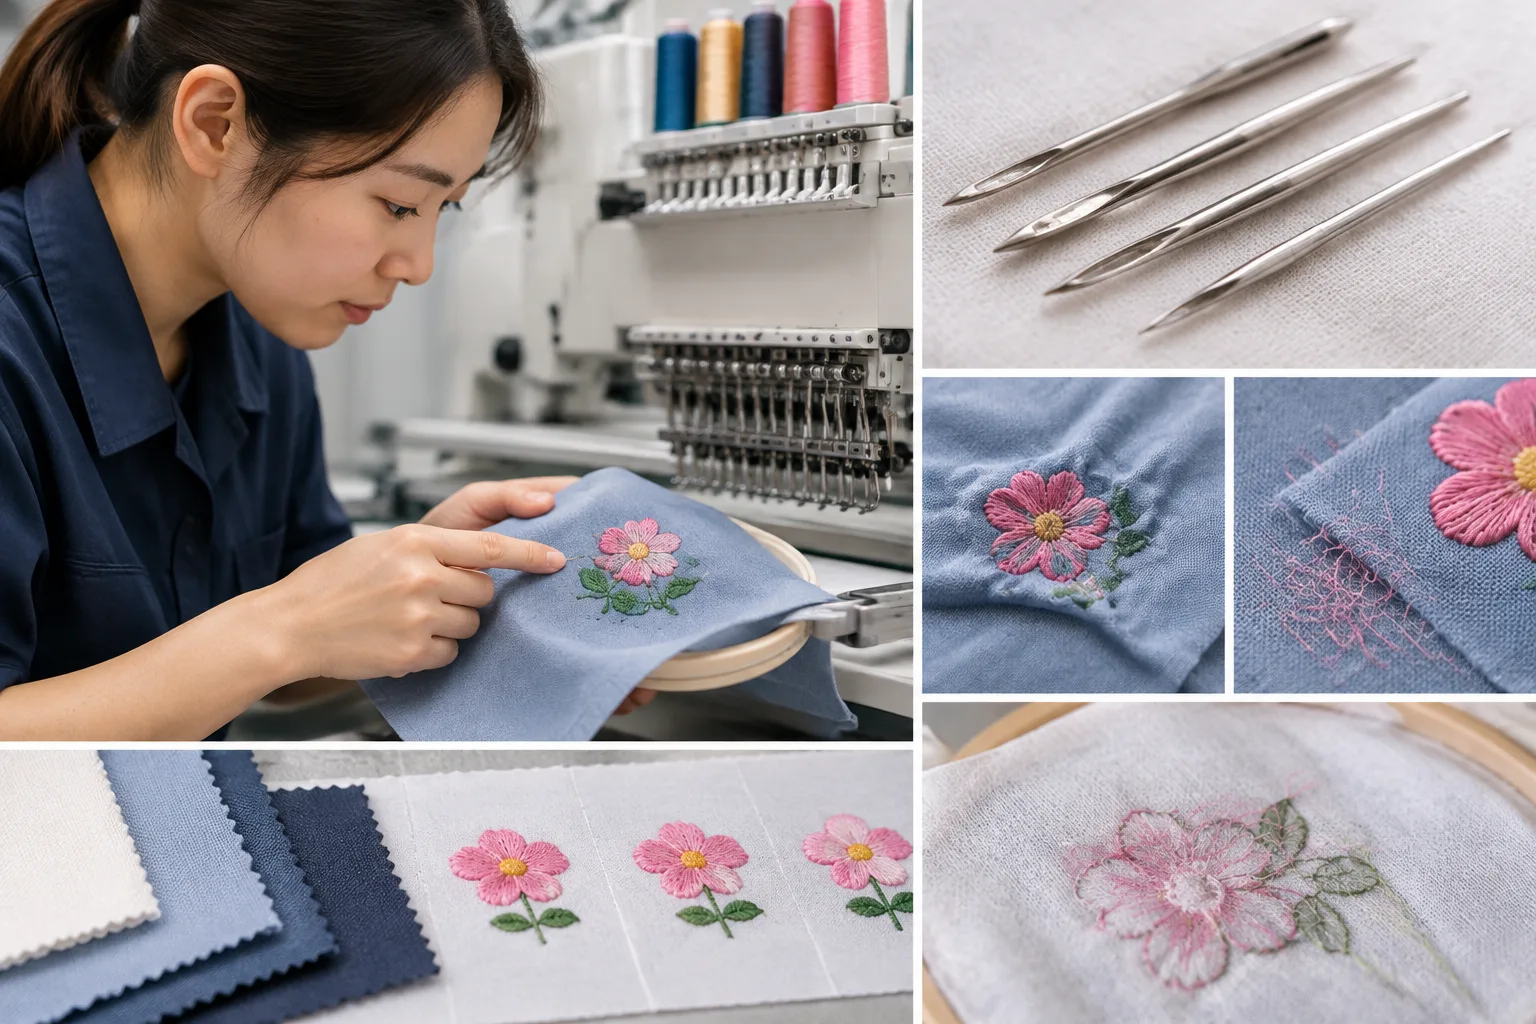
Embroidery defects are symptoms, not automatic diagnoses. Start with the observation, then compare the needle with other plausible contributors. This approach keeps embroidery needle troubleshooting focused and prevents a replacement needle from concealing a mismatch elsewhere in the setup.
| Observation | Needle-related possibility | Other contributors to compare |
|---|---|---|
| Repeated thread breaks or fraying | Compatibility, damage, wear, installation, or thread passage may warrant review. | Thread path, thread condition, tension, machine timing, and maintenance. |
| Skipped or malformed stitches | Needle penetration or installation may be contributing. | Fabric movement, hooping, design structure, thread path, and machine condition. |
| Visible holes or puckering | The needle may be unsuitable for the material combination. | Density, backing, hooping, tension, fabric stability, and design file. |
| Underside bulk or discomfort | Needle choice may affect the structure of the stitched area. | Backing edges, floating threads, trimming, coverage, and garment location. |
| Registration shift | Needle changes alone may not address the movement. | Hooping, fabric movement, stabilizer, design paths, and machine condition. |
Before interpreting the sample, check that the needle is compatible with the machine, correctly installed and oriented, and free from visible damage. Follow the applicable machine and needle documentation for installation, replacement, and maintenance. Do not apply a universal replacement interval when operating conditions and documentation may differ.
Change one major variable at a time where practical. If thread breaks continue, compare the thread condition and path alongside the needle. If stitches skip, review fabric movement, hooping, and machine condition as well as penetration. If puckering appears, compare backing, density, tension, hooping, and fabric deformation instead of assuming that a different needle will solve it.
Changing the needle, tension, backing, and design density together may produce a better-looking sample, but it prevents a reliable conclusion about which change mattered. Retain the earlier sample and setup record. A controlled comparison is more useful than an unexplained improvement that cannot be repeated.
Stop making independent adjustments when the available samples do not isolate the cause. Preserve the records, identify the unresolved observation, and seek qualified equipment or technical guidance. Apparel Wiki provides independent garment-production education; it is not a repair provider, laboratory, manufacturer, or production-approval service.
Document the Final Setup and Educational Next Steps
Keep a concise embroidery needle selection checklist with the machine-compatible needle choice, thread, fabric, stabilizer or backing, garment location, design-file revision, hooping approach, settings, sample observations, and unresolved variables. Retain a representative sample with the record. Before approving a repeatable setup, compare the actual material specification and applicable machine or needle documentation, then use the relevant project evaluation method for any required care or performance review.
Frequently Asked Questions
Can one embroidery needle work for every apparel fabric?
No single choice should be assumed to suit every apparel fabric. Machine compatibility is a prerequisite, but fabric structure, stretch, thread, design density, backing, and garment location can change the starting choice and the sample result.
How do fabric stretch and embroidery density affect needle selection?
Stretch can increase the importance of fabric movement, support, distortion, and recovery during evaluation. Higher design coverage can increase deformation or bulk. Review the needle with the backing, hooping, density, tension, and actual garment location rather than judging the artwork alone.
What should be checked when embroidery thread keeps breaking?
Check needle compatibility, installation, damage, wear, thread condition, and thread path. Also review tension, machine condition, design structure, fabric movement, and backing. Thread breaks are a symptom with multiple possible contributors, not proof that the needle alone is responsible.
Does changing the needle alone fix embroidery puckering?
Not reliably. Puckering can involve the combined effect of density, backing, hooping, needle, tension, fabric stability, and design structure. Change one meaningful variable at a time where practical and compare the result with the original sample.
How should an embroidery needle setup be documented for repeat samples?
Record the machine-compatible needle choice, thread, fabric, backing or stabilizer, garment location, design-file revision, hooping approach, relevant settings, visible observations, and adjustments. Keep a representative sample so later material or design changes trigger a fresh evaluation.