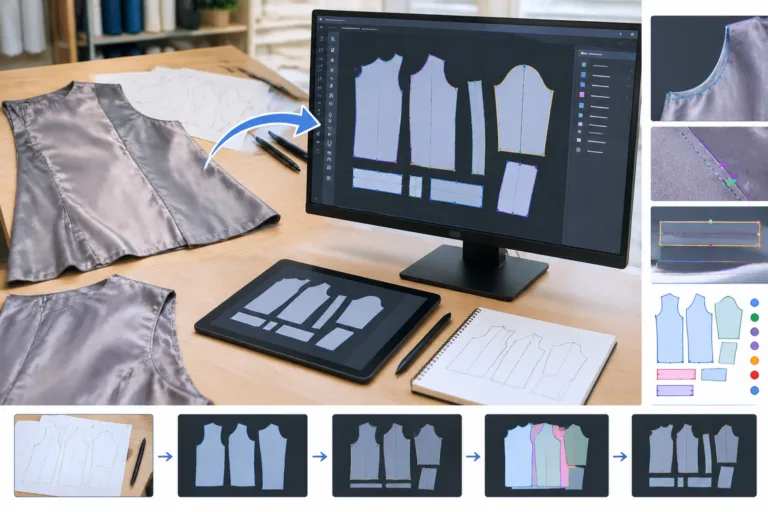
Digital lining patterns are computer-based representations of lining pattern pieces used for editing, storage, annotation, grading, marker preparation, and production communication. Moving a paper lining pattern into a digital workflow is therefore a controlled transfer of pattern information, not simply a tracing of the outside edge. The conversion should preserve the geometry and construction references that allow the piece to be understood, checked, and used with its adjoining pieces. Apparel Wiki is an independent educational publication; our Sponsor information explains the separation between sponsorship and editorial guidance.
The practical goal is a digital production asset that remains traceable to the paper source. Digitizing does not automatically improve fit, correct balance, resolve lining ease, or prove how the lining will behave in a finished garment. Those decisions require pattern-making judgment and, where appropriate, physical checking.
What Are Digital Lining Patterns?
A digital lining pattern is a digital pattern piece that represents the shape, construction information, and intended relationships of a paper lining pattern. Depending on the system and company workflow, it may support later editing, grading, annotation, marker preparation, or communication between pattern makers and production teams. The exact tools, data structures, and file outputs vary by software and organization, so no single platform or file format should be treated as universal.
To convert a paper lining pattern reliably, distinguish three related references. The sewing line identifies where pieces are intended to join. Finished garment dimensions are measurements taken after the relevant construction has been completed. The cutting line defines the outer boundary prepared for cutting and may include a seam allowance beyond the sewing line. A seam allowance is an assembly allowance; it is not the same as wearing ease and should not be used as an unexplained substitute for fit or movement allowance.
The digital lining pattern should retain more than its perimeter. Depending on the piece and construction, that information can include:
- Grainlines and fold lines
- Notches, drill marks, and other internal references
- Piece name, size, cut quantity, and orientation
- Sewing lines, cutting lines, and seam allowances
- References to adjoining shell, lining, facing, sleeve, or hem pieces
- Revision notes and any known alterations from the paper source
This distinction matters because a smooth digital outline can appear complete while omitting the information needed to assemble the garment. A lining piece may also have construction-specific relationships at a neckline, armhole, vent, pleat, hem, or facing. Those relationships may not be visible from the cutting edge alone. Established pattern-making practice should be kept separate from project-dependent conventions, such as how a particular brand labels pieces or records seam allowances.
Prepare the Paper Lining Pattern Before Digitizing
Preparation begins with revision control. Confirm that the paper piece is the intended style and revision before capturing it. Record the style or reference number, piece name, size or size range, date, and revision status. If the paper pattern contains handwritten changes, taped sections, crossed-out marks, or unclear edges, record those conditions before making the digital file. A digital conversion should not conceal uncertainty in the source.
Make the paper legible and stable without changing its intended shape. Flatten or secure it using a method appropriate to the material and pattern, then check that edges, corners, notches, grainlines, fold indications, and internal marks are visible. Avoid treating preparation as cosmetic cleanup. A damaged corner or faint notch may carry construction information, and replacing it with a guess can create an undocumented pattern change.
Separate lining-specific information from shell-pattern information before capture. Review any lining ease, pleats, vents, turn-of-cloth areas, hem relationships, or facing relationships shown on the source. These details may be recorded differently from the main outline, but they can affect how the lining joins or moves within the garment. Their treatment should follow the established project method rather than an assumed universal rule.
Check the adjoining pieces or their references as well. A lining pattern cannot always be evaluated in isolation because its sewing edges, hem, neckline, armhole, and other boundaries relate to the garment system. Confirm which shell, facing, sleeve, or adjacent lining pieces are associated with the source. Also record known alterations, previous fitting changes, and any missing information so later reviewers can distinguish source evidence from interpretation.
Capture the Pattern Geometry in a Digital Workflow
There are several possible routes from paper to digital pattern: manual digitizing, scanning or photographing followed by tracing, and direct reconstruction in pattern CAD. Each route can be appropriate in a different setting. The choice depends on the available system, the condition and format of the paper source, the company’s file-management process, and the level of traceability required. The method itself does not guarantee a correct result.
Whatever route is selected, preserve scale, reference points, curves, corners, notches, grain direction, and relationships between pieces. Establish a reliable scale reference according to the chosen system before capturing the geometry. When working from an image or scan, keep the guidance general unless the relevant software and capture method provide documented controls for scale and distortion. Do not assume that a visually convincing outline has retained its physical dimensions.
A useful piece-by-piece sequence is to:
- Identify the source piece and establish its scale and orientation.
- Capture the sewing line or other primary reference geometry.
- Record internal marks, grainlines, folds, notches, and construction references.
- Define the cutting line and seam allowances in accordance with the project’s pattern practice.
- Save the initial conversion separately from later corrections or production edits.
Capturing the sewing line or reference geometry before relying on the outer cutting edge helps preserve how the piece is intended to join. Tracing only the cutting perimeter can lose seam relationships, balance points, fold information, or the distinction between an assembly allowance and the actual garment dimension. This is especially important when a lining piece has a different construction treatment from the shell.
Keep the original digital capture identifiable as a source conversion. Later changes to curves, seam allowances, ease, balance, or construction should be documented as edits rather than silently absorbed into the first file. That separation gives the team a way to compare the digital piece with the paper pattern and determine whether a discrepancy came from capture, cleanup, or an intentional pattern revision.
Clean and Annotate the Digital Lining Pieces
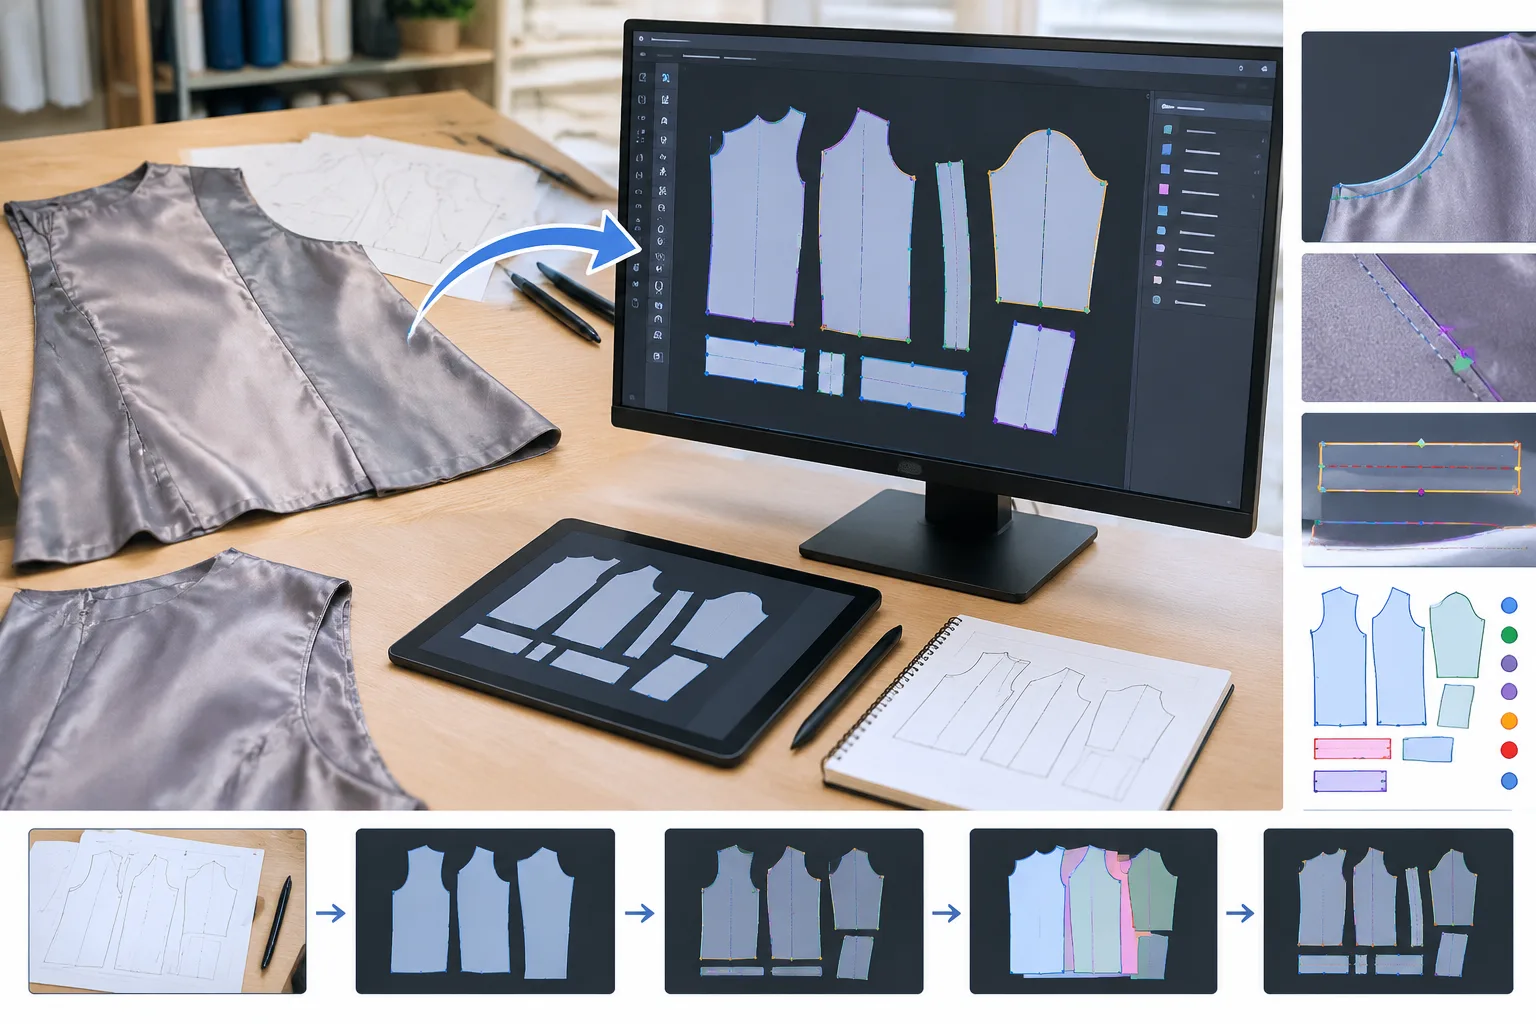
After capture, inspect each piece as geometry and as a construction document. Look for uneven curves, sharp or softened corners, broken line joins, duplicate points, stray marks, and abrupt seam transitions. A visually smooth outline is not enough if the sewing line has changed or if a corner no longer relates correctly to its adjoining piece.
Check matching edges along the sewing line, not only along the outer cutting perimeter. Corresponding edges should be reviewed in sequence, including their notches, corners, balance points, and intended direction. This is especially important for armholes, necklines, side seams, sleeve connections, hems, vents, pleats, and facings, where a small local edit can affect another piece.
Retain or recreate the information another pattern maker or production partner needs to interpret the piece: grainlines, fold indications, notches, drill marks, piece names, cut quantities, size information, and revision notes. These annotations help distinguish a usable digital lining pattern from an unlabelled outline that may be difficult to approve, grade, place, or communicate.
Keep lining-specific decisions visible. Lining ease, turn-of-cloth areas, hem relationships, and construction allowances depend on the style, materials, and assembly method, so they should not be hidden inside a generalized outline. If you change a seam allowance, curve, ease treatment, or adjoining relationship, record the change as an edit. The digital file should show whether a feature came from the paper source or from later pattern development.
Verify Scale, Sewing Relationships, and Garment Behavior
Verification begins with a digital review. Confirm the piece count, names, sizes, grainlines, internal marks, seam allowances, and revision status. Check that the working file contains the intended pieces and that no construction mark disappeared during cleanup. Keep the initial conversion available for comparison so corrections can be traced back to a source rather than treated as unexplained geometry.
Walk through every matching edge in a consistent order. Compare seam relationships, notches, corners, and balance points, including sleeve and armhole connections where they apply. A lining can appear correct when viewed piece by piece but still create a problem when assembled with the shell or with another lining component. Local changes may propagate to adjacent areas, so related pieces need review after a significant adjustment.
When appropriate, make a controlled-size plot or print and compare it with the paper source using a documented reference dimension. This provides a practical check on scale and reveals issues that may be less obvious on screen. The method, equipment, and file output will vary by CAD system and company process; the important point is to compare against a known reference rather than relying on visual confidence.
Physical checking becomes more important when the conversion affects fit, lining movement, turn-of-cloth, ease distribution, or complex construction. A test assembly or sample can reveal behavior that geometry alone cannot establish. If grading or multiple sizes are included, review more than one size where the project warrants it. Approval of one base size does not prove that every size has the same balance or construction behavior.
Record discrepancies, corrections, the person responsible for approval, and the revision date. Keep geometric conversion approval separate from fit approval and production release. Those are related decisions, but they answer different questions: whether the digital file matches the source, whether the garment fits and behaves as intended, and whether the file is ready for the applicable production workflow.
Manage Revisions, Limitations, and Next Steps
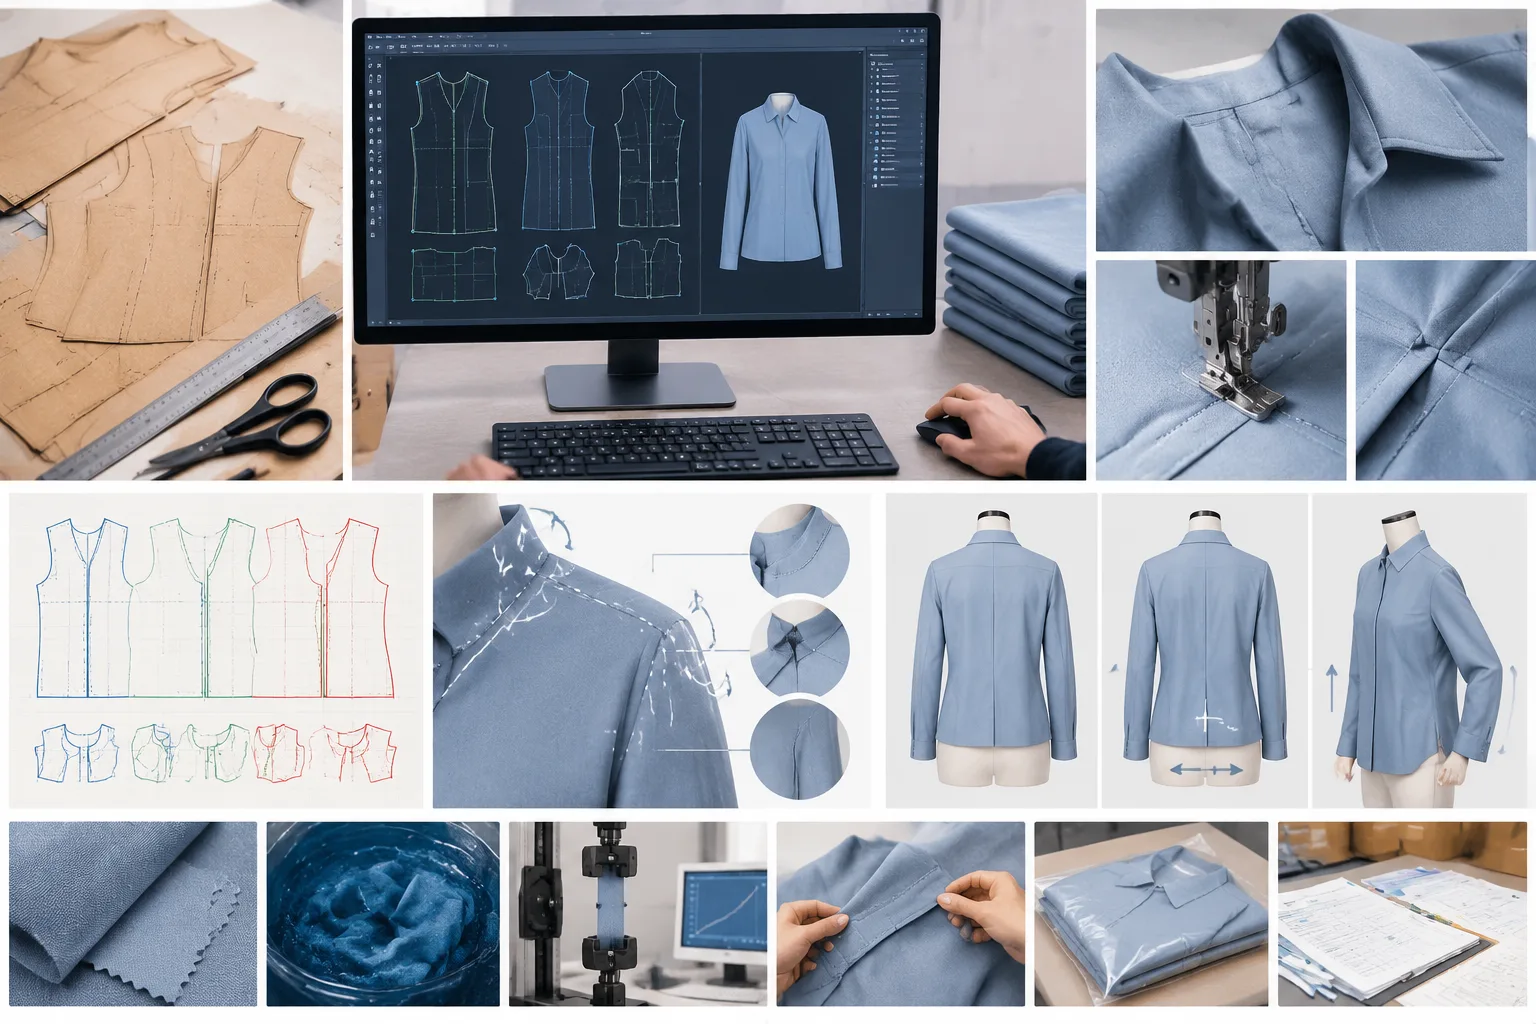
Use a naming and revision system that connects each digital piece to the style, paper source, size range, and approval status. The exact format is company-dependent, but the record should make it clear whether a file is a source conversion, a corrected pattern, a graded set, a marker input, or a production release. Avoid replacing an earlier version without preserving the history needed to understand what changed.
Digital lining patterns improve access, editing, storage, and communication, but conversion does not automatically improve the pattern. A digital file cannot by itself confirm fabric response, shrinkage, lining friction, seam performance, balance in motion, or final garment fit. Where material shrinkage matters, use verified material-specific results and apply any compensation by direction and component. Do not enlarge the entire pattern indiscriminately.
A practical next step is to complete a digital audit, compare the file with the paper source, and decide whether a plot, sample assembly, fit review, grading review, or controlled release is appropriate. Apparel Wiki provides independent educational guidance for this process; it is not a pattern-making service, factory, laboratory, certifier, or OEM/ODM supplier.
Can a paper lining pattern be scanned directly into a digital pattern system?
It can be captured through scanning or image-based tracing when the workflow preserves scale, geometry, internal marks, and piece relationships. The result still needs cleanup and verification, because a captured image is not automatically a production-ready pattern.
Which markings must be preserved when digitizing a lining pattern?
Preserve grainlines, fold indications, notches, drill marks, piece names, cut quantities, size information, and relevant construction references. Also retain notes that explain lining-specific relationships or known alterations.
Should seam allowances be digitized with the lining pattern?
Usually, the workflow should distinguish the sewing line from the cutting line and seam allowance. Whether allowances are stored in the same file or generated within the CAD system depends on the project and company process, but they should remain identifiable rather than confused with wearing ease.
How do you check that digital lining pattern pieces will sew together correctly?
Compare the intended matching sewing lines in sequence, checking seam relationships, notches, corners, and balance points. Review adjoining pieces after local edits, then use a controlled plot or sample assembly when the construction or garment behavior warrants physical confirmation.
Does converting a lining pattern to digital automatically improve its fit?
No. Digitizing transfers a physical pattern into a digital workflow. It may make review and editing easier, but fit, balance, lining movement, and construction still require appropriate pattern-making evaluation and, where needed, physical sampling.
When should a digital lining pattern be printed or tested in a sample garment?
Use a print or plot check when scale or source comparison needs confirmation. Test a sample when the conversion affects fit, ease distribution, turn-of-cloth, material behavior, complex construction, or a production decision that cannot be established from screen geometry alone.