A sleeve setting seam allowance is the fabric beyond the sewing line where a sleeve joins the garment’s armhole, also called the armscye. A consistent, workable allowance can make the seam easier to handle, but it does not create wearing ease or repair a mismatched sleeve pattern. This independent Apparel Wiki guide explains the pattern and production considerations; the Sponsor page describes the publication’s editorial independence.
What sleeve setting seam allowance means
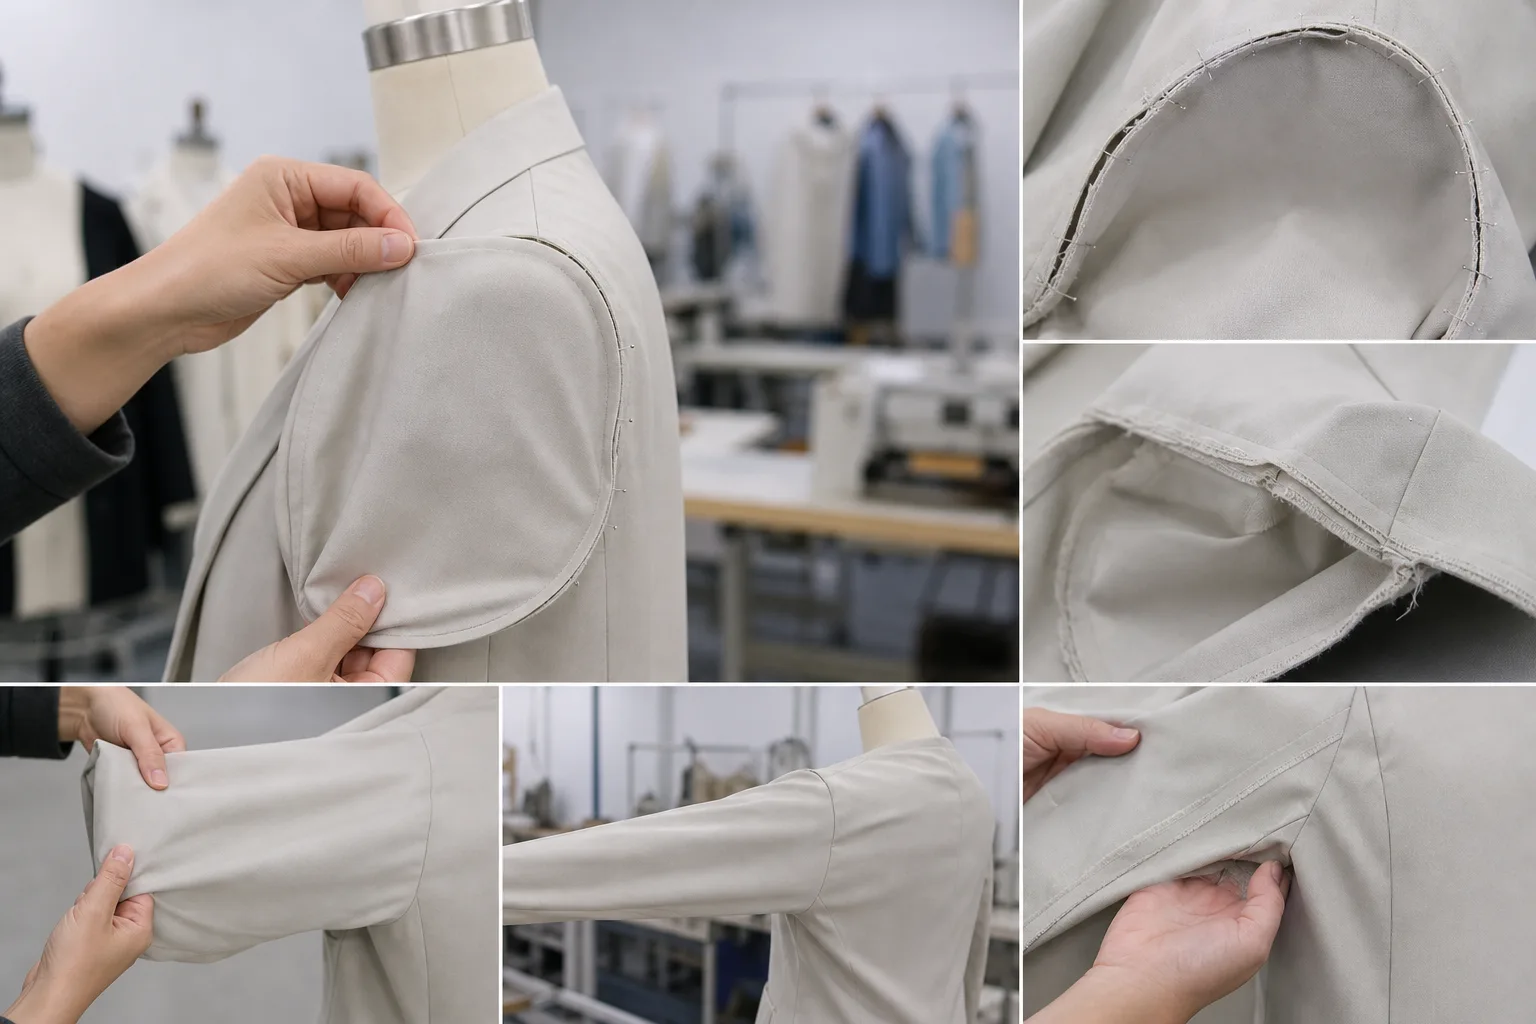
Setting a sleeve means joining it to the garment around the armscye. The sleeve seam allowance and armhole seam allowance are the portions of the pattern outside the intended sewing lines, available for stitching and any planned seam treatment. The sewing line is the reference for where the pieces join; the cutting line is the outer edge of the fabric after cutting.
These references are not interchangeable with the finished garment measurement. The finished measurement describes the garment after construction, while the pattern’s sewing line describes the intended joining path. The cutting line includes the allowance beyond that path. Keeping these distinct makes it possible to check the intended dimensions even when the allowance changes.
Seam allowance is also different from wearing ease. Ease is part of the garment’s shape and fit; allowance is material for construction. Adding width outside the sleeve-cap sewing line does not, by itself, add ease between the sleeve and armscye. Nor does trimming or widening that allowance correct a sleeve-cap shape that is wrong for the armhole. The practical aim is enough consistent material to handle and sew the seam while preserving the intended sewing line and finished dimensions.
How the allowance affects sleeve setting
During sleeve setting, a clear sewing-line reference helps the operator align the sleeve and armscye and keep the stitch line where the pattern intends. Consistent allowance edges can make the fabric easier to guide and the seam easier to press or finish. By contrast, an uneven edge or a hard-to-see reference may complicate handling, particularly around a curved sleeve cap. These are possible effects, not guarantees: the actual fabric and sewing operation matter.
Compare the sleeve and armscye along their sewing lines, not by comparing the outside edges of the cut pieces. Those cutting edges reflect allowance choices as well as the pattern shape, so they can differ even when the sewing lines are meant to join correctly. Matching the wrong reference can shift the seam position or disturb how the sleeve is eased into the armhole.
Allowance width also interacts with fabric stability, thickness, seam finish, pressing, and access under the machine foot. More material may offer room to handle or finish an edge, but it can also add bulk or make the seam harder to press smoothly. The best balance is specific to the garment and process. New Mexico State University’s sleeve-setting instructions describe matching construction marks and handling the sleeve-cap allowance when easing the sleeve to fit.
Keep stitch type separate from seam construction. A stitch describes how threads form a seam; the seam construction describes how fabric layers are joined. A different stitch may be used on the same joining seam, but changing it will not automatically resolve a pattern mismatch, unclear marking, or awkward allowance. Diagnose the cause before changing the stitch or pattern.
Pattern variables that need to agree
Start by checking the sleeve-cap sewing line against the corresponding armscye sewing line. Confirm that their lengths and sections relate as intended for the pattern and construction method. Ease, if included in the design, needs to be distributed deliberately; it is not a reason to enlarge a cutting edge or seam allowance at random. The sewing lines remain the relevant references for assessing the relationship.
Then review the features that guide placement: front and back balance, grain direction, shoulder position, underarm points, and any notches or other marks. These references help orient the sleeve and match corresponding sections. They support alignment but do not replace checking the sewing lines themselves. NMSU’s construction guidance on matching sleeve seams also illustrates the role of matching points during assembly.
Keep the seam line clear on the pattern and derive the cutting line from it. If you alter the sleeve cap or armhole locally, recheck the related sections and neighboring balance, including the side seams and how the sleeve hangs. A local edit can affect more than the cut edge. After each meaningful pattern change, measure the relevant sewing lines again rather than assuming the original relationship still holds.
Choosing an allowance approach for the garment
There is no universal sleeve allowance that suits every garment. Make the choice for the actual fabric, seam finish, pressing method, machine setup, and intended appearance. Consider fabric thickness and edge behavior, as well as whether the operator can guide the curved seam and reach it comfortably during the planned assembly. Consistent marking and a reliable reference may help more than simply making the allowance wider.
Think through the trade-off: additional material can provide handling room, but may create bulk, a visible ridge, or a harder-to-press area. A narrow or inconsistently cut allowance may be difficult to control or finish as intended. Extra layers, reinforcement, or folded construction can also add thickness or stiffness. Their suitability depends on the garment and the specific need; they are not automatic fixes for a difficult sleeve setting seam.
| Project factor | What to consider |
|---|---|
| Fabric | Thickness, stability, and how the cut edge behaves during handling. |
| Construction | Seam finish, pressing plan, machine access, and assembly sequence. |
| Product result | Appearance, comfort, and whether added layers create unwanted bulk. |
For example, a hypothetical stable woven sleeve may be straightforward to guide with a clear, consistent allowance. A bulky or extensible fabric may behave differently and require a sample to assess handling and finish. These are decision-making examples, not specifications. Apparel Wiki is an educational publication, not a factory or manufacturing supplier; verify the chosen approach with the actual pattern, materials, and operation.
A practical pattern-to-sample workflow
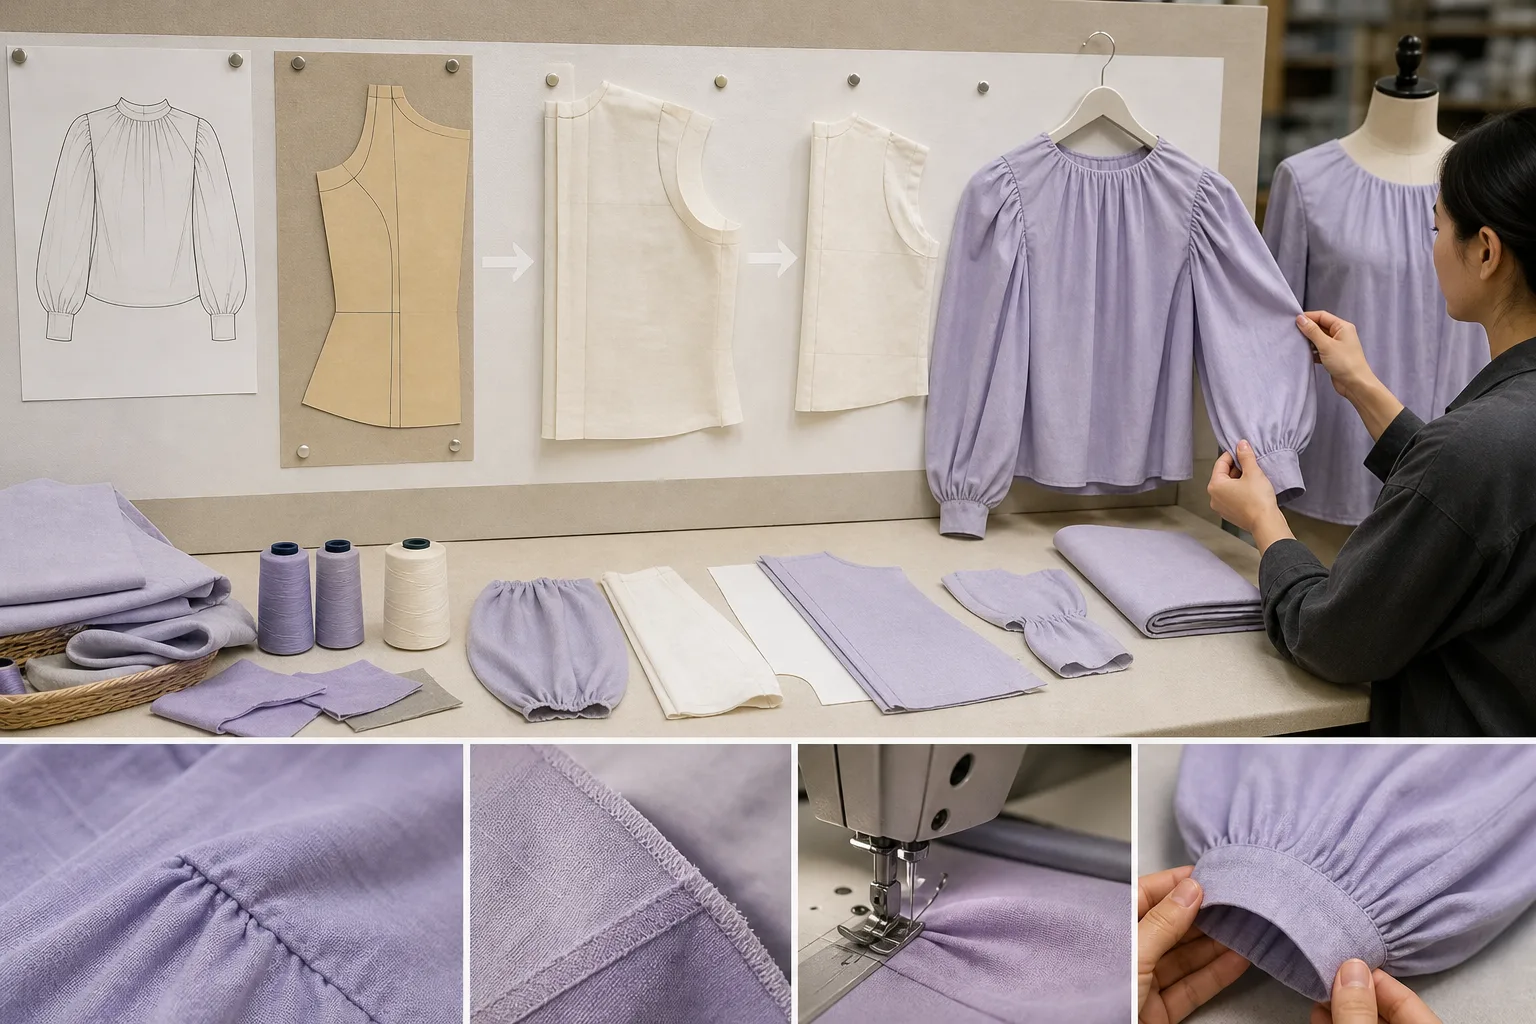
Start with the intended sewing lines, not the cutting edges. Check that the sleeve-cap and armscye sections correspond as planned, and confirm their balance before changing an allowance. If the lines do not match as intended, resolve that pattern relationship first; adding or removing material at the cut edge can disguise the issue without correcting it.
Next, verify the alignment references needed for the chosen construction method. These may include front and back notches, the shoulder point, underarm points, and any other marks used to distribute the sleeve cap. Keep the sewing line visible on the pattern or transfer it clearly to the sample. Marks help guide alignment, but they do not replace checking the actual seam lines.
Apply the planned allowance consistently from the sewing line, then review curves, transitions, corners, and nearby edges. Allow for any different treatment needed where the seam will be finished or pressed. Consider the full assembly sequence, too: setting a sleeve before or after joining other seams can change access and the opportunity for adjustment. The best sequence depends on the garment and equipment.
Make a representative sample using the intended fabric, construction, and operation. Follow the proposed sewing sequence and observe whether the sleeve feeds evenly, the marks remain useful, and the stitch line stays controlled. Check how the sleeve hangs and whether the seam can be finished and pressed as intended. A sample verifies this particular pattern-material-process combination; it is not a universal rule for other styles or fabrics.
Record the pattern version, fabric, allowance treatment, construction sequence, and observed result. Note any handling difficulty and the next proposed revision. This makes the decision easier to reproduce and helps separate a pattern change from a process change when comparing samples.
How to evaluate an easier sleeve setting seam
Judge the result at the sewing line as well as at the finished garment. Check sleeve-cap and armscye alignment, the intended balance and sleeve pitch, and whether there is puckering or unintended fullness. Look for seam bulk, fabric damage, broken stitches, or slippage when those issues are relevant to the product. Appearance, operator feedback, and measured test results are different kinds of evidence; record them separately.
If you compare handling time or rework, keep the operator, machine setup, fabric preparation, and sewing operation consistent where practical. A single informal observation can help identify a problem, but it does not establish a general production benchmark. When wear, finishing, or laundering matters, assess the sample under the relevant conditions rather than assuming the first inspection tells the whole story.
Use a simple issue log to connect what you observe with what to investigate. For example, uneven fullness may point to a mismatch in the sewing lines, inconsistent distribution, or handling during sewing. Excessive bulk may instead call for reviewing the allowance and finish. These are diagnostic possibilities, not automatic explanations; inspect the sample before choosing a correction.
When a seam fails, consider the material and seam together. A stronger thread alone may not resolve a problem if the fabric slips, tears, or is damaged during sewing. Likewise, reducing bulk may improve appearance but create a different handling or finishing concern. Tie each change to an observed mechanism, then sample again to see whether it helps without introducing another problem.
Limits, troubleshooting, and next steps
An allowance adjustment cannot reliably correct an incorrect sleeve-cap shape, mismatched sewing lines, unsuitable grain direction, poor balance, or an inappropriate distribution of sleeve ease. It also cannot solve every access or handling issue caused by the machine setup or assembly sequence. When setting a sleeve is difficult, review the pattern relationship, marking, fabric behavior, operator method, and seam finish before changing dimensions.
Where practical, change one meaningful variable at a time and compare samples under similar conditions. If the sewing lines are wrong, revise the pattern and recheck the related sleeve and armhole measurements. If the lines match but the operation is awkward, review marking, machine access, and sequence. If the fabric response is uncertain, test the actual material and construction rather than relying on a general assumption.
Use this checklist to close the loop: define the sewing line, verify that the sleeve and armscye match as intended, select an allowance for the actual materials and process, sample the operation, inspect the result, and document the decision. Apparel Wiki is an independent educational publication, not a factory or manufacturing service provider.
Next step: Apply the checklist to a sample of your own pattern and fabric. Keep the original version for comparison, and record whether the next action is a pattern correction, process adjustment, additional material evaluation, or a review of the seam finish.
Frequently asked questions
Is sleeve seam allowance the same as sleeve ease?
No. Seam allowance is material beyond the sewing line used to assemble the seam. Sleeve ease is a pattern and fit relationship between the sleeve and armhole; changing the allowance does not create or remove that ease by itself.
Should the sleeve and armhole have the same seam allowance?
Not necessarily. The appropriate treatment depends on the pattern, fabric, seam finish, and assembly method. What matters is that the intended sewing lines and alignment are clear and that the allowances work for the planned construction.
How do I check whether a sleeve cap matches the armhole?
Compare the corresponding sewing lines, including their intended sections and alignment points. Use notches and balance marks as guides, then confirm the pattern relationship rather than judging only the outer cutting edges.
Can a larger seam allowance make sleeve setting easier?
It may provide more material to handle in some processes, but it can also add bulk or make pressing and finishing harder. Sample the actual fabric and construction before deciding.
What should I inspect when a set-in sleeve puckers or develops uneven fullness?
Check sewing-line matching, distribution and handling of the sleeve cap, alignment marks, and the operation itself. Look for where the problem occurs before changing the pattern or allowance.
Can changing the seam allowance fix an incorrect sleeve pattern?
No. An allowance change does not reliably correct sleeve-cap shape, balance, grain, or mismatched sewing lines. Diagnose and revise the pattern relationship when that is the underlying issue.