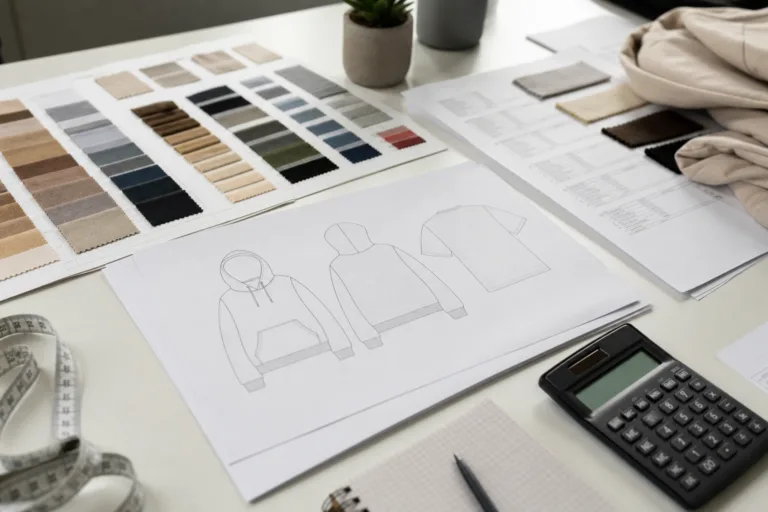
A clothing quality control checklist is a practical tool used to inspect garments in a consistent way before they reach customers. For beginners, the main value is simple: it helps you catch problems early instead of discovering them after shipment, in store, or during returns. In apparel production, quality is not only about whether a garment looks good at first glance. It also includes fabric consistency, size accuracy, stitch quality, decoration durability, labeling correctness, and whether the product is packed the right way for delivery.
If you also need to understand how a checkpoint list connects to the shipment decision itself, Apparel Wiki’s guide to final inspection standards and checklist is a useful next step. It helps readers connect factory-level checking with practical pre-shipment review logic, including inspection timing, defect classification, quantity verification, and what should be confirmed before goods are approved for dispatch.
What a clothing quality control checklist is and why it matters
A checklist gives the inspector a repeatable way to review the same points on every garment and every order. Without that structure, two common problems appear. First, different people inspect in different ways, so results become inconsistent. Second, obvious issues may be noticed while less visible but important issues are missed.
For buyers, brand founders, merchandisers, and junior QC staff, the key is not to make inspection complicated. The key is to make it complete enough to protect product quality. A useful checklist should answer basic questions such as:
- Does the fabric match the approved sample?
- Do measurements stay within tolerance?
- Are seams secure and neat?
- Is the print or embroidery positioned correctly?
- Are labels, folding, and carton details correct?
In many projects, the biggest problem is not one major defect. It is several small issues combined: slightly off color, a chest measurement outside tolerance, a crooked print, and mixed carton labels. Each issue alone may look manageable, but together they create customer complaints and stock handling problems.
Who should use this checklist

This kind of guide is useful for beginners, but it is not only for first-time buyers. Brand owners can use it when reviewing samples or bulk production. Production teams can use it during inline checking. Sourcing teams can use it before approving shipment. Retailers and distributors can also use the same logic when receiving goods.
From an apparel sourcing perspective, a checklist is especially useful when you work with a new factory, a new product category, or a decoration method you have not used before. Even if the supplier has internal quality systems, the buyer should still define what matters for the order.
How to use the checklist before, during, and after production
Quality control works better when it is spread across the production timeline instead of being left to the final day. Before production, use the checklist to confirm standards from the tech pack, approved sample, trim card, and packing instructions. During production, use it to catch repeat problems while they can still be corrected. After production, use it to make the shipment decision.
Large orders are usually checked by sampling rather than by inspecting every single piece. That is where AQL inspection basics become relevant. The idea is that a defined sample size is inspected from the lot, then the lot is accepted or rejected based on the number and seriousness of defects found. Beginners do not need to memorize the full standard at the start, but they should understand that final inspection is normally based on a sampling method, not on checking 100% of units.
A simple way to apply the checklist across stages is:
- Pre-production: confirm approved fabric, colors, measurements, trims, artwork, labels, and packing rules.
- Inline inspection: check first pieces and work-in-progress garments for recurring defects.
- Final inspection: verify finished goods, quantity, assortment, measurements, workmanship, decoration, and packaging.
Fabric inspection checklist
Fabric problems often create the most expensive corrections because they affect large quantities at once. If the fabric is wrong, cutting, sewing, and decoration may all be affected. For beginners, fabric inspection should focus on visible consistency and practical performance risk rather than advanced lab language.
Core fabric points to check
- Color consistency: compare body panels, sleeves, collars, rib, and matching sets under the same light.
- Shade variation: watch for visible differences between pieces, size sets, or cartons.
- Hand feel: check whether the fabric feels softer, harsher, stiffer, or thinner than the approved sample.
- Surface defects: look for holes, slubs, contamination, stains, needle damage, barre, yarn irregularity, or pulled threads.
- Weight and opacity: confirm the fabric does not feel unusually light, heavy, or too transparent for the intended use.
- Shrinkage risk: ask whether wash testing was done and compare washed vs unwashed results when relevant.
- Fabric consistency: confirm all units use the same composition, structure, and finish as approved.
This detail may look small, but fabric variation can create downstream problems. For example, if a jersey knit body is softer than the approved sample, the garment may grow longer on the hanger. If rib trim is tighter than planned, neck openings may look smaller or wave after sewing.
Fabric checks by garment type
| Garment or Fabric Type | What to Check Closely | Common Beginner Risk |
|---|---|---|
| Jersey knit T-shirts | Spirality, shade, softness, shrinkage, print surface | Ignoring garment twist after wash |
| Rib trims | Recovery, width consistency, matching shade | Accepting loose or overstretched rib |
| Woven shirts | Warp/weft distortion, yarn flaws, puckering tendency | Missing skew or pattern mismatch risk |
| Fleece and brushed knits | Face consistency, brushing evenness, lint shedding | Only checking outside appearance |
| Printed fabrics | Registration, repeat consistency, color clarity | Not checking across multiple rolls or panels |
For readers comparing material behavior across products, Apparel Wiki explains fabric, garment, and construction terms in a more structured way. That broader context is useful when QC findings need to be discussed with suppliers using the correct terminology.
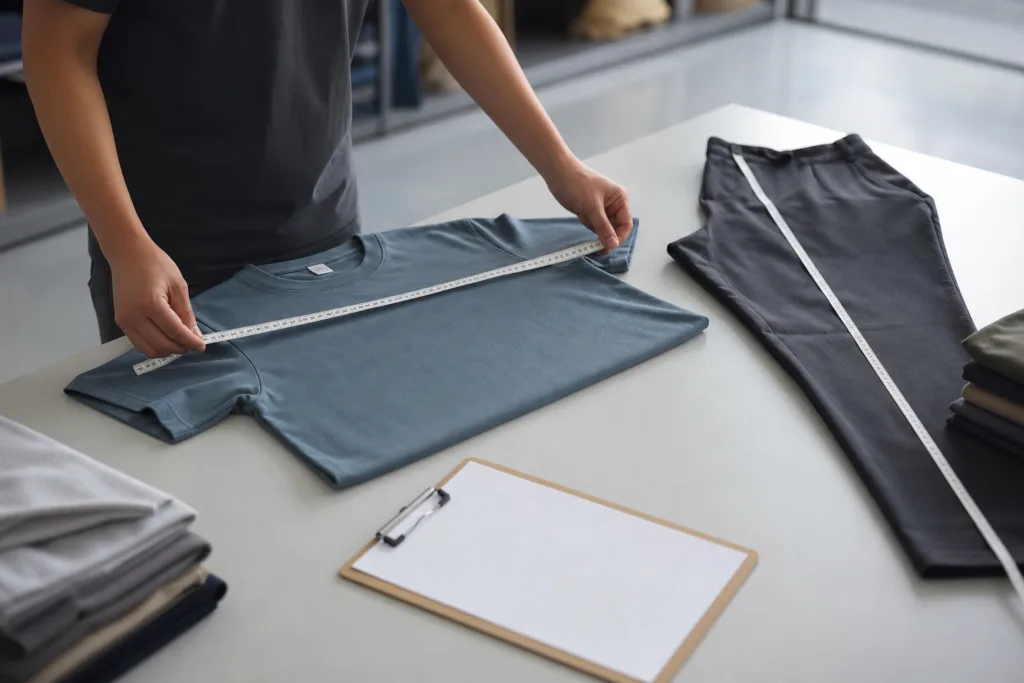
Measurement and size inspection checklist
Measurement problems are one of the most common reasons bulk goods are rejected or discounted. A garment can look clean and well made, but if it does not match the size spec, it still fails the intended standard.
What to check in measurement inspection
- Use the approved spec sheet or tech pack version only.
- Confirm the points of measure are clearly defined.
- Measure garments laid flat in a consistent condition.
- Check tolerance for each point instead of assuming one general tolerance for all.
- Review grading between sizes to see whether size jumps are logical.
- Compare measured results against the approved sample if needed.
Typical points to measure depend on the garment. For a T-shirt, the key points are usually chest width, body length, shoulder width, sleeve length, sleeve opening, and neck width. For pants, focus on waist, hip, front rise, back rise, thigh, inseam, leg opening, and outseam.
Beginners often make two mistakes here. First, they measure quickly without following the same method each time. Second, they treat tolerance as optional. In reality, tolerance is part of the specification. If the garment is outside tolerance, that is a quality issue even when the sewing looks clean.
If you need a more detailed visual method, this guide on how to measure garments against a spec sheet helps connect points of measure, tolerance rules, and QC decision logic.
How to compare sample measurements against the tech pack
Start by checking whether the factory used the latest approved pattern and grading. Then measure multiple garments from different sizes and cartons. Record actual results point by point. Do not write “looks okay” for measurements. Use real numbers.
| Checkpoint | Good Practice | Fail Signal |
|---|---|---|
| Spec version | Latest approved file used | Factory follows old sample comments |
| Measurement method | Consistent flat measurement | Different operators use different methods |
| Tolerance check | Each point compared to allowed tolerance | Only average fit judged visually |
| Size grading | Size increases follow planned grade | Middle sizes pass but extremes fail |
Sewing and construction inspection checklist
Workmanship is where many visible defects appear. Good workmanship does not mean perfect handmade detail on every piece. It means the garment is sewn consistently, securely, and according to the construction standard set for that product and price level.
Core sewing and construction checks
- Stitches are even, secure, and appropriate for the seam type.
- Seam allowance is consistent where required.
- No skipped stitches, broken stitches, or open seams.
- No seam puckering caused by tension, fabric handling, or poor feeding.
- Panels align correctly at side seams, plackets, pockets, stripes, or joins where alignment matters.
- Collars, cuffs, waistbands, and hems are symmetrical.
- Thread ends are trimmed and finishing is clean.
For beginners, it helps to separate construction from appearance. A seam may look visually straight but still be weak if stitch density is too low or if skipped stitches appear in stress areas. On the other hand, a small loose thread may be easy to clean and not a major defect unless it affects security or presentation.
When reviewing workmanship standards, it is useful to understand the common seam types used in quality garments because seam construction affects durability, stretch behavior, bulk, and the right inspection point for each area.
Common sewing defects to watch for
- Skipped stitches: missing loops in the seam line, often causing weakness.
- Puckering: wrinkled seam appearance from tension imbalance or unstable fabric.
- Loose threads: poor trimming or weak finishing, especially at seam starts and ends.
- Uneven seams: visible width variation or wavy joining.
- Open seams: seam not caught properly or broken after light stress.
- Twisted parts: sleeves, legs, or side seams not hanging correctly.
Real project example: on a basic hoodie, the garment may pass a quick visual check from the front, but closer inspection may show skipped overlock stitches under the arm, poor topstitching at the pocket edge, and rib attachments that create torque. These are exactly the issues a checklist helps reveal.
Print and embroidery inspection checklist
Decoration quality should be judged on both appearance and use performance. A print that looks sharp in the carton may still crack early if the ink deposit, curing, or transfer application was wrong. An embroidery that looks dense may still pucker the fabric or feel too heavy for the garment.
What to check for decoration quality
- Placement: artwork is positioned according to the approved sample or measurement reference.
- Size: logo or graphic dimensions match the approved artwork.
- Color accuracy: compare to approved strike-off, pantone intent, or sample reference.
- Registration: multi-color print layers align correctly.
- Surface quality: no pinholes, smudges, stains, ghosting, scorching, or rough hand feel beyond expectation.
- Durability: decoration should not peel, crack, flake, or unravel under normal handling.
- Fabric impact: no severe puckering, strike-through, migration, or distortion around the decorated area.
How to judge different decoration methods
| Method | Main QC Focus | Typical Problems |
|---|---|---|
| Screen print | Opacity, curing, edge sharpness, registration | Cracking, sticky surface, color mismatch |
| Heat transfer | Adhesion, edge bonding, placement | Peeling corners, gloss marks, misplacement |
| Sublimation | Color clarity, migration, panel alignment | Blurred areas, panel mismatch, white creasing |
| Embroidery | Density, backing, thread trims, puckering | Thread breaks, heavy feel, distorted fabric |
For print projects, material and ink choice can affect wash appearance, stretch response, and hand feel. This overview of screen printing ink comparison for decoration quality is useful when QC comments need to connect back to the print system used.
Packaging inspection checklist
Packaging is often treated as the last simple step, but errors here can delay shipping, confuse warehouse intake, and trigger relabeling costs. The garment may be fine, yet the shipment can still fail if the packaging standard is wrong.
What to check in packaging
- Correct main label, size label, and care label inserted in the right location.
- Hangtags match style, color, size, barcode, and pricing requirements if applicable.
- Folding method follows the approved packing sample.
- Polybag size and material are correct, and warning labels are included when required by the market.
- Assortment ratio per carton is correct.
- Carton markings match purchase order, style number, size range, color, quantity, and destination details.
- Cartons are sealed well and suitable for handling.
Beginners often focus on the outside of the carton and forget inner packaging checks. But mixed sizes inside one carton, missing barcodes, or wrong care labels can create just as much trouble as a sewing defect.
If your order includes custom retail presentation, startup branding, or detailed trim planning, this guide to label and packaging requirements for apparel helps clarify what should be confirmed before packing starts.
Top garment defects beginners often miss
Some defects are easy to notice from one meter away. Others are subtle but still important. Here are the issues beginners often miss during a first inspection round:
- Shade difference between components such as body and sleeve panels
- Measurement failure in only one critical point, such as chest or inseam
- Neck rib waviness after attaching
- Slightly crooked prints that become obvious when worn
- Puckering near embroidery because backing or tension was wrong
- Care labels with wrong composition or care instruction order
- Mixed sizes in bulk packing
- Carton count mismatch versus packing list
Let’s look at what actually affects the result: defects that repeat are usually more serious than isolated defects because they show a process problem, not just one accidental issue. If the same chest measurement failure appears across several cartons, or the same print position error appears across sizes, the buyer should investigate process control, not just sort out a few bad pieces.
Simple pass/fail decision rules for apparel QC
Beginners often ask whether a garment is pass or fail based on one issue. In practice, the decision usually depends on defect severity, repeat frequency, and whether the issue affects saleability, safety, function, or specification compliance.
Use this simple beginner logic
- Pass: the garment matches spec, appearance is acceptable, and no significant functional issue is found.
- Rework: the defect is correctable without damaging the garment, such as loose thread trimming, replacing a hangtag, or repacking cartons.
- Fail: the defect affects fit, function, appearance, or buyer requirements in a way that cannot be accepted, such as major measurement failure, severe shade variation, open seams, wrong artwork, or incorrect labeling.
Do not rely only on visual impression. Record what failed, where it failed, and whether the defect is isolated or systematic. That record matters when discussing corrective action with the supplier.
Inspection tips for different product categories
Not all garments should be checked with the same priority points. The checklist should stay structured, but the focus changes by product type.
| Product Category | Priority QC Points | Extra Note |
|---|---|---|
| T-shirts | Chest, length, neck shape, print quality, shade | Watch for spirality and collar stretching |
| Polo shirts | Placket alignment, collar shape, chest, embroidery | Check button spacing and collar roll |
| Hoodies | Panel matching, pocket alignment, rib recovery, print | Inspect bulky seams and brushing consistency |
| Woven shirts | Measurement accuracy, pattern matching, cuff and collar symmetry | Puckering is easier to spot on smooth wovens |
| Pants and shorts | Waist, inseam, rise, pocket placement, seam strength | Check left-right balance and leg twist |
A beginner’s final pre-shipment review checklist
Before goods are approved for dispatch, run one final structured review. This should combine product, quantity, and packaging checks.
- Confirm purchase order style, color, and size breakdown.
- Verify inspected sample quantity and inspection timing.
- Check fabric appearance and shade consistency across sampled cartons.
- Measure key points on selected garments by size.
- Review seam quality, construction consistency, and finishing.
- Check print or embroidery for placement and durability signs.
- Confirm labels, barcodes, folding, polybags, and cartons.
- Record defects with photos and clear comments.
- Separate pass, rework, and reject findings.
- Do not release shipment until corrective action is confirmed if major issues exist.
A beginner does not need to inspect like a laboratory or write complex audit language. But they do need a disciplined method. A practical clothing quality control checklist reduces guesswork and helps buyers ask the right questions before goods leave the factory.
Conclusion

A practical clothing quality control checklist is not just a form to fill in. It is a decision tool. It helps beginners turn quality from a vague opinion into a series of clear checkpoints: fabric, measurement, sewing, decoration, and packaging. For buyers, the real goal is not to find faults for the sake of inspection. The goal is to confirm that the product matches the approved standard and that avoidable defects are controlled before shipment. If you build the habit of checking these points in a consistent order, your QC process becomes clearer, supplier communication improves, and product risk drops significantly.
FAQ
What is a clothing quality control checklist?
A clothing quality control checklist is a structured list of inspection points used to review garments for fabric, measurements, workmanship, decoration, labels, and packaging. It helps different people inspect the same order in a consistent way and reduces the chance of missing important defects before shipment.
When should beginners use a garment QC checklist?
Beginners should use it before production to confirm standards, during production to catch repeat issues early, and again before shipment to make the final quality decision. If the checklist is only used at the end, some problems may already be too costly to fix.
What measurements matter most in apparel QC?
The most important measurements depend on the garment type, but usually include the fit-defining points such as chest, body length, shoulder, sleeve length, waist, hip, inseam, and leg opening. The key is to compare each point against the approved spec sheet and tolerance instead of relying only on visual judgment.
How do I know if a sewing defect is serious?
A sewing defect is serious when it affects strength, fit, comfort, appearance, or customer use. Open seams, skipped stitches in stress areas, twisted parts, and severe puckering are usually more serious than minor loose threads, especially if the same issue repeats across multiple garments.
What should I check for print and embroidery quality?
Check placement, artwork size, color accuracy, registration, surface cleanliness, and whether the decoration affects the fabric badly. Prints should not crack, peel, or feel incorrectly cured, while embroidery should not pucker the fabric, distort the panel, or leave poor thread finishing on the front or back.
Can packaging mistakes cause a QC failure?
Yes. Wrong size labels, incorrect care labels, mixed assortments, missing barcodes, bad folding, or incorrect carton markings can all cause a QC failure even if the garment itself is well made. Packaging errors create retail, warehouse, and shipment problems, so they should be part of the same inspection process.