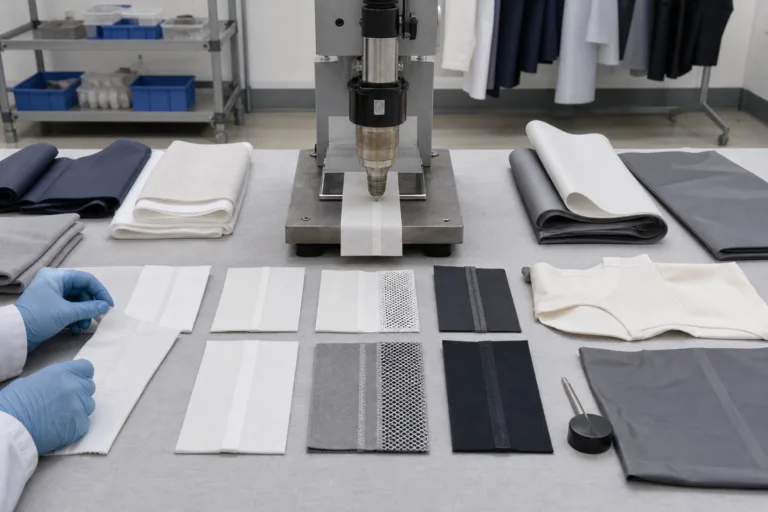
When hot air welding results vary from one piece to the next, begin by documenting the pattern before changing machine settings. Hot air welding machines use heated air and controlled contact to join compatible materials, membranes, or seam tape, so variation can come from the material, construction, process controls, operator handling, or equipment condition. This practical guide from Apparel Wiki focuses on observable evidence and controlled checks; it is independent educational guidance, not a machine manufacturer or service provider. For information about supporting this publication, see our Sponsor page.
Effective hot air welding machines troubleshooting separates a visible symptom from a confirmed cause. The correct acceptance criteria depend on the product, seam construction, materials, buyer requirements, and applicable inspection or performance testing. A photograph can help describe a problem, but it cannot establish by itself that the machine is defective.
What Inconsistent Hot Air Welding Results Look Like
Inconsistent hot air welding results mean that otherwise comparable samples do not show the same seam or bond behavior. You may see changes in seam appearance, bond continuity, tape adhesion, sealing, width, strength, or repeatability across pieces, machine passes, operators, shifts, or production runs. A seam may look acceptable in one location and open, wrinkle, drift, or adhere unevenly in another.
Start with a precise description rather than a diagnosis. Record where the defect occurs, whether it follows the welding direction, how often it appears, which material and tape batches are involved, which machine and operator were used, and what settings were displayed. Also note when the issue appears: during warm-up, after a machine change, at a particular seam section, or only after handling or another required product condition.
A one-off defect and a recurring pattern deserve different levels of investigation. A single visible irregularity may result from handling, contamination, a damaged test piece, or measurement variation. Repetition in the same direction, position, batch, or operating condition provides stronger evidence for a systematic cause, but it still does not identify the cause automatically. The same open section, poor adhesion, or uneven width can arise from material compatibility, setup, feeding, operator technique, or machine condition.
Use a sample, photograph, and measurement together where practical. Keep the original sample so later checks can compare it with fresh pieces made under documented conditions. General diagnostic principles in this article are editorial guidance, not universal machine specifications. Do not use a visual impression alone to release or reject production when the product has defined seam or bond performance requirements.
Check the Material, Tape, and Seam Construction First
Before treating a defect as an equipment problem, confirm that the fabric, membrane, coating, adhesive tape, and seam construction are suitable for the process. Hot air welding material compatibility depends on the actual material combination and construction, not just on a broad label such as “synthetic fabric” or “waterproof textile.” Surface treatments, coatings, elasticity, layer count, and the way the seam is assembled can all change how the heat and pressure reach the bonding surfaces.
Compare the suspect material with a known reference where one is available. Record composition, thickness, surface condition, stretch behavior, layer arrangement, and material batch. A different lot may have a different surface treatment or handling condition even when the commercial description is unchanged. These observations do not prove a material fault, but they help determine whether the machine is being asked to process a changed input.
Inspect the tape separately. Check its width, edge condition, alignment, storage history, and compatibility with the selected material and application. Tape that is misaligned, contaminated, damaged, or unsuitable for the layer combination can create seam tape welding problems that resemble poor nozzle control or insufficient heat. Supplier recommendations are useful starting points, but they should be confirmed on the actual fabric, tape, seam design, and intended production process.
Do not assume that one setting is universal across materials or constructions. A multilayer seam, coated surface, elastic section, or different material lot may require a different process window. Make matched test pieces using the same construction and comparable material before changing production settings. This preserves a meaningful comparison and reduces the risk of correcting a machine for a variation that originated in the input materials.
Review Temperature, Speed, Pressure, and Airflow as a System
Hot air welding process variables interact. On the specific machine, relevant controls may include heated-air temperature, welding speed, contact pressure, nozzle position, airflow, and feed or guiding conditions. The control names and adjustment ranges differ by machine, so use the applicable manual or service documentation rather than assuming that every model operates the same way.
Insufficient heat or dwell may leave a bond incomplete, while excessive heat or dwell may distort, scorch, or damage the material. Speed changes the time available for heat transfer, and pressure and guiding affect contact between the tape or layers. Airflow and nozzle position influence where heat is delivered. These relationships explain why changing temperature alone may improve one symptom while creating another, but they do not provide a universal “correct” setting.
Check whether the displayed setting reflects the actual process condition and whether the machine reaches and maintains the selected value during operation. Where the manufacturer provides calibration, adjustment, or operating checks, follow those instructions. A display reading is useful evidence, but appearance alone cannot confirm that the seam will meet the required performance criteria.
For a controlled comparison, hold the material, tape, seam construction, operator method, and machine path constant. Change one process variable at a time, record the original and revised settings, and identify the samples clearly. Also record operator handling and line-speed effects separately from machine settings. A result that changes when the operator guides the material differently is not equivalent to a result that changes after a documented machine adjustment. For technical context, research on hot-air welding seam strength has examined variables including hot-air temperature and the distance between the blower head and workpiece: the study is available here.
Inspect Nozzle Alignment, Feeding, and Machine Condition
Intermittent or directional defects warrant an equipment and handling inspection. Following the machine manual, check the nozzle’s cleanliness, position, angle, distance, and alignment with the seam or tape path. A small change in the heat-delivery position can affect one side of a seam or appear only while the material moves through a particular section.
Inspect accessible feed rollers, guides, pressure components, belts, sensors, and contact surfaces for contamination, looseness, wear, or inconsistent movement. Look for patterns linked to a machine position, feed direction, operator, shift, or warm-up period. Also note whether heating, airflow, or mechanical movement fluctuates during operation. Record what was observed and when; do not label a component defective until inspection or testing supports that conclusion.
Keep operator-level checks separate from qualified service work. Electrical, heating, pressure, airflow, guarding, and other service-critical systems should be handled according to the equipment documentation and the applicable site safety procedure. Do not adjust protected or service-critical components beyond the documented procedure simply because a visible defect suggests a likely cause. A controlled inspection record is more useful than an unsupported component replacement, especially when the same symptom could originate in the material or process setup.
Use a controlled test sequence to isolate the cause
Once the material, settings, nozzle, and machine condition have been reviewed, move from observation to a controlled test. Start with a record of the actual problem: retain defective samples, add photographs and measurements, and note the machine identity, operator, time, material and tape lots, settings, and any relevant storage or environmental conditions. Record where the defect occurs and whether it repeats in the same direction or position.
Next, list competing hypotheses instead of selecting the most familiar explanation. Material compatibility, seam construction, tape condition, machine settings, operator handling, maintenance, and measurement error can all remain possible at this stage. For each hypothesis, write the evidence that would support it, the evidence that would weaken it, and the smallest useful comparison.
A comparison might use known-good material against a suspect lot, or one controlled setting change while every other condition remains constant. Prepare matched test pieces and identify them clearly. Change one meaningful variable at a time, record what changed, and compare samples made under the same construction. This makes the result easier to interpret than several simultaneous adjustments.
Use the product requirement to decide what must be evaluated. Appearance may be important, but it does not by itself establish bond or seam performance. Where the product requires post-process care or conditioning, compare samples under that condition as well as the initial state. Do not introduce an extra treatment merely to create a favorable result.
After an adjustment appears successful, retest with fresh production samples. Define the decision rule before testing, including the applicable appearance or performance criteria and the amount of observation needed for the project. Reworking one piece can restore its appearance without proving that the process is stable.
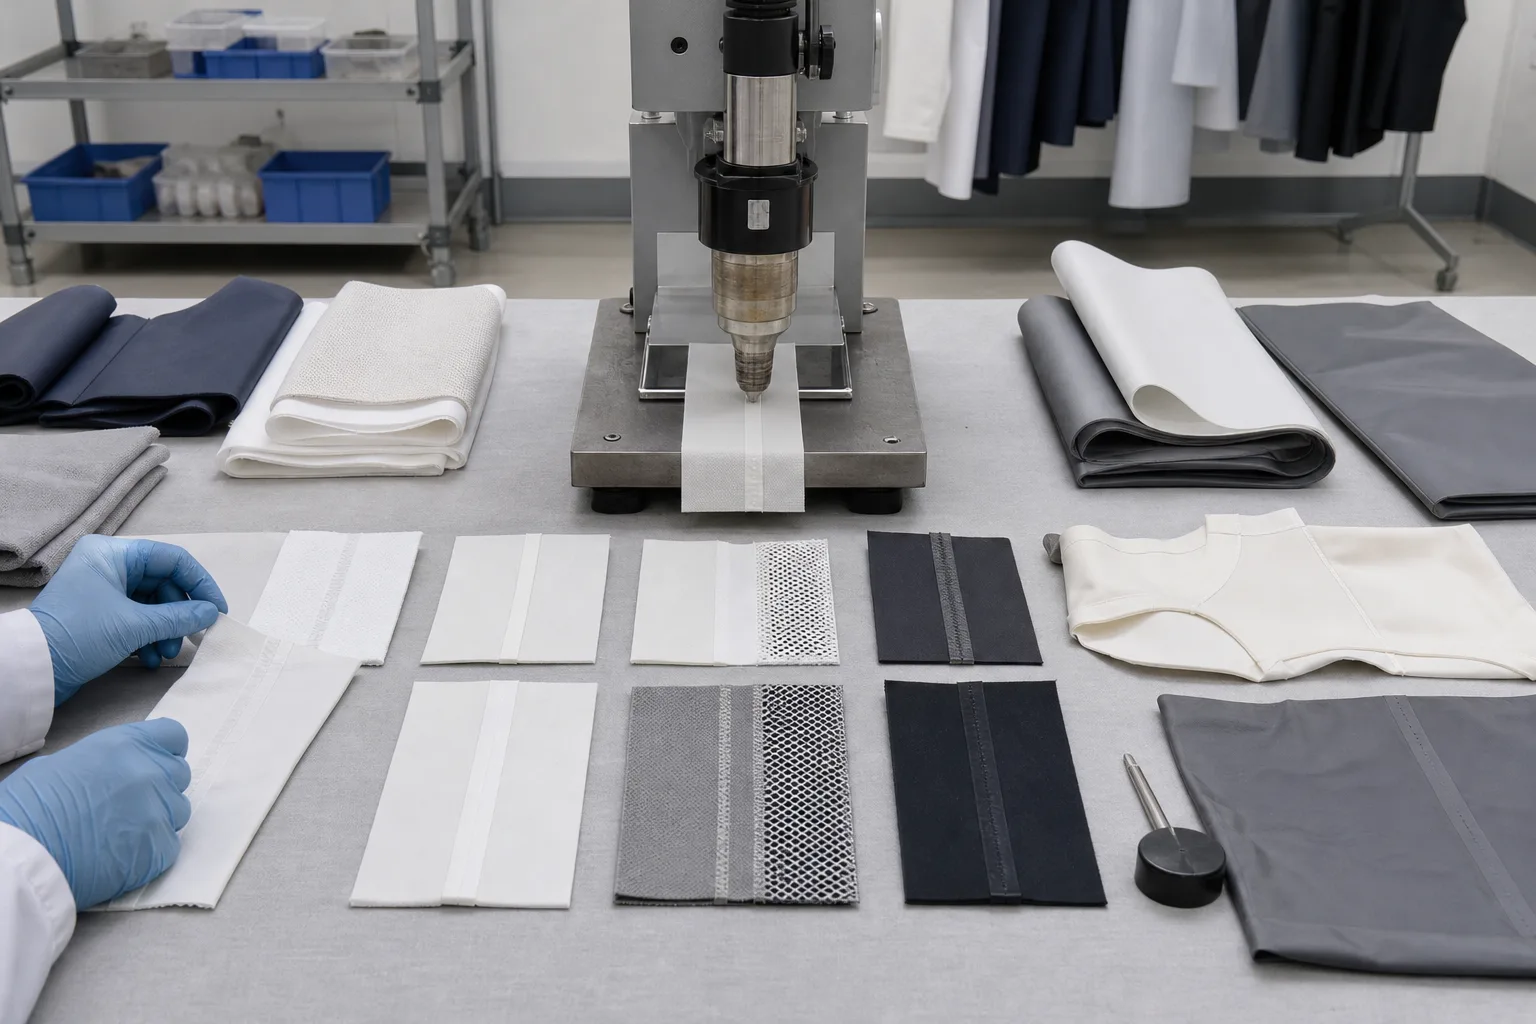
Match common symptoms to likely checks, not instant conclusions
The table below is a starting point for hot air welding machine fault diagnosis. It identifies useful evidence and a first controlled check, but it does not prove that a particular component or setting is responsible. Similar hot air welded seam defects can have different causes on different materials, machines, or constructions.
| Observed symptom | Useful evidence | First controlled check | Escalation point |
|---|---|---|---|
| Open sections or intermittent bonding | Location, direction, tape lot, heat and airflow behavior | Compare matched samples and inspect tape alignment, nozzle position, and movement through the affected area | Pause or contain affected production if required by site procedures; involve qualified service support if heating or airflow is unstable |
| Poor adhesion or tape lifting | Material layer, coating, tape condition, surface contamination, and process records | Test the approved material and tape combination under the documented setup | Ask the material or tape supplier for compatibility guidance when the controlled comparison points to the inputs |
| Wrinkling or inconsistent seam width | Feed direction, layer count, guiding, pressure, and operator handling | Run matched pieces with controlled guiding and inspect feed surfaces | Escalate recurring mechanical variation or a product-risk defect according to site procedures |
| Scorching or material distortion | Location, dwell, heat stability, material lot, and surface appearance | Review the documented process window and compare a controlled setting change on the same material | Stop the affected operation when damage or safety concerns are present, then follow equipment procedures |
| Tape drift or contamination | Tape path, guide condition, cleanliness, storage, and operator observations | Check alignment and accessible contact surfaces before changing process settings | Escalate persistent movement, contamination, or guarded-machine issues for qualified review |
Production should be contained, paused, or released only under the applicable quality and site procedures. A photograph can document a symptom, but it cannot distinguish a fabric problem from a machine problem. When the evidence does not separate the hypotheses, preserve the samples and repeat the comparison rather than replacing parts or widening the adjustment range without support.
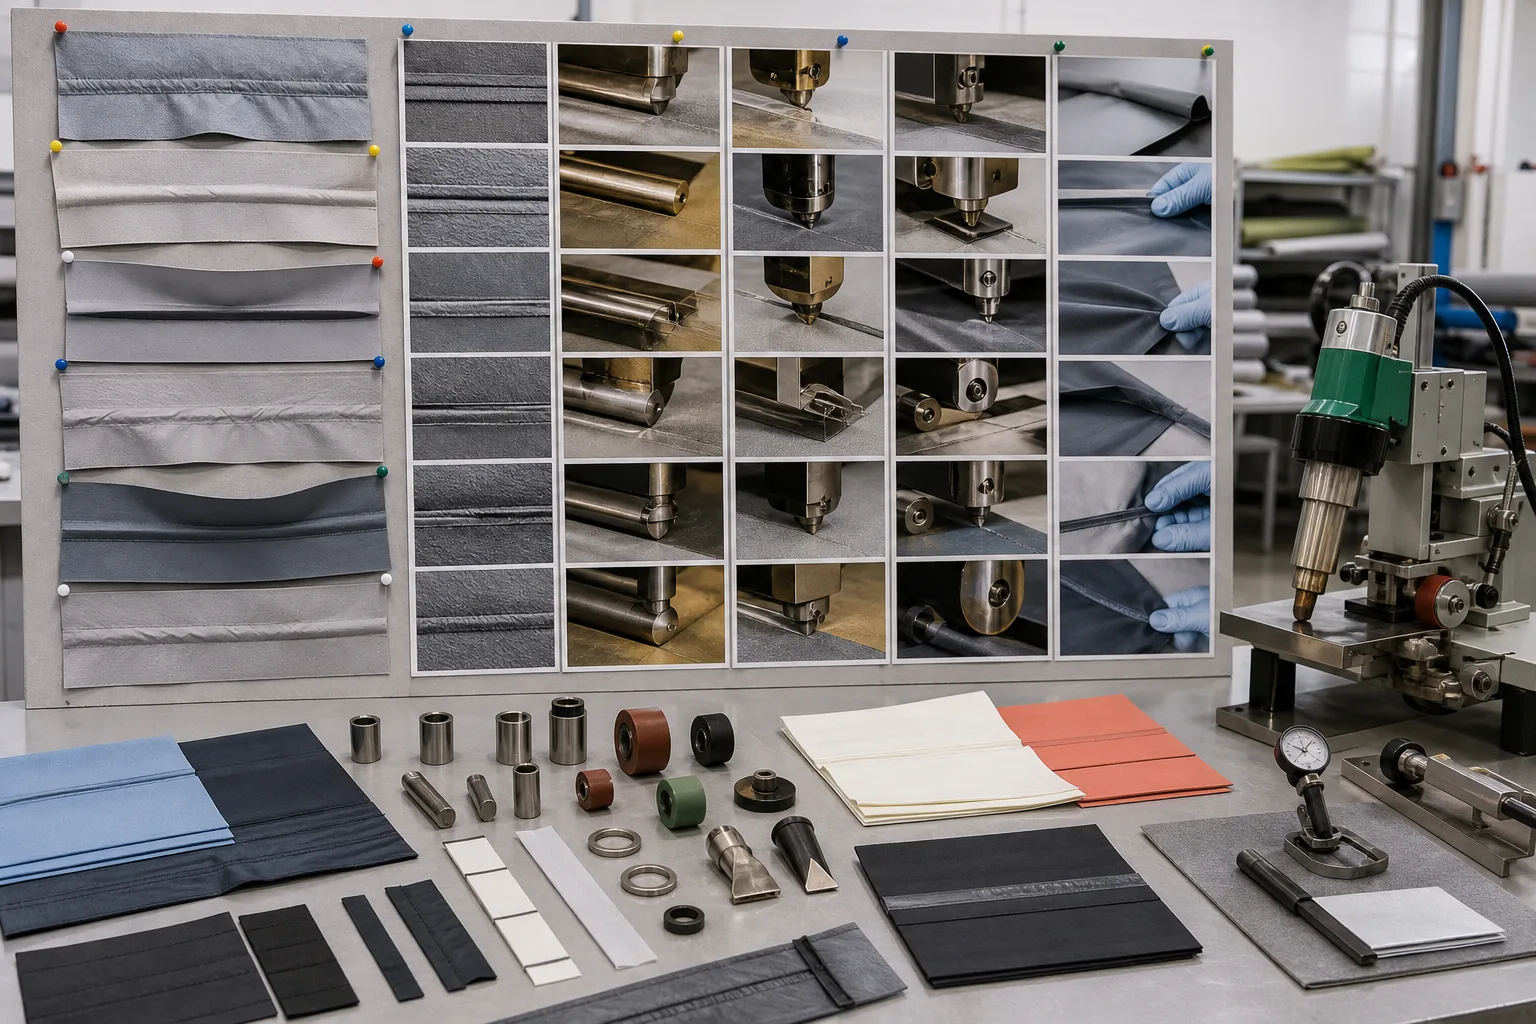
Confirm the correction and prevent the problem from returning
A correction is not confirmed when one sample looks better. Repeat the controlled trial with fresh samples and compare the result with the agreed appearance and performance criteria for the product. Keep the material combination, machine identity, settings, inspection method, operator instructions, and maintenance status with the trial record. These records describe the approved process for that application; they are not universal specifications.
Review the results for patterns linked to a material batch, tape lot, shift, operator, machine direction, or time since warm-up. This helps distinguish a local correction from a stable process change. If the result improves only after rework, record that separately from evidence that newly produced pieces are consistent.
A practical prevention checklist includes:
- Approve the material, tape, and seam construction for the intended application.
- Verify setup before production and inspect the first pieces using the agreed criteria.
- Record process conditions and any approved changes in a traceable production record.
- Train operators to identify and report symptoms without making unsupported component diagnoses.
- Complete machine cleaning and maintenance according to the equipment documentation.
- Review recurring variation by batch, shift, direction, operator, and warm-up condition.
For the next troubleshooting case, begin with a retained sample and a complete record rather than a setting change. Apparel Wiki is an independent educational publication, so this framework should be checked against the machine manual, supplier guidance, buyer requirements, site procedures, and any required seam or bond testing method before it is used for a production decision.
FAQ
Why are my hot air welded seams inconsistent from one piece to the next?
Variation may come from the material, tape, construction, settings, nozzle position, feeding, operator handling, machine condition, or measurement method. Record when and where it occurs before assigning a cause.
Which should I check first: the material, machine settings, nozzle, or tape?
Check them as a connected system. Confirm the material and tape combination, review the recorded settings, inspect alignment and feeding, and use matched test pieces to isolate one variable at a time.
Can changing temperature alone fix poor hot air welding results?
Not reliably. Temperature interacts with speed, pressure, airflow, nozzle position, material, and tape. Changing several controls together can hide the actual cause and make the result harder to repeat.
How can I tell whether the problem is caused by the fabric or the machine?
Compare a known-good material or lot with the suspect material under the same documented machine conditions. Then compare the machine or setup with a controlled reference where available. One comparison is evidence, not automatic proof.
What records should I keep when troubleshooting a hot air welding machine?
Keep samples, photographs, measurements, machine identity, operator, date and time, material and tape lots, settings, defect location, direction, frequency, maintenance observations, and test results.
When should a hot air welding machine be inspected or serviced by a qualified technician?
Use qualified service support when the issue involves heating, electrical systems, airflow, pressure, guarding, protected adjustments, unstable movement, or a recurring defect that operator-level checks cannot explain.