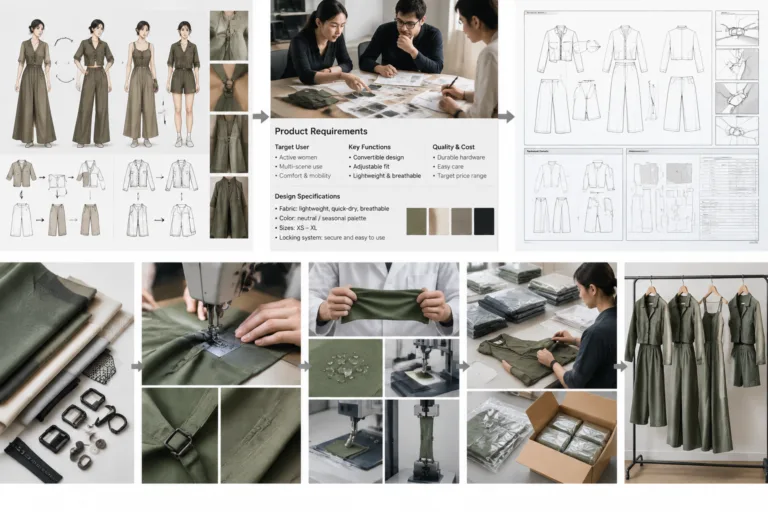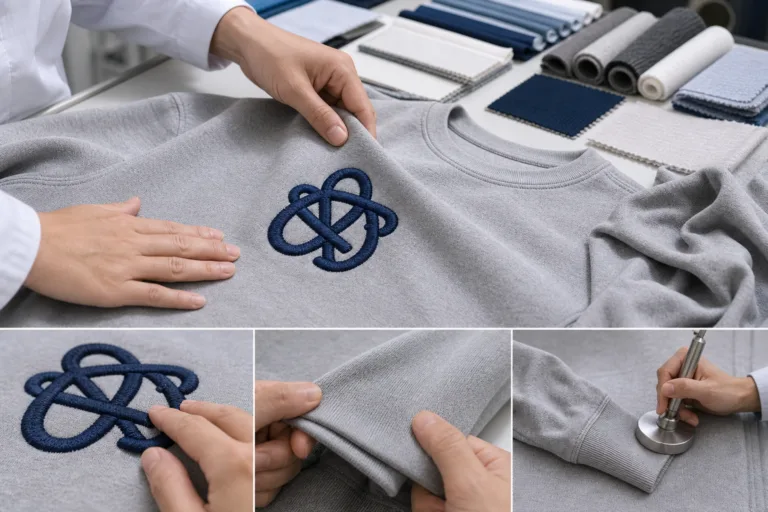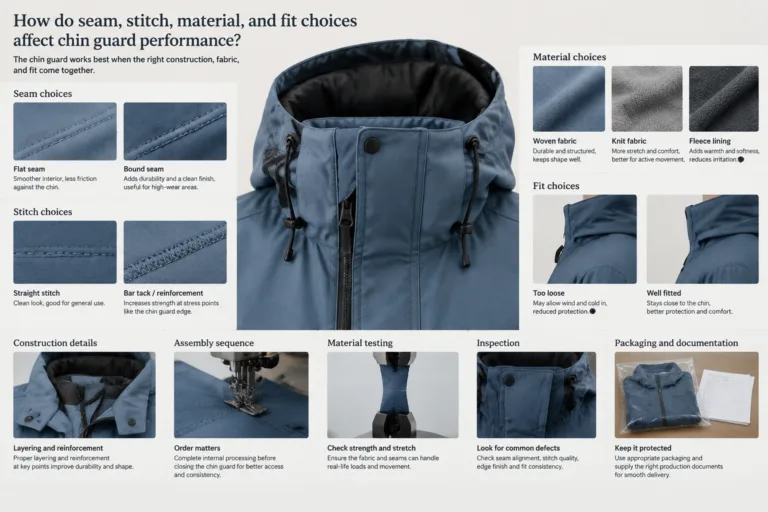
Chin guard construction defects are problems in the way a garment’s chin guard is shaped, layered, joined, finished, or positioned. A chin guard is a garment feature at the neckline or front closure that covers or protects the chin. Its form may vary by style, fabric, closure, and intended use, so troubleshooting should begin with the actual garment rather than an assumed standard design. Apparel Wiki is an independent garment-industry knowledge blog; our Sponsor information explains the site’s editorial boundary.
The practical starting point is to describe what is visible, where it occurs, when it appears, and whether it repeats. A seam that opens during wear, a twisted edge noticed during inspection, and a hard spot felt after laundering may look related but can involve different construction conditions. Treat the visible symptom as an observation and the suspected cause as a hypothesis until the garment or sample has been examined.
What counts as a chin guard construction defect?
A chin guard defect is a construction condition that does not match the intended design, finish, function, or acceptable appearance of the specific garment. The relevant comparison may be a sealed sample, approved prototype, technical drawing, pattern, construction specification, or another unaffected part of the same style. A visual difference is not automatically a defect: some variation may be an intentional feature, while an unrelated problem elsewhere in the neckline or closure may not originate in the chin guard.
Define the issue precisely before assigning a cause. Record its location, direction, extent, frequency, and appearance condition. For example, note whether an edge is exposed along the closure, whether a seam opening runs parallel or across the seam line, whether the problem occurs on one piece or several, and whether it appears before wear, during movement, after laundering, or only under close inspection. These details make “defective chin guard” more useful than a general description such as “poor sewing.”
Construction defects can involve several visible or tactile areas:
- Shape and alignment: the chin guard may twist, shift, or sit unevenly against the closure or neckline.
- Layer joining: a seam may open, a folded edge may escape, or layers may not be captured consistently.
- Stitch formation: stitches may be skipped, irregular, loose, broken, or visibly different from the approved construction.
- Edge and transition finishing: an edge may be raw, uneven, bulky, sharp, or uncomfortable where the chin guard meets another component.
These categories describe symptoms, not root causes. An opening might involve thread breakage, fabric damage, yarn movement, insufficient layer capture, or a construction that cannot accommodate the garment’s movement. Similarly, puckering may relate to handling, tension, material behavior, seam formation, or shape. Keep competing explanations visible until inspection or a controlled trial provides stronger evidence.
How should you inspect a defective chin guard?
A first-pass chin guard quality inspection should preserve evidence before anyone changes the pattern, trims the seam, adjusts the machine, or repairs the sample. Start by identifying the garment style, sample or production reference, material layers, closure type, and affected component. Record whether the issue appears on one item, several items, or both affected and unaffected pieces. A single photograph or sample can show a condition, but it cannot by itself establish a production-wide trend.
Photograph the whole garment first so the component’s position and relationship to the closure are clear. Then take close views from the outside and inside, using consistent orientation where possible. Record the direction of distortion or opening, the locations of repeated symptoms, and dimensions only when a measurement is relevant and taken with a defined method. Note the conditions under which the issue appears: flat inspection, closed fastening, movement, stretching, laundering, drying, or ordinary wear.
Inspect the chin guard in an orderly sequence. Check the outer appearance, then turn the garment inside out and examine the construction that cannot be seen when worn. Review the seam line, seam allowance, stitch formation, edge finish, layer alignment, folded sections, and any interfacing or reinforcement that is part of the design. Also inspect nearby zipper, snap, hook-and-loop, binding, facing, or neckline components because stress or restricted movement may be transferred from an adjacent part.
Use a record that separates observations from interpretations. The following structure is useful for a first inspection:
| Inspection area | Record |
|---|---|
| Garment and materials | Style, sample identity, fabric or knit type as known, number of layers, closure, and relevant care history |
| Defect location | Exact position, direction, affected layer, relation to the neckline or closure, and whether the condition repeats |
| Visible and tactile evidence | Opening, skipped stitch, puckering, twisting, exposed edge, bulk, hard spot, abrasion, or other observed symptom |
| Appearance conditions | Flat, fastened, worn, moved, stretched, laundered, or otherwise inspected condition |
| Comparison evidence | Unaffected sample, opposite side, approved reference, construction record, or production observation when available |
Comparison is most useful when the compared items are genuinely comparable. Check the same location on an unaffected piece, the opposite side of a symmetrical garment, or a reference sample made with the same material and construction. If those comparisons are unavailable, state that limitation rather than filling the gap with an assumption. Preserve alternative explanations, including material behavior, handling, measurement conditions, and assembly differences.
Which chin guard defects are visible, and what might cause them?
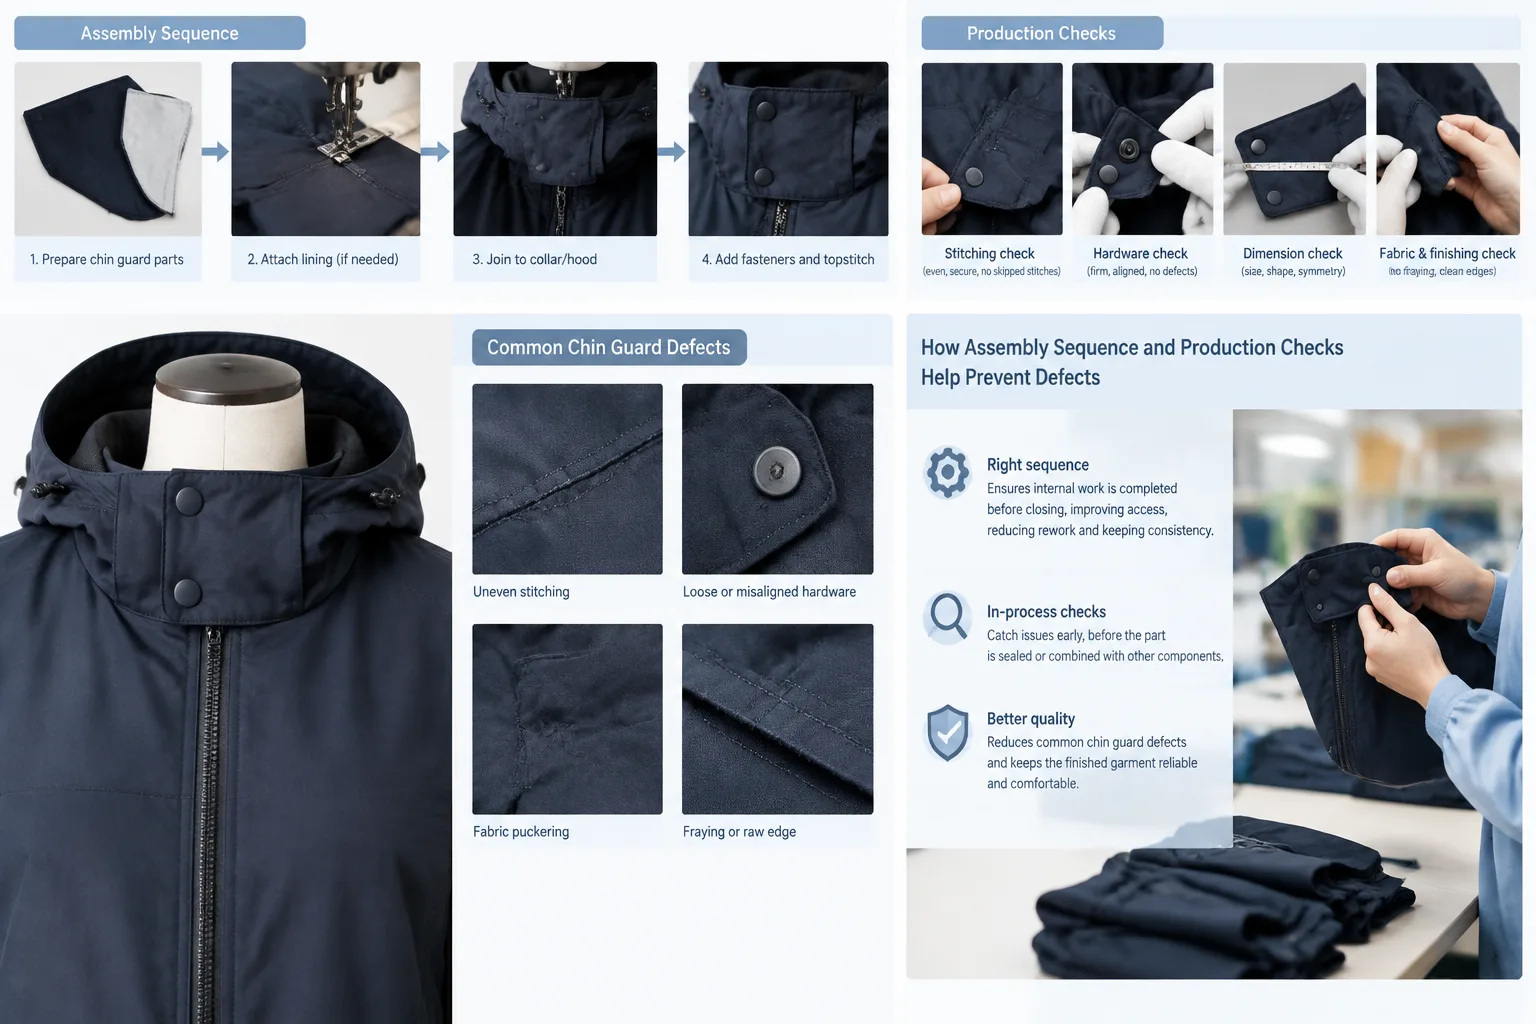
Common chin guard defects include seam opening, skipped or irregular stitches, puckering, twisting, exposed or uneven edges, bulky transitions, and uncomfortable hard spots. Whether any symptom is a defect depends on the intended design and the condition in which it is observed. The diagnostic task is to connect each symptom with evidence that can distinguish among possible causes, rather than selecting the most familiar explanation.
| Observed symptom | Plausible causes to consider | Evidence to check |
|---|---|---|
| Seam opening or separated layers | Thread breakage, inadequate layer capture, fabric yarn slippage, fabric tearing, seam shape, handling, or movement at the closure | Inspect broken thread ends, yarn displacement, torn fabric, seam allowance, stitch formation, and whether the opening follows the stitch line |
| Skipped, irregular, or loose stitches | Material handling, machine setup, needle or thread compatibility, inconsistent feeding, or a change in layer thickness | Compare stitch formation across the affected and unaffected areas and examine transitions between single and multiple layers |
| Puckering or rippling | Layer movement, handling, stitch formation, material response, seam shape, or uneven feeding | View the area flat and worn, check whether the puckering follows the seam, and compare both sides or reference samples |
| Twisted or uneven edge | Pattern shape, layer alignment, folding, stretching during assembly, closure interaction, or sequence of operations | Trace the edge and seam, compare its position to the intended shape, and inspect the inside for trapped or shifted layers |
| Bulky transition or hard spot | Extra folded layers, reinforcement, interfacing, seam allowance buildup, fastener proximity, or an unfinished edge | Identify every layer and component at the location, then assess appearance, movement, and contact with the wearer |
Use technical terms carefully. A stitch describes how thread is formed into loops or interlacements. A seam describes how fabric layers are joined. They are related, but they are not interchangeable: the same seam concept may be made with different stitch formations, and a stitch irregularity does not automatically explain why the joined layers separated.
Likewise, not every opening is the same failure. Thread breakage leaves a different line of inquiry from yarn slippage, in which the fabric structure moves around the seam, or fabric tearing, in which the material itself is damaged. Inspect the thread, stitch path, fabric structure, and seam allowance before describing the issue as a generic chin guard stitching problem. The listed causes are starting hypotheses; a particular diagnosis requires inspection evidence from the actual garment or sample.
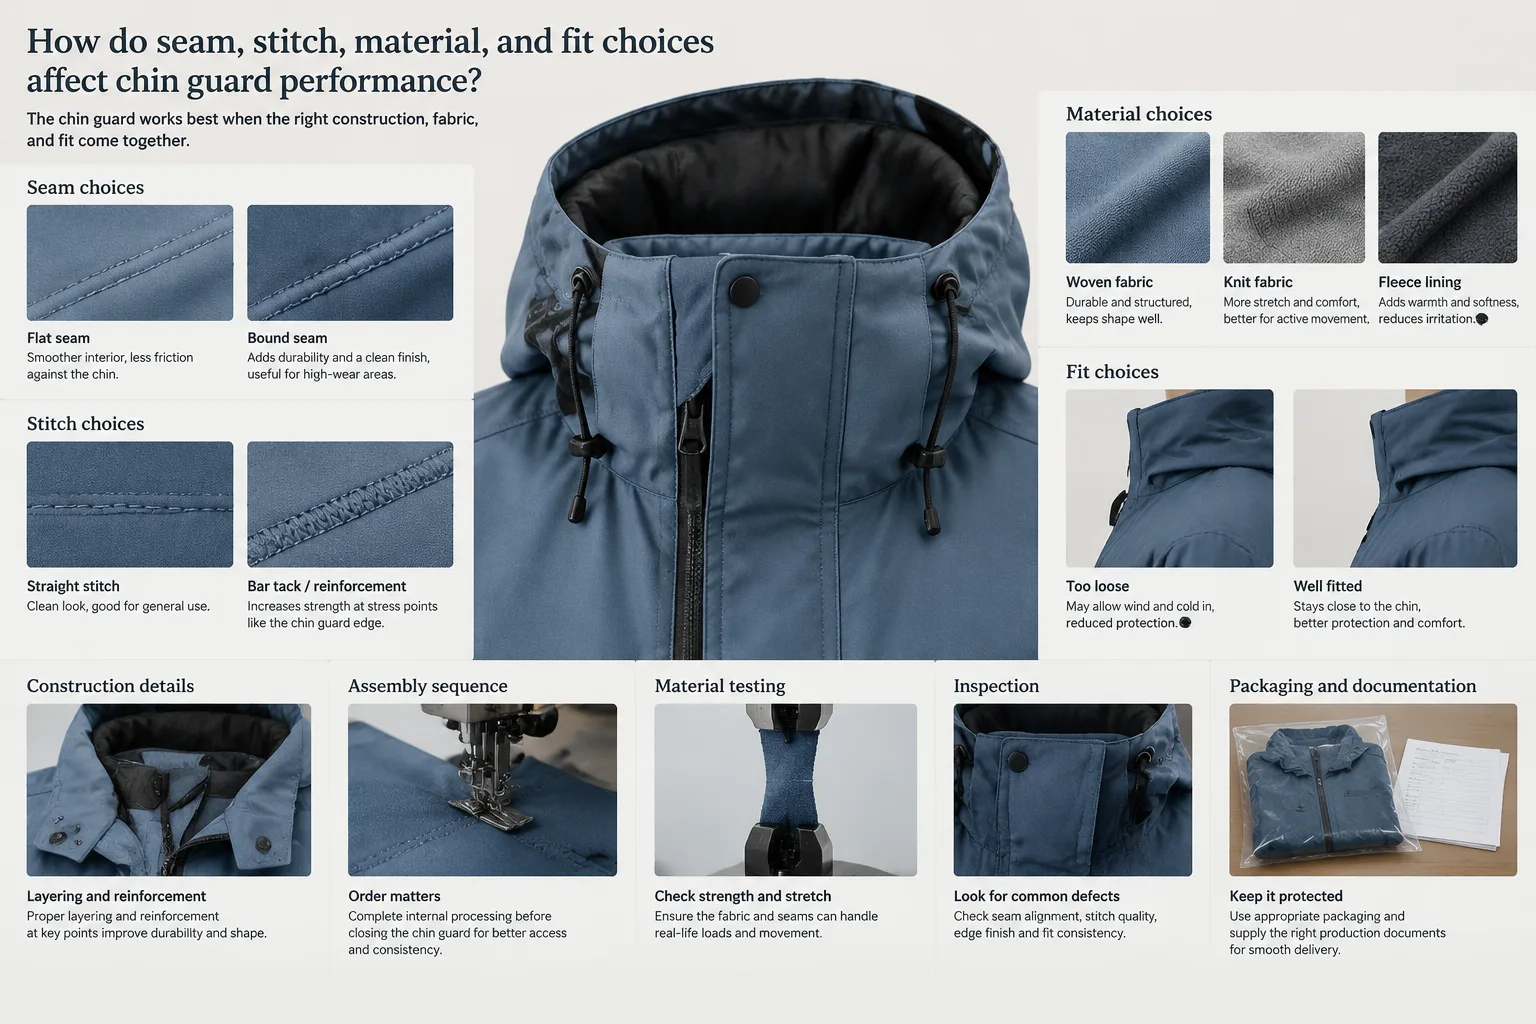
How do seam, stitch, material, and fit choices affect chin guard performance?
A chin guard is a small assembly, but its behavior depends on several connected choices. Review the seam construction, stitch formation, seam allowance, stitch density, and layer alignment separately before treating them as one issue. A seam may be correctly positioned while its stitch formation is unsuitable for the material, or the stitch may appear regular while the layers are misaligned or inadequately supported.
Consider what happens at the neckline and front closure during opening, closing, movement, and wear. The construction may need to accommodate both local loading and the extension or recovery of the surrounding fabric. Stronger thread by itself does not establish a durable solution. If the fabric slips, tears, or cannot move with the seam, increasing thread strength may simply move the failure to another part of the assembly.
Reinforcement should therefore match the suspected failure mechanism. Added interfacing, reinforcement stitches, a bar tack, or an extra folded layer may stabilize a specific area, but each can also introduce a trade-off. Additional layers may increase bulk, stiffness, friction, or a hard spot near the wearer’s face. Dense stitching may affect flexibility or contribute to needle damage in some material combinations. These are possibilities to evaluate, not universal outcomes.
Fit and pattern shape also matter. A chin guard that is too short, sharply curved, or restricted by a nearby closure may be pulled out of position during use. Conversely, a loose or poorly controlled edge may twist or expose layers. Evaluate the pattern, fabric, seam, and finishing as one assembly under the intended conditions. A suitable correction for one style, material, or use case may be inappropriate for another.
How can you verify the root cause and choose a correction?
Begin by listing each plausible explanation for the observed chin guard defect. For example, an opening might involve thread breakage, yarn slippage, fabric tearing, insufficient seam allowance, layer movement, or a construction sequence that disturbed the edge. For every hypothesis, record the evidence that supports it, the evidence that argues against it, and the smallest useful trial that could distinguish it from the alternatives.
Where feasible, change one relevant variable at a time. Keep the material, pattern, seam location, and inspection conditions comparable so that a result can be interpreted. Depending on the symptom, a trial might compare layer alignment, a different reinforcement approach, a revised edge finish, or a construction adjustment. The purpose is not to prove that one technique is always better; it is to learn whether the changed variable addresses the actual failure.
Inspect the revised sample as a complete material-and-seam combination. Check for thread breakage, yarn movement, fabric tearing, seam opening, irregular appearance, restricted movement, and uncomfortable contact where relevant. If reinforcement has been added, compare the original and revised versions for bulk, hard spots, skin contact, and behavior after the care or use conditions that matter for the garment. A visually improved sample is not automatically a verified correction.
Document the sample identity, revision, construction details, inspection conditions, observations, and remaining uncertainty. Record whether the defect disappeared, changed location, or appeared in a different form. A correction should be considered provisional until it has been checked against the intended use. Formal performance or compliance decisions may also require a validated test method and defined acceptance criteria; a small development trial cannot replace those requirements.
How do assembly sequence and production checks affect defect prevention?
Map every operation that affects the chin guard, including internal edge finishing, joining, folding, pressing, closure installation, and any step that closes access to the area. Mark where alignment becomes difficult, where an inside edge can become trapped, and where rework would require opening a previously completed operation. This process can reveal sequence-related hypotheses without assuming that one operation order is best for every style or machine setup.
Review whether the sequence encourages layer shifting, inconsistent alignment, exposed edges, or inaccessible finishing. Confirm these possibilities through sample construction or direct process observation. A clear construction reference should show the intended shape and important transitions, using sample references or diagrams where they reduce ambiguity. The goal is repeatable communication between design, development, production, and inspection teams.
Place inspection points around high-risk transitions rather than checking only the finished garment. Depending on the design, this may include the joined seam before closure, the folded edge before final assembly, and the completed chin guard from both sides. Check appearance and construction, while also noting whether the part moves as intended and creates any hard or uncomfortable area.
Defect counts can help identify patterns only when the inspection scope and counting definitions are clear. A record should distinguish inspected pieces from individual defect occurrences and identify the relevant style, material, operation, or sample group. Do not infer a production-wide trend from one photograph or one sample. Apparel Wiki is an independent garment-industry knowledge blog, not a factory, manufacturer, laboratory, or production-service provider. Readers can use the Apparel Manufacturing Tools collection for related planning and documentation resources, and consult the site’s About page for publication context.
As a practical next step, choose one recurring or consequential chin guard symptom and create a short evidence record: identify the sample, photograph the outside and inside, describe when the issue appears, list competing causes, and define one controlled verification trial. This keeps the troubleshooting process focused while leaving room to revise the conclusion when new inspection evidence appears.
FAQ
What are the most common chin guard construction defects?
Examples include seam opening, skipped or irregular stitches, puckering, twisting, uneven or exposed edges, bulky transitions, and uncomfortable hard spots. The relevant defect depends on the garment design. Each symptom should be documented by location, direction, repetition, and when it appears before a cause is assigned.
How can I tell whether a chin guard seam is opening because of thread breakage or fabric failure?
Inspect the thread path, stitch formation, seam allowance, and fabric structure from both sides. Thread breakage, yarn slippage, and fabric tearing leave different evidence, but a photograph alone may not be sufficient. Compare affected and unaffected areas and preserve more than one possible explanation until the material and seam have been examined.
Should a chin guard always be reinforced?
No. Reinforcement should respond to the design, material, loading, observed failure mechanism, and intended use. Added interfacing, stitches, or folded layers can introduce stiffness, bulk, friction, or hard spots. Compare the original and revised constructions rather than treating reinforcement as a universal requirement.
Can tighter stitching prevent chin guard seams from opening?
Not necessarily. Stitch density is only one construction variable, and tighter stitching may affect flexibility or create material damage in some combinations. If the underlying issue is fabric slippage, tearing, restricted movement, or poor layer alignment, tighter stitching may not address the cause and could shift the failure.
When should a chin guard defect be checked after laundering or wear?
Check it whenever the reported symptom appears and after care or use conditions that are relevant to the garment. Compare the same locations before and after the condition, and record any change in seam opening, shape, edge exposure, comfort, or material damage. Use a validated method when a formal result is required.