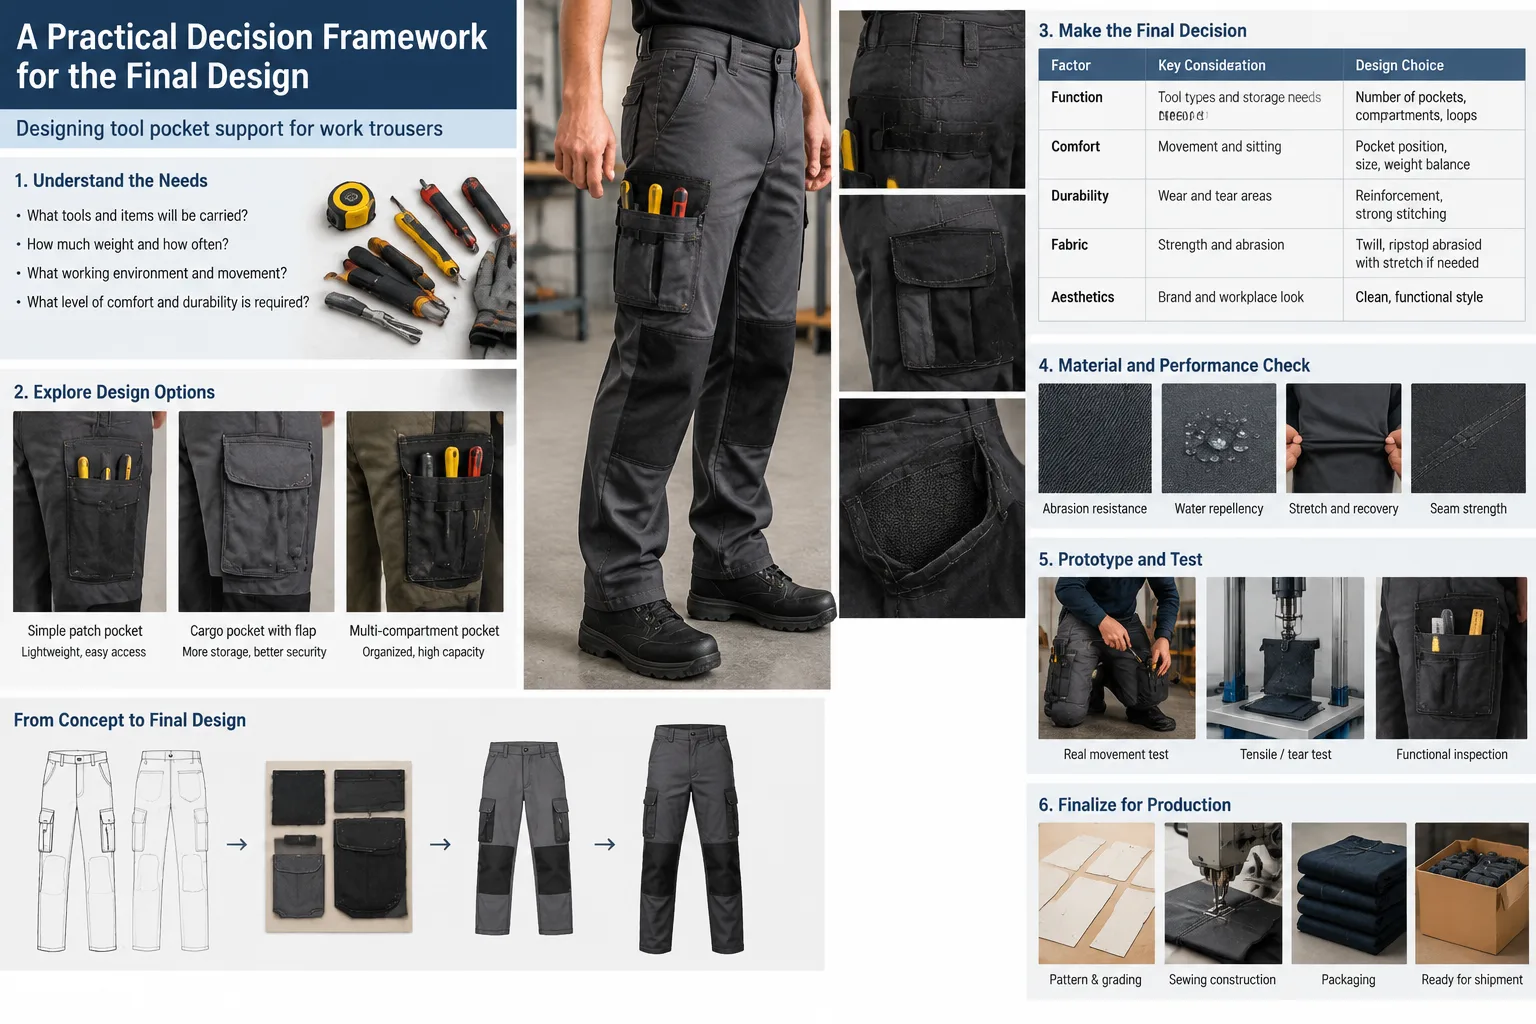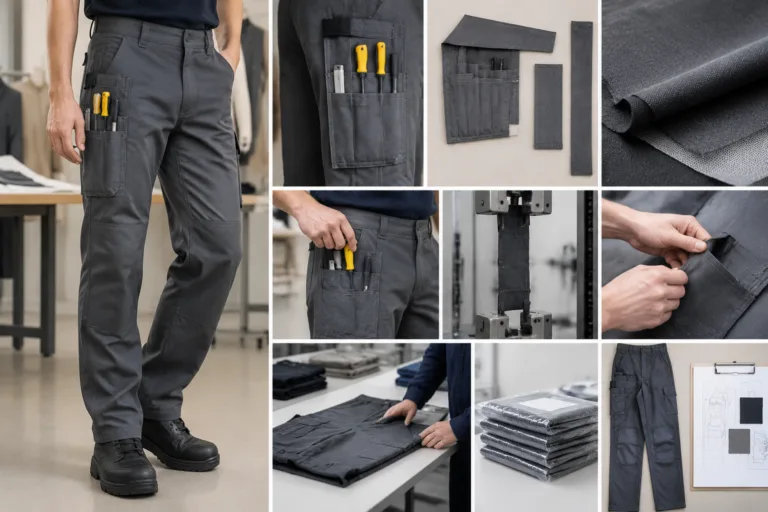
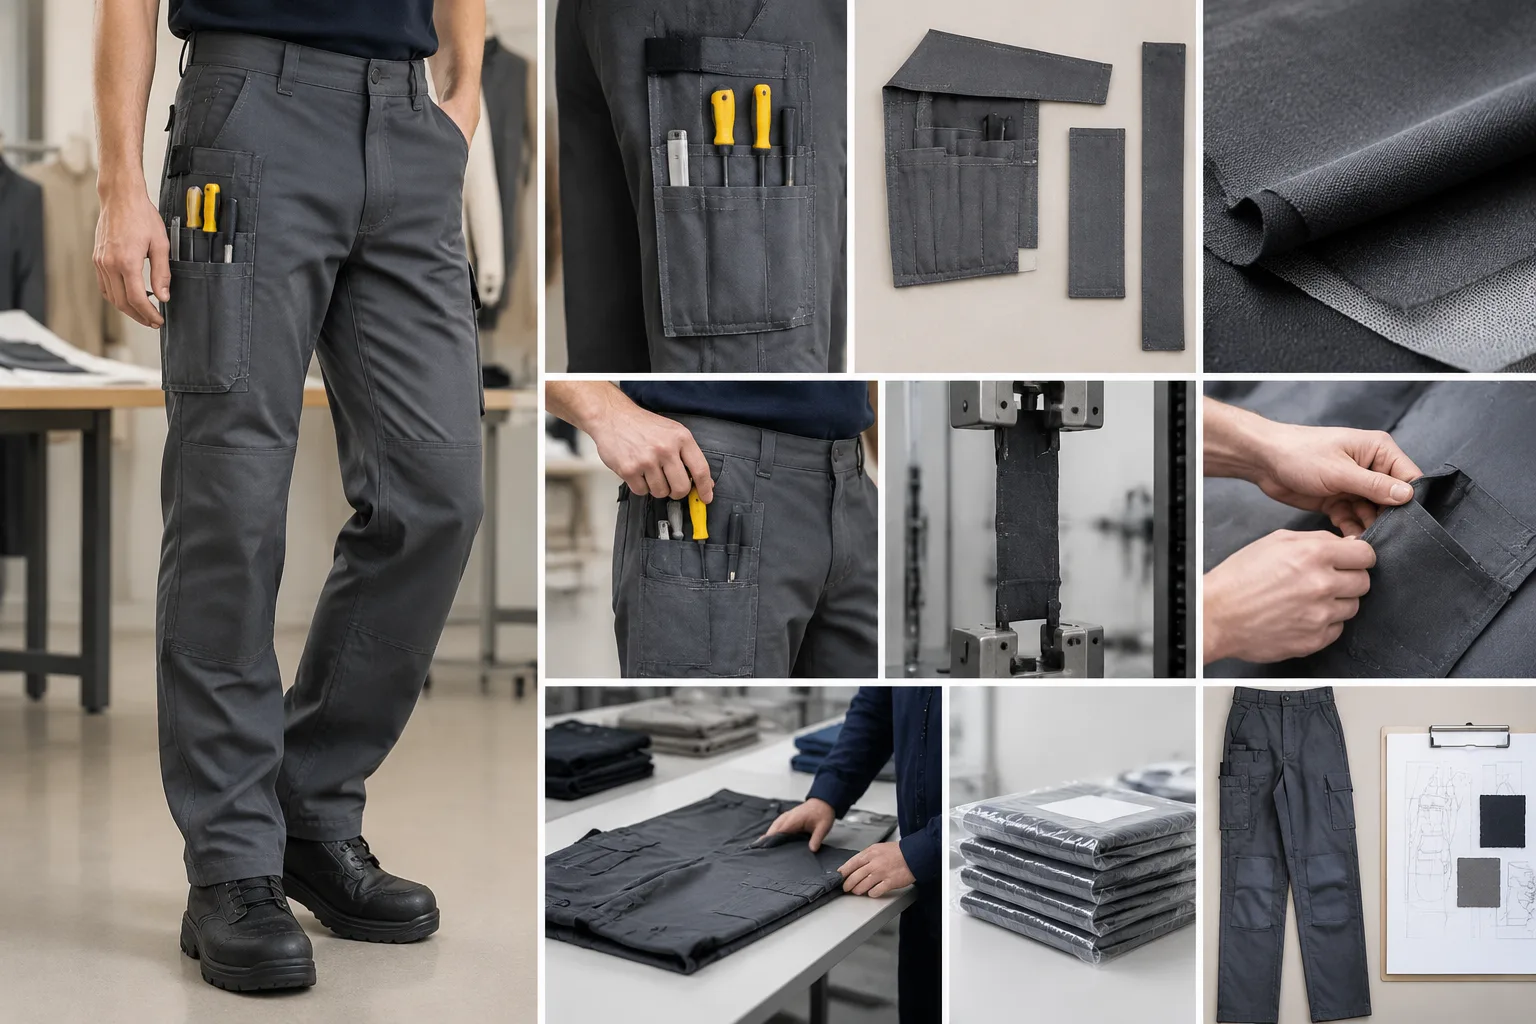
Work trousers tool pocket support is the coordinated design of pocket geometry, materials, reinforcement, attachment, and surrounding trouser structure so a pocket can carry its intended tools without unacceptable distortion or failure. Effective support is not simply a matter of making a pocket stronger. The design must also keep tools reasonably secure, accessible, balanced, and compatible with movement while limiting concentrated loads on the rest of the garment.
Because tool use and garment construction vary, there is no universal supported load or single best pocket type. Apparel Wiki is an independent clothing industry knowledge publication; its editorial work is supported separately from its content, as explained on the Sponsor page. The appropriate design begins by translating the product category into a specific wearing task, then confirming the result with a prototype made from the intended materials and assembly method.
What Is Tool Pocket Support in Work Trousers?
Tool pocket support is the way a trouser pocket and the surrounding garment manage the forces created by carrying and retrieving tools. The pocket bag, opening, corners, seams, waistband, yoke, and nearby panels may all contribute to that outcome. Fabric weight, flexibility, lining, seam allowances, edge finishing, stitching, and hardware also affect how the load is distributed.
This definition is broader than pocket tear resistance. A pocket may remain attached while sagging, twisting, shifting the trousers, restricting a step, or making a tool difficult to reach. Support therefore includes retention, access, balance, mobility, comfort, and protection of the main trouser body from concentrated stress. These objectives can conflict: a stiffer construction may hold its shape better but create more bulk or pressure during sitting and bending.
The required approach depends on the actual tool set and wearing conditions. Tool dimensions, shape, edges, center of mass, frequency of access, and retention needs all matter. So do the wearer’s postures, including standing, walking, crouching, kneeling, climbing, and sitting. A pocket label such as “cargo” or “utility” does not prove a performance level. The finished garment must be evaluated for its intended use, and any safety, compliance, or durability claim requires appropriate evidence.
Start With the Tools, Tasks, and Load Paths
Before selecting a pocket type, create a tool-use profile. Record the dimensions and shape of each intended tool, whether it has sharp edges or a clip, how often it is removed, and whether it needs a closure or other retention feature. Note which tools are carried together, because their combined position can affect bulk, balance, and access even when each item fits individually.
Describe the work sequence as well as the tools. A pocket used mainly while standing may behave differently from one accessed repeatedly while kneeling or seated. Include the wearer’s reach, hand preference, and hand movement in the brief. Judging pocket placement only on a flat pattern can overlook interference with the thigh, hip, knee, belt, harness, or another garment layer.
Next, map the load path: identify where force enters the pocket and how it travels into the pocket bag, mouth, corners, side seams, waistband, yoke, or supporting panels. The load path may be concentrated around a tool clip, a pocket opening, or a lower corner rather than spread evenly across the pocket. Treat abrasion, snagging, pressure, and interference with bending as separate risks. A construction that handles one of these well may still perform poorly against another.
Document the assumptions behind the brief, including the tool combination, intended sizes, postures, and assembly method. The final garment is a system, so changing the shell fabric, lining, thread, rivets, bartacks, or pocket contents can change the result. A pattern decision that appears suitable in isolation should be reviewed against the complete trouser and the actual tools.
Choose Pocket Structures and Reinforcement Strategically
Choose pocket geometry according to the tool and movement pattern rather than treating a familiar category as an automatic solution. Patch, bellows, inset, cargo, hanging, detachable, and layered pockets each create different relationships between volume, opening, attachment, and the wearer’s body. The useful question is whether the chosen geometry supports the required tool while preserving access and movement in the intended postures.
Review the pocket as a coordinated structure. Pocket fabric, lining, facing, binding, seam allowance, edge finishing, and reinforcement patches all influence shape retention and force distribution. Reinforcement is usually most useful at identified stress concentrations such as openings, corners, attachment points, and tool-clip locations. Adding layers across the entire pocket may increase stiffness and bulk without addressing the actual load path.
Stitching direction, stitch density, bartacks, rivets, and seam construction should remain project-specific choices. Their suitability depends on the materials, pattern, equipment, production method, and intended use. Hardware can support an attachment point, but it can also add weight, bulk, snagging concerns, laundering considerations, or a new local stress concentration. Stronger components do not automatically make the complete garment more durable.
Check the pocket’s relationship with the waistband, side seam, rise, knee articulation, and hem balance. A pocket attached near a stable garment area may distribute force differently from one supported mainly by a flexible panel. Reinforcement can also move a problem: a pocket corner may hold while the surrounding fabric, seam, waistband, or attachment area distorts. For that reason, select the simplest construction that addresses the verified task and then inspect the nearby garment for secondary effects.
Balance Carrying Capacity With Access, Mobility, and Comfort
Set the pocket opening, depth, angle, and closure around the intended tools and the way they are used. Reliable one-handed access may be important for one task, while stronger retention may matter more for another. A larger pocket is not automatically more useful, and a tighter closure is not automatically better. The design should make the tool easy enough to reach without allowing it to shift in ways that interfere with movement.
Evaluate loaded trousers through walking, bending, kneeling, climbing, sitting, and repeated transitions between postures. Observe whether contents swing, rotate, press into the thigh or hip, catch on nearby features, or alter the position of the trousers. Review pressure and bulk at the thigh, hip, knee, seat, and waistband, especially when tools are carried for extended periods or while seated.
Access should account for left- and right-handed users, belts or harnesses, other pockets, and garment layers. If the product is intended for a broad size range or varied work practices, include relevant body sizes and user groups in the evaluation. Record the tools, postures, reach requirements, and feedback rather than making a general claim from one wearer or one unloaded sample.
Usability and comfort belong in the design brief alongside seam strength. A pocket can remain structurally intact and still be unsuitable because it restricts bending, creates pressure, or slows retrieval. Any ergonomic or injury-related conclusion should be based on appropriate research or documented user evaluation, not informal observation alone.
How to Evaluate Tool Pocket Support in a Prototype
A prototype evaluation should represent the garment that will actually be developed, not an isolated pocket made from convenient substitute materials. Use the intended shell fabric, pocket material, lining, reinforcement, hardware, thread, seam construction, and finishing process. A change in any of these components can alter stiffness, friction, attachment strength, bulk, or the way force travels into the trouser body.
Begin with an unloaded inspection, then repeat the inspection with the intended tools in place. Look for pocket-mouth opening, sagging, twisting, seam distortion, corner stress, hardware movement, and interference with nearby panels. Check both the pocket and the surrounding trousers. A pocket may appear intact while the waistband, side seam, rise, or supporting panel shows unwanted distortion.
Next, define a repeatable task sequence using the actual tool set and relevant postures. Include standing, walking, bending, kneeling, climbing, sitting, and transitions between them when those actions reflect the intended use. Record access difficulty, tool retention, shifting, pressure, and interference in a consistent format. Access time may be useful, but only when the task, starting position, user instructions, and recording method are defined clearly enough to compare samples.
After the task sequence, inspect permanent deformation, abrasion, fraying, broken stitching, fabric tearing, closure failure, and damage transferred to the main trouser body. Record the sample size, tool combination, use conditions, cycle or repetition method, failure definitions, and known limitations. This creates a development record that others can understand and repeat.
Compare each prototype in a matrix covering support, access, mobility, comfort, manufacturability, repairability, and appearance. Use the project’s own acceptance criteria where they have been defined. Revise the pocket shape, load path, tool arrangement, or materials when results are poor; adding reinforcement alone may simply move the problem to another part of the garment. This process is a development procedure, not universal certification. Separate visual inspection, wearer feedback, controlled internal testing, and formal third-party testing in the evidence record.
Common Design Trade-Offs and Failure Patterns
Tool pocket support is a system problem with competing objectives. A pocket can resist tearing and still sag, shift the trousers, become difficult to reach, or create uncomfortable pressure. Structural integrity is therefore only one part of the result. The pocket must remain usable while the wearer moves, and its load must stay compatible with the surrounding garment.
Localized reinforcement illustrates this trade-off. A patch, extra layer, or stronger attachment may protect one corner or opening, but the concentrated force can move into the adjacent fabric, seam, waistband, or pocket attachment area. Inspect the complete load path after reinforcement is added. More material is not automatically a better solution if it creates a new stress concentration or makes the pocket too rigid.
Stiff fabrics and multiple reinforcement layers can improve shape retention, but they may also increase bulk, heat, friction, and manufacturing complexity. Closures can improve retention while slowing access or becoming difficult to operate with gloves. They may also catch on other garments or interfere with a tool that must be withdrawn quickly. These effects should be evaluated with the intended user tasks rather than judged from the flat pattern alone.
Hardware introduces its own considerations. Rivets, clips, rings, or other attachments may help distribute or resist force, but can add weight, snag risk, laundering concerns, corrosion questions, or uncomfortable contact. The suitability of a component depends on its location, the surrounding materials, the care process, and the use environment. Supplier information and garment-level testing are needed before making material or performance claims.
Size grading can change the result even when the pocket construction remains unchanged. Reach, pocket position, tool angle, and load distribution may vary across sizes and body shapes. Review loaded trousers in relevant sizes and postures, and document which tool combinations were used. Describe these failure patterns conditionally: no single pocket type, reinforcement method, closure, or hardware choice will prevent every problem.
A Practical Decision Framework for the Final Design
Start by defining the tool set and use scenario before selecting a pocket type or reinforcement level. Document tool dimensions, shape, edges, center of mass, access frequency, retention needs, and the postures involved. This brief turns a general request for “strong pockets” into design decisions that can be reviewed and tested.
Rank the project priorities in writing: retention, rapid access, mobility, comfort, durability, appearance, cost, repairability, and manufacturing repeatability. The ranking will differ by task. A pocket for frequent retrieval may need a different balance from one intended to hold a tool securely during extended movement. The simplest construction that addresses verified conditions is often the most practical starting point, provided its limitations are recorded.
Review the loaded pocket across relevant sizes, postures, care conditions, and the intended production process. Confirm that the sample uses the approved or proposed materials and assembly method. After any pattern, fabric, lining, reinforcement, hardware, thread, or sewing-process change, identify what must be checked again. Component results should not be treated as proof of finished-garment performance.
Keep four kinds of information distinct: editorial recommendations, project assumptions, observed prototype results, and externally defined requirements. Record what was tested, what was observed, what remains uncertain, and which claims are supported by supplier documents, user evaluation, internal testing, or formal assessment. Do not describe a pocket as protective, compliant, or safety-rated without the appropriate evidence and applicable requirements.
Use the final record to set practical next steps for pattern revision, sample approval, supplier clarification, quality inspection, and user validation. Apparel Wiki is an independent clothing industry knowledge publication, so its guidance should be read as educational design support rather than a manufacturing, laboratory, certification, or testing service. Teams can also use relevant Apparel Manufacturing Tools to organize development decisions and records.
For the next development round, choose one or two construction variables to change at a time. That makes it easier to connect an improvement or failure to the pocket geometry, material, attachment, tool arrangement, or task condition that caused it.
What does tool pocket support mean in work trousers?
It is the combined design of pocket geometry, materials, reinforcement, attachment, and surrounding trouser structure that helps carry intended tools while maintaining retention, access, mobility, comfort, and garment integrity.
How do you reinforce a tool pocket without making the trousers too stiff?
Reinforce the actual stress concentrations rather than adding layers across the entire pocket. Check the opening, corners, attachment points, and surrounding load path, then evaluate stiffness, bulk, pressure, and movement in a loaded prototype.
Where should tool pockets be placed on work trousers?
Placement should follow the tool, reach requirement, working posture, belt or harness interaction, and movement pattern. Evaluate the loaded pocket on the intended wearer rather than assuming one position suits every task or body size.
How can you test whether a work trouser tool pocket is adequately supported?
Use the intended materials and tools, inspect loaded and unloaded samples, run a defined sequence of relevant tasks, and record distortion, access, retention, comfort, wear, and damage. Compare the results with documented project criteria.
Should tool pocket design change for different tools or work postures?
Yes. Tool size, shape, mass distribution, access frequency, retention needs, and posture affect pocket geometry and load paths. A construction suitable for one tool set or task should not be assumed suitable for another.
Can a reinforced tool pocket be described as protective or safety-rated?
Not automatically. Reinforcement may support a design objective, but protective or safety-rated language requires applicable requirements and appropriate evidence. A successful internal wear trial does not by itself establish compliance or a guaranteed service life.