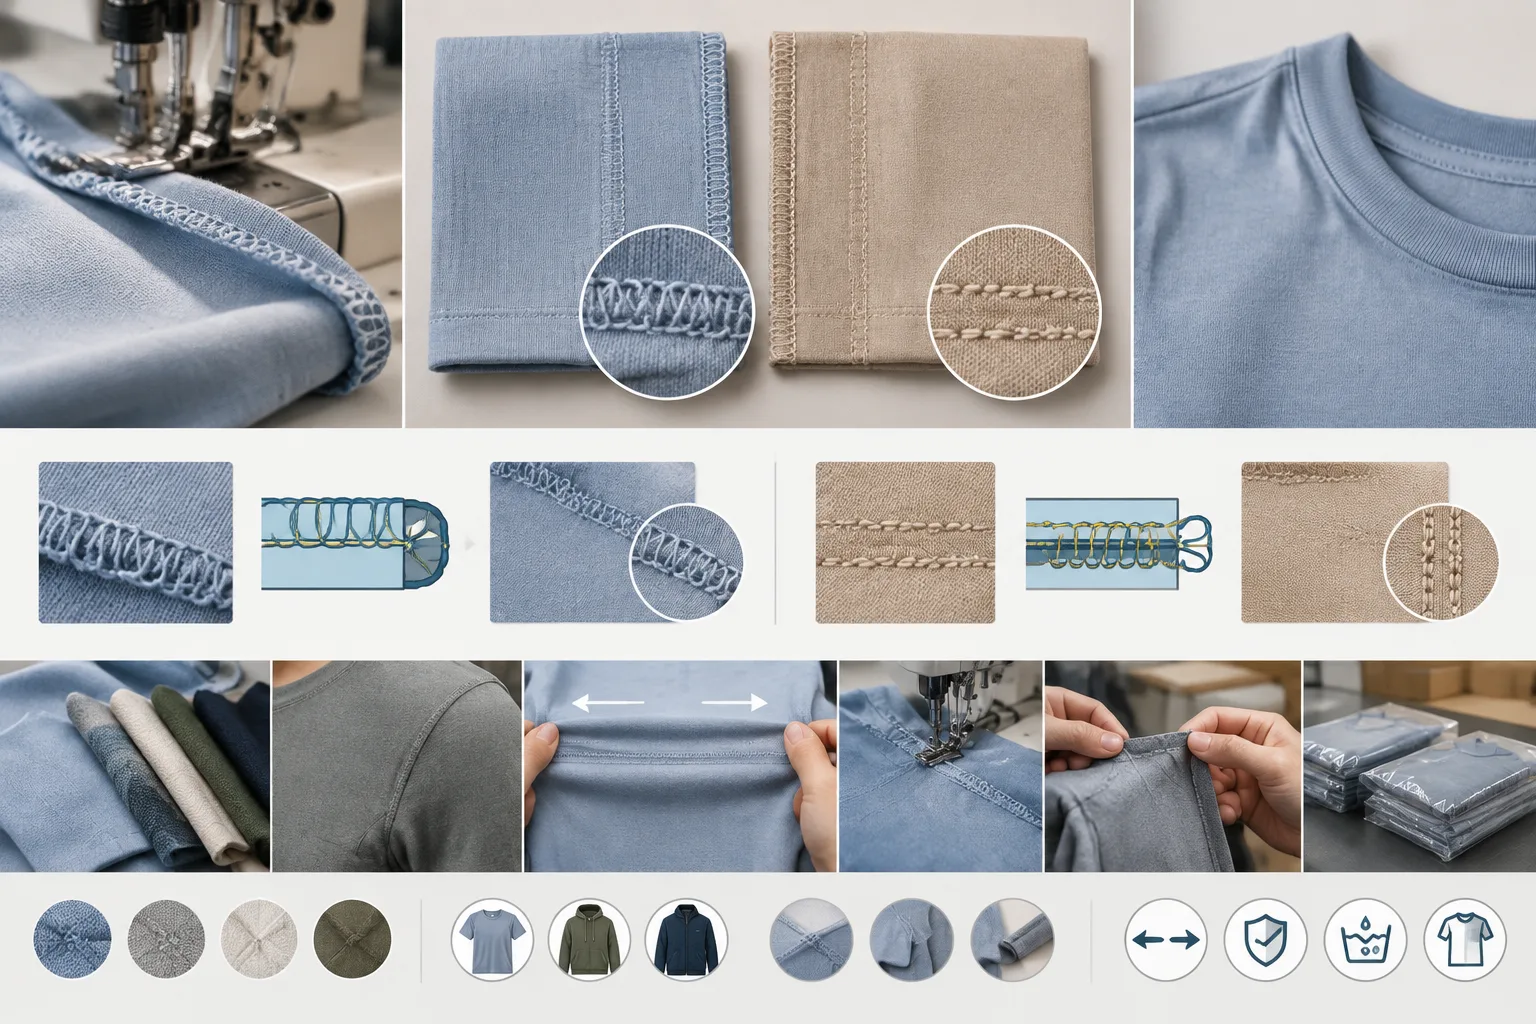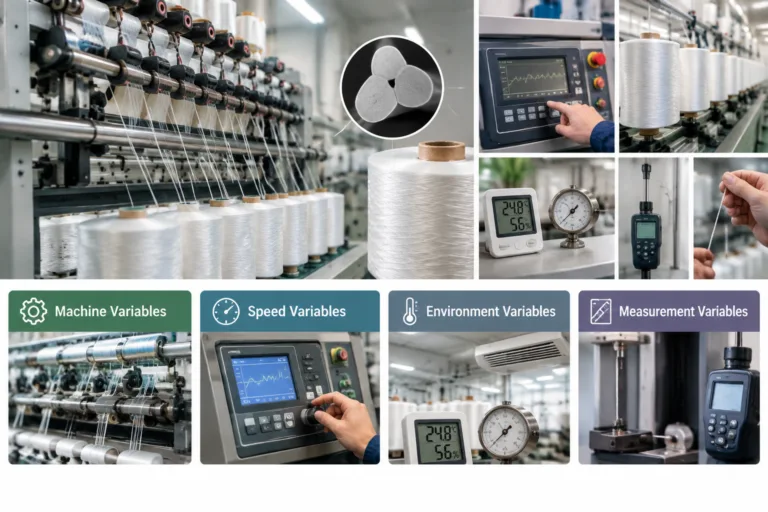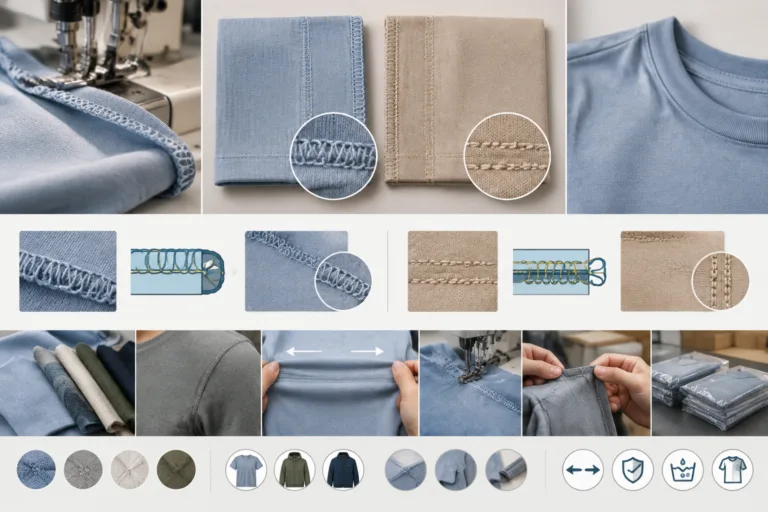
Overlock vs safety stitch: an overlock seam joins fabric and neatenes its edge with needle and looper threads in one operation, while a safety stitch combines an overlock formation with a separate needle-stitch line beside it. The safety stitch therefore creates a compound seam structure, while a standalone overlock is usually more compact. Neither construction is automatically secure or unsuitable. The correct choice depends on the seam location, fabric layers, seam allowance, expected movement, thread, and machine setup. Apparel Wiki is an independent educational publication; readers can review its Sponsor information separately from this technical guidance.
The terms also describe different levels of a garment decision. A stitch describes how threads form loops or interlock. A seam describes how fabric layers are joined. Seam allowance describes the fabric beyond the intended joining line, and the complete seam assembly includes the stitch, fabric, thread, allowance, edge treatment, and production settings. Keeping these concepts separate prevents a common mistake: assuming that adding threads or choosing a particular machine operation guarantees better performance.
Overlock vs Safety Stitch: What Is the Difference?
An overlock seam forms at the fabric edge. Needle thread helps join the layers, while looper threads pass around the edge and contain or neaten it. Depending on the machine operation and product specification, the same broad overlock family may be used primarily for edge finishing, for joining, or for both. Its profile can suit internal seams where controlled stretch, fraying control, or an efficient edge finish matters.
A safety stitch adds a separate needle-stitch line beside the overlock portion. In a simple verbal cross-section, the overlock formation wraps and controls the edge, while the additional line sits farther into the seam allowance and contributes to the joining structure. This can produce a wider or more substantial seam assembly than a standalone overlock, but the finished result still depends on the actual machine configuration, pattern, material, and settings.
For product development and quality work, the useful question is not “Which stitch is stronger?” It is “What does this seam need to do, and what is likely to fail first?” A seam may open because of thread breakage, fabric tearing, yarn slippage, skipped or distorted stitches, or excessive extension. A compound safety-stitch structure may be appropriate for one load path, while an overlock may better suit another area of the same garment. Terminology can vary among manufacturers and regions, so a specification should identify the intended machine operation and the required finished appearance rather than relying on a label alone.
Hypothetical decision scenario 1: Stretch knit side seam
Context: A product team is developing a lightweight knit top with a side seam that must extend with body movement and remain visually unobtrusive inside the garment. Evidence to collect: representative fabric panels sewn with the proposed overlock, then inspected for extension, recovery, edge control, puckering, and stitch consistency. Trade-off: an overlock may provide a compact joining and edge-neatening operation, but it may not be suitable if the seam carries a concentrated load or if the chosen setup damages the fabric. Practical conclusion: use the overlock only if sample testing confirms adequate movement and appearance at the actual seam location.
Hypothetical decision scenario 2: Woven trouser joining seam
Context: A woven trouser seam must join layers securely while controlling the raw edge, and the seam allowance provides room for an additional needle-stitch line. Evidence to collect: sewn panels evaluated under the expected movement and handling conditions, with attention to seam opening, fabric damage, bulk, and inside appearance. Trade-off: a safety stitch may offer a more substantial compound joining structure, but its added line can increase width, stiffness, or bulk where the pattern and garment zone cannot accommodate it. Practical conclusion: select it only when the additional structure solves a defined joining or edge-control need without creating a worse fit, comfort, or production problem.
How Overlock and Safety Stitch Seams Form
To understand how overlock stitching works, picture the fabric edge entering the machine while the needles penetrate the layers and the loopers carry thread around the cut edge. The thread paths form a controlled chain that can both connect the layers and cover the edge. The balance between those functions changes with the operation, materials, and machine design. It is therefore more accurate to describe the construction than to infer performance from thread count alone.
Safety stitch seam construction adds a needle-stitch line beside that overlock formation. The two parts work as one production operation, but they remain distinguishable in the finished seam: the edge-wrapping portion manages the raw edge, and the additional line sits within the allowance as part of the joining structure. The finished width, visible lines, flexibility, and bulk are variable attributes, not universal values. They should be confirmed against the machine documentation and garment specification.
| Comparison point | Overlock formation | Safety stitch formation |
|---|---|---|
| Thread formation | Needle and looper threads form the edge-wrapping construction. | An overlock formation is combined with a separate needle-stitch line. |
| Edge treatment | Can join layers while covering or controlling the raw edge. | Combines edge control with an additional joining line. |
| Seam profile | Often more compact, subject to operation and material. | Often a wider or more substantial compound structure, subject to setup. |
| Typical assembly role | Joining, edge neatening, or both. | Joining and edge control together where the extra line fits the design. |
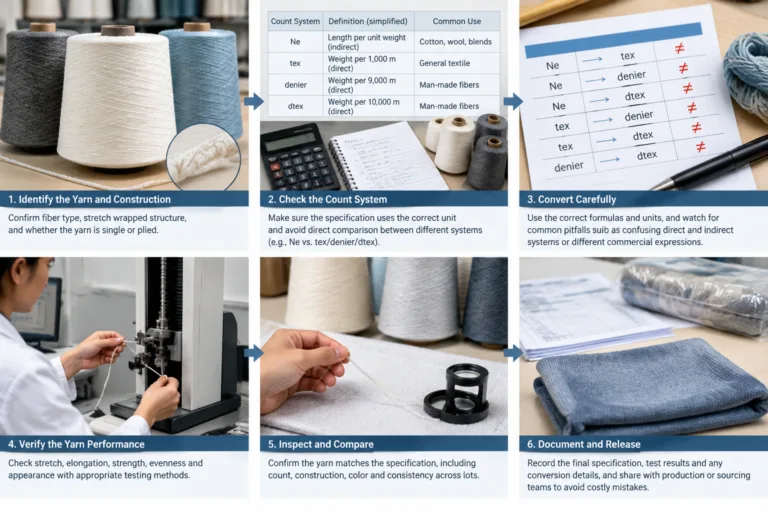
Several setup variables influence the behavior of either construction. Stitch balance and thread tension affect loop formation. Needle selection must suit the fabric and thread combination. Differential feed and fabric handling influence stretching, gathering, waviness, or distortion during sewing. Stitch density, seam allowance, thread elongation, and the order of assembly also affect the finished seam. These variables should be recorded and controlled during development because a nominally correct operation can still produce an unsuitable seam.
Seam Security: Strength, Stretch, and Failure Modes
Seam security is not a single ranking between overlock and safety stitch. It is the ability of a particular seam assembly to withstand the actual load, movement, seam direction, fabric stretch, and expected use of the garment. A shoulder seam, a knit side seam, and an inner-leg seam may experience different forces even when similar equipment is used. The relevant comparison is always between tested constructions made with the intended fabric, thread, allowance, and settings.
Stronger thread alone does not guarantee a secure seam. If the thread resists the load, the fabric may tear, yarns may slip apart, or the stitch may distort and open. Edge containment can reduce uncontrolled fraying, while consistent stitch formation and adequate seam allowance can support repeatable joining. Thread elongation also needs to be compatible with the movement required by the fabric and garment. These are system properties, not benefits that belong automatically to one stitch name.
The compound structure of a safety stitch may support joining operations that need an additional needle line, but that does not establish a universal strength advantage. An overlock may perform well where controlled extension and edge coverage are central requirements. Conversely, either construction can fail if tension is unbalanced, the fabric is mishandled, the seam is overloaded, or the operation does not match the pattern engineering.
Increasing stitch density is not a universal fix. Very dense stitching can contribute to needle damage, stiffness, puckering, or restricted extension. Inspection should therefore look for the first failure mechanism: broken threads, open seam areas, yarn slippage, fabric tearing, skipped stitches, distortion, or loss of stretch. Laboratory results, production observations, and editorial recommendations are different types of evidence and should not be presented as interchangeable.
When Is an Overlock Seam Usually the Better Choice?
An overlock seam is often considered when edge neatening, controlled extension, and efficient assembly need to happen together. The looper threads cover the fabric edge, helping contain exposed yarns, while the needle thread contributes to joining. This can suit internal seams, lightweight materials, and many knitwear operations when the seam profile and fabric behavior are compatible.
That does not make an overlock the default answer for every garment. A high-load seam, a bulky intersection, or a fabric that curls, frays, or distorts may require another construction or a different operation sequence. An overlock operation may also be used only to finish an edge rather than join fabric layers. Those functions should be stated separately in a technical specification.
For knit fabric, assess whether the seam extends and recovers with the garment instead of restricting movement or creating ripples. For woven fabric, check whether the joining formation and edge coverage are adequate for the seam direction and expected handling. Fabric weight, thickness, stretch, seam allowance, and garment zone can change the recommendation.
A practical sample review should check appearance, stitch balance, extension, recovery, fraying control, edge curling, thread exposure, and relevant care performance. Compare the seam at straight sections, curves, intersections, and transitions. If the seam will be washed or repeatedly stressed, use representative panels and the project’s applicable test or inspection requirements rather than relying on a visual check alone.
When Is a Safety Stitch Usually the Better Choice?
A safety stitch may be selected when a joining line and edge control are both needed, and the additional needle-stitch line fits the available seam allowance. Its compound structure can give the seam a different security profile from a standalone overlock, particularly where the joining function deserves separate consideration. However, the construction itself does not establish a universal strength advantage.
The added line can affect the finished seam’s width, bulk, stiffness, inside appearance, and turn-of-cloth behavior. These effects may be acceptable in a structured woven garment or a seam exposed to substantial handling, but less suitable where a narrow, soft, flat, or highly extensible result is important. The correct choice depends on the load path and the garment zone, not simply on the stitch name.
Machine capability is also separate from finished-seam quality. Thread selection, needle choice, tension balance, differential feed, stitch density, seam allowance, operator handling, and pattern engineering all influence the result. A machine may be able to produce the required formation, yet the sample can still show puckering, skipped stitches, restricted extension, or inconsistent edge coverage.
For sourcing and production review, specify the required operation and finished appearance clearly. Confirm whether the safety stitch is expected to join, neaten, or perform both functions. Review seam intersections and closed areas as well as accessible straight runs, because added structure can affect assembly order and later repair.
How to Choose and Evaluate the Right Seam for a Garment
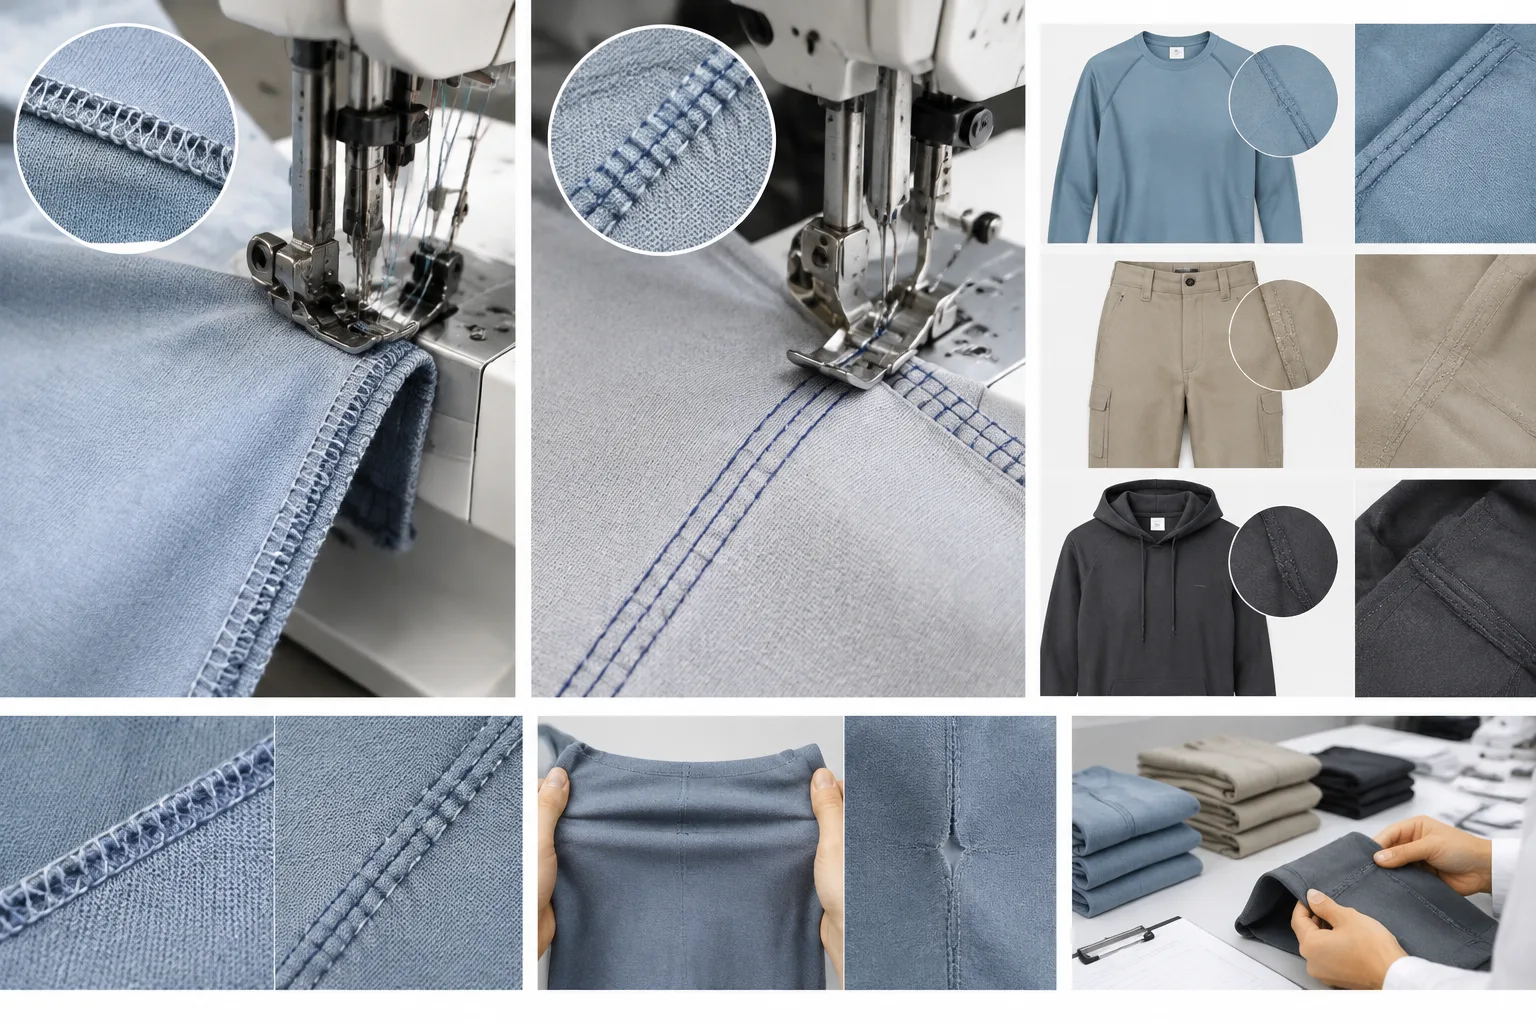
Begin with the garment zone rather than the machine. Identify whether the operation must join layers, finish an edge, accommodate movement, resist a recurring load, control fraying, or satisfy an inside-appearance requirement. Then document the fabric structure, thickness, stretch, seam direction, seam allowance, and construction sequence. These details define the problem that the seam must solve.
A useful comparison can score each candidate against security, extensibility, bulk, appearance, fraying control, repairability, and production access. Keep the entries descriptive unless the project has validated numerical requirements. For example, “allows the required movement without distortion” is more defensible than assigning a universal stretch value to an overlock or safety stitch.
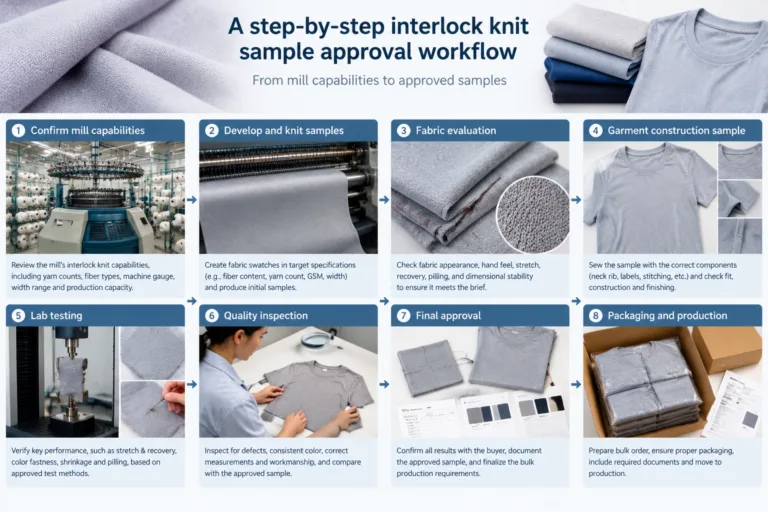
For development, sew representative panels using the actual fabric and proposed thread and needle combination. Inspect the construction before and after any relevant conditioning or laundering procedure. Apply the planned movement or load evaluation, then examine broken threads, open seam areas, fabric tearing, yarn slippage, skipped stitches, puckering, edge curling, and changes in stitch balance.
Record the machine settings, thread and needle choices, seam allowance, fabric lot, machine or operator identity, sample location, and test conditions. This makes a successful result reproducible and helps identify whether a failure comes from the stitch formation, fabric, handling, or pattern engineering. Include intersections and transitions where these are likely to change the stress or bulk.
Hypothetical example: A stretch knit side seam may favor an overlock if the sample provides suitable extension, recovery, edge containment, and appearance. A woven trouser seam that needs a more clearly defined joining line may justify a safety stitch if its added width and bulk fit the pattern. In both cases, the conclusion comes from representative evidence, not from a universal ranking.
Use the resulting documentation in development, sourcing, and quality discussions. The Apparel Manufacturing Tools collection may help organize related production checks, but project specifications and validated test requirements remain controlling when they differ from general educational guidance.
The practical next step is to create one comparison sample for each candidate construction at the actual garment location. Review the samples with design, technical, production, and quality stakeholders, record the first failure mechanism or appearance concern, and select the seam that meets the garment’s combined performance and assembly requirements.
Is a safety stitch stronger than an overlock stitch?
Not universally. A safety stitch adds a needle-stitch line and may suit some joining demands, but seam security depends on the complete fabric, thread, stitch, seam allowance, machine setup, and applied load. Test the actual garment construction.
Can an overlock machine make a safety stitch?
Only equipment configured for the required compound operation can produce a safety stitch. Machine terminology varies, so confirm the specified thread formation, needle line, looper structure, and finished seam appearance with the equipment documentation.
Is an overlock seam suitable for woven fabrics?
It can be suitable for some woven-fabric joining or edge-finishing applications. Suitability depends on fabric fraying, thickness, seam location, loading, appearance, and the required seam allowance. Representative samples should confirm the choice.
Which seam is better for stretchy knit garments?
Neither is automatically better. An overlock may fit a knit seam that needs controlled extension and edge coverage, while a safety stitch may be appropriate where its additional joining line fits the garment. Check extension, recovery, puckering, and comfort.
Does a safety stitch create more bulk than an overlock seam?
The additional needle-stitch line can change seam width and bulk, but the finished result also depends on thread, fabric layers, seam allowance, and settings. Compare samples at intersections and other areas where thickness accumulates.
How should overlock and safety stitch seams be tested?
Use representative fabric panels and the planned thread, needle, seam allowance, and settings. Inspect appearance, stitch consistency, extension, recovery, fraying, and failure modes before and after relevant care or loading evaluations. Apply project-specific requirements where available.