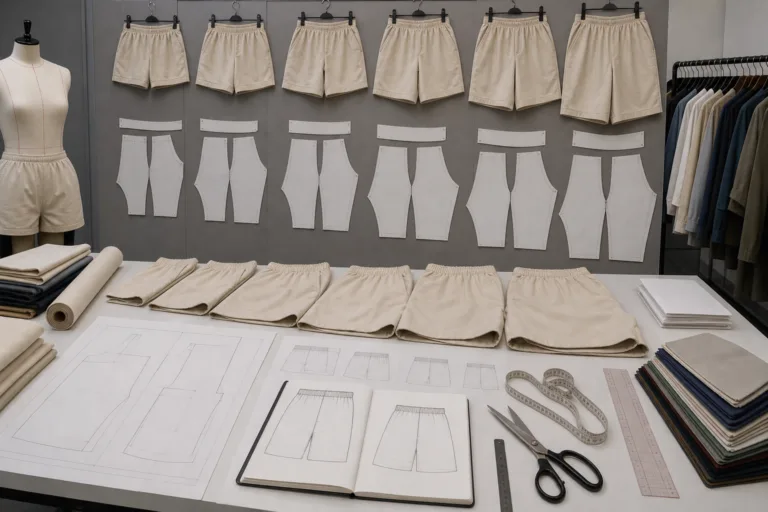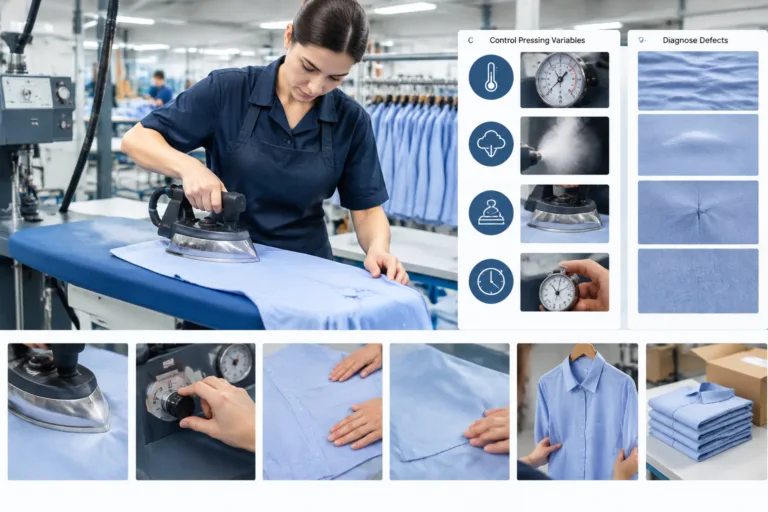
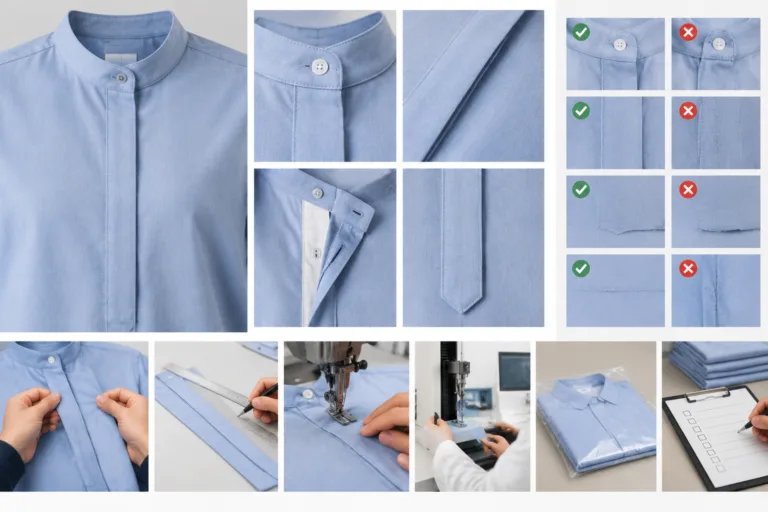
Tower plackets construction is the process of preparing, sewing, folding, pressing, and securing a structured finish at a sleeve opening. In ready-to-wear clothing, this detail is commonly associated with shirt and blouse sleeves that connect to a cuff. The placket finishes the cut opening, helps the sleeve open and close, and creates a controlled transition into the cuff area. Apparel Wiki is an independent educational publication; information about the site’s editorial support is available on its Sponsor page.
The exact construction depends on the approved pattern, fabric, equipment, and garment design. A tower placket is not the cuff itself, and it is not the seam that attaches the cuff to the sleeve. It is the sleeve-opening component that must be completed before the cuff can be attached reliably.
What Is a Tower Placket in Ready-to-Wear Clothing?
A tower placket is a structured sleeve-placket finish formed around a slit or opening near the lower edge of a sleeve. Its visible shape may include a narrow extension, a pointed or “tower” section, an overlap, and an underlap. On the inside, the construction may use a separate placket piece, a binding, a facing, folded seam allowances, or a combination of these elements.
The component has three practical purposes. First, it encloses or controls the raw edges created when the sleeve opening is cut. Second, it allows the opening to spread for dressing and close again during wear. Third, it provides a stable area where the sleeve can meet the cuff without leaving an uncontrolled slit or bulky collection of raw edges.
Terminology varies between pattern systems, garment styles, and manufacturers. One technical package may identify a placket extension, tower, overlap, and underlap as separate areas; another may describe the complete piece as a sleeve placket or placket facing. The names should therefore be checked against the approved pattern and operation instructions rather than assumed from the appearance alone.
When identifying the component, separate these construction features:
- Sleeve opening: the controlled slit or cut area in the sleeve.
- Tower or extension: the shaped section that may project beyond the opening and form the visible pointed finish.
- Overlap and underlap: the two sides arranged to cover or support the opening when it is closed.
- Binding or facing: material or folded fabric that encloses the opening edge.
- Seam allowances and folds: areas used to join, turn, and control the layers.
- Topstitching or reinforcement: visible or structural sewing applied only where the approved method requires it.
The cuff is a separate component that finishes the sleeve hem and may include its own placket attachment seam. A clean tower placket can still be incorrectly positioned or joined if the cuff pattern, sleeve opening, or attachment seam does not match.
What Parts and Preparation Does a Tower Placket Require?
Preparation is a production-control step, not just preliminary sewing. Before assembly, confirm the sleeve piece with its opening placement, the corresponding placket piece or pieces, any cuff support or interface specified by the pattern, suitable thread, and a pressing setup that can control the small folded area. The actual components vary with the style and approved construction.
Check the opening length, grain direction, notches, and placement marks against the approved pattern. These references determine where the placket sits, how its folds align, and whether the finished opening will meet the cuff correctly. Cutting accuracy matters because a misplaced or uneven opening can force the operator to compensate during sewing, changing the tower shape.
Keep the construction markings distinct. The cut line defines where fabric is removed or separated; the stitch line identifies the sewing path; the seam allowance is the material beyond that stitch line; the fold line controls turning; and the finished edge is the visible boundary after pressing. Confusing these references can produce an uneven overlap, exposed raw edges, or an incorrect finished width.
Stabilization or reinforcement may be appropriate when the fabric, opening shape, or garment design creates a specific risk. However, added layers can also create stiffness, bulk, or hard points. The reinforcement method should therefore be selected for the intended failure risk and confirmed on the actual fabric, rather than treated as a universal requirement. Consistent pressing is equally important: it sets the folds and helps the tower remain controlled during later operations.
How Is a Tower Placket Assembled Step by Step?
The following is a typical instructional sequence for tower placket assembly. It is not a universal order. A pattern, technical package, machine arrangement, or operator-access requirement may change the sequence for a particular style.
- Confirm the components. Match the sleeve, placket pieces, right and wrong sides, notches, opening marks, and required fold lines. Check that the placket orientation agrees with the intended overlap and underlap.
- Prepare the sleeve opening. Mark or cut the opening according to the approved pattern. Keep the cut controlled and accurately positioned so the two sides remain suitable for attachment.
- Attach the first placket section. Align the specified seam line with the opening and maintain the documented seam allowance. Avoid stretching or shifting the sleeve edge while sewing.
- Turn and enclose the edge. Fold, wrap, or turn the placket section as required by the pattern so the raw edge is enclosed. Press the fold to establish a controlled finished edge before the next operation.
- Form the tower. Build the pointed or extended section according to the pattern. Control the corner carefully so fabric is not trapped, the point is not distorted, and raw edges do not remain exposed.
- Secure the opposite side. Attach or fold the second side, including the underlap where specified. Check that the opening closes in the intended relationship without twisting the sleeve.
- Apply approved securing details. Add topstitching, a bartack, or another reinforcement only where the approved construction calls for it. Stitch description, seam structure, seam allowance, and stitch type should be documented separately because one seam can use different stitch types.
- Inspect before cuff attachment. Review the opening while it is still accessible. Correction is generally more difficult after the cuff has been attached and the lower sleeve edge has been closed.
At each operation, check three things: the alignment objective, the layer relationship, and the visible result. The placket should remain flat enough for the chosen fabric, the folds should follow the intended lines, and the finished edges should be enclosed and consistent. The approved production method should be established through sampling on the intended fabric and equipment.
Which Variables Change the Construction Method?
Fabric behavior, pattern geometry, equipment, and production goals all influence tower placket assembly. A stable woven fabric may hold a fold readily, while a lightweight or slippery fabric may require more careful marking, handling, and pressing. A bulky fabric can make several folded layers difficult to turn cleanly. Visible pattern direction can also make placement and alignment more noticeable.
| Variable | Possible effect | Evaluation focus |
|---|---|---|
| Fabric weight and stability | Changes turning, pressing, layer bulk, and edge control | Flatness, clean folds, and comfort |
| Opening shape and tower angle | Changes corner control and the way the sides meet | Symmetry, point formation, and closure |
| Placket width and fold count | Changes handling space and the number of fabric layers | Consistent finished edges without excess bulk |
| Equipment and operator access | Changes whether the intended sequence is practical and repeatable | Sample repeatability and process control |
Seam-allowance control, needle selection, thread choice, stitch density, and pressing can affect appearance and durability, but their correct settings are project-dependent. Tighter stitching is not automatically stronger: needle damage, restricted extension, fabric distortion, or failure in the cloth may become the limiting problem. Likewise, reinforcement, bartacks, and extra folded layers may support a vulnerable area while also increasing thickness, friction, or stiffness. Evaluate the complete sleeve and cuff construction through sampling rather than inferring performance from fabric category alone.
How Should a Finished Tower Placket Be Evaluated?
A finished tower placket should be reviewed as part of the complete sleeve and cuff assembly, not as an isolated rectangle of fabric. Begin by checking the opening position against the approved pattern and sample. The two sides should meet in the intended overlap or underlap relationship, with the opening aligned to the sleeve and the cuff attachment area.
Next, inspect the visible construction. The tower point, corners, folds, and topstitching should appear controlled and reasonably symmetrical for the approved design. Look for skipped stitches, puckering, twisting, uneven edges, exposed raw edges, trapped fabric, and unintended thickness. The inside finish matters as well, particularly where the placket may contact the wearer or catch during dressing.
- Confirm opening placement, direction, and relationship to the cuff.
- Check the tower point, corners, folds, and finished edges for clean formation.
- Review topstitching for consistent placement and incomplete or skipped stitches.
- Look inside the sleeve for loose threads, exposed edges, and uncomfortable hard points.
- Open and close the placket repeatedly and observe whether the sleeve or cuff distorts.
- Record each issue by likely source: cutting, marking, alignment, sewing, pressing, components, or operator access.
During sample review, open and close the placket through the movement expected in dressing and wear. This can reveal twisting, restricted movement, pulled stitches, or stress at the corners that a flat visual inspection may miss. Any durability conclusion should remain conditional unless the garment has been examined through a defined test method. Visual approval and performance testing are related but are not the same decision.
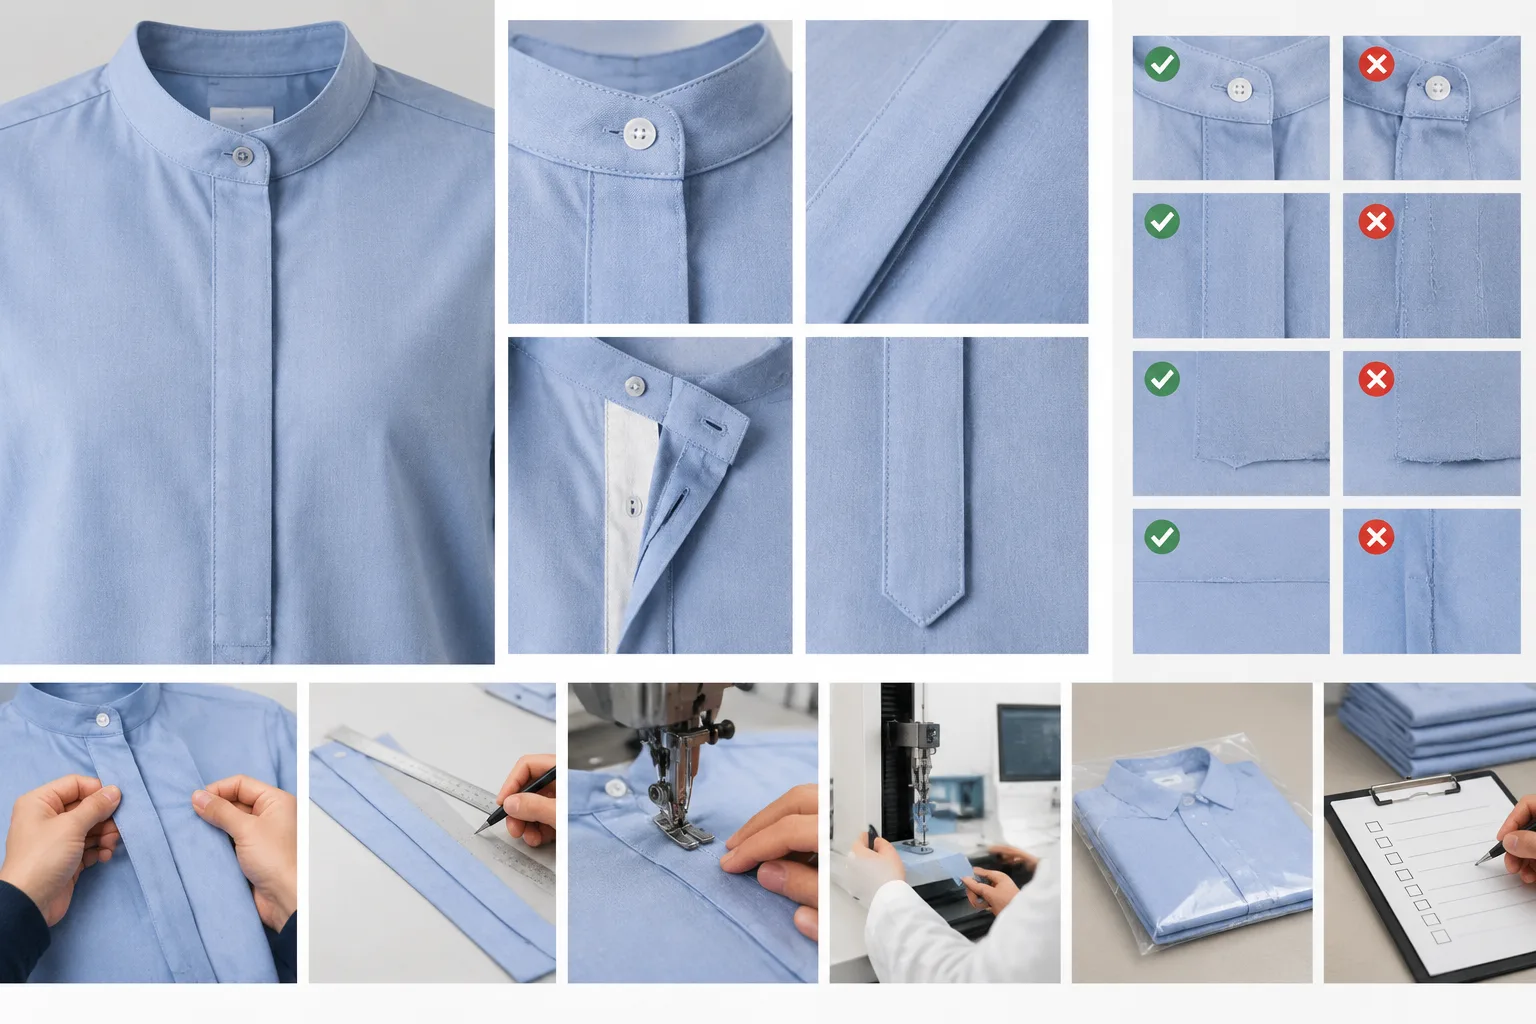
How Can Brands Transfer a Tower Placket to Production?
To transfer tower placket construction into ready-to-wear production, document the approved method in a form that another operator can follow and another reviewer can verify. The package should identify the approved pattern, opening placement, component names, fold direction, seam allowances, stitch details, pressing requirements, and attachment sequence. Keep stitch descriptions separate from seam descriptions: a seam explains how fabric layers are joined, while a stitch describes how the thread is formed.
The first sample or pilot run should use the intended fabric and, where practical, the equipment planned for production. This confirms whether the documented sequence is accessible, repeatable, and compatible with the material. A method that works on a stable sample fabric may require adjustment when the production fabric is lightweight, slippery, bulky, directional, or otherwise different.
Ask the production partner to identify the actual operation sequence, machine setup, pressing steps, and any subcontracted work. Pay particular attention to operations that become difficult after the cuff or another sleeve component has been attached. The sequence should preserve access to internal areas and make correction possible before later construction closes the work. The Apparel Manufacturing Tools area may provide useful production-planning context, but it does not replace style-specific sample verification.
- Compare production pieces with the approved sample from both the outside and inside.
- Confirm that the opening, tower, folds, topstitching, and cuff relationship match the documented method.
- Check whether the operator can consistently reach, turn, press, and secure each area.
- Clarify who approves pattern corrections, workmanship changes, and process substitutions.
- Record any permitted change rather than relying on informal instructions.
A supplier’s facility presentation or equipment list can offer useful clues, but it does not by itself prove stable performance on a particular sleeve construction. Request evidence relevant to the actual work, such as comparable samples, an operation explanation, pilot results, and records that can be checked. Also clarify whether the quoting party, contracting party, production site, and any subcontractor are different organizations, and document the permitted scope of subcontracting.
Changes should remain controlled. A different fabric, tower geometry, reinforcement method, cuff, or pressing approach can alter the result enough to require renewed sampling. Production release should follow comparison of the revised sample with the approved construction, not an assumption that an earlier tower placket method will transfer unchanged.
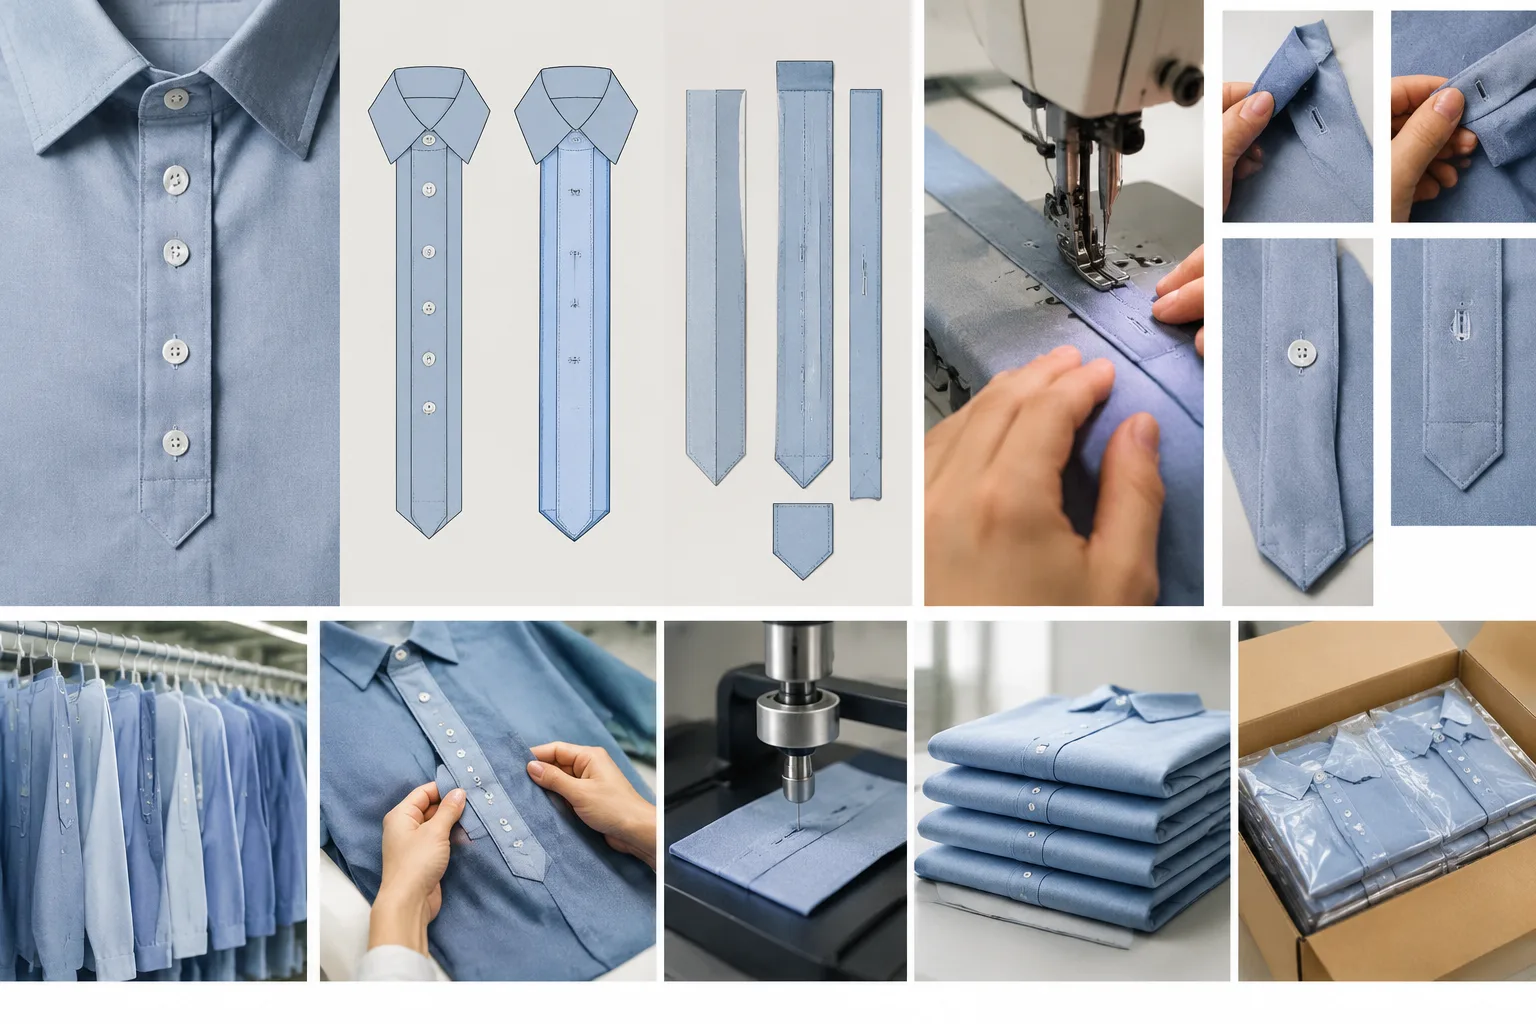
Common Tower Placket Problems and Practical Next Steps
Tower placket troubleshooting works best when the visible defect is treated as evidence of a process question rather than an immediate diagnosis. The same uneven corner may result from marking, pattern geometry, unequal seam allowances, folding, sewing access, or pressing. Check the pattern, materials, and operation sequence before changing the stitch or adding reinforcement.
| Visible problem | Possible process causes | What to check next |
|---|---|---|
| Uneven tower or twisted opening | Inaccurate marking, unequal seam allowances, incorrect folding, or insufficient pressing control | Compare the marked opening and fold lines with the pattern, then review alignment before sewing |
| Puckering or sleeve distortion | Fabric handling, stitch tension, needle damage, layer compression, or an unsuitable sequence | Inspect the fabric around the seam and compare a controlled sample using the approved process |
| Exposed raw edges or weak corners | Incorrect turning, insufficient seam allowance, poor corner control, or missing approved reinforcement | Review the turn, corner formation, and internal finish before adding layers |
| Excess bulk or uncomfortable hard points | Too many layers, heavy reinforcement, bulky intersections, or an unsuitable fold arrangement | Compare thickness, comfort, and appearance with the approved construction |
Correct one likely cause at a time and update the operation sheet after the result is reviewed. Adding a bartack, interfacing, or extra folded layer may support a vulnerable area, but it can also increase stiffness, friction, or bulk. Likewise, tighter stitching is not automatically stronger if needle damage, restricted extension, fabric distortion, or failure in the cloth becomes the limiting issue.
The practical decision path is straightforward: confirm the pattern and markings, test the sequence on the actual fabric, inspect appearance and function, investigate the most likely cause of any defect, and release only the documented method. Recheck the complete sleeve and cuff assembly after every meaningful change.
For an educational next step, use the approved sample as a reference sheet during review. Mark the opening, tower point, fold direction, seam structure, topstitching, and inspection points directly on the process documentation. This creates a shared basis for pattern, sewing, quality, and production teams without treating one style-specific method as a universal specification.
What is a tower placket on a sleeve?
A tower placket is a structured finish around a sleeve opening, commonly used where a sleeve connects to a cuff. It finishes the cut opening and allows the sleeve to open and close. Its exact shape and terminology can vary by pattern and garment style.
What is the typical assembly sequence for tower plackets construction?
A typical sequence includes confirming the markings, preparing the sleeve opening, attaching the placket section, turning and pressing the raw edge, forming the tower, securing the opposite side, and applying approved topstitching or reinforcement. The approved pattern and equipment may require a different order.
How is a tower placket different from a simple sleeve slit or continuous sleeve placket?
A tower placket usually includes a more structured extension or pointed finish around the sleeve opening. A simple slit or continuous sleeve placket may use a different pattern shape, binding method, fold arrangement, or finishing sequence. The distinction depends on the construction being used.
Why does a tower placket twist, pucker, or develop uneven corners?
Possible causes include inaccurate marking, unequal seam allowances, incorrect folding, fabric handling, stitch tension, needle damage, poor corner control, or insufficient pressing. Inspect the pattern, fabric, operation sequence, and internal finish before selecting a correction.
What should a brand include in a tech pack for a tower placket?
Include the approved pattern reference, opening placement, component names, fold direction, seam allowances, stitch details, pressing instructions, reinforcement requirements, operation sequence, and clear appearance references. State who approves changes and how revised samples are compared.
How should a finished tower placket be inspected before ready-to-wear production?
Check position, overlap or underlap, symmetry, corners, folds, topstitching, interior finish, loose threads, and unintended bulk. Open and close the placket repeatedly and inspect the complete sleeve-cuff assembly. Use a defined test method when making durability or wash-performance claims.