Garment pressing process controls are the defined checks, conditions, observations, and records used to keep a pressed garment aligned with an approved target. They cover more than machine settings: a workable control system connects the material, sewn garment, pressing method, inspection result, and handling after pressing. Apparel Wiki is an independent educational publication, and readers can review its editorial support principles on the Sponsor page.
In practice, the aim is to control variation before it becomes a visible defect. The exact pressing route depends on the garment, fabric construction, components, equipment, and required finish. A useful plan therefore defines what must be checked and what result is acceptable without pretending that one sequence or one set of settings suits every product.
What Are Garment Pressing Process Controls?
A control point is a defined stage in the work where someone verifies an input, observes an output, confirms a condition, or records a decision. In garment pressing quality control, that point might occur when a material batch enters the operation, when equipment is prepared, when the first piece is pressed, or when finished work is released to the next operation.
This is different from simply writing down a pressing route. The route describes what happens and in what order; the controls describe how the team knows that each stage is ready, working as intended, and producing the required appearance. Two garments may both require seam, hem, collar, or panel pressing while needing different handling because their materials and construction respond differently.
The reference for the result should be an approved sample, reference garment, product specification, or another authorized visual and technical requirement. It should establish the intended shape, seam treatment, smoothness, alignment, and other appearance features. The reference is a target for production, not proof that every future material batch or garment will behave identically.
Pressing also sits inside a wider production flow. Fabric and component condition can affect sewing; sewing quality can affect how a seam or panel responds to pressing; pressing can affect inspection; and handling or packing can create re-creasing or deformation after a garment has passed a check. Official vocational guidance on pressing whole garments similarly treats the work as an operational activity with defined preparation and quality expectations, rather than an isolated touch-up step: pressing whole garments.
Final inspection remains important, but it is not a substitute for process control. Inspection can identify a problem after it occurs; it cannot remove all variation already introduced by an unsuitable setup, inconsistent handling, or an upstream construction issue. Earlier control points make it possible to hold work, investigate a change, and correct the process before the same condition affects a larger quantity.
Define the Pressing Target Before Production
Before bulk production begins, convert the approved appearance into instructions that operators and inspectors can observe. Start by identifying the garment style, material and component combination, approved reference, intended pressing sequence, and areas where shaping or flattening matters. Depending on the product, these areas may include seams, hems, collars, cuffs, pleats, pockets, facings, and larger garment panels.
The target should distinguish required appearance from personal operator preference. “Smooth” may be meaningful only when the team also understands which seam line, edge, fold, or shape must remain visible. Likewise, a flat pocket, shaped collar, or pressed pleat should be judged against the approved product requirement rather than against an individual worker’s preferred method.
Describe acceptance criteria in visible and comparable terms. Useful categories include:
- shape and dimensional appearance relative to the approved reference;
- seam and edge treatment, including alignment and unwanted distortion;
- surface smoothness and freedom from unintended impressions, marks, or shine;
- placement of pleats, pockets, panels, collars, cuffs, and other constructed features;
- surface condition, including any visible discoloration, moisture mark, or contamination; and
- protection of the pressed result during movement and handoff.
Not every criterion needs a universal tolerance. Where the product specification, buyer requirement, or approved sample does not establish a numeric limit, use project-specific visual references instead of inventing one. Photographs, diagrams, marked samples, or comparison panels can communicate an intended result more reliably than a short verbal instruction, especially when a small change in shape or surface appearance affects the garment’s presentation.
Also define the approval boundary. A setup, first-piece result, or change to the pressing method may require technical or quality approval before production continues. Routine adjustments within an already approved method may be handled differently. The decision should be documented in the project’s work instruction or quality plan so that operators are not forced to interpret approval requirements from memory.
Set Up Material and Equipment Controls
Preparation begins with identity. Confirm the garment style, material, color or batch, and component combination before pressing. Mixing similar-looking materials or components can make a correct setting appear ineffective and can make later defect investigation difficult. The approved reference and released process instruction should be available at the workstation or through the project’s controlled information system.
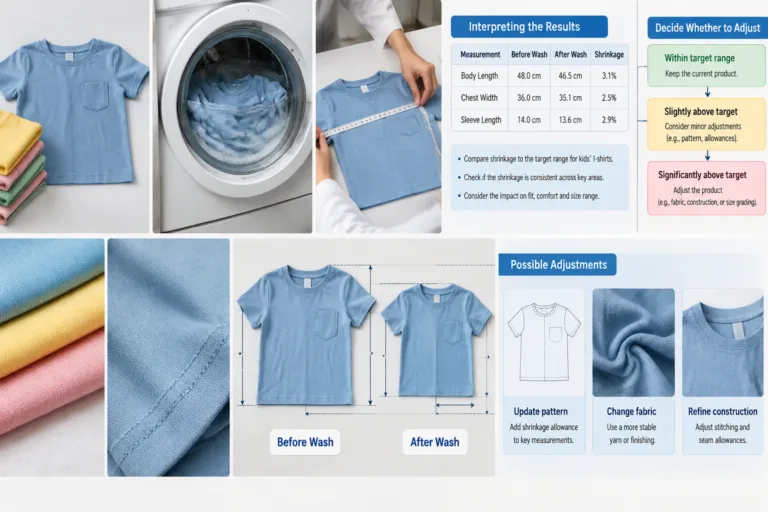
Review the material evidence that is relevant to the job. Depending on the fabric and finish, the team may need to consider dimensional change, surface sensitivity, color transfer, seam response, or distortion. These are not universal outcomes, so any material-specific conclusion should come from appropriate supplier information, controlled trials, or laboratory evidence. A sample result does not automatically represent every production batch.
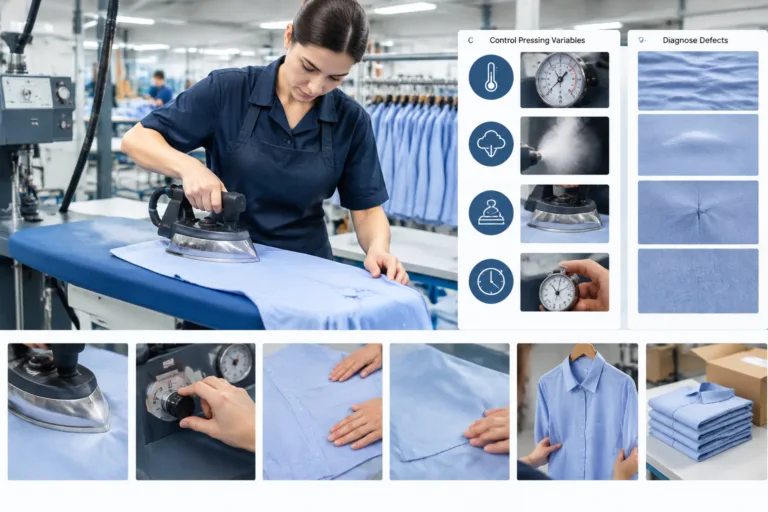
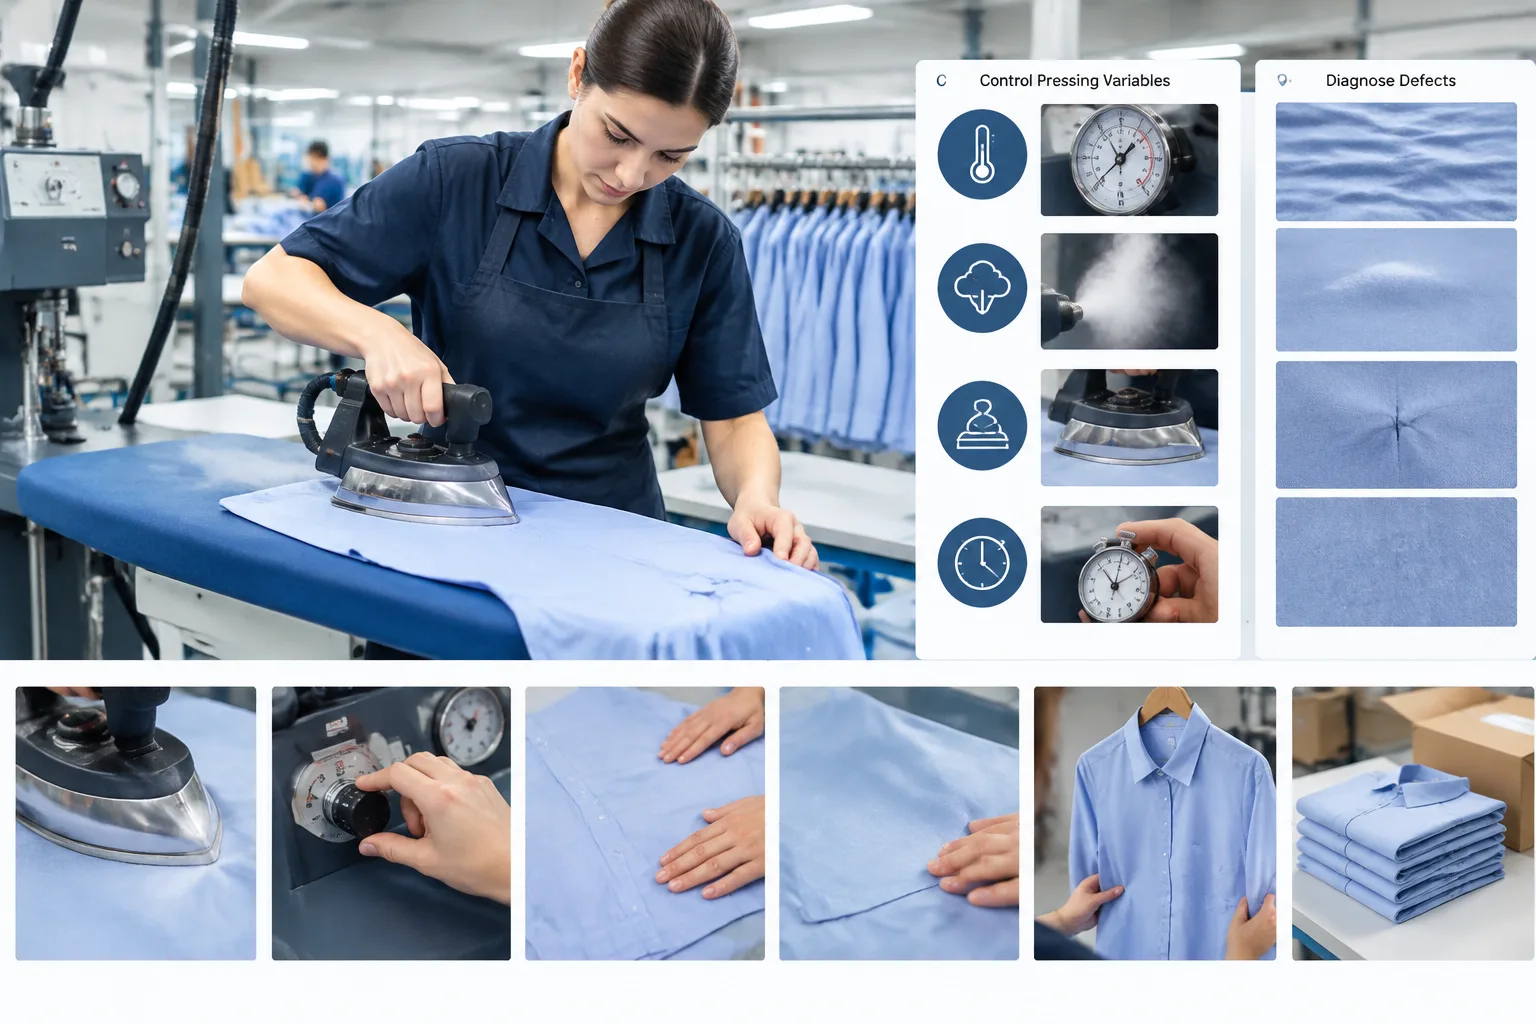
Confirm that the selected press, attachments, padding or covering materials, and utilities are suitable for the operation. The operating variables that matter may include heat, moisture or steam, pressure, contact or dwell time, and the shaping method. A setting has meaning only in relation to the equipment, fabric construction, finish, and intended result; publishing one universal temperature or time would create a misleading control.
Use a trial piece or representative garment to check the setup before releasing normal production. Compare the result with the approved target and record the equipment identity, relevant material information, approved settings where applicable, and any change made during setup. If the equipment includes a hydraulic press, machine guarding and operator protection requirements should be checked against applicable official safety guidance, such as OSHA’s guidance for hydraulic press machine guarding.
A setup check is a production-control activity, not automatically a laboratory test or regulatory compliance assessment. Where the finished garment involves a performance claim, safety issue, or legal requirement, obtain the appropriate specialist, customer, laboratory, or regulatory input rather than treating a successful visual pressing trial as sufficient evidence.
Place Control Points Through the Pressing Workflow
A practical control map follows the work from entry to handoff. It should remain adaptable because the number and timing of checks depend on material sensitivity, process stability, production risk, and the consequences of failure.
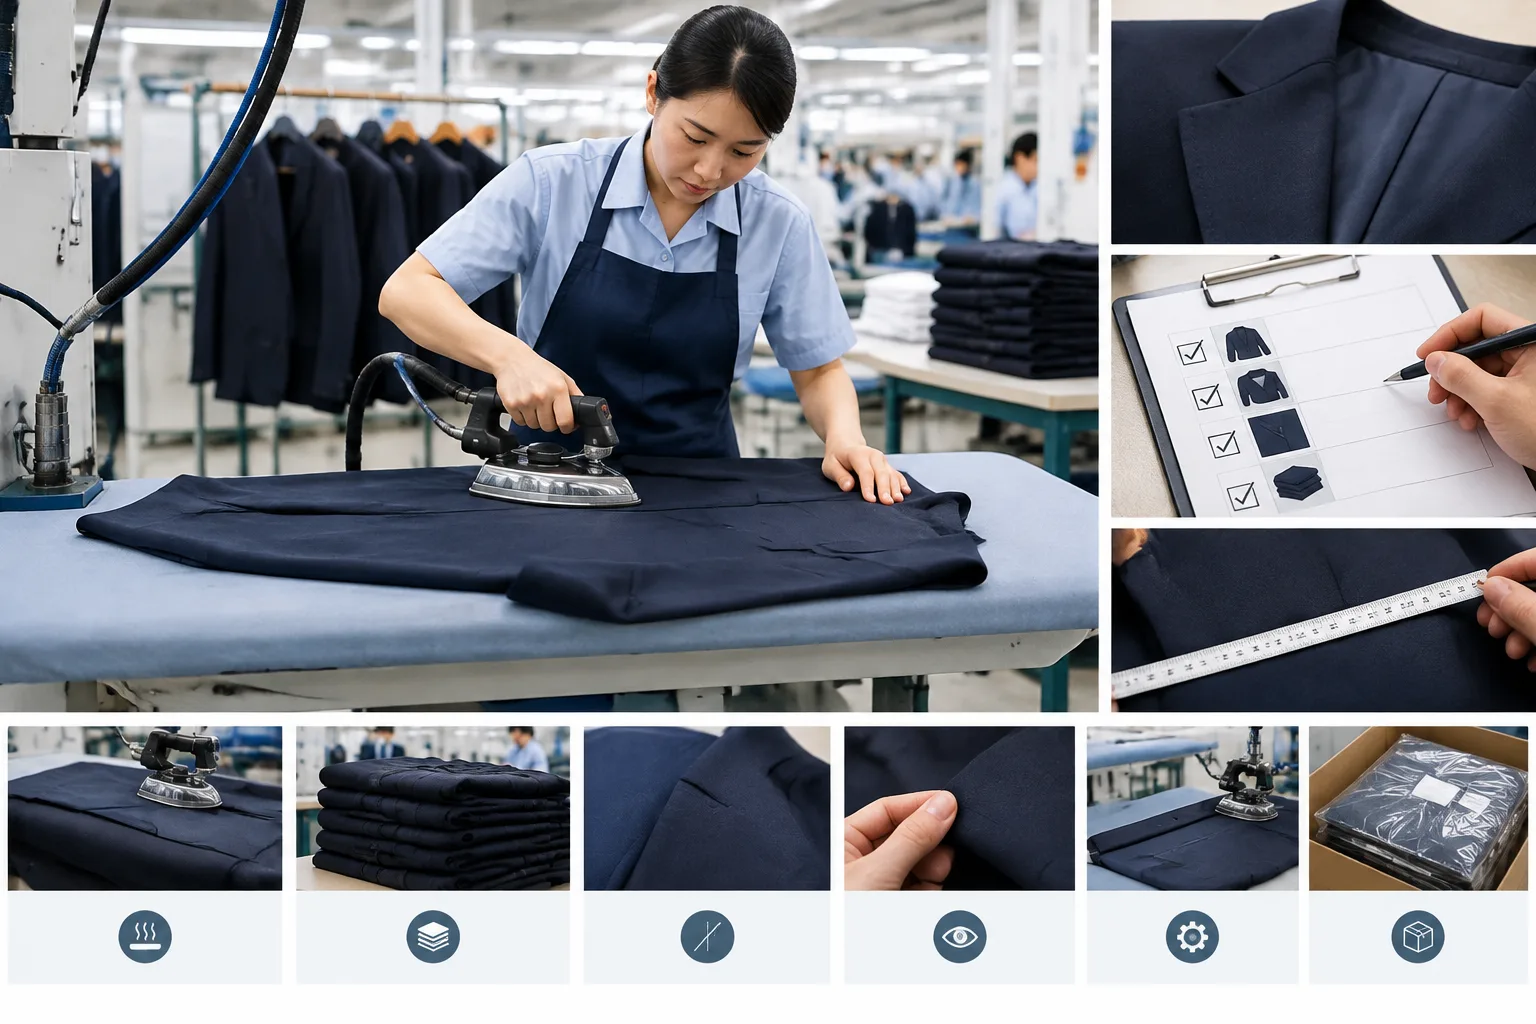
- Entry check: Verify the correct style, material or component identity, and suitability for pressing. Identify relevant sewing or construction issues before they are hidden or emphasized by pressing.
- Setup check: Confirm the approved reference, equipment arrangement, covering or attachments, material batch, and released process instructions.
- First-piece approval: Press a representative piece and compare it with the target before normal production continues. Record the decision and any authorized adjustment.
- In-process checks: Inspect output at a defined project-appropriate frequency and after relevant changes, such as a new operator, material batch, equipment condition, or pressing method.
- Handoff check: Confirm that the pressed result meets the defined appearance criteria and is protected from re-creasing, contamination, or deformation before the next operation.
Each point should state what happens when the result is acceptable and what happens when it is not. Work may move forward, be held for review, be reworked under an approved method, or be escalated to a technical or quality role. This makes the pressing workflow a controlled decision path rather than a series of informal observations.
Control frequency should be based on the product and process, not copied as a universal interval. A sensitive surface, unstable material, complex shape, or recent method change may justify closer review than a stable, well-understood operation. The important principle is to define the trigger, responsible role, comparison basis, and disposition before production pressure makes those decisions unclear.
Control Pressing Variables and Diagnose Defects
A useful defect investigation begins with a controlled record of the conditions surrounding the result. Depending on the operation, this may include the equipment identity, material or batch, workstation, operator, pressing method, approved settings, and time of production. The purpose is not to create unnecessary paperwork. It is to make a visible defect traceable to the conditions that may have influenced it.
Group findings by what can be observed on the garment. Examples include unwanted shine or impressions, wrinkles, seam distortion, poor shaping, scorch or discoloration, moisture marks, and re-creasing. Compare each result with the approved reference and the defined appearance criteria. A defect may originate in the material, sewing construction, equipment condition, selected variables, handling, or the timing between operations, so the visible symptom should not be treated as proof of one cause.
When practical, change one relevant variable at a time and document the outcome. For example, a team may compare the approved method with a controlled adjustment to the pressing sequence or contact condition, provided the change is suitable for the equipment and material. This helps separate a suspected cause from a confirmed corrective action. Any project-specific conclusion should be supported by a controlled trial, supplier guidance, or other appropriate technical evidence.
Distinguish an isolated handling mistake from recurring process variation. A single re-creased garment may require correction at the workstation, while repeated seam distortion across a batch may indicate an unclear instruction, unsuitable setup, construction issue, or equipment problem. When the cause or disposition is uncertain, hold the affected work and identify who may approve rework, release, or rejection. Do not release a questionable result merely because final packing is approaching.
Use Records and Inspection to Maintain Consistency
A concise process record should connect the style, material batch, approved reference, equipment, process version, inspection checks, deviations, and final disposition. The record should be understandable to production, quality, technical, and sourcing teams that may need to make decisions later. It should also show whether a change was routine, temporarily authorized, or awaiting technical review.
Record both the defect category and the number of affected garments or components. These are different measures: one garment can contain more than one defect, while one repeated defect can affect many garments. Keeping the two counts separate prevents a trend report from giving a misleading impression of the scale or recurrence of the problem. Use the counting basis specified by the applicable quality plan rather than inventing a universal acceptance percentage.
Trend review is more useful than examining isolated records. Look for recurring findings by material batch, workstation, equipment condition, operator training need, method change, or stage of handling. A repeated issue may justify a revised instruction, a new first-piece approval, a targeted equipment check, or closer review after a material change. The action should then be checked against later output to determine whether the problem actually improved.
Inspection sampling can support a production decision, but it is not a guarantee that every garment is defect-free. The appropriate frequency and method depend on the project’s quality plan, process stability, material sensitivity, and consequences of failure. Keep an internal process record distinct from a customer requirement and from a formal laboratory or compliance report. Each document serves a different decision.
Build a Practical Pressing Control Plan
Start the control plan with product risk rather than with a standard machine setting. Consider material sensitivity, visible construction, shaping complexity, finish expectations, and the cost of rework. A simple garment with a stable process may need fewer controls than a garment with prominent seams, delicate surfaces, complex shaping, or a high-consequence appearance failure.
For every control point, identify the input, the check, the responsible role, the acceptance basis, the record, and the escalation path. This turns a general instruction such as “check pressing quality” into an operational decision. The plan should state when work can move forward, when it must be held, who can authorize rework, and who must approve a change to the released method.
A practical implementation checklist can include:
- Confirm the approved reference and current product requirements.
- Verify material identity, batch information, and component combination.
- Document the equipment and setup used for the operation.
- Complete first-piece approval before normal production continues.
- Define project-appropriate in-process checks and change triggers.
- Record defects, affected units, corrective actions, and disposition.
- Protect pressed work from re-creasing, contamination, or deformation.
- Complete release and record review before the next operation or packing.
Review the plan when the style, fabric batch, equipment, pressing method, operator setup, or customer requirement changes. Evidence from pilot production or controlled trials can support a decision that the process is stable, but stability should remain tied to the conditions that were evaluated. A plan may be simplified after consistent performance is demonstrated, subject to the project’s risk and approval requirements.
As a next step, connect the pressing control plan to the garment specification, production risk assessment, and wider quality system. A reusable Apparel Manufacturing Tools resource can help organize related production decisions, while performance claims, safety concerns, or regulatory obligations may require specialist review or external testing.
FAQ
What are garment pressing process controls?
They are defined checkpoints, conditions, observations, and records used to keep pressing results aligned with an approved garment target before, during, and after production.
Which variables should be controlled during garment pressing?
Control the variables relevant to the specific job, which may include heat, moisture or steam, pressure, contact or dwell time, shaping method, equipment, material batch, and handling. Suitable values must be confirmed for the equipment, material, construction, and intended result.
How do you approve a pressing setup before bulk production?
Verify the material and equipment arrangement, follow the released method, press a representative first piece, compare it with the approved reference, and record the decision. Any adjustment should be authorized before normal production continues.
How often should pressed garments be checked during production?
Use a project-appropriate frequency based on material sensitivity, process stability, production risk, and the consequences of failure. Recheck after relevant changes such as a new operator, material batch, equipment condition, or pressing method.
What should be recorded when a pressing defect is found?
Record the defect description, affected garment or component, style and material information, equipment or workstation, suspected cause, action taken, disposition, and person responsible for approval. Separate observed facts from unconfirmed causes.
Can a final inspection replace in-process pressing controls?
No. Final inspection can identify problems, but it cannot remove all variation created earlier or explain when it began. In-process controls provide earlier opportunities to contain, investigate, and correct pressing issues.