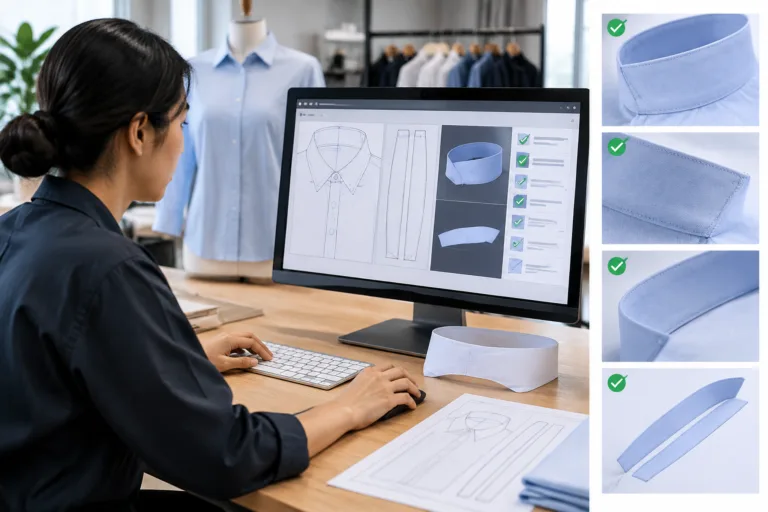
Digital collar stands are digital pattern pieces representing the band that supports and connects a collar to a garment neckline. Moving one from paper into a CAD or patternmaking system means preserving the original geometry, construction references, and identifying information, not simply tracing an outer shape. This guide explains the first stages of that transfer so the digital collar stand remains connected to the approved pattern intent. Apparel Wiki is an independent educational publication; readers can review its Sponsor page for information about editorial independence.
The essential order is straightforward: identify the correct paper source, establish the seam or stitching line, record the piece details, build the digital geometry, and compare the stand with its adjoining neckline or collar. A digital transfer reproduces an existing pattern. It does not automatically correct fit, balance, ease, or construction decisions.
What Are Digital Collar Stands, and What Must Be Preserved?
A digital collar stand pattern is the electronic version of a collar-supporting band used in a garment pattern. Depending on the design, it may include center-front or center-back references, a grainline, notches, fold or roll information, seam allowances, and annotations for construction. The exact shape and dimensions depend on the garment, collar design, material, and approved pattern; there is no single collar stand digital pattern that suits every application.
Begin with the seam or stitching line, because that line represents the intended joining relationship between the collar stand and its mating piece. The cutting line is the outer boundary used to cut material after the required seam allowance has been added. These are different references. Seam allowance is material reserved for assembly; it is not wearing ease and should not be enlarged casually to make a garment feel looser.
Before digitizing, capture the information that gives the piece meaning:
- Center-front and center-back references, including any fold treatment.
- Grain direction and any fold, roll, or orientation indicators.
- Notches, balance marks, drill marks, and other matching references.
- The seam or stitching line, cutting line, and seam-allowance treatment.
- Piece name, garment style, size, and revision status.
- Interfacing, construction, or pressing notes that affect interpretation.
These details should remain identifiable in the digital file even when the software stores them as separate annotations, layers, attributes, or objects. Software commands vary, so the important principle is not which button is used but whether the transferred piece retains the references needed for checking and assembly.
Prepare the Paper Collar Stand Before Digitizing
Preparation prevents an unclear or outdated paper pattern from becoming a clean-looking but unreliable digital file. First confirm that the paper piece is the intended production version or the approved sample version. If several revisions exist, record which one is being transferred and keep the others separate. A scan or photograph is not automatically full scale, so do not treat an image as a dimensional source until its scale has been checked.
Flatten the paper as far as practical and repair torn, folded, or indistinct edges before taking measurements. Identify the actual seam line, cutting line, center references, notches, and grainline rather than assuming that the most visible outline is the primary geometry. If a mark is uncertain, record it as an item for verification instead of silently converting it into a digital point.
Record the collar stand’s relationship to its adjoining pieces. Measure or otherwise document the relevant seam lengths along the intended sewing line, then note which sections correspond to the neckline or collar. Mark the locations of front, back, shoulder, side, and balance references as applicable to the garment. These observations describe the source pattern; they do not by themselves prove that the pattern fits or assembles correctly.
Check whether the paper piece already includes seam allowance, a fold treatment, interfacing information, or construction annotations. Decide which information will become digital geometry and which should remain as metadata or a production note. A simple transfer record can include the source version, measurement units, scale method, date of transfer, person or team responsible, and unresolved marks. This is recommended workflow practice, not a regulatory requirement.
Build the Collar Stand in a Digital Pattern System
Set the project units and scale before entering points or importing a reference image. The method may differ between pattern-CAD systems, but the sequence should be deliberate: establish the source reference, create the primary seam geometry, then add the cutting outline and other construction information. Importing an image without confirming its scale can create a visually convincing piece with incorrect dimensions.
Use the seam or stitching line as the main geometric reference when the paper pattern identifies one. Add seam allowances according to the original construction plan rather than treating them as a substitute for ease. If the paper source has no clearly separate seam line, determine the intended reference from the pattern markings, adjoining pieces, and construction notes, and flag the interpretation for review.
Recreate the grainline, center references, notches, drill marks, fold indicators, and other matching information. Keep curves connected and controlled so the digital outline does not introduce accidental corners, gaps, duplicate points, or abrupt transitions. Inspect both the seam line and the cutting line; a clean outer perimeter can still hide a broken or distorted assembly line.
Name the piece consistently with the garment style, size, and revision. Store it with the correct pattern set and related collar or neckline pieces rather than as an isolated drawing. File-management choices vary by software, but traceability matters in every system. A digital file is not automatically production-ready merely because its outline appears smooth.
Match the Collar Stand to the Neckline and Collar
The collar stand must be checked as part of a connected pattern system. Compare its seam length with the corresponding neckline or collar seam along the intended sewing line, not only along the outer cutting edge. Also compare curve direction, center alignment, front-to-back balance, transition points, and notch locations. These checks reveal relationships that an isolated piece cannot show.
| Check | What to compare | What to record |
|---|---|---|
| Seam relationship | Stand seam line and mating neckline or collar seam | Matching lengths and any intentional shaping |
| Alignment | Center references, balance marks, and transition points | Notch positions and orientation |
| Shape | Curve direction, corners, and connected segments | Areas requiring review or controlled easing |
| Construction | Grain, fold treatment, and seam allowances | Whether each reference is geometry, annotation, or a separate instruction |
A length difference is not automatically an error. Intentional ease, easing, or controlled shaping may be part of the approved construction, and its acceptability depends on the garment type, material, sewing method, and design. Record that intent explicitly instead of treating every mismatch as a reason to redraw the pattern.
Finally, review the collar stand and collar together. A local change to one curve can alter adjoining seam lengths, roll, visible balance, or the way the pieces meet at the front and back. Separate measurable geometry checks from fit judgments: digital comparison can identify a relationship to investigate, but it cannot by itself establish the final appearance or comfort of the garment.
Run Digital Quality Checks Before Export or Cutting
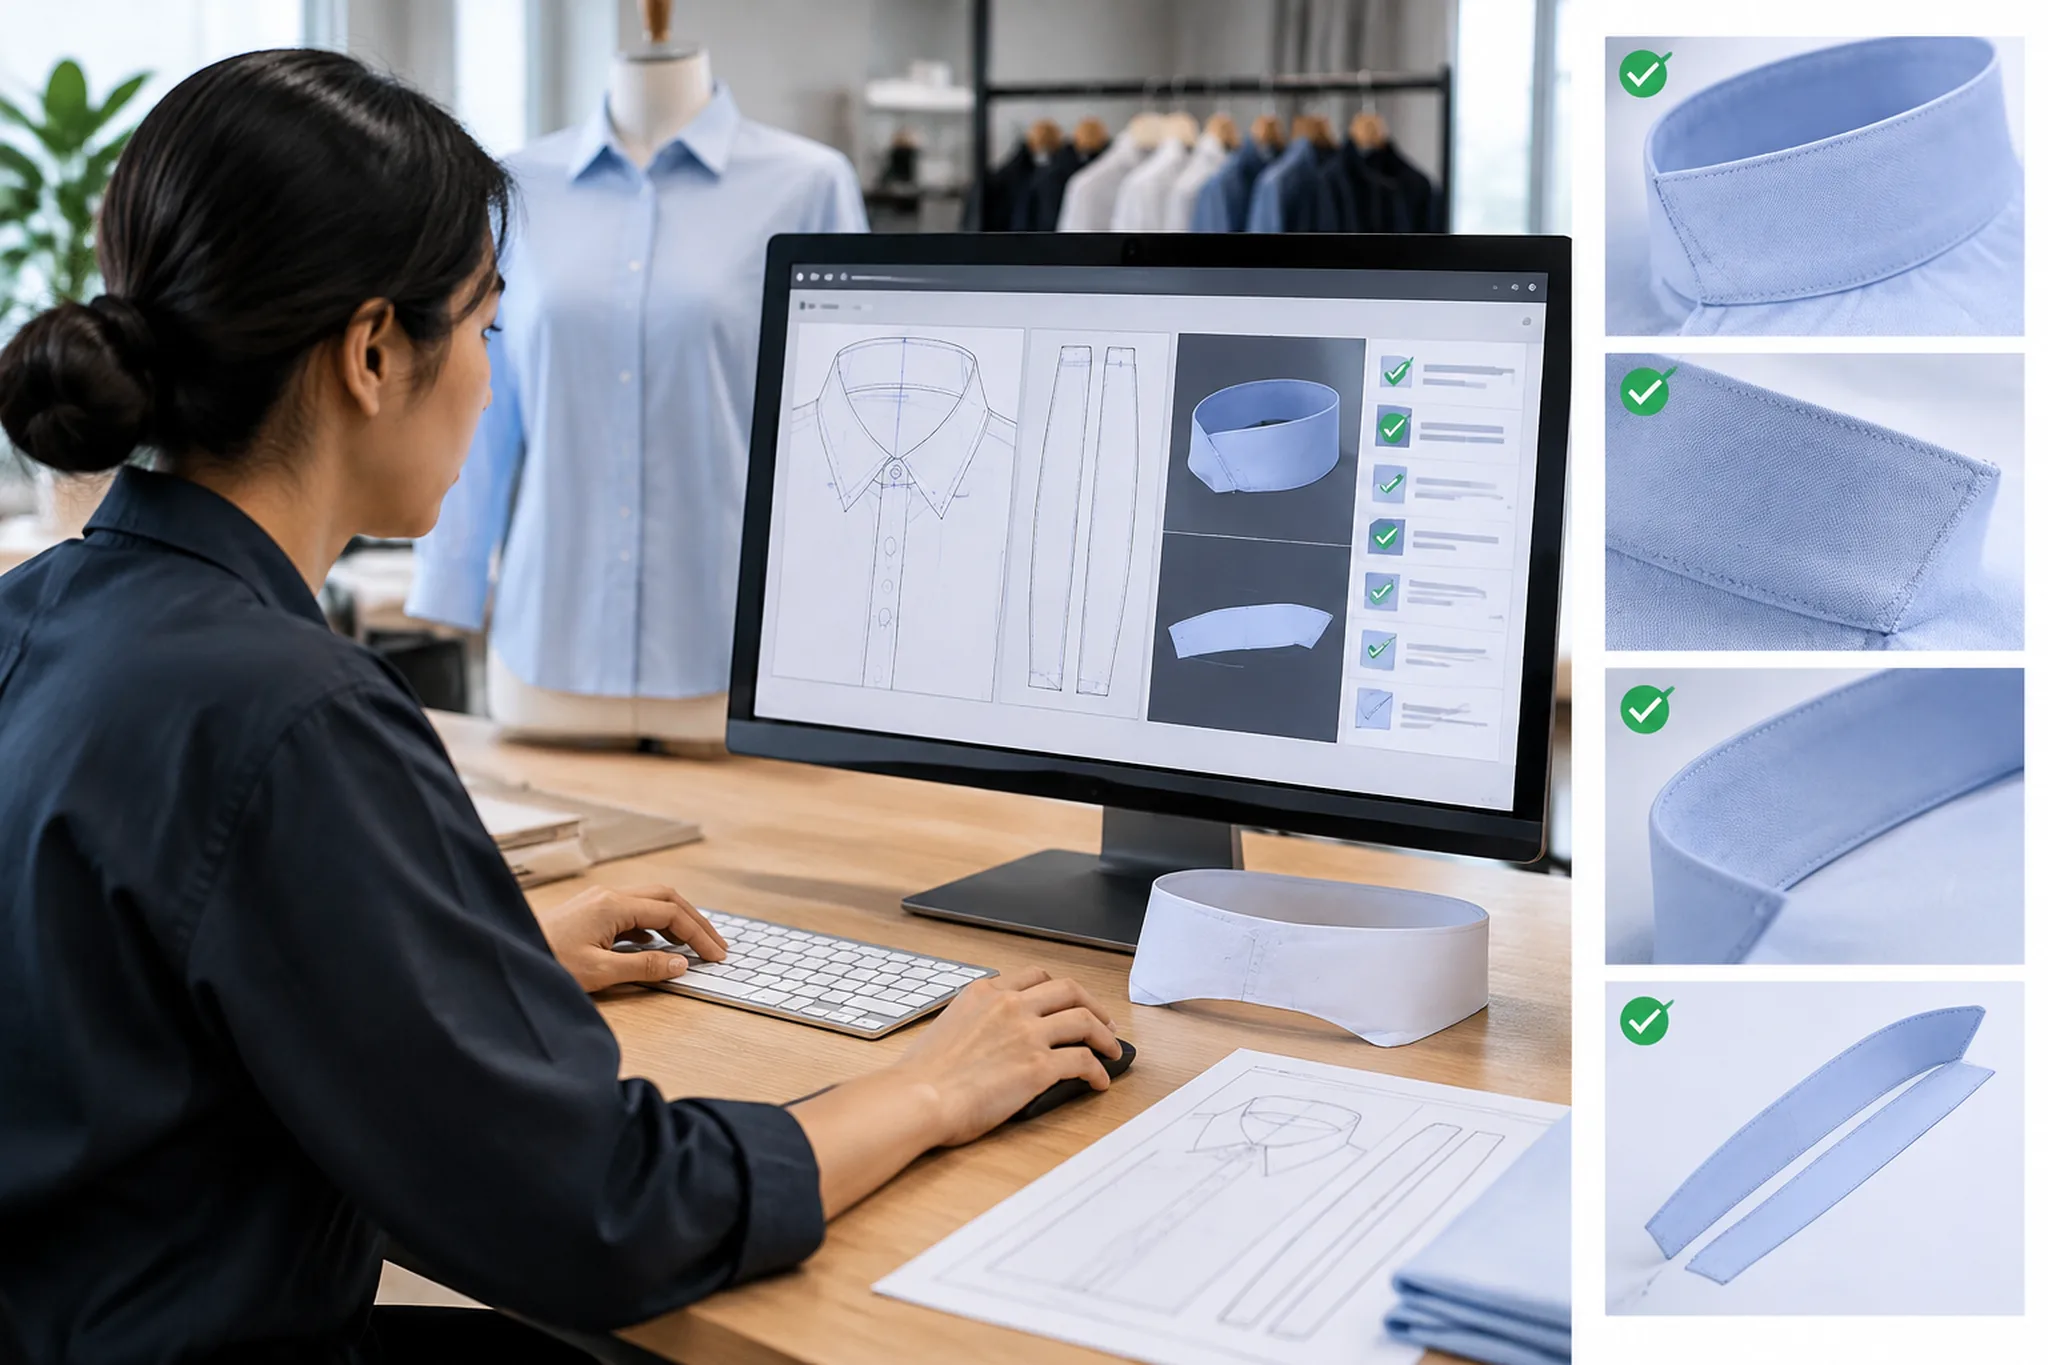
A clean-looking outline is not enough to approve a digital collar stand. Before export or cutting, compare the digital piece with the source paper pattern and the adjoining collar or neckline pieces. The purpose of this preflight is to confirm that the transfer preserved the intended geometry, references, and file information. It is a recommended workflow check, not a certification checklist.
Start by measuring the digital seam or stitching line and comparing it with the corresponding line on the paper source. Then compare the mating seam on the neckline or collar. Do not rely only on the outer cutting edge, because seam allowances can differ without changing the intended assembly relationship. Any difference should be investigated in context: it may indicate a transfer error, an intentional construction decision, or an unresolved issue in the source pattern.
- Confirm the project units and scale, especially when a reference image, scan, or imported file was used.
- Check that center front, center back, grainline, fold indicators, notches, balance marks, and any intended drill marks are present and readable.
- Inspect curves and corners at a useful zoom level for breaks, duplicate points, sharp transitions, gaps, or accidental changes in direction.
- Review seam-allowance offsets for consistency and confirm that the cutting line follows the approved construction plan.
- Verify piece orientation, mirrored or paired-piece logic, size designation, piece name, garment style, and revision status.
Keep software-file validation separate from garment-fit validation. A file can have correct units, connected curves, and complete annotations while still producing a collar stand that needs adjustment in a sample. When the workflow requires physical verification, export a controlled test file or plotted copy and compare it with the paper source. Check the scale, orientation, labels, and key reference marks before the file moves to another person or process.
Validate the Digital Collar Stand With a Sample
Digital geometry describes the pattern, but it does not prove how the collar stand will behave in a garment. A controlled sample provides evidence about the relationship between the collar stand, neckline, collar, fabric, interfacing, seam treatment, pressing, and sewing sequence. The sample should reflect the intended construction closely enough that the review concerns the actual product decision rather than an unrelated approximation.
Review the neckline attachment first. Look for smooth alignment, symmetry, correct center references, and a consistent transition between the collar stand and the adjoining pieces. Then assess the visible edge, collar roll or stand, front and back balance, and ease of assembly. A pattern can match on paper and still produce an undesirable result when material thickness, interfacing behavior, shrinkage, pressing, or handling changes the shape.
Compare the sample with the approved paper pattern, reference garment, or previously accepted construction. Record specific observations, such as a misplaced notch, an uneven transition, or a balance concern, rather than redrawing the piece by guesswork. When a correction affects the collar, neckline, grading, material behavior, or construction sequence, review the related pieces again. Local edits can change seam relationships beyond the point that was originally adjusted.
Keep the approved digital file connected to the sample or review record by version. The record should identify which geometry was sampled, what material and construction choices were used, and which questions remain open. Sample results are project evidence; they are not universal performance claims. A collar stand validated in one fabric, size, or construction method does not automatically apply to every product variation.
Know the Limits of a Digital Collar Stand Transfer
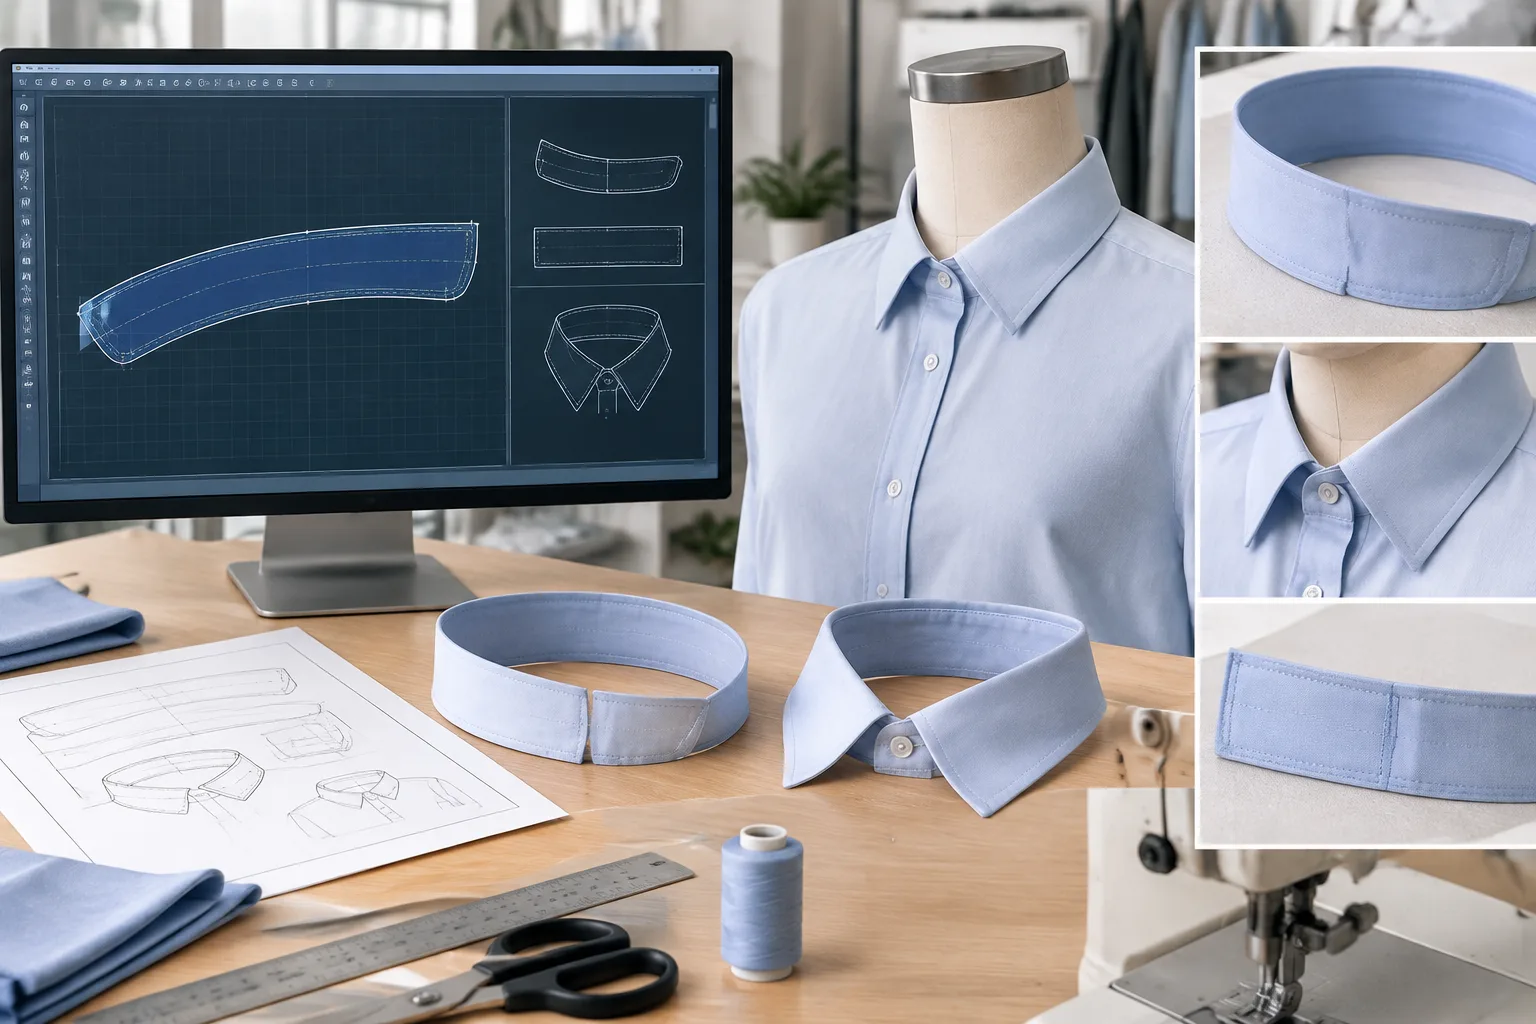
Digitizing preserves or formalizes an existing pattern. It does not automatically correct fit, comfort, manufacturability, material suitability, or grading quality. This distinction matters when a paper pattern is damaged, unclear, based on an unapproved sample, or already contains unresolved construction decisions. A precise digital copy can preserve a problem just as accurately as it preserves a sound design.
Size grading also requires separate review. Body proportions and posture do not necessarily change linearly across sizes, so a successful base size does not establish that every size has the same balance or collar relationship. Check the size range according to the project’s grading method and approval process, with particular attention to the smallest and largest sizes and any important intermediate size.
A practical decision framework is straightforward. Use a direct digital transfer when the paper pattern is approved, legible, and constructionally understood. Consider a digital redraw when the source is damaged, ambiguous, or difficult to measure without interpretation. Use sample-led redevelopment when fit, balance, material behavior, or construction remains unresolved. The third option is not a failure of digitizing; it recognizes that the source pattern needs development rather than transcription.
Before handoff, confirm the source pattern version, digital file name, garment style, size, units, scale, mating pieces, grain and center references, seam allowances, sample status, unresolved questions, and next review point. This compact record helps later users understand what was transferred, what was tested, and what still requires a decision. It also reduces the risk of treating an unfinished working file as an approved production reference.
Next step: Choose the handoff path based on the evidence available. If the paper source and relationships are clear, complete the digital preflight and controlled comparison. If the source or sample raises questions, keep the file in review and resolve those questions before grading, cutting, or treating the collar stand as approved.
What is a digital collar stand?
A digital collar stand is a computer-based pattern piece representing the collar-supporting band, together with its construction references, annotations, and version information. It may include both the seam line and cutting line, depending on the pattern system and workflow.
Should I digitize the seam line or the cutting line first?
Use the seam or stitching line as the primary geometric reference when that reflects the approved construction. Add the cutting line and seam allowances afterward according to the source pattern and intended assembly method.
How do I check that a digital collar stand matches the neckline?
Compare the corresponding seam lines, center references, balance marks, transition points, curve direction, and notches. Review intentional ease or easing separately from accidental length differences, then confirm the result in a sample when fit or appearance is involved.
Can a digital collar stand be used for all sizes without another fitting check?
No. A base-size transfer does not prove that grading preserves balance, proportions, or the collar relationship across the full size range. Each project should define which sizes and construction variations require review.
Why does a digitally transferred collar stand still need a physical sample?
Fabric, interfacing, pressing, shrinkage, seam treatment, and sewing sequence can change the finished behavior. A sample checks the digital geometry in the intended garment context and separates file accuracy from fit and construction results.
What information should be included in a digital collar stand file?
Include the piece name, garment style, size, revision status, units, scale, seam and cutting references, grainline, center references, notches, fold or construction indicators, and links or references to the mating pieces and sample status.