
Garment alteration specialist skills combine fit assessment, careful measurement, fabric and construction knowledge, hands-on sewing and finishing, problem solving, and clear communication. An alteration changes an existing garment to improve its fit, appearance, or function while preserving the details that still matter. Apparel Wiki covers these skills from an independent educational perspective; its Sponsor page explains the separation between sponsorship and editorial decisions.
The work starts before a stitch is removed. A specialist needs to identify what is not working, decide whether the requested change addresses it, and explain what the garment can accommodate. The result is judged against the intended outcome, not simply by whether the new stitching looks neat.
The Core Garment Alteration Specialist Skills
A useful way to understand the role is to look at what the specialist delivers. In a repair setting, that might be a wearable garment with a finish that fits the original design. In a sample room, the work might also include a marked sample or a note for the pattern maker. Look at the assigned tasks, who uses the result, and how it will be evaluated, rather than inferring duties from the title.
The work draws on six distinct capabilities:
- Read the garment. Trace how panels meet, how seams shape the garment, and how attached details limit access. Compare the garment with its pattern when one is available.
- Assess fit. Locate the concern on the wearer and distinguish how the garment looks at rest from what it does in use.
- Choose an approach. Explain which change addresses the likely cause and which features should stay as they are.
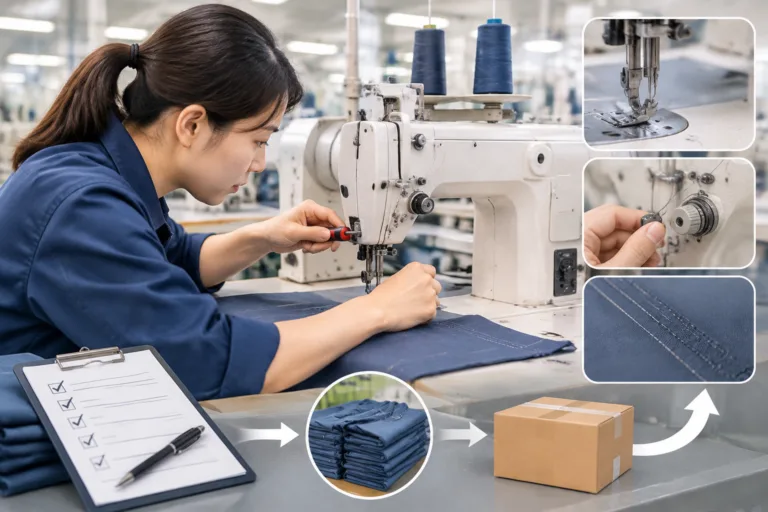
- Execute the change. Mark and reshape the relevant area, control the fabric during sewing, and restore the finish where the work disturbed it.
- Check the result. Compare the altered garment with the agreed fit or function and look for new problems in nearby areas.
- Explain or record the decision. Identify what changed, why that approach was chosen, and any limitation the wearer or collaborator should know about.
Sewing speed cannot tell you whether a gaping waistband reflects excess circumference or a mismatch between the waistband’s shape and the wearer. Taking in the whole waist could reduce room where the garment already fits. Likewise, knowing how to operate a machine or edit a digital pattern does not establish which dimension to change or whether the trade-off is acceptable.
Competence shows in the reasoning as well as the finished garment. Can the specialist point to the problem, explain the planned change, preserve the relevant design details, and show what improved? A clear account of what could not be preserved or verified matters too.
Fit Assessment and Measurement Judgment
Start with the wearer’s concern. If a top “feels tight,” ask where and during which activity. Observe it at rest, then during a movement that matters, such as reaching forward. Note where the fabric pulls, a seam shifts, or the hem rises. These observations are evidence to investigate, not instructions to widen the nearest seam.
Read the garment as a whole. Balance is how the garment hangs and sits on the body; ease is the room the fit provides relative to the body. A garment can have room around the torso and still hang unevenly. Look at proportions, seam placement, closures, and hems together, and distinguish deliberate features, such as an asymmetric hem, from unintended distortion.
Choose measurements that help test the likely cause. For a hem that appears to lift in front, compare where it sits on the wearer with the corresponding front and back garment lengths, using clearly identified starting points. Note whether the difference is present at rest or appears with movement. Shortening the back to match may hide a symptom without addressing why the front rides up.
Record enough context for another person to interpret the numbers. Identify the landmarks, whether you measured the body or garment, and whether the garment was laid flat or worn. Note the wearer’s posture, the closure position, and any underlayers relevant to the fitting. With stretch fabric, distinguish a relaxed garment measurement from one taken under tension.
On a lightweight knit top, pulling during a forward reach warrants a different check from distortion that remains after the arms come down. Observe where the fabric stretches, how it returns toward its original shape, and whether a seam limits movement or shifts out of position. More width is one option, but seam placement or construction may be more relevant. No single pull line establishes the correction: the decision depends on the wearer’s body and posture, the specific fabric and garment, and the intended use.

Fabric, Garment Construction, and Alteration Methods
Inspect how the garment was assembled before opening it. Trace which seams or edges overlap and what must come apart to reach the area. Check visible or documented seam allowances, then look for lining, facings, interfacing, elastic, and closures. Note where topstitching or decorative details cross the proposed work area. A seam allowance hidden by a lining should not be counted on until it can be checked.
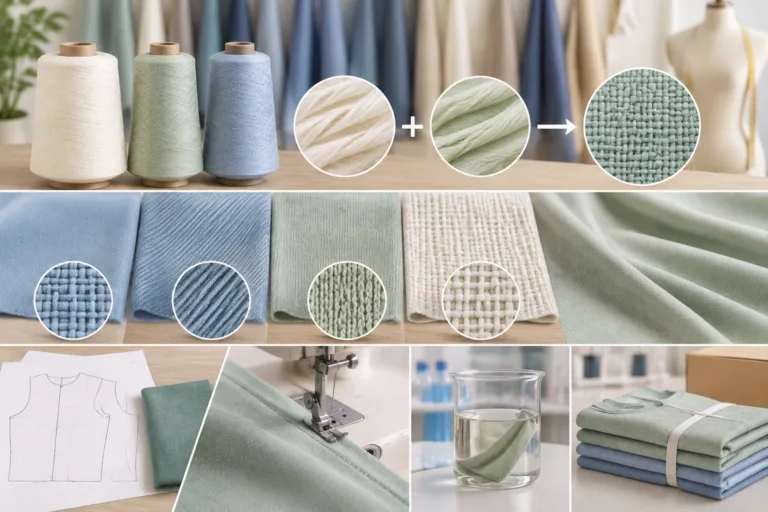
Fabric knowledge helps turn that inspection into a method choice. Start by identifying woven or knit construction, then assess the actual material rather than relying on the category alone. Check grain or stretch direction, how readily the fabric stretches and recovers, and how it drapes. Thickness affects how much bulk a rebuilt edge can carry. Fraying, stability during handling, and sensitivity to needle marks or pressing also matter.
For instance, shortening a lined jacket sleeve can look like a simple hem change. A vent and topstitched detail near the cuff can make the proposed hem position harder to achieve without shifting those features. The lining also has to sit inside the new hem without pulling on the sleeve. The method depends on how the vent is built, what can be opened and rebuilt, and which details need to remain in proportion.
Choose the least disruptive method that meets the intended use. A temporary fitting with basting, where the surface permits it, can show whether a proposed seam line changes the hang or restricts movement before any allowance is trimmed. If stitch removal or pressing might leave marks, inspect an inconspicuous area or try the operation on a representative scrap when available. A scrap can help assess the finish, but it cannot show how the whole garment will hang.
Sometimes the sound choice is a smaller change or a different approach. If the requested result would sacrifice a defining detail, usable movement, or a consistent inside finish, explain that conflict before committing to work that cannot readily be reversed.
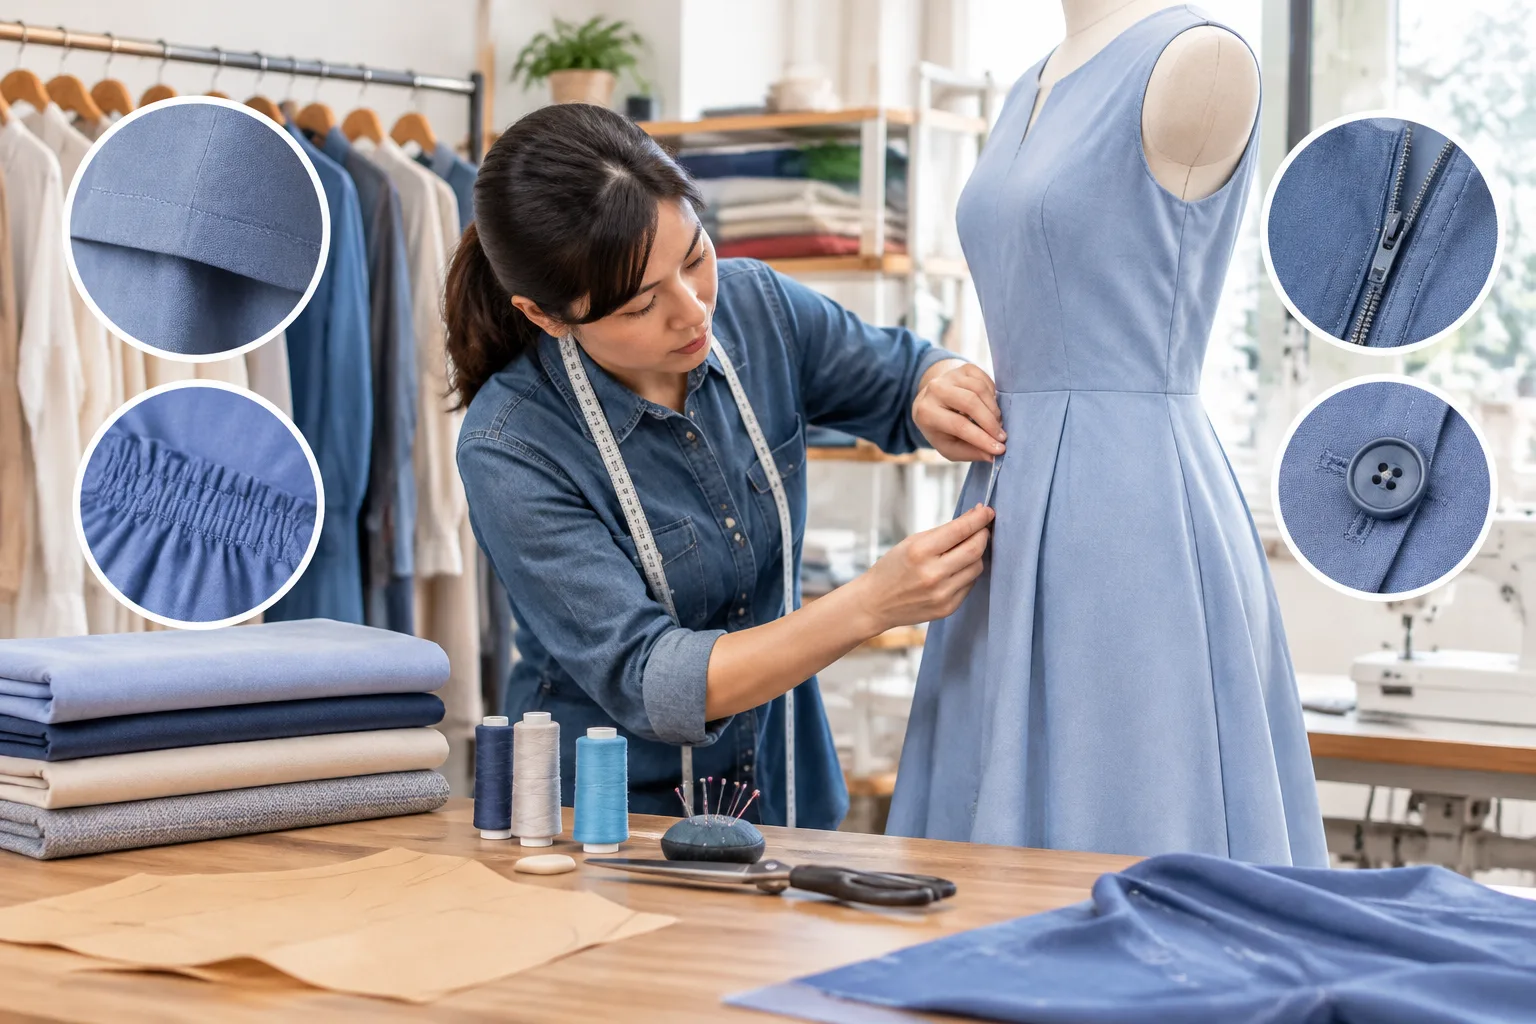
A Reliable Alteration Workflow and Communication Practice
At intake, turn “make it fit better” into a result the wearer or designer can recognize. Ask where the fit feels or looks wrong, which movement brings out the problem, and how the garment will be styled. Find out what trade-offs are acceptable, such as keeping a little more room through the back to preserve reach.
Identify the garment, note its condition, and inspect the area involved. Record the fit diagnosis alongside the relevant measurements or garment references and any construction constraints. Explain the proposed change in terms of what will move or be reshaped, which features will stay in place, and what remains uncertain. Confirm the agreed scope before preparing the garment.
If a designer wants a closer fit across a jacket back but the wearer already feels tension when reaching forward, explain the conflict using that movement. Keeping room across the back and shaping the waist may give some of the desired definition if the existing seams allow it. Agree on which part of the silhouette can change before committing to the work.
Prepare by marking the agreed alteration and noting the original position of any details you need to restore. Carry out the change, then press and finish the affected area in a way suited to the material and construction. At the final fitting or review, compare the garment with the agreed objective. Record the result and flag any checks that still require the wearer or a specific styling setup.
For a technical handoff, identify the style, size, and sample version, then tie each instruction to a marked area. State whether a dimension describes the finished garment or the amount of change, and whether it applies to one seam or the whole garment. Note any relevant fabric or trim differences if the instruction will be used on another sample.
Keep the original request and the confirmed instruction in the same record. A sample room can then see which version was checked and which decision carries forward. In a repair studio or classroom, a short note and a clearly marked garment can serve the same purpose.
Quality Review, Problem Solving, and Skill Development
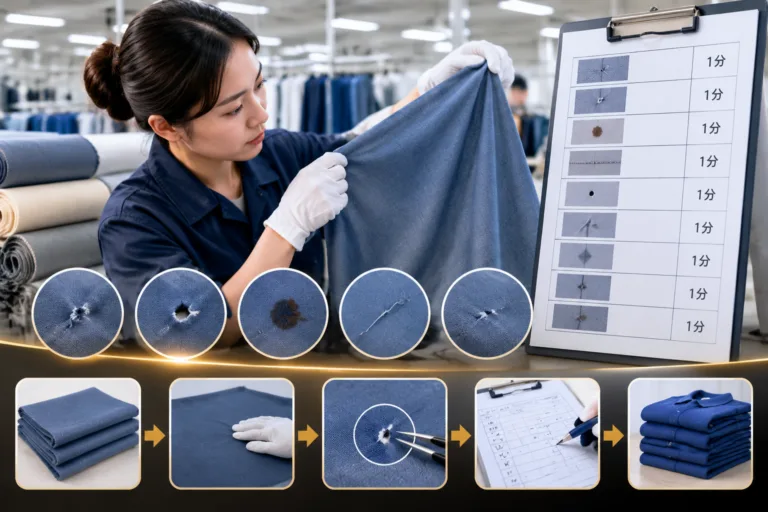
Start the final review with the original objective. Check how the garment hangs, whether the intended proportions and details remain consistent, and whether the wearer can move comfortably as planned. Use comparable fitting conditions when possible. Inspect the altered area and its neighbors, since a local change can affect a nearby closure, seam, or hem.
Look inside as well as outside. Check that rebuilt seam finishes suit the surrounding construction, that linings or facings sit as intended, and that closures still operate freely. Examine the pressed area for unintended impressions or changes to the surface. A review off the body can cover construction and finish. Leave wearer comfort and movement open until a fitting can address them.
If the result falls short, return to the symptom recorded before the work. Compare the original and revised seam positions, the way joined layers sit, and any changes made during stitching or finishing. If a seam now puckers, check how the layers lie before deciding to reshape it. Isolate one likely contributor at a time so the next check can help explain what changed.
Build a practice record around decisions. Start with the problem, relevant measurements and construction details, the method chosen, and the reason for choosing it. Add what you checked, what improved, and what you would investigate further. Label practice and simulated work clearly in a portfolio. A finished photo, certificate, or software demonstration can support one part of the record. Use fitting notes and review evidence to show the judgment behind the work.
Beginners can repeat the same measurement on a practice garment, compare fit observations, and rehearse hand or machine stitching, pressing, and edge finishing on similar material. Experienced apparel professionals can focus on less familiar constructions or check whether another person can carry out an alteration from their notes. In both cases, use the review to select the next skill to practice.
A Practical Next Step for Building Alteration Capability
Use a recent garment to assess where your skills are strongest. Can you explain the diagnosis, support it with a measurement or observation, and connect the proposed method to the fabric and construction? Consider how well you can execute the change, communicate its limits, and check the finished result.
Choose one practice garment and write down a fit or construction question before making a change. Record the evidence you can see, the method you would use, and the result you expect. After the work, repeat the original check and compare the result with your objective. Carry any unresolved question into your next practice session before taking on a more complex alteration.
Frequently Asked Questions
What is the difference between sewing ability and garment alteration specialist skills?
Sewing ability covers the execution of tasks such as stitching a seam or rebuilding a hem. Garment alteration specialist skills also include deciding what change is feasible, identifying which features to preserve, and checking whether the finished garment meets the agreed objective.
Which practical knowledge should a garment alteration specialist learn first?
Start with fit observation, repeatable measurement, and basic seam construction. On one practice garment, locate the wearer’s concern and identify the seam or layer a change would affect. Use that inspection to decide which stitching and finishing skills to practice first.
Why do fabric type and garment construction affect an alteration decision?
Fabric behavior affects how a revised area hangs, stretches, and responds to handling. Construction determines which seams you can access and which details you would have to rebuild. Together, they help you judge how much work a proposed change involves.
How can someone assess whether an alteration improved the fit?
Repeat the position or movement that revealed the original problem. Use the same layering and closure position where possible. Ask the wearer about comfort and check nearby areas for new pulling, shifting, or restriction before deciding whether the change met its goal.
What should an alteration specialist include in a skills portfolio?
Show the starting problem, the evidence that guided your decision, the method used, and the final checks. A marked photo can locate the change, while a short note explains what the image cannot show, such as a movement check or an unresolved limitation.