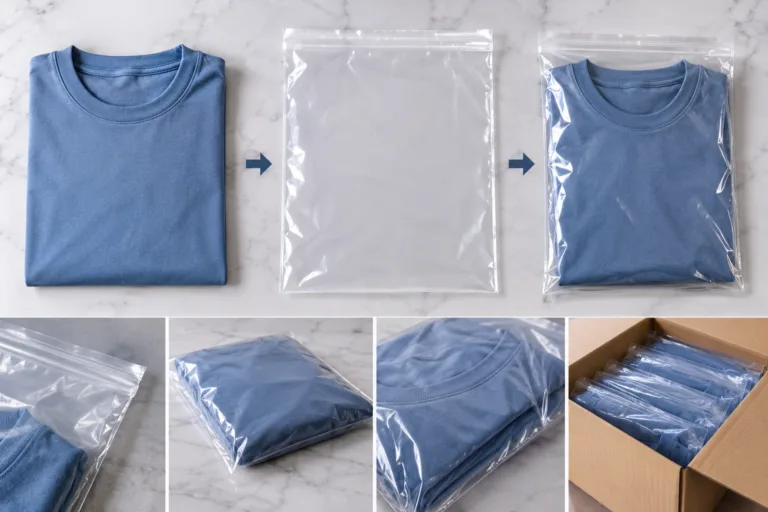
For garment polybags, specifications should identify the style, color, and size being packed, how the garment is prepared, and which bag to use. Record the bag’s material, construction, size or fit, closure, and required printing or labels. State the quantity per bag and any exceptions for specific sizes, colors, or sets. Put these details in a revision-controlled apparel packaging brief that names the owner, shows approval status, and states what to check on a packed garment before release.
Start with the conditions the bag needs to address during handling, storage, and transit. Those conditions help determine which features matter and where a single bag design can serve multiple variants.
What garment polybags specifications need to communicate
A polybag packaging brief is the controlled instruction for enclosing and identifying a garment at the individual bag level. Connect each style, color, and size, or each applicable stock-keeping unit (SKU), to its packing configuration and bag specification. A description such as “clear polybag” leaves the opening, closure, fit, and marking open to interpretation.
State the protection goal near the top. Identify where the garment may encounter moisture, dust, rubbing, pressure marks, or contact with materials that could transfer color. Focus on the risks that apply to the expected handling, storage, and transit conditions. An extra component is worth specifying when it addresses an identified risk or packing need.
Give the brief a consistent set of fields so each team can find the instruction it needs.
- Scope and presentation. List the styles or SKUs covered, whether the garment is folded or hung, and the intended quantity and contents per bag.
- Bag and fit. Specify the material, construction, dimensions or fit intent, and how the bag closes.
- Identification. List what must be printed on the bag or applied as a label. Reference the approved artwork or data source where applicable.
- Document control. Show the current revision, responsible owner, and approval status so teams can identify the version authorized for use.
Mark each field according to how much discretion the packing team has. A requirement must be followed for the variants it covers. A preference allows a defined alternative. A pending decision needs an owner and a resolution before the affected instruction is released. Where sizes or colors share one bag, state that shared scope and list the exceptions. Identify any substitutions that require approval, since bags that look alike can differ at the opening or carry different information.
Describe the garment and the way it will sit in the bag
Define the packed garment before choosing a bag. List the style, size range, and colorways, then specify the folded or hung presentation for each group. If variants share a packing method, identify the group in one entry. Call out exceptions, such as a size range that needs a different fold or a colorway that needs separation from a particular contact material.
Describe the features the packer will handle. A lightweight garment and a bulky style can occupy different amounts of space even with similar folded outlines. Note raised embellishments, sharp hardware, pale surfaces, and areas sensitive to creasing or color transfer. Identify where dust, moisture, or marks from handling could reach the garment under the expected packing, storage, and transport conditions.
Use the polybag packing instructions to control the details that affect fit. Record the fold method, which face should be visible, and the position of sleeves, ties, or loose accessories. Specify where tissue or inserts go if used, and identify any hardware or embellishment that needs covering or separation. For a set, list the pieces and their arrangement inside the bag.
Base the garment polybag size on the prepared garment, including its bulk and any hanger, insert, or other component that affects fit. When recording dimensions, specify the measurement orientation and whether the stated length includes the closure flap. If fit is the starting point, describe how the packed garment should sit and how much room the packer needs to operate the closure.
Look for a fit that preserves the intended fold and lets the bag close without strain. Too little room can compress bulky areas or pull at the closure. Excess room can let the garment shift and lose its presentation during handling.
Specify bag construction, closure, and identification without mixing their roles
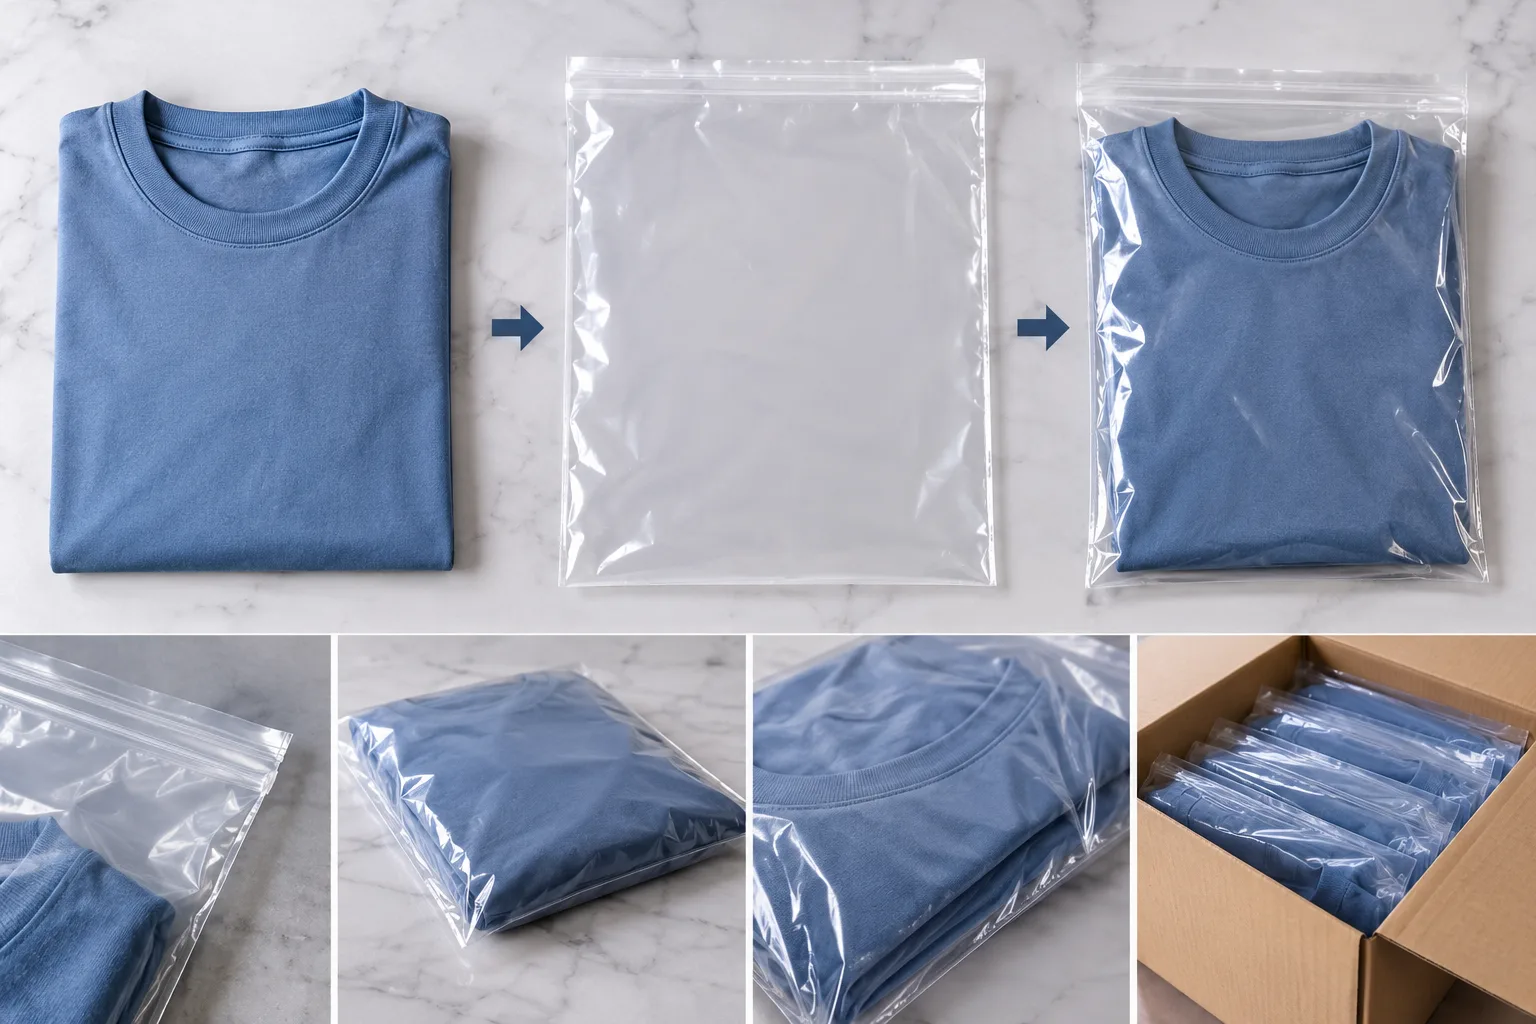
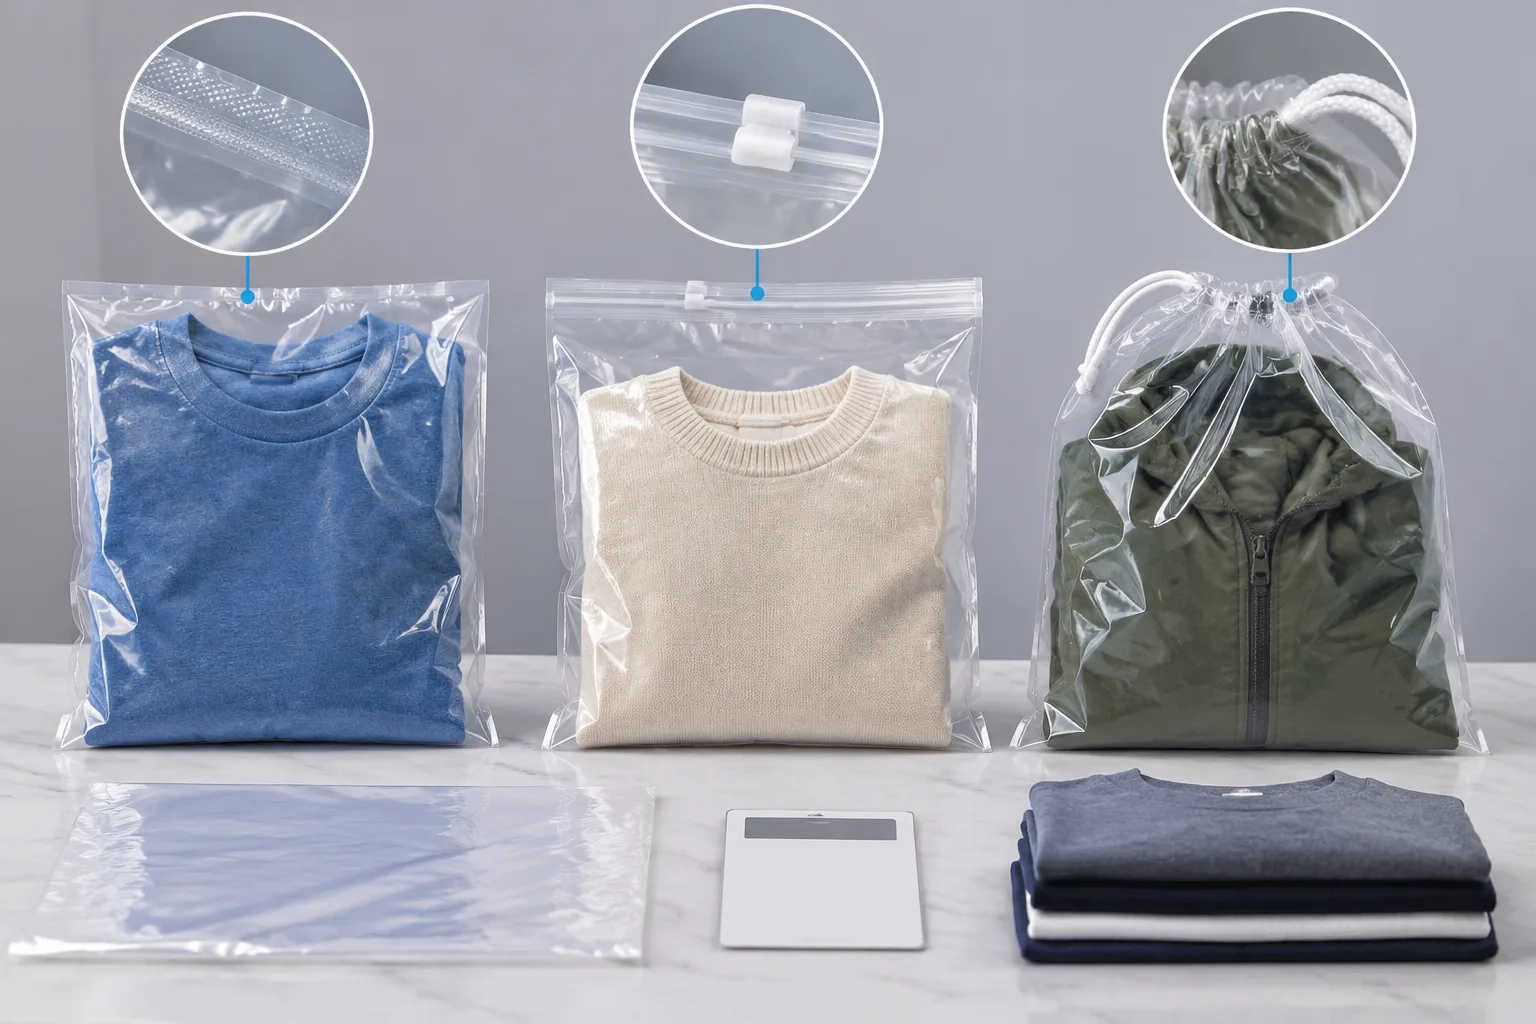
Describe the physical bag in its own specification fields. Record the material description, transparency or opacity, bag format, and opening orientation relative to the packed garment. Include any seam or edge features the design calls for. If the design includes venting, specify where it belongs. Record the closure type and whether the bag should reopen and reseal or remain closed after packing.
Give garment bag labeling and printing their own fields. For each printed element or applied label, specify the artwork version, location, orientation, and color treatment. Describe what needs to remain readable after packing, especially if a fold or flap could cover the information. Use a fixed reference, such as the opening edge or the designated front face, when describing placement.
Identify the approved source for data that changes by item or order. Artwork can control fixed graphics and text, while the designated product record supplies variable details such as style, color, and size. State which fields appear on the individual bag and where the packing team gets the value for each variant.
A retail product identifier identifies the item. A logistics-unit identifier identifies the unit handled in distribution, such as an outer carton. The individual bag, inner pack, and outer carton can carry different information because each serves a different work step. Record which identifier appears on the bag and how it maps to the order line and carton contents. For example, a bag label can identify the size and color of one garment, while the carton documentation records how many of that variant the carton contains.
If the brief calls for warnings, symbols, recycling statements, brand marks, or market-specific wording, reference the approved artwork for the applicable market and customer. Name the person or team responsible for compliance review. Where a recycling statement is included, make clear whether it describes the bag or the garment and retain any conditions that limit where the statement applies.
Choose polybag details from the protection and handling risks
Identify where a problem could occur, from the packing bench through storage and transit. Use that point of exposure to choose a detail the packing team can apply and a reviewer can check. The same garment may need different instructions if its handling or storage conditions change.
| Observable input | Likely packaging implication | Initial brief decision | What could change the decision |
|---|---|---|---|
| Surface or color-transfer risk | Contact surfaces need attention. | Specify which surfaces to keep apart and where any separator goes. | Materials that touch after folding or during storage |
| Snag-prone fabric or exposed hardware | A trim can catch fabric or press against the bag. | Show where the trim sits in the finished fold. | Trim shape, garment movement, and packing density |
| Moisture or dust exposure | Exposure can occur before or after bagging. | Record where exposure is expected and when the bag should be closed. | Storage conditions and whether the bag is reopened |
| Crease-sensitive presentation | Pressure or shifting can alter the fold. | Define the intended fold and check it after closing the bag. | Folded bulk and pressure from adjacent packs |
| Warehouse handling | Bag orientation affects how workers find the identifier. | Position the identifier for the planned picking or checking step. | Storage orientation and whether checks happen at bag or carton level |
A closer fit can limit movement during handling. Extra room can help the packer insert a bulky fold and operate the closure without pulling the bag tight. Evaluate both with the intended fold and components in place, since any extra room also gives the garment more space to shift.
If a lightweight knit could snag on a fastener, document the fold and position the fastener away from the knit surface. Revisit that direction if the trim changes or if denser packing or different transit conditions could bring the surfaces into contact.
If a pale garment faces dust or transfer risk, specify when to enclose it and which materials to keep away from its visible surfaces. Base any separator decision on the materials that actually touch the garment and the conditions in storage.
When comparing thinner bags or fewer components, keep the handling route comparable. Record material use, garment damage, and packing effects such as extra handling time or rework. Those observations give context to any reduction in packaging mass.
Turn the brief into an approval and handoff checklist
Use the checklist to review the current brief against a representative packed garment and the records the next team will receive. Where a variant changes the fold, bulk, or label, choose a sample that lets reviewers check that difference.
- Verify coverage. Match the sample to the intended style, color, size, and packing configuration. Confirm which variants the same instruction covers and where the brief records exceptions.
- Check the assembled pack. Match the bag construction to the brief, pack the garment as instructed, and operate the closure. Inspect fit and presentation, then look for signs relevant to the protection objective, such as hardware pressing into fabric.
- Trace the printed information. Match the artwork version and variable data to their approved records. Read the information with the bag closed and verify that the bag identifier maps to the intended order line and carton contents.
- Record the release decision. Name the approval owner and document the review outcome, the released revision, and the styles, orders, or markets it applies to. Assign any unresolved issue to an owner before release.
Treat the packed-sample check as an internal evaluation of the chosen configuration. If the protection objective concerns conditions beyond what the sample review can show, record what still needs evaluation under the intended handling or storage conditions.
At handoff, use product data to identify the item, approved artwork to control printed content, packing instructions to control how the garment goes into the bag, and carton documentation to carry logistics-level information. If a display fold exposes a trim that needs covering, have the approval owner resolve the conflict with packing and quality. Record the chosen fold in the packing instructions.
Trigger re-review when the garment, trim, fold, market artwork, or packing configuration changes, or when a packaging component is substituted. Identify which parts of the brief the change affects and communicate the approved revision to the teams using it.
Build a polybag brief that can be checked, not guessed
Keep the brief as short as the garment and its handling risks allow. Start with the packed garment and the exposure it needs to withstand. Document bag construction and printed information in their own fields, then record what reviewers will check and which changes will send the brief back for review.
Compare a current bag instruction with an actual packed sample. List each detail a second team would have to infer, such as which face should show through the bag or where a loose component belongs. For any market-specific wording, check the applicable current authority or customer packaging manual, as appropriate.
Frequently Asked Questions
What information should appear on an individual garment polybag?
Include the item identifiers assigned to the bag, such as style, color, and size where specified, along with any approved artwork for the customer and market. Use the designated product record for variant data and check that the markings remain readable after packing.
How do I choose the right polybag size for a folded garment?
Make the intended fold with any inserts or loose components in place. Try the bag with that complete pack and check whether the garment goes in easily, holds its presentation, and leaves enough room to close the bag without strain.
Should every garment color and size have its own polybag specification?
Variants can share a specification when the same bag construction, fit, and packing method work for each. Define the group explicitly and map any variable label data to the product record. Document exceptions where bulk, contact sensitivity, or artwork calls for a different instruction.
What is the difference between a retail barcode and a logistics label on packaging?
A retail barcode identifies the product item. A logistics label identifies a unit handled in distribution, such as an outer carton. Specify which identifier belongs at each level and use the order and carton records to connect the packed items to their logistics unit.
How can a packaging brief reduce damage without adding unnecessary material?
Trace the damage risk to a specific contact point or handling step. A fold change or a different trim position may address that exposure with the existing bag. Compare garment condition and packing effort under comparable conditions before reducing material.
When should a garment polybag specification be reviewed or revised?
Review it when a change could affect fit, protection, packing, or identification. Recheck the affected details when a new component, fold, or market label is proposed. If the approved instruction changes, release a revised brief and identify where it takes effect.