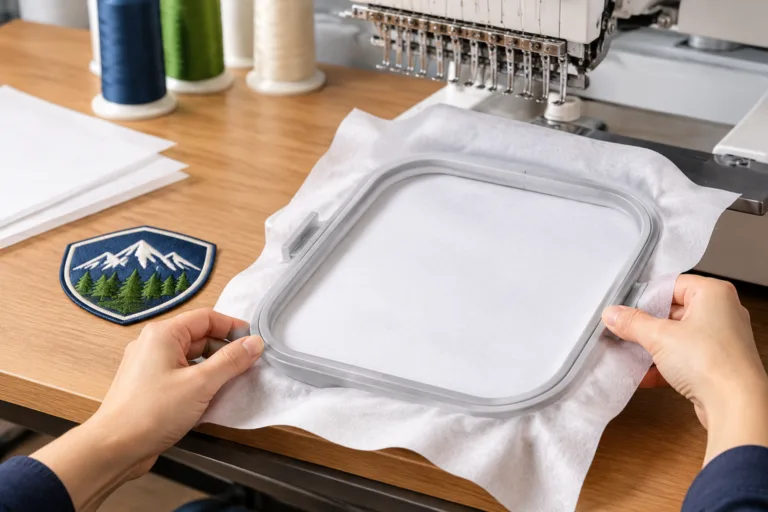
In-the-hoop patches setup means preparing the patch base, embroidery file, stabilizer, hoop, placement, and stitch sequence as one working combination. For consistent apparel results, sample on the actual patch materials, secure the layers in their relaxed shape, and align the design to a reference you can reproduce. This guide reflects Apparel Wiki’s independent editorial approach, described on the Sponsor page.
Check the first patch after it comes out of the hoop and at its intended position on the garment. The patch should retain its planned outline and sit in the intended orientation when attached.
In the Hoop Patches Setup: What Must Be Controlled
Start with the finished patch and work backward. Identify the outline, the orientation of the artwork within it, and how the patch will attach to the garment. For a separately made patch, placement involves two references. One locates the design on the patch base during embroidery. The other locates the finished patch on the garment.
Artwork establishes the visual design. A digitized embroidery file defines where the needle stitches and how it travels through the design. A file becomes ready for a repeat run after a sample shows that its stitch paths and density work with the selected base, stabilization, and edge construction.
Control how the layers are held, including hoop tension and any movement between the base and stabilizer. Check needle and thread compatibility against the applicable equipment and material instructions. Review how the machine will handle the sequence encoded in the file, including color changes, trims, and any steps that require repositioning.
Use this order for the first sample:
- Set the finished size, garment position, attachment method, and edge treatment.
- Match the file revision to the intended base, supporting layers, and thread colors.
- Secure the layers and align the design to a documented reference.
- Run the sample, note interruptions or manual handling, and inspect the released patch at its intended garment location.
Keep the material combination, file revision, placement reference, and visible result together in the sample record. Two designs with similar stitch counts can involve different amounts of positioning, thread changes, trimming, or rework. Capturing those differences helps you trace which parts of the setup need attention when a result changes.
Prepare the Patch Design, Base, and Stabilization Plan
Handle the patch base before choosing the support. Check its thickness, surface texture, and how easily it stretches in different directions. Then look at the garment location. A patch across a bending area has to move with that part of the garment, and any edge or backing that reaches the skin deserves a touch check.
Treat stabilization during embroidery and backing in the finished patch as separate functions in the preparation record. The same layer can serve both functions if it remains in the patch. Choose an initial combination that supports stitching, then assess whether the finished stack adds unwanted stiffness, bulk, or a scratchy edge. Include the intended attachment method in that assessment.
| Observable material inputs | Likely setup implication | Initial preparation choice | Variables that could change the choice |
|---|---|---|---|
| Stable woven base with little stretch under light handling | The base gives you a relatively steady reference for checking the outline. | Sample the planned outline and edge with a support layer that keeps the stack manageable. | A broad stitched area or a firm attachment area can change how the patch bends. |
| Flexible or elastic base that stretches readily in one or more directions | The base can change shape during handling and recover after release. | Sample support and stitch paths together using the planned material orientation. | Stretch direction, stitched coverage, and movement at the garment location can change the balance of support and flexibility. |
| Bulky or textured base with a raised surface | Surface relief and layer thickness can affect how clearly details and edges appear. | Sample the intended details and edge on the full layer stack. | Texture depth, detail size, and the thickness of retained backing can change the finish. |
Record the base and layer combination, stabilizer or backing identity, file revision, thread colors, intended finished size, and edge treatment. Identify the planned finished perimeter in the design preparation, especially if the design includes a border. Keeping these details together makes a stable woven sample and an elastic-base sample meaningful to compare.
Hoop the Patch Base and Establish Repeatable Placement
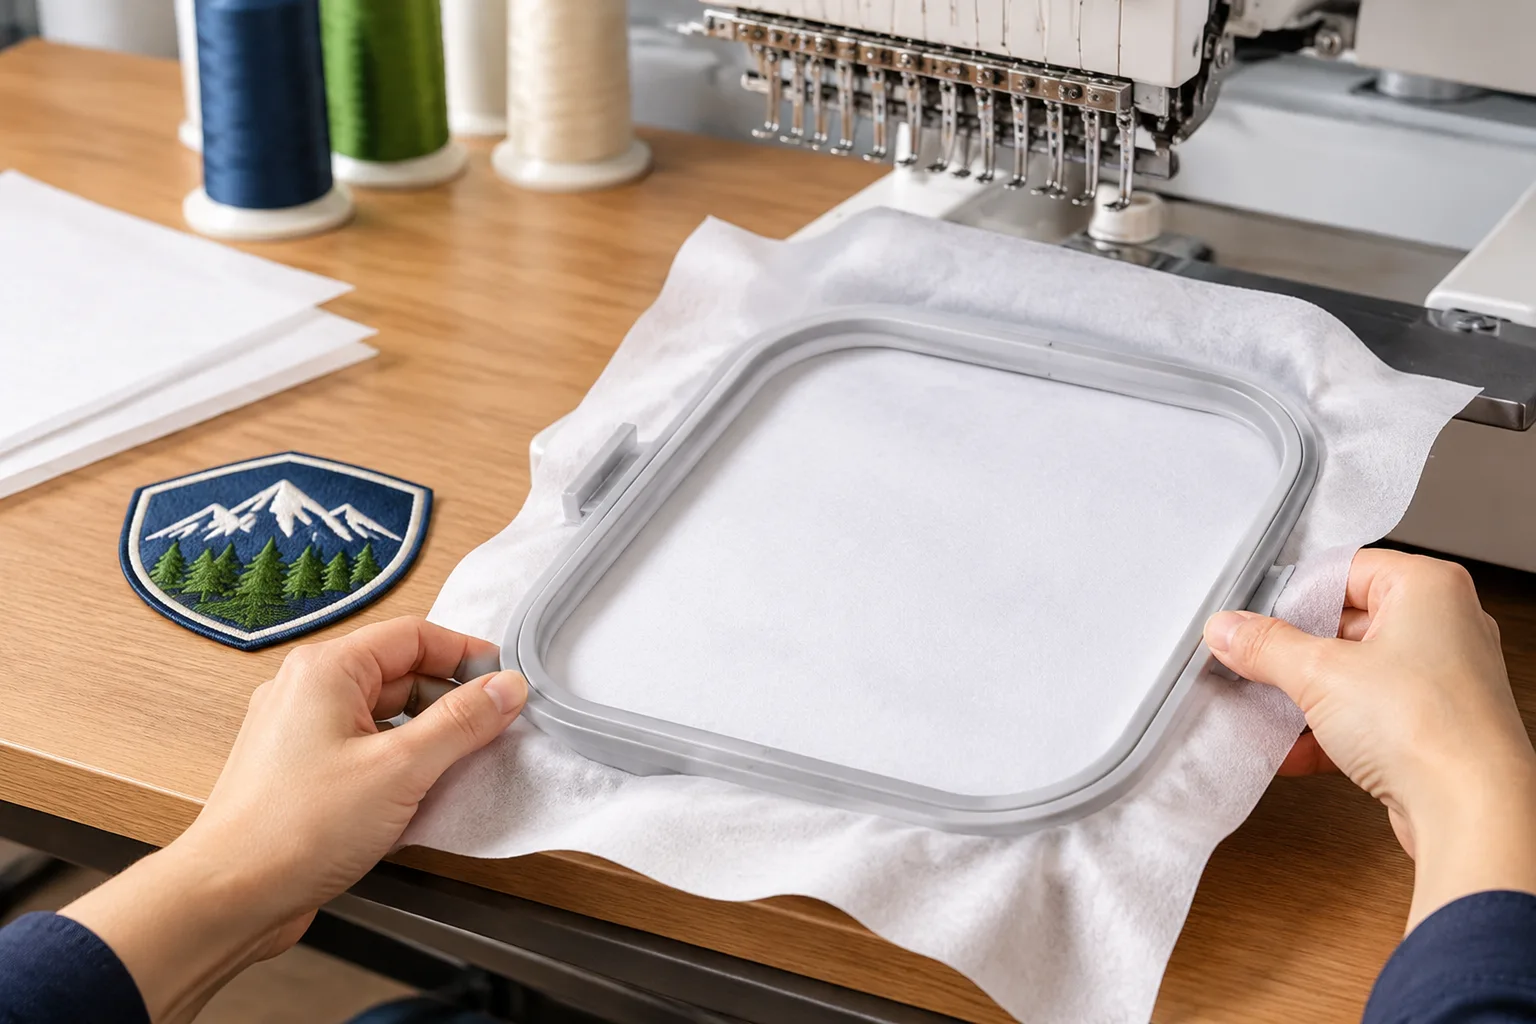
Inspect the hoop for damage or uneven seating and lay the base flat to see its relaxed shape. Position the stabilizing layers in the planned order. Use the applicable machine instructions to check how the hoop mounts and which area is available for stitching. Check the full design footprint, including the planned border.
Choose a reference you can reproduce, such as a marked center with an orientation line, a straight edge, or a registration point. A center mark locates a shield-shaped patch, while an orientation line also shows which way its point should face. Record how that reference lines up with the hoop and with the intended garment orientation.
Secure the layers evenly. Aim for firm support while preserving the base’s relaxed shape. Check whether a straight edge bows, a placement mark shifts, or the fabric opens up in its stretch direction as you secure it. Reseat the layers if the shape changes or if the base can slide against its support.
Pre-run checklist
- Verify the layer order and check that the supporting layers extend across the intended stitch field.
- Check that the hoop is seated securely and that the layers hold their alignment.
- Match the design origin and orientation to the placement reference. Include the border when checking the footprint.
- Check the upper-thread path, bobbin or lower-thread readiness where applicable, and needle condition using the machine instructions.
- Confirm clearance throughout the stitch field, including around seams, folded layers, and other obstructions.
Record the reference point, orientation, and hoop position so the next sample starts from the same alignment. Even with the same file, a shifted reference moves the design relative to the patch base. Uneven holding can also let the layers shift relative to each other.
Take the first sample out of the hoop before judging its shape. Once the material relaxes, compare the outline and edge position with the intended shape. Look for rippling, skew, or a displaced edge that was less apparent while the layers were held flat.
Run the Stitch Sequence and Manage the Patch Edge
Identify the function of each stage in the file before running the first sample. Where the file uses early securing stitches, they hold the patch base in position as the design builds. The design stitches form the visible details and filled areas. An edge stage may form a border or define an outline for cutting. The order and any operator stops depend on the file, machine, and material combination.
Note where the run calls for a color change, trim, or positioning step. A jump moves the needle to another location without forming stitches along the route. Check whether the thread carried across that move will remain visible or need trimming. Record any thread break and where stitching resumed. Two files with similar stitch counts can involve different amounts of handling and rework.
Match the edge plan to both the file and the patch base. For a stitched border, check whether it follows the intended outline and covers the base edge where planned. For a cut edge, check where the cut will sit in relation to the nearest stitches and how much base should remain visible. At a corner or tight curve, inspect the transition for gaps or a buildup of thread.
During the first run, note when shifting, puckering, or missed registration becomes visible. At the end of the run, look for loose threads, incomplete coverage, and bulky areas. If the border first drifts after a restart, record that point so you can compare it with the same stage on the next sample.
Judge coverage and bulk at the intended garment location. A border may look even while the patch lies flat. If the garment area stretches or bends during wear, place the sample there and check how readily the edge follows that movement. Use that observation to decide whether to compare a different level of support or stitched coverage.
Inspect, Troubleshoot, and Document the First Sample
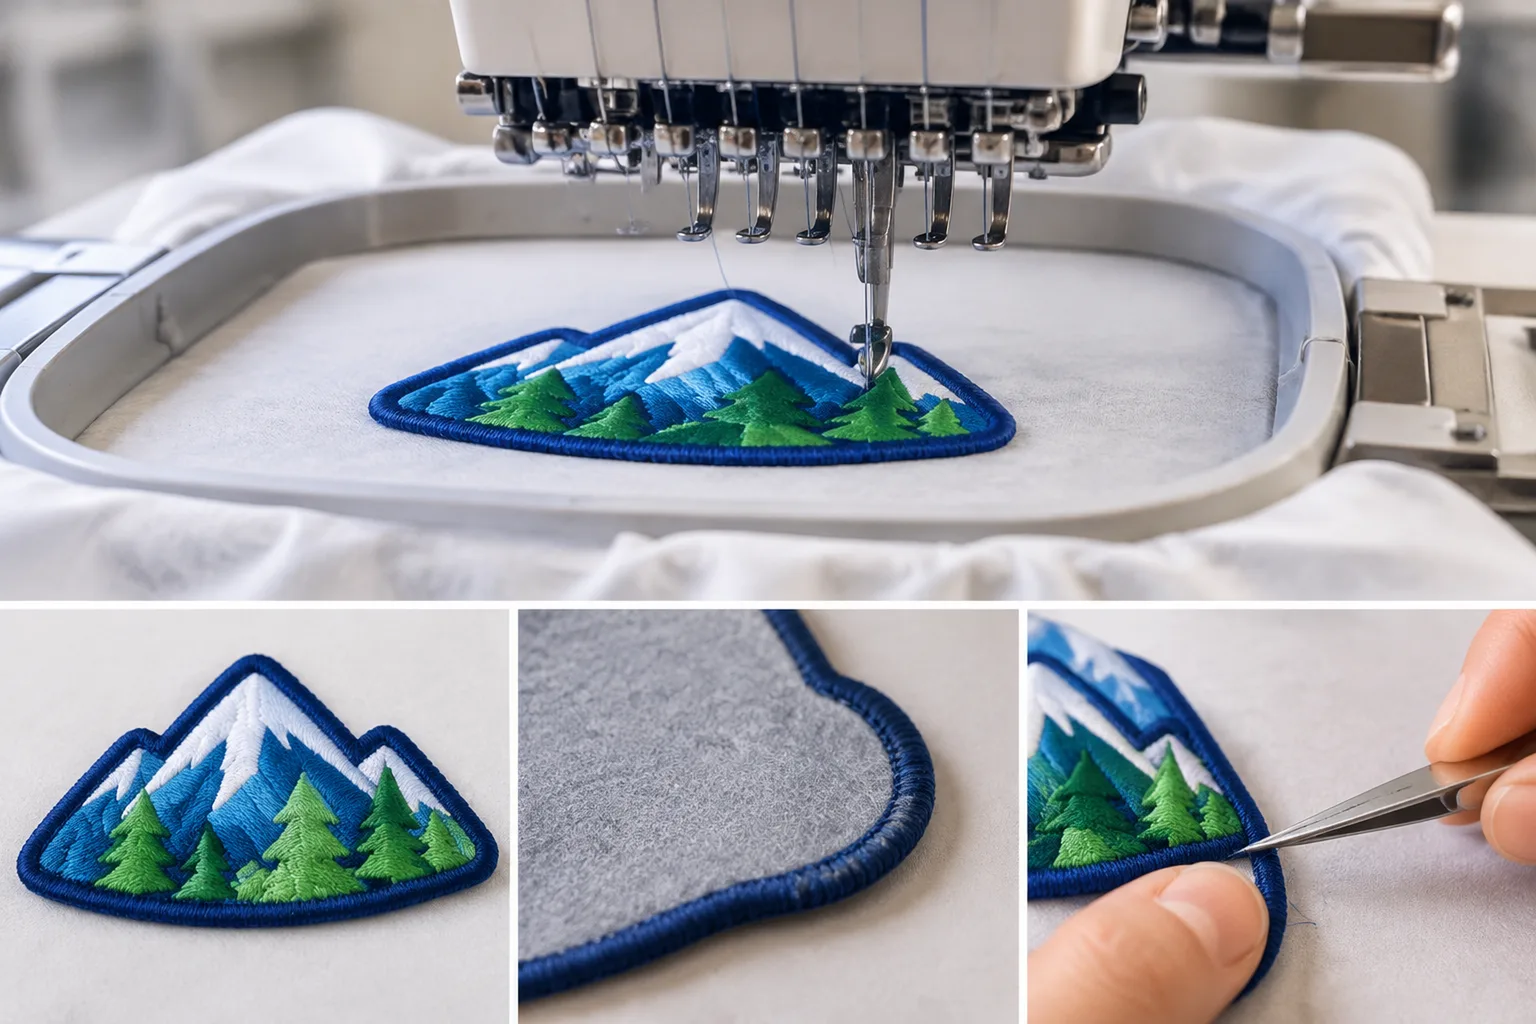
Once the patch is out of the hoop, check how the design sits within the outline. On the face, look for skew, breaks in the edge, exposed base where coverage was intended, or loose thread ends. Check the reverse for localized bulk and floating threads. Position the patch as intended on the garment, then inspect the garment face and inside for distortion around the placement area. If an attached sample is available, include the attachment in that check.
- Puckering or deformation. Check whether the base was stretched during hooping. Compare the support layers and the fabric’s stretch with the location of dense stitching. Needle and thread condition and machine tension can also contribute, so let the location and timing of the distortion guide the next comparison.
- Skew or edge movement. Trace the position from the placement reference to the stitched design and then to the edge. Check the recorded alignment, hoop security, and possible layer slippage. Compare the point where the offset appears with the file alignment and any interruption before deciding whether to revise the file.
- Loose threads or uneven coverage. Locate each issue in the design. A loose end at a transition calls for a look at the trim or restart. A gap within a filled area calls for checking whether the base moved or the design area stitched as planned.
Feel the reverse at the intended wear location. Check whether raised backing edges or floating threads could rub, and whether a heavily stitched area feels stiff or limits movement where the garment needs to stretch.
Keep the prior file revision and material record. Where practical, change one variable and compare samples after release. Record where the symptom appeared and whether it improved, persisted, or moved. If care or wear evaluation matters to the project, check the applicable garment-care instructions or project method before comparing results.
Build a Repeatable In-the-Hoop Patch Workflow
Use the first sample to establish a baseline for the intended garment location. A repeatable setup pairs a specific material combination and file revision with a recorded hoop reference and observations from both sides of the patch. The comparison between samples gives you a basis for deciding which revision to carry forward.
Create a one-page setup record for your next sample. Check the applicable machine and material instructions, then add a side-by-side comparison of the original and revised samples. Before approving a repeat run, check the garment-facing side as closely as the embroidered face.
Frequently Asked Questions
What does setup for in-the-hoop patches include?
It includes the patch base, stabilizer or backing, digitized embroidery file, hoop and placement reference, needle and thread preparation, stitch sequence, and planned edge. The setup record should also identify the intended garment location and how the patch will be attached.
Why can the same embroidery file produce different patch results on different materials?
The file directs the needle along the same paths, but a stable woven base and an elastic base can respond differently as stitches build. Sample the actual material combination to see whether the base needs different support or whether the stitch paths need revision.
How can hooping cause an embroidered patch to become distorted?
A base stretched during hooping can relax around the stitching once released, changing the outline. Uneven holding can also let the layers shift during stitching. Compare the relaxed shape with the intended outline to see where the distortion appears.
What should be checked on the first patch sample before repeating the setup?
Check that the released outline matches the intended shape and that the details and border line up. Inspect thread ends and edge continuity, then place the patch at the intended garment location to assess bulk and how the area bends.
How should puckering or uneven patch edges be investigated?
Record where the defect starts and when it becomes visible. A ripple that appears after release gives you a reason to check hooping and support. A border offset that starts near a restart gives you a reason to check position and alignment.
Why should the back of an embroidered patch be inspected for apparel use?
The back can reveal a raised backing edge, floating threads, or a stiff section that the face conceals. Check which surfaces will actually touch the wearer or sit against garment layers, particularly where the garment bends or stretches.