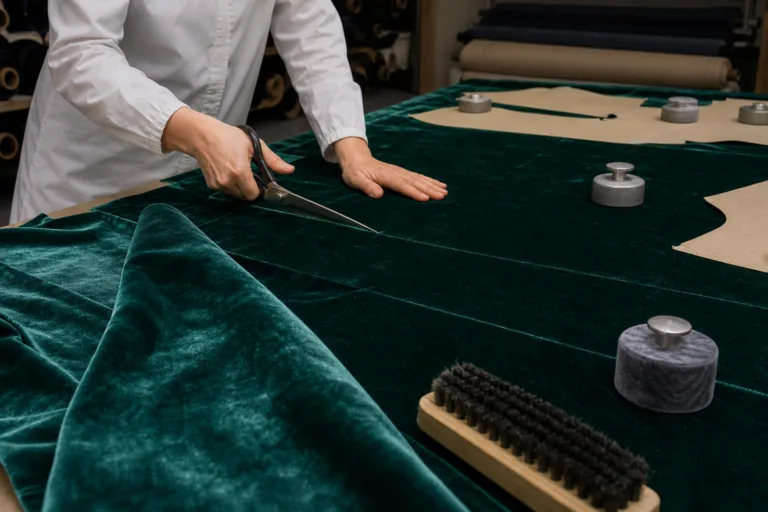
Accurate cutting velvet begins before the pattern reaches the fabric: identify the face and pile direction, check the usable width and condition, and agree on how the material will be handled and laid. Velvet is a surface-pile fabric, not a fiber name, so its composition and construction can vary. Because the pile may affect how the surface looks from different directions, the project’s material references should be checked alongside the fabric itself.
What to Check Before Cutting Velvet
Start with the fabric’s actual specification rather than the word “velvet” on a label or order sheet. Confirm fiber content, construction, finish, fabric length, and usable cutting width, distinguishing usable width from the total width that includes selvedges. Check any supplier or mill handling instructions, especially if the fabric has a finish or construction that may affect how it should be rested, pressed, or spread.
Inspect a representative length before bulk cutting. Under consistent viewing conditions, identify the face and reverse, then compare the surface from opposite directions. Note changes in shade, sheen, or pile lay, as well as crushing, pressure marks, stains, holes, and other visible defects. What is acceptable depends on the velvet, garment design, and agreed appearance standard; there is no universal defect allowance that applies to every project.
Record the approved face, cutting direction, fabric condition, and any areas to avoid in instructions the production team can follow. This gives pattern planning and spreading a shared reference, and helps distinguish an intentional appearance choice from a setup error.
Identify and Control the Pile Direction
Velvet’s pile lies along the surface, and viewing or brushing it from opposite directions may change its apparent shade, sheen, or feel. The size and visibility of that difference vary by fabric, so assess the specific material rather than assuming every velvet behaves identically. Establish which direction gives the approved appearance before laying out garment pieces.
Mark that direction unambiguously on the fabric, pattern plan, and production instructions. A simple arrow labeled “pile direction” is clearer than relying on an unexplained symbol. For pieces that should match visually, orient them consistently. Include paired and visible components such as sleeves, collars, facings, cuffs, pocket pieces, and waistbands in the review; a small component can still look conspicuously different when assembled.
A one-way layout is common when a consistent surface appearance is required. Reversing selected pieces can be a deliberate design choice, but the effect should be reviewed and approved on a sample or grouped cut pieces before bulk cutting. Keeping all pieces in one direction can constrain marker placement and may increase fabric use compared with a layout that permits rotation. The actual effect on consumption depends on the pattern, usable width, and marker, so assess it against the project rather than applying a general allowance.
Relax, Spread, and Support the Fabric Before Marking
First check whether the supplier recommends resting, conditioning, steaming, pressing, or another preparation step. Do not assume velvet needs a fixed relaxation period or that heat and pressure are suitable: methods depend on the construction and finish. Test any proposed treatment on a sample and review the surface and dimensions before applying it to the production length.
During handling, support the fabric and avoid unnecessary dragging, folding, compression, or pressure that could disturb the pile. Spread it without stretching or pulling it into alignment. Document whether the approved process uses a single ply or multiple plies, then check that layers remain aligned at the usable edges and have not shifted, skewed, or formed ripples before marking.
Use the same fabric condition and spreading method for the cutting trial that will be used in production, including any agreed pre-treatment or relaxation process. Judge the method by the resulting surface, dimensions, alignment, and repeatability—not by habit alone. Relaxation time, lay height, ply method, and any pressing or steaming conditions need to be established for the specific material and process.
Choose a Cutting Layout That Protects Accuracy
Build the layout or marker with the approved pile direction shown on every directional pattern piece. Check it against the measured usable width and mark selvedges, defects, shade bands, or damaged areas that should be excluded. A layout based on nominal width can fail to fit or force pieces into areas that are not approved for use.
Plan mirrored and paired pieces together so their direction and surface appearance can be compared before cutting. If the particular fabric includes stripes, motifs, engineered effects, or other features requiring matching, account for them in the layout too. These requirements may further limit placement, but their impact should be judged using the actual pattern and fabric rather than a general yield estimate.
Review a trial layout or marker for appearance, usable width, defect avoidance, and material use before release. Prioritize the approved garment appearance over theoretical marker efficiency, then confirm the chosen layout is workable for the intended cutting process. Single-ply cutting may offer more control in some situations, but it is not a universal requirement; validate the selected method on the actual velvet and document the approved plan.
Cut Velvet Without Disturbing the Surface
Before cutting velvet, verify the approved lay, pile-direction marks, pattern placement, usable edges, and layer alignment. This final check should confirm that the preparation described earlier has produced a stable cutting surface. If the fabric has shifted, skewed, developed ripples, or been compressed unevenly, correct the lay before the pattern is cut.
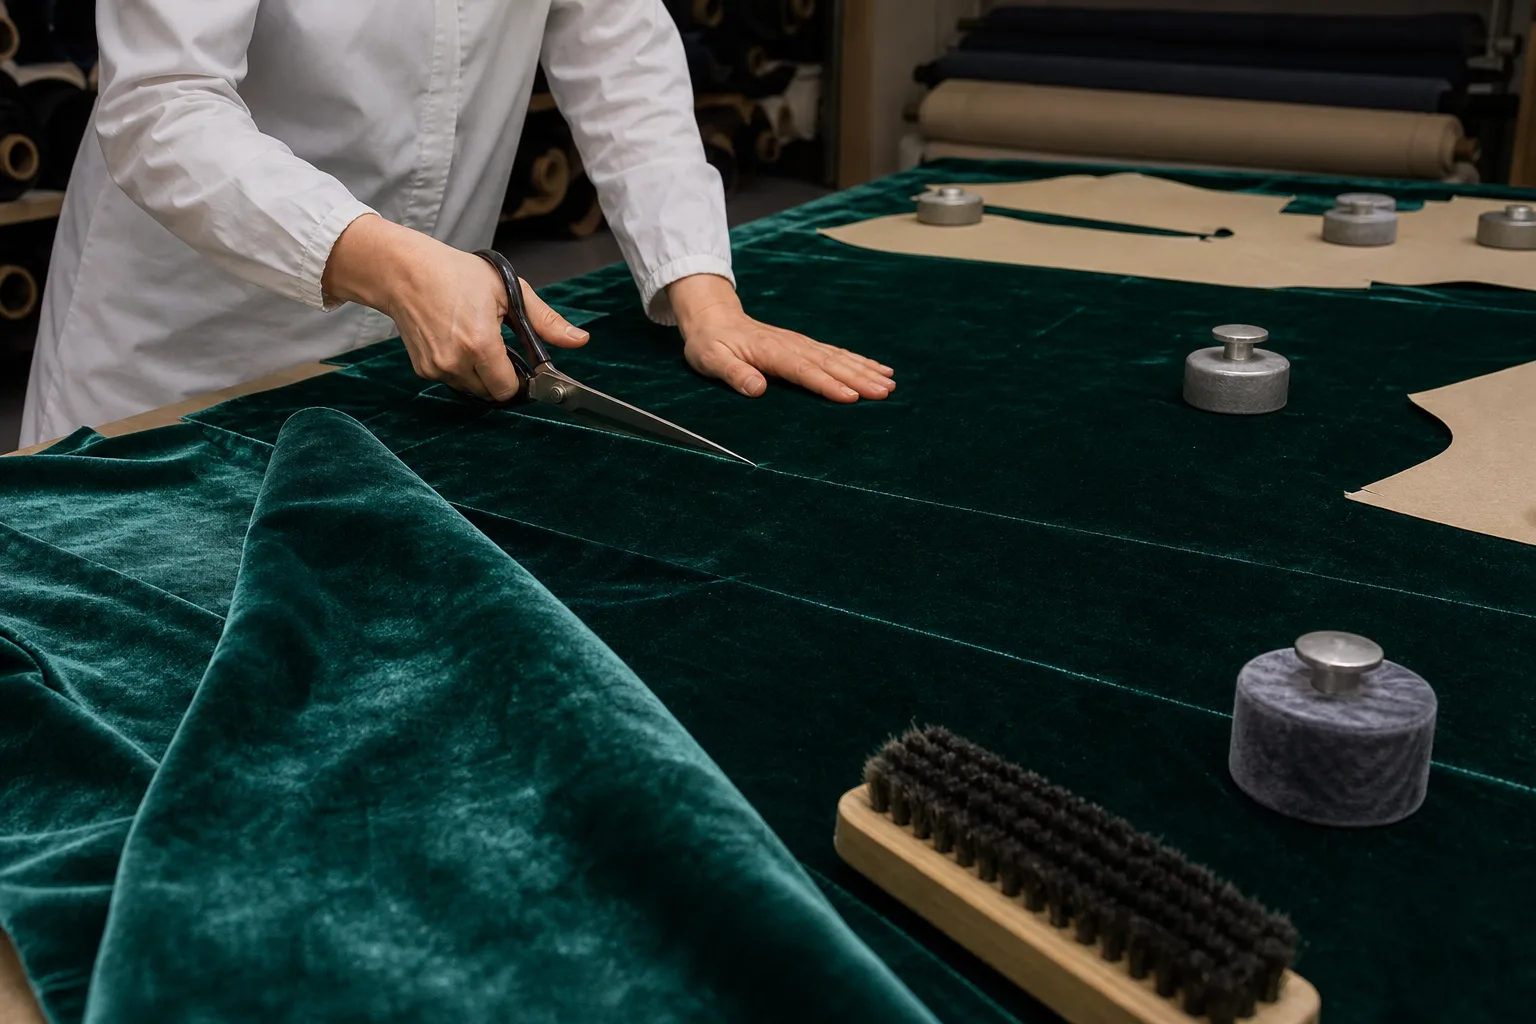
The cutting method should match the particular velvet and the production setup. Fabric thickness, pile behavior, layer count, pattern complexity, and available equipment controls all affect the appropriate choice. A method that works for one velvet may create edge movement, surface pressure, or distortion on another. Make a controlled trial on the actual material before committing the full lay, and assess the result rather than assuming one tool is universally best.
Stabilize the lay only in a way that does not leave unacceptable compression marks or disturb the pile. Keep handling consistent as the cut progresses, and avoid dragging finished pieces across the surface. When pieces must be moved, support them sufficiently to reduce folding, rubbing, or uncontrolled pressure. The goal is a clean cut while preserving the surface condition established during spreading.
Identify cut bundles clearly by style, size, piece name, and approved direction. This is especially important for paired or mirrored components, which can appear similar while requiring a specific orientation. Keep facings, collars, cuffs, pocket pieces, waistbands, and other related components associated with the correct garment grouping so they are not mixed during later operations.
Inspect representative pieces as cutting proceeds. Check edge accuracy, notches, shifted layers, crushed pile, pressure marks, and unintended changes in direction. A small cutting trial can reveal a process problem while adjustment is still practical. Record the approved method and any relevant handling observations for the production team.
Inspect the Cut Before Assembly
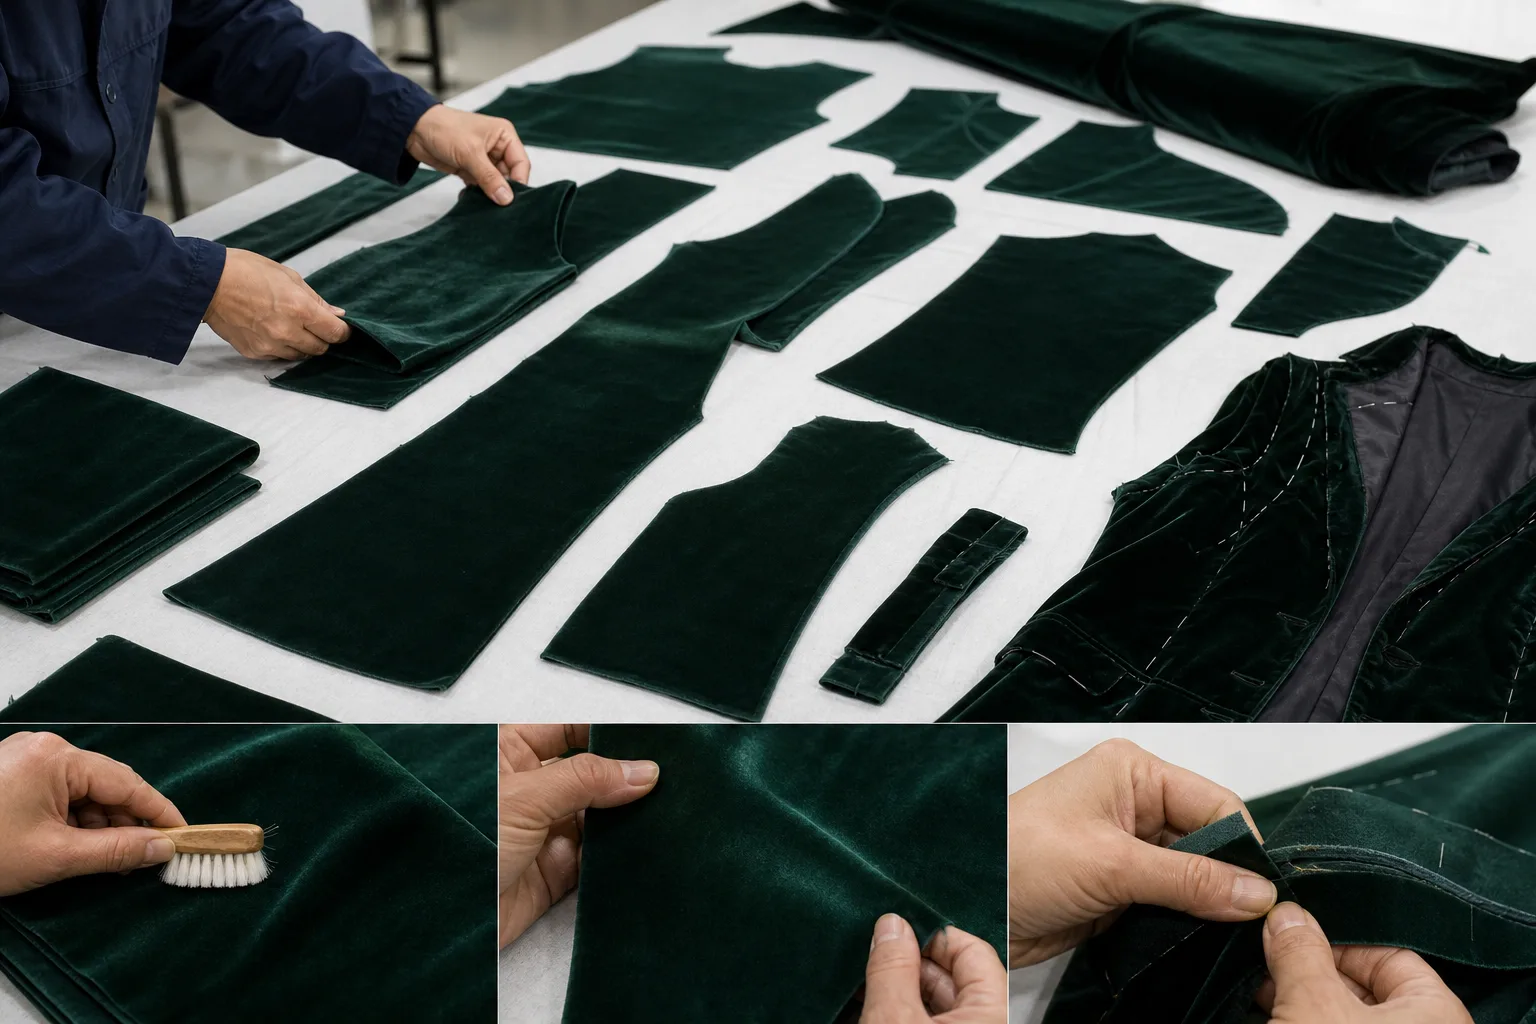
Inspection before sewing provides an opportunity to catch directional, dimensional, and surface problems while correction remains possible. Compare paired and mirrored pieces under consistent conditions to check pile direction and apparent shade. The comparison should include pieces intended to appear together on the finished garment, not only isolated pattern components.
Check notches, seam allowances, curves, corners, and other critical edges against the approved pattern. Look for layer movement or cutting inaccuracies that could affect matching during assembly. Also confirm that pieces from the same garment or color grouping have compatible surface appearance. A technically correct shape may still require review if its pile has been reversed or its surface has been visibly altered.
Inspect for crushed areas, pressure marks, stains, holes, nap reversal, skew, layer shift, and defects transferred into visible zones. The project’s buyer, brand, or internal quality criteria should determine whether a piece is accepted, recut, held for review, or addressed through a process change. Do not assign universal defect limits or shade tolerances to velvet without an applicable project specification.
When loose pieces do not provide enough information, review a sample garment or partial assembly. This can help reveal how direction, shade, and pile lay interact across seams and larger panels. Visual approval does not replace dimensional, colorfastness, or other performance testing when those properties are relevant to the garment’s requirements.
Troubleshoot Common Velvet Cutting Problems
If garment panels appear different in shade, first verify pile direction, face identification, lighting, and whether pieces were mixed between lays or bundles. A visible difference may result from surface orientation rather than a change in the base color. Compare the approved fabric, grouped cut pieces, and production records before assigning a single cause.
If edges or notches do not align, investigate lay movement, fabric skew, pattern placement, cutting accuracy, and layer count. Review whether the fabric remained aligned at the usable edges and whether the chosen stabilization method introduced movement or compression. Repeat the relevant cutting trial under controlled conditions before releasing additional pieces.
If the pile looks flattened or marked, review folding, pressure, stacking, handling, pressing, and the surfaces that contacted the fabric. Check whether the marks occurred before cutting, during stabilization, or while bundles were moved. The corrective action may involve changing a handling step, but the result should be confirmed on the actual velvet rather than inferred from habit.
Unexpectedly high fabric consumption can come from usable-width limitations, defects, directional layout, matching requirements, or assumptions in the marker. Compare the approved marker with the measured usable width and defect map. A one-way layout may be necessary for appearance, but its effect on material use should be determined from the actual pattern and fabric.
Treat each suspected cause as a hypothesis until inspection or testing confirms it. Change one process variable at a time during troubleshooting so the result can be evaluated. If appearance or dimensional results remain unapproved, hold bulk cutting, document the corrective trial, and obtain the project’s required review before continuing.
For a broader production context, compare this preparation workflow with the relevant Apparel Manufacturing Tools resources. The useful next step is to turn the approved fabric observations, direction marks, layout decision, trial result, and inspection findings into a concise cutting instruction that the production team can follow consistently.
Should velvet always be cut with the nap running in one direction?
Not always, but a consistent direction is commonly used when matching surface appearance matters. Any deliberate reversal should be treated as a design decision and approved on the actual velvet before bulk cutting.
How can you tell which side of velvet is the face?
Compare both sides by surface appearance, sheen, hand feel, and pile lay under consistent conditions. Confirm the result against supplier information or an approved sample rather than relying only on the commercial fabric name.
Does velvet need to rest before cutting?
There is no universal resting period for every velvet. Follow applicable supplier guidance and validate any resting, conditioning, steaming, or pressing method on a sample before production.
Is velvet better cut single-ply or in layers?
It depends on the fabric, pattern, equipment, layer stability, and required control. Validate the selected method through a trial and inspect alignment, edges, surface condition, and repeatability.
How do you prevent velvet from shifting during cutting?
Use a stable, correctly aligned lay and a validated stabilization method that does not create unacceptable marks or compression. Minimize tension and dragging, then check alignment immediately before cutting.
Why do velvet garment panels look different after cutting?
Possible causes include reversed pile direction, different face identification, lighting, fabric variation, bundle mixing, pressure marks, or lay movement. Compare the approved roll, cut pieces, direction marks, and process records to isolate the cause.