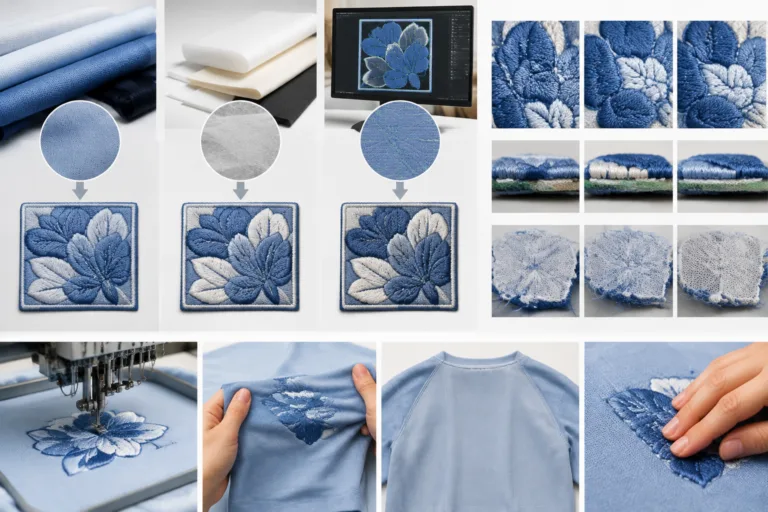
Tatami fill embroidery problems are defects or unwanted results in a patterned fill-stitch area, such as puckering, distortion, gaps, uneven coverage, or poor registration. The most reliable way to troubleshoot them is to document where and when the symptom appears, compare the front and reverse sides, and test competing causes before changing production settings. This guide uses practical garment-production reasoning for designers, product developers, quality teams, and manufacturers. Apparel Wiki is an independent educational publication; it is not a factory, manufacturer, laboratory, or embroidery service provider. Editorial support for this work is separate from any Sponsor relationship.
Ink/Stitch uses “tatami” or “fill stitch” for a fill structure made from repeated stitch rows. In production, that structure interacts with the embroidery file, fabric, backing, hooping, thread, needle, machine condition, and finishing process. A visible defect therefore identifies a symptom, not automatically a root cause.
What Are Tatami Fill Embroidery Problems?
Tatami fill embroidery problems are unwanted changes in appearance, fabric shape, durability, production stability, or wearer comfort within a filled embroidery area. Common symptoms include puckering around dense sections, distortion at edges or corners, incomplete or uneven coverage, open gaps, registration shifts, repeated thread breaks, loose stitches, and a rough or bulky reverse side.
These symptoms can appear separately or together. For example, a fabric panel that moved during hooping may show both registration error and an edge gap. A dense or poorly balanced fill may contribute to fabric distortion while also increasing thread stress. Backing or finishing choices may stabilize the front while making the reverse side stiff or uncomfortable. The symptom should be described precisely before a correction is selected.
Location and repeatability are especially useful clues. Record whether the problem occurs on curves, corners, long edges, directional transitions, or only on one garment panel. Note whether it repeats at the same file location, follows one machine head or batch, begins after a trim or color change, or appears only after washing or handling. A single photograph can show what happened, but it cannot establish why it happened.
Also separate a production defect from an intentional design effect. Open spacing may be part of the approved artwork, and a textured reverse may be acceptable for an outerwear decoration but unsuitable near skin. The relevant comparison is the approved sample, buyer requirement, end use, and tested garment construction. There is no universal tatami setting that produces the same result on every design and material.
How to Diagnose a Tatami Fill Embroidery Problem Before Changing Settings
Begin with an observation record rather than a presumed explanation. Describe the visible symptom, its location, direction, frequency, and approximate extent. Identify the garment panel, material construction, batch or lot, file revision, machine or head, thread color, and sample condition. Photograph the front and reverse in consistent lighting, and retain any simple measurements that help compare samples.
Next, compare the production result with the approved sample and, where possible, a known-good control. Inspect the garment flat and in its finished form because construction, seams, stretch, and placement can affect the result. If care or laundering is relevant to the product, compare the post-care condition as well as the unwashed sample. Do not treat a flat hoop sample as proof of finished-garment performance.
Keep several root-cause hypotheses open. Material structure, fabric movement, backing, hooping, digitizing, thread, needle condition, tension balance, machine condition, trimming, finishing, wash care, and measurement error may produce similar symptoms. For each hypothesis, note supporting evidence, contradictory evidence, and the smallest practical test. This separates observed facts from likely explanations and from editorial recommendations.
A controlled comparison is more useful than repeated informal adjustments. When the process allows, change one meaningful variable at a time and retain the exact file revision and material combination used for each test. Compare the result at the same placement and inspect both sides. If the issue follows the file across machines, the file deserves closer review; if it stays with one machine or material combination, equipment or setup becomes a stronger hypothesis. Neither pattern is conclusive without comparison.
Why Does Tatami Fill Embroidery Pucker or Distort the Fabric?
Puckering occurs when the embroidered area and the surrounding fabric do not remain in the same shape after stitching. Stitch density, stitch direction, underlay, backing, hooping, fabric stability, thread behavior, and tension balance can all affect fabric movement. The risk is often more visible in elastic, lightweight, loosely constructed, or highly finished fabrics than in stable woven bases, but the design geometry and garment construction still matter.
Check first whether the fabric was stretched or displaced during hooping and whether distortion is concentrated in dense areas, along edges, at corners, or where stitch direction changes. Look at the reverse side for excessive support, pulled threads, or uneven tension. Evaluate the completed garment rather than only the flat hoop sample, because seams, body movement, and the placement against the wearer can change the practical result.
| Material situation | Likely risk to investigate | Minimum comparison |
|---|---|---|
| Stable woven base | Local distortion from dense areas, edges, direction changes, or inadequate alignment | Compare the approved file and a sewn sample at the actual placement |
| Stretch base | Fabric movement, restricted stretch, recovery changes, or distortion after hooping | Test the actual fabric with its intended support and assess movement after sewing |
| Lightweight or drapey base | Visible puckering, shape change, harsh hand, or support showing through | Review front and reverse sides on the finished panel, including relevant handling |
Changing density or tension may be a useful controlled option, but it is not a universal fix. A reduction in stitch load can affect coverage, while a tension change can create loose stitches or other imbalance if the original cause was fabric movement or file structure. Adjustments should be compared against the approved appearance, fabric shape, reverse-side feel, and intended use.
How to Fix Gaps, Uneven Coverage, and Poor Registration in Tatami Fill
First distinguish intentional open spacing from missing stitches, edge gaps, registration shift, skipped stitches, and thread-color inconsistency. Then inspect the file’s stitch path, overlap, edge compensation, start and stop points, underlay, and sequencing in relation to the actual material. A file simulation can reveal design logic, but a digital file is not automatically a production-ready embroidery program.
Check whether the fabric or backing moved, whether the garment panel was positioned consistently, and whether the issue repeats at the same file location. A repeat at the same location may justify a digitizing review; a shift that varies by panel may point toward hooping, placement, material movement, or machine execution. Compare the front and reverse sides to see whether coverage, backing, trimming, or floating thread contributes to the appearance.
| Observed symptom | Working hypothesis | Minimum verification |
|---|---|---|
| Same gap at the same design location | Path, overlap, compensation, or sequencing issue | Review the file and sew it again on the same material |
| Shift varies between panels | Positioning, hooping, backing, or fabric movement | Repeat the placement comparison with a controlled panel setup |
| Coverage differs mainly on the reverse | Thread handling, backing, trimming, or support interaction | Inspect both sides and compare the material combination |
Record the file revision together with the material combination used for every test. This prevents a file change from being mistaken for a material improvement and helps a sourcing or quality team communicate clearly with an embroidery supplier or factory. Visual acceptance should remain tied to the approved sample, project requirements, and actual garment use rather than an assumed universal threshold.
How to Troubleshoot Thread Breaks, Loose Stitches, and Unstable Sew-Outs
Thread breaks should be separated into repeated failures and isolated incidents. Record the stitch location, thread color, machine head, needle-change history, and whether the problem follows the embroidery file or remains with one machine. A break that always occurs at the same design location suggests a file, stitch-concentration, trimming, or jump-related hypothesis. A break that moves between heads or materials may point toward thread handling, needle condition, machine condition, or the material combination.
Inspect the thread path, needle condition and suitability, tension balance, trimming behavior, jump stitches, backing, and the interaction between the fabric and the embroidery. Excessive stitch concentration can increase process stress, but changing density or tension before confirming the symptom can create coverage, distortion, or thread-security problems elsewhere. Machine-speed or maintenance changes should follow the relevant equipment guidance rather than a universal setting.
Examine both sides of the sample. Loose loops, pulled thread, abrasion, needle damage, unsecured starts and stops, or a dense and rough reverse can reveal information that is not visible from the front. Run a controlled comparison using the same file on the same material before assigning the cause to one setting. If repeated breaks damage the garment, destabilize registration, or prevent a consistent sew-out, pause production and request qualified maintenance or technical review.
How Fabric, Backing, and Digitizing Choices Affect the Finished Tatami Fill
A tatami fill design is not automatically production-ready on every garment material. Stable woven fabric, elastic fabric, lightweight fabric, and loosely constructed fabric can respond differently to the same stitch path and support arrangement. The motif may therefore require different underlay, backing, sequencing, or edge handling after a sew-out on the actual material. The correct choice depends on the design, placement, equipment, garment construction, and intended use.
Review the finished garment, not only a flat hoop sample. Check for visible backing edges, floating threads, dense reverse coverage, roughness, restricted stretch, and thread that may catch during use. These details matter especially at skin-contact areas, close to seams, or in zones that bend repeatedly. A front-side photograph cannot establish comfort, stretch behavior, durability, or wash performance.
More support may improve stability while reducing softness, drape, or stretch. Reducing the stitch load may improve flexibility but affect coverage or the intended appearance. Evaluate those trade-offs after relevant handling or washing, using the actual fabric and construction. Keep a record of the fabric lot or construction, backing, thread, needle, file revision, hooping method, and finishing process so a successful combination can be reproduced.
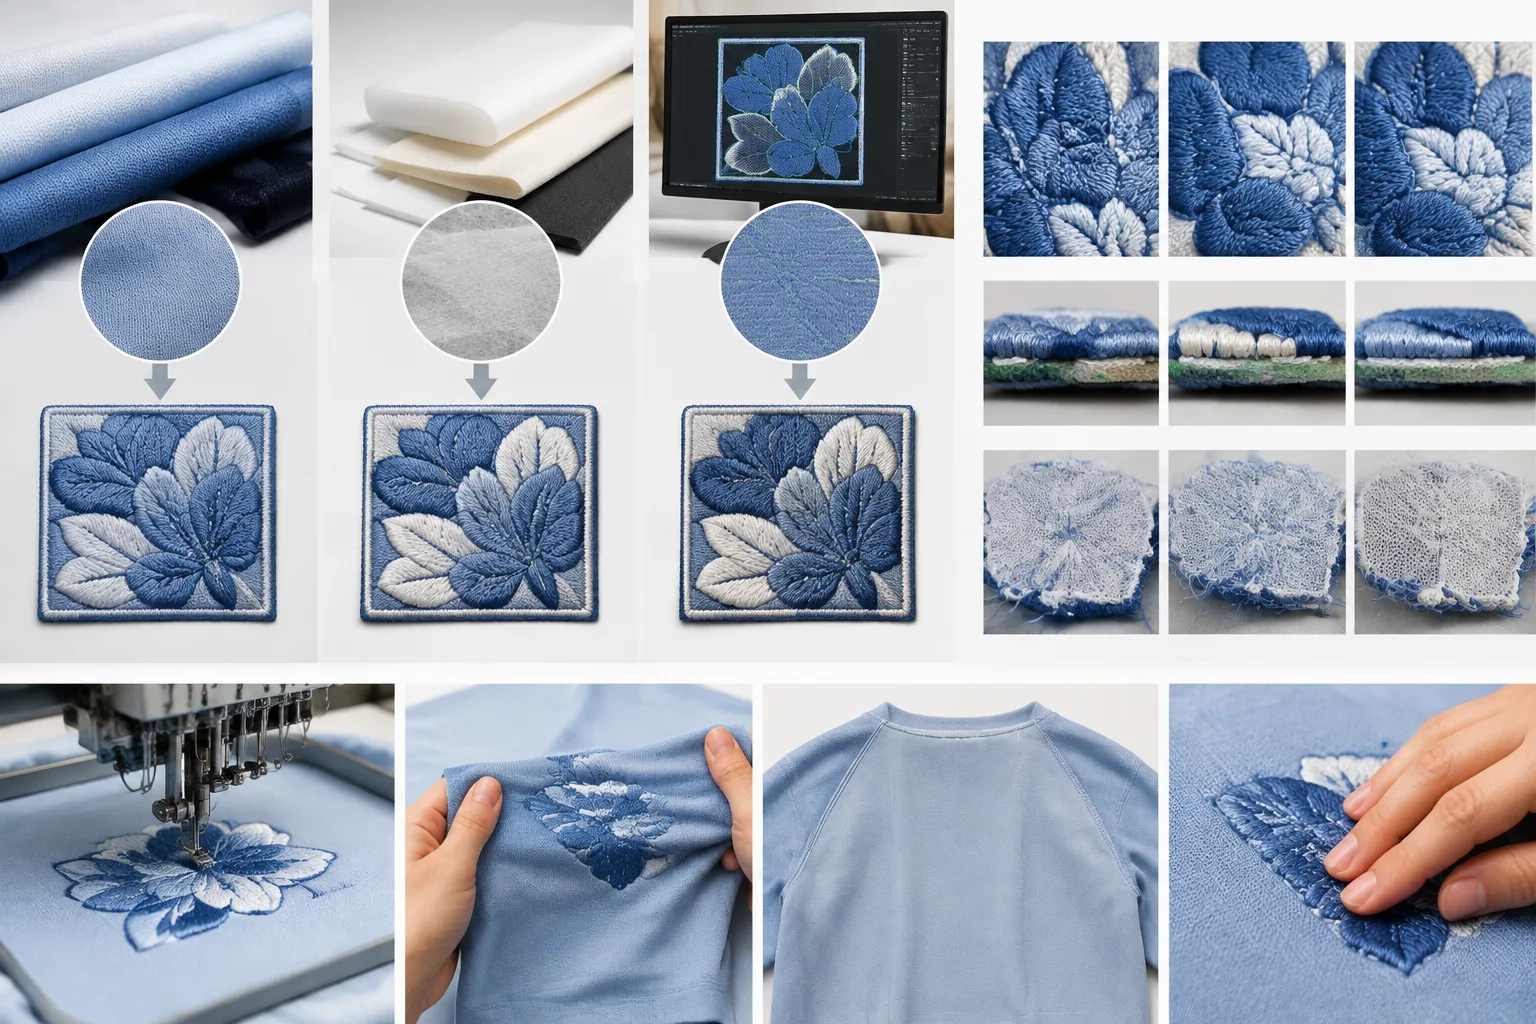
A Practical Tatami Fill Troubleshooting Procedure and Approval Checklist
Begin with a defect record that states what happened, where it happened, its direction and frequency, the garment material, file revision, machine information, and sample condition. Photograph the front and reverse, then compare the result with the approved sample and a known-good control when one is available. Record observations separately from explanations: “gap at the same design location” is an observation, while “digitizing error” is a hypothesis.
| Check | What to compare | Useful next action |
|---|---|---|
| Material and support | Actual production fabric, backing, placement, and hooping | Repeat the sew-out with a controlled material combination |
| File behavior | Stitch path, sequencing, start and stop points, and revision | Review the file and sew it again on the same material |
| Machine and thread | Head, thread path, needle condition, tension balance, and maintenance history | Compare with a known-good head or request technical review |
| Finished result | Coverage, registration, distortion, thread security, reverse, and post-care condition | Compare with the approved sample and project requirements |
Rank material, backing, hooping, file, needle, thread, tension, machine, and finishing hypotheses according to supporting and contradictory evidence. Run the smallest useful comparison, changing one meaningful variable at a time when the process allows it. Retain the file revision and material combination for every test. This prevents a file change from being mistaken for a material improvement and gives a sourcing or quality team a clear record for supplier communication.
Before approval, confirm that the tested material, placement, garment construction, and finishing process match production. Check appearance, registration, fabric distortion, thread security, reverse-side comfort, and any relevant post-care condition. Acceptance should remain tied to the approved sample, buyer requirements, end use, and validated project criteria, rather than an assumed universal embroidery threshold. Apparel Wiki’s Apparel Manufacturing Tools resource may help teams organize related production information, but it does not replace a project-specific quality review.
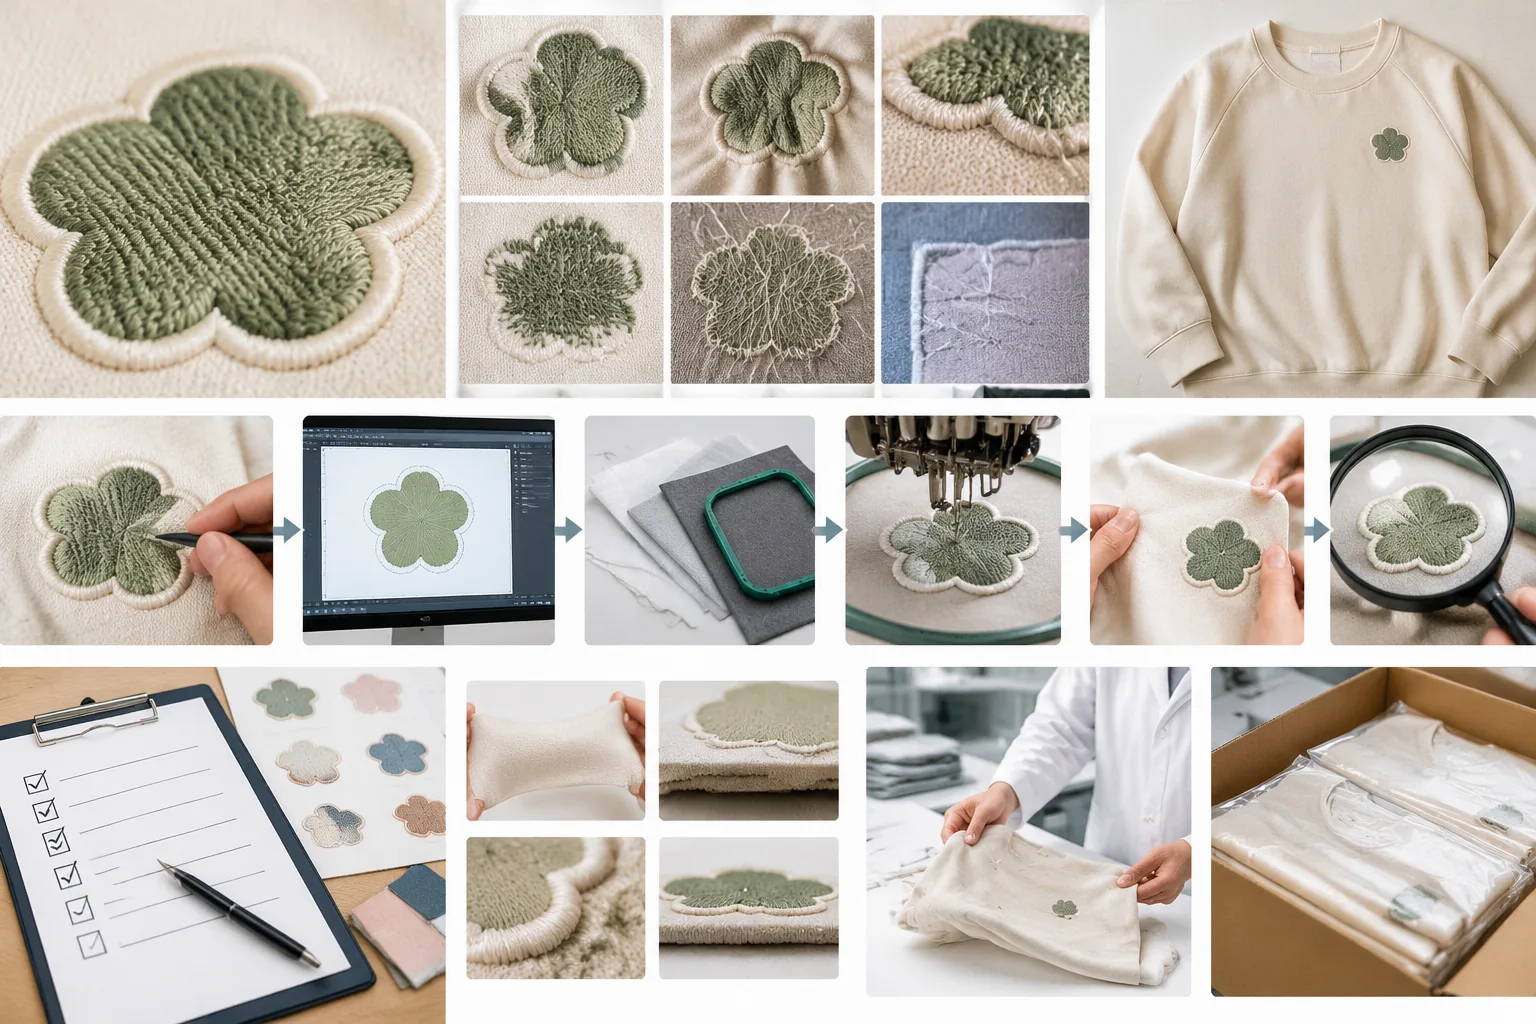
When Tatami Fill Troubleshooting Needs Specialist Review
Escalate when the defect persists across controlled tests, follows more than one machine or material, damages the garment, creates a possible skin or wear concern, or conflicts with an approved specification. The appropriate reviewer depends on the failure mode: a digitizer for file behavior, a machine technician for equipment issues, an embroidery specialist for sew-out instability, a textile laboratory for a defined material question, or a quality team for approval requirements.
There is no universal tatami fill setting. Fabric construction, design geometry, equipment, support materials, and end use all change the result. Preserve the affected samples, freeze the relevant file revision, document the tested variables, agree on acceptance criteria, and retest before bulk production. Apparel Wiki is an independent apparel-industry educational publication, not a manufacturer, factory, laboratory, certifier, or embroidery service provider.
The most reliable next step is to turn the visible symptom into a documented comparison. Keep the approved sample beside the production sample, identify the smallest useful test, and communicate the result with the exact material and file revision used. That record gives brand, sourcing, quality, and factory teams a shared basis for deciding whether to correct the file, process, equipment, or approval requirement.
Frequently Asked Questions
Why does tatami fill embroidery pucker the fabric?
Puckering can involve stitch structure, fabric stability, backing, underlay, hooping, thread behavior, or tension. Check whether the fabric was stretched during hooping and whether distortion is concentrated at dense areas, edges, corners, or directional transitions before changing settings.
How can I tell whether a tatami fill problem comes from the file or the fabric?
Repeat the same file on the same material and compare the problem’s location and repeatability. A defect at the same design location supports a file review, while variable shifting between panels supports investigation of placement, hooping, backing, material movement, or machine execution.
What should I check first when the embroidery thread keeps breaking?
Record where and when the break occurs, then check the thread path, needle condition, tension balance, trimming and jump behavior, backing, and machine history. Use a controlled comparison before assigning the cause to one machine setting.
Can the same tatami fill design be used on woven and stretch fabrics?
The design may be adaptable, but the same file and support arrangement should not be assumed to perform identically. Sew out the design on the actual fabric and assess coverage, distortion, stretch, reverse-side comfort, and relevant post-care behavior.
How should I approve a tatami fill embroidery sample before bulk production?
Compare the sample with the approved reference on the actual production material, placement, and construction. Review both sides, registration, distortion, thread security, comfort, and relevant handling or washing results, then document the file revision and tested material combination.