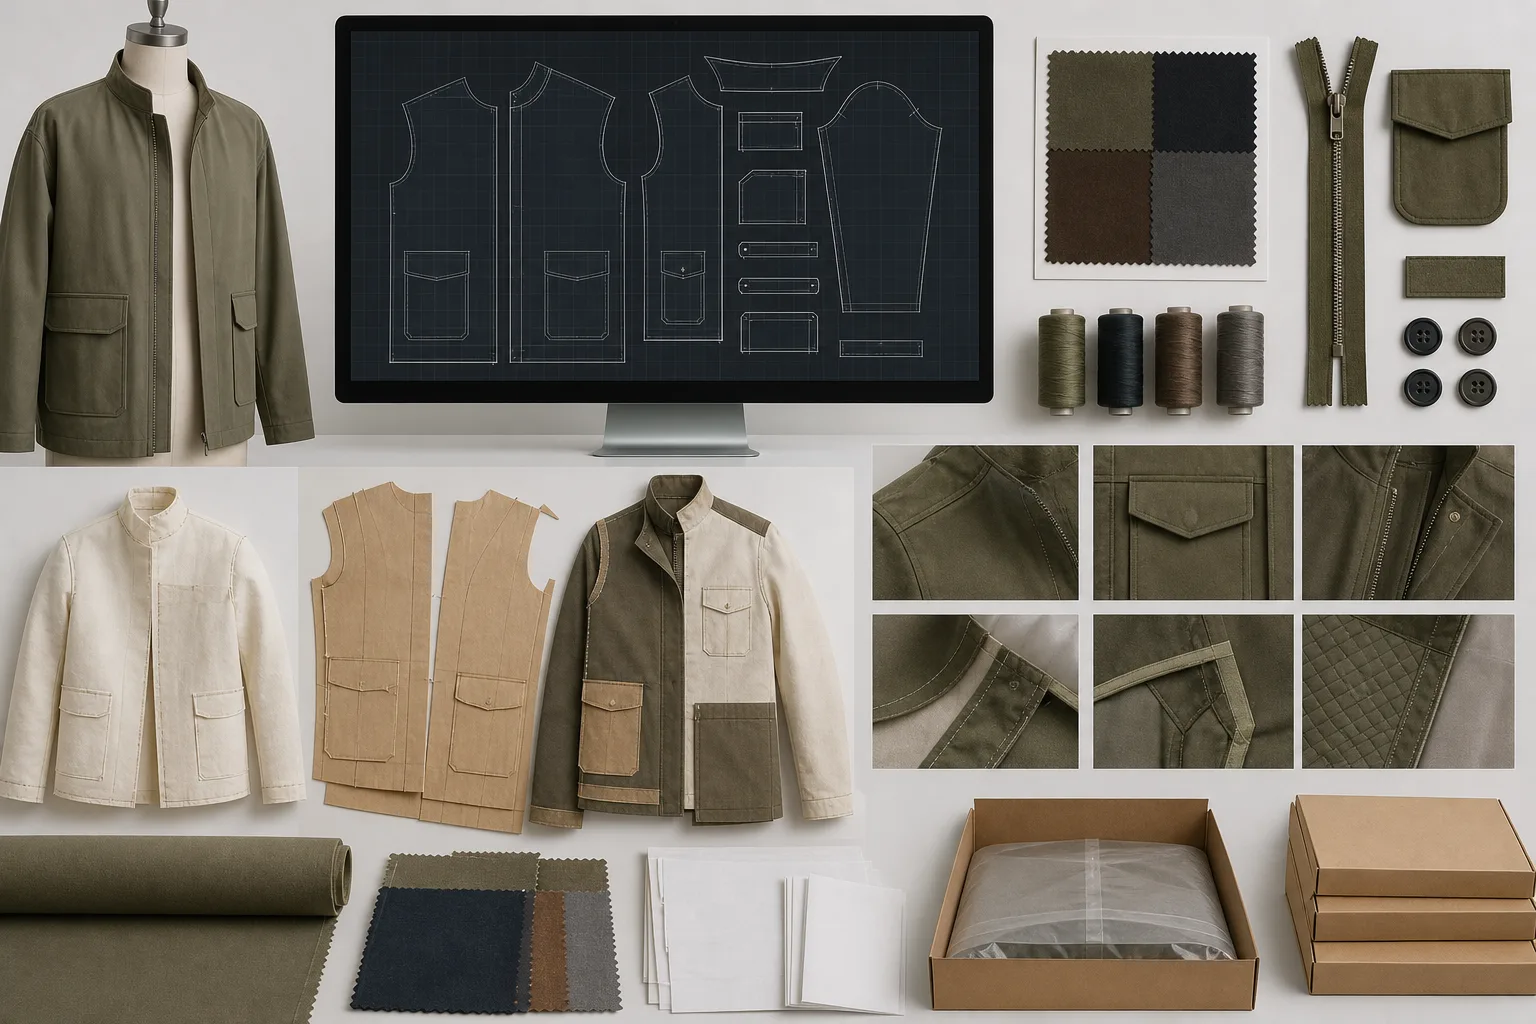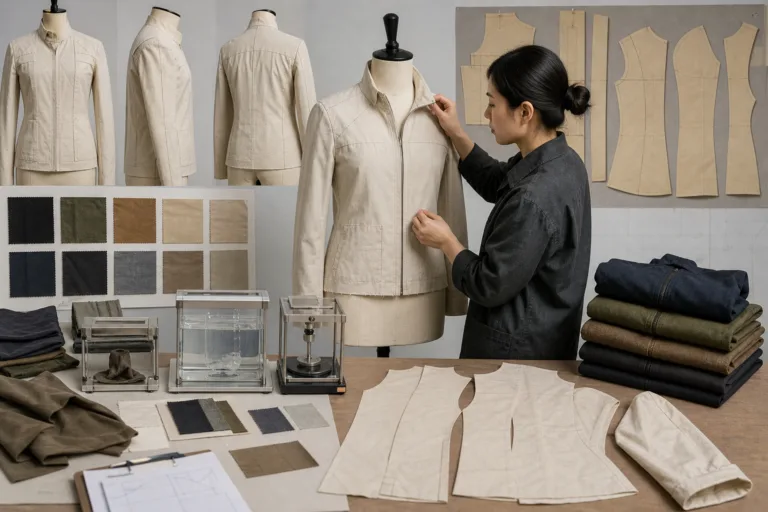
Digital jacket blocks are controlled base patterns used in pattern CAD to develop related jacket styles. They organize the core fit and construction relationships before style-specific details are added. In practice, a block may include the body, sleeve, collar, facing, lining, and other foundational components, but it is not automatically a finished jacket pattern or proof of production readiness. Apparel Wiki is an independent garment-manufacturing knowledge blog; readers can review its editorial position on the Sponsor page.
This distinction matters because a digital file can look complete while still needing fit, material, size-range, and assembly validation. The appropriate block structure depends on the jacket category, intended fit, fabric behavior, and production method. The workflow below establishes the assumptions first, then builds the geometry and checks whether the pieces relate as a sewable system.
What Is a Digital Jacket Block in Pattern CAD?
A digital jacket block is a reusable base pattern represented as digital geometry. It provides a controlled starting framework for developing jackets with a related fit intent. Instead of redrawing every style from the beginning, a pattern maker can preserve approved foundational relationships and develop new design lines from them.
The block commonly separates foundational pieces from style-specific features. A front and back body, sleeve, collar, facing, and lining foundation may belong to the block, while a particular pocket shape, panel, vent, lapel treatment, yoke, or fashion seam may belong to the style pattern. The boundary is project-dependent: a construction feature that is fundamental to one jacket category may be a style option in another.
Three pattern references should remain distinct:
- Net garment measurements describe the intended garment dimensions before construction allowances are added.
- Sewing lines identify where pieces are joined and provide the main basis for checking seam relationships.
- Cutting lines define the outer edges after seam allowances, hems, folds, and other construction allowances are included.
Seam allowance supports assembly; it is not wearing ease. Ease is the additional room between body measurements and garment measurements that supports the intended fit, movement, or layering. Enlarging a cutting outline by changing seam allowance does not correctly establish the fit of a jacket.
A block is therefore a starting framework, not universal proof that every design, fabric, size, or wearer has been validated. A clean file name, a complete-looking outline, or a successful screen check cannot establish fit on its own. Maintain a controlled base file and use clear piece names, revision information, and version conventions so style development does not overwrite the reusable source.
What Inputs Should You Set Before Building the Jacket Block?
Before drafting or digitizing, define the body and product assumptions that will control the block. Record the target body measurements, intended wearer or market, posture assumptions, base size, and planned size range. These inputs should be distinguishable from finished garment measurements so a later reviewer can tell whether a value describes the person, the garment, or an adjustment added during development.
Next, document the fit and construction intent. Identify whether the jacket is close-fitting, relaxed, oversized, tailored, or intended to accommodate specific layers. Note the jacket length, hem position, closure type, center-front or center-back requirements, shoulder intent, and key balance relationships. Fit ease is a project decision, not a universal number that can be transferred unchanged to every jacket category.
Material assumptions also belong in the setup record. Identify the shell fabric and, where relevant, interlining or lining context. Stretch, thickness, recovery, drape, pressing response, and dimensional change can affect how the digital geometry behaves in a sample. Do not assume that a generic block already accounts for these properties. Where shrinkage or relaxation may affect the target, use verified material data and treat compensation as a controlled adjustment requiring further validation.
A useful measurement and assumption sheet should show:
- which values are body measurements;
- which values are finished garment measurements;
- which changes represent fit ease;
- which allowances are for sewing, hems, folds, or turn-of-cloth;
- which decisions are fixed requirements and which remain hypotheses.
This record makes later edits traceable. Without it, an apparently small pattern adjustment may conceal a change to fit intent, balance, or construction logic.
How Do You Build the Jacket Block in Pattern CAD?
Begin by creating a controlled CAD file rather than immediately drawing style details. Set the units and scale, identify the base size, establish grainline conventions, and define a naming and revision system. Keep the base block separate from experimental style files. Menu names and tool sequences vary by platform, but the underlying sequence should remain understandable to another reviewer.
Build or import the selected body foundations, including the jacket front and back, according to the chosen measurement and fit system. Develop the neckline, shoulder, armhole, side seam, hem, closure edge, and other structural lines while monitoring front-to-back balance. These lines form a connected system; changing one area can affect adjoining relationships.
Construct the sleeve in relation to the armhole rather than treating it as an isolated outline. Sleeve cap shape, armhole length, movement intent, and the direction of the sleeve all influence how the pieces will join and hang. The collar, facing, lining, and other associated components should likewise be developed from the relevant body geometry and construction method.
Once the sewing-line geometry is controlled, add production annotations such as notches, drill points, grainlines, fold indicators, piece labels, and seam allowances. These marks support cutting and assembly, but they should not be used to hide unresolved pattern geometry. Save a clean base block before making style edits, and record each revision so a later change can be traced to its reason.
Which CAD Checks Confirm That the Block Can Be Sewn?
Start the technical review with the sewing sequence. Walk each joining edge and compare it with its intended partner. Do not compare only the outer cutting outlines, because cutting lines include allowances and may obscure whether the actual seams match.
Check the length and shape of adjoining sewing lines, including the sleeve cap and armhole, collar and neckline, facing edges, shoulder seams, side seams, and other joins. Review notches, corners, curves, and any easing relationship in the order the garment will be assembled. A local edit can change a neighboring seam, sleeve balance, collar fit, or hem relationship, so repeat the check after consequential modifications.
Then inspect the supporting pattern information. Paired pieces should have compatible grainlines, mirror logic, piece names, and orientation marks. Check front-to-back balance, shoulder relationships, center lines, hem levels, and the placement of folds or closures. Confirm that seam allowances, hems, and turn-of-cloth allowances are applied consistently at intersections and do not conceal an error in the sewing line.
Finally, review a plotted or exported copy when possible. On-screen CAD views may not reveal crowded labels, broken annotations, unclear corners, or export problems. This geometry review confirms that the digital pieces are logically prepared for assembly; it does not replace a physical sample or fit assessment. A block that passes CAD checks can still require correction after sewing in the intended material.
How Should You Evaluate the Block Through Fit and Material Tests?
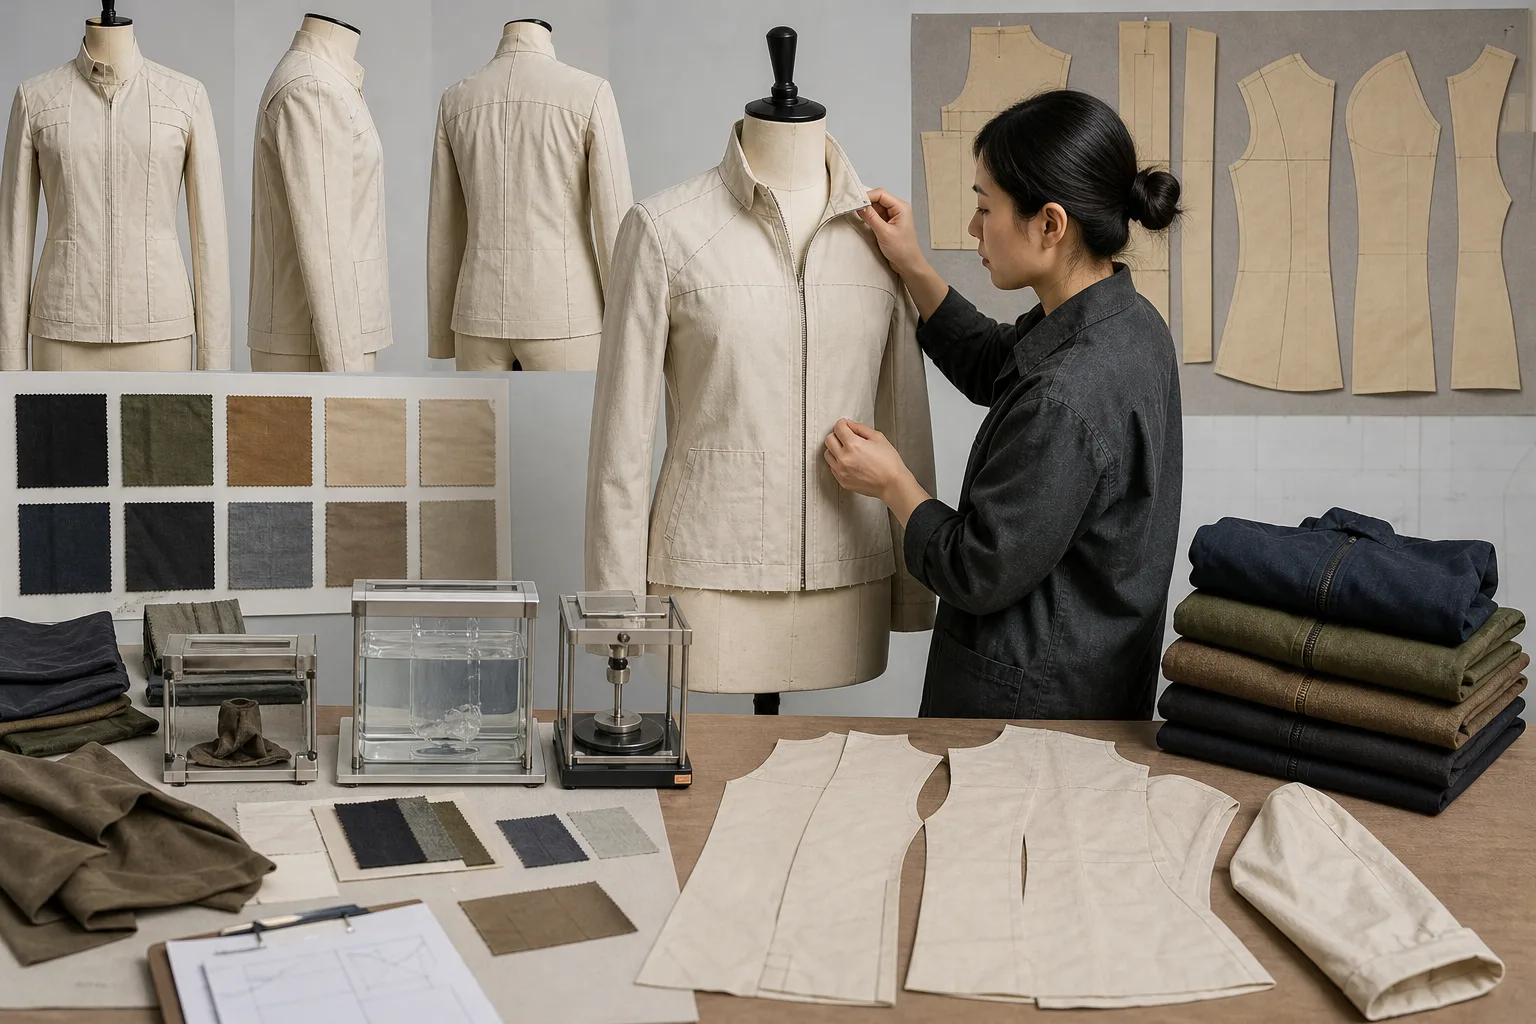
A CAD review confirms that the pattern pieces relate logically, but it cannot show every problem that appears when the jacket is cut and sewn. Make a toile, sample, or another suitable validation version according to the product risk, the fabric behavior, and the development process available. The purpose is not simply to see whether the garment can be assembled. It is to determine whether the block produces the intended fit and balance in a realistic material context.
Begin with a static review. Inspect the shoulders, chest, waist, back, armhole, sleeve, collar, closure, and hem against the intended fit and finished measurements. Look for unexpected strain, drag lines, twisting, collapsing areas, or imbalance. A problem at one location may originate elsewhere: sleeve restriction can relate to the armhole or shoulder, while a collar issue can reflect neckline shape, balance, or construction order. Record the observation before changing the pattern.
Evaluate movement and layering when they matter to the jacket’s intended use. Raise and rotate the arms, sit, reach, close the garment, and test the planned underlayers as appropriate. Note whether movement changes the hem, closure, sleeve balance, or back appearance. Keep these observations separate from formal test-method results. A visual fitting review is useful evidence for development, but it is not automatically a laboratory result or a universal pass criterion.
Material behavior must also be documented. Stretch, recovery, thickness, drape, pressing response, relaxation, and dimensional change can alter the result even when the digital geometry is unchanged. If shrinkage or relaxation affects the target, use verified material data and measure the relevant directions separately. Any compensation should be controlled and reviewed as a material-specific adjustment; it should not be treated as permission to enlarge the entire jacket block uniformly. Recheck the complete sample after the adjustment.
Maintain an issue log that identifies the observed problem, sample material, construction context, proposed change, and decision. Once the cause is understood, decide whether the correction belongs in the reusable foundation or in one style. A successful sample supports that particular development decision, but it does not prove every size, fabric, post-wash state, or movement condition.
How Do Grading and Block Reuse Affect Other Jacket Sizes and Styles?
Grading applies planned changes to selected pattern points across sizes. It is not the same as enlarging every outline by one uniform amount. Body proportions, posture, sleeve balance, armhole shape, collar relationship, and layering needs may change across the range, so a graded jacket block still requires review.
Where the project requires it, inspect the smallest and largest sizes as well as at least one intermediate size. Compare the important relationships rather than looking only at overall area or circumference. Check shoulder and armhole behavior, sleeve movement, front-to-back balance, closure alignment, collar position, and hem level. A middle size that appears correct does not validate the full size range.
Reuse the block for related styles only when the fit intent, construction system, material context, and target customer remain compatible. A lightly redesigned jacket may retain the same foundation, while a different silhouette, layering purpose, shoulder structure, or fabric behavior may require a new block or a separately controlled base.
Keep style-specific details such as pockets, panels, vents, design lines, and fashion shaping separate when they should not change the underlying fit. A practical decision framework is to ask three questions: will this change be used repeatedly, does it alter the intended fit, and does it change the construction logic? Retain a repeated foundational change in the block, keep an isolated design change with the style, and create a new block when the fit intent or construction system is materially different.
What Should Be in a Production-Ready Digital Jacket Block Handoff?
Calling a block “production-ready” should describe a documented project status, not merely the completion of CAD drafting. The handoff should identify the approved base size, size range, units, file version, and revision history. It should also state the fit intent, material context, sample status, unresolved assumptions, and any restrictions on reuse.
Review every component individually. Piece names should be usable and consistent. Each piece should include the required grainline, cut quantity, mirror or pair instruction, notches, drill points, labels, and construction notes. Confirm that sewing lines, cutting lines, seam allowances, hems, folds, and annotations remain legible after export or plotting. File integrity and print or export behavior deserve their own check rather than being assumed from the CAD view.
Separate a block approved for internal development from a pattern approved for one specific production style. The latter may require confirmed material behavior, completed sample review, size-range evidence, construction approval, and project-specific communication. Apparel Wiki provides independent educational guidance; it is not a factory, manufacturer, laboratory, certifier, or production approval authority.
Before the handoff, use a final checklist covering geometry, assembly, fit evidence, grading, material assumptions, file integrity, and revision ownership. The next useful step is to connect the checked block to one defined style, material, sample plan, and approval record. That keeps later edits traceable and makes it easier to determine whether a correction should improve the foundation or remain limited to the style.
Is a digital jacket block the same as a finished jacket pattern?
No. A digital jacket block is a controlled base pattern for developing related styles. A finished style pattern includes its specific design lines, construction details, material assumptions, and development decisions. A block is not automatically validated for production.
What is the difference between a jacket block’s sewing line and cutting line?
The sewing line represents the intended assembly boundary. The cutting line includes the seam allowance and other construction allowances. Seam allowance supports assembly and should not be confused with wearing ease or used to correct an unsuitable silhouette.
How do you check sleeve and armhole compatibility in pattern CAD?
Compare the adjoining sewing lines in the intended construction sequence. Check their lengths, curves, notches, corners, grainlines, and any easing relationship. Then confirm the result with a sample, because geometric compatibility alone does not prove comfort or movement fit.
Can one digital jacket block be reused for every jacket fabric and style?
No. Reuse depends on compatible fit intent, construction, material behavior, and target wearer. A different thickness, stretch level, silhouette, or layering purpose may require a controlled style adjustment or a new block.
Does grading a jacket block guarantee fit in every size?
No. Grading applies planned point changes, but body proportions and posture do not necessarily change uniformly. Review the relevant size range, including the ends and an appropriate intermediate size, and validate movement where required.
When should a jacket block be changed instead of making a style-specific pattern edit?
Change the block when the correction is foundational, repeatedly needed, and consistent with its fit and construction intent. Keep it as a style edit when it serves one design. Create a separate block when the change establishes a different fit purpose or construction system.