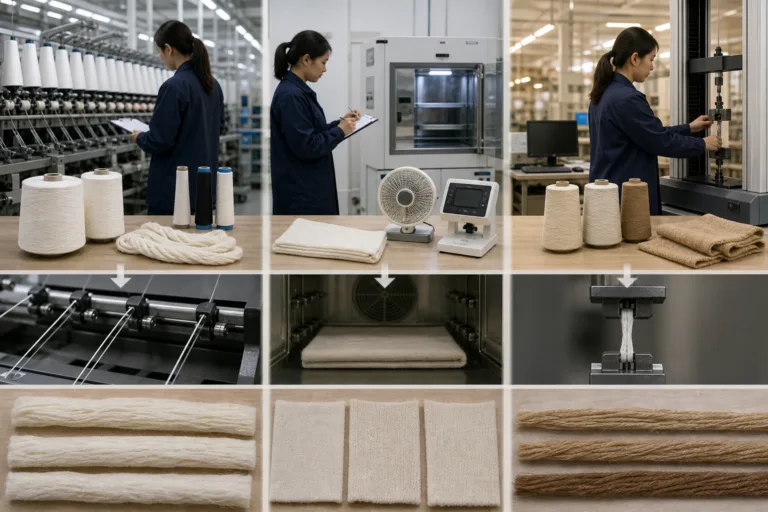
Fully drawn yarn (FDY) tension problems are best investigated by separating the visible symptom from the unconfirmed cause, then comparing the yarn, package, machine position, and operating conditions. As an independent textile knowledge publication, Apparel Wiki maintains its editorial boundaries through its Sponsor information. In practical terms, begin by recording where the variation occurs, when it appears, and what the process was doing at that moment.
Fully drawn yarn is supplied in a substantially drawn state for downstream textile processing. Its running behavior still depends on factors such as polymer, filament construction, finish, package condition, and the equipment and process using it. Tension variation means that the force carried by the yarn changes along its running path or changes over time. It does not automatically mean that the yarn itself is defective.
Unstable tension may be associated with uneven delivery, intermittent stops, loops, filament damage, streaks, barré, or other inconsistent appearances. These are possible symptoms rather than proof of one root cause. Similar results can come from package damage, yarn-path friction, machine alignment, environmental conditions, product structure, or measurement error. The first useful diagnostic action is therefore to create a repeatable description of the event.
What Fully Drawn Yarn Tension Variation Means in Processing
During processing, yarn tension is affected by the force needed to withdraw, guide, control, form, and collect the yarn. A change at any point can alter delivery to the next process element. The effect may be small and temporary, or it may be visible as an unstable running condition. The result depends on the machine type, yarn construction, process speed, and the position where the force changes.
For this reason, “the yarn has tension problems” is too broad to guide an investigation. A more useful description identifies whether the variation is continuous, intermittent, periodic, position-specific, or concentrated around a package change. It should also state whether the issue appears during startup, acceleration, steady running, stopping, or another defined process state.
Keep the symptom and the hypothesis separate. For example, a streak or a stop may be observed directly, while “excessive guide friction” or “package-related delivery variation” remains a hypothesis until a controlled comparison supports it. This distinction prevents early adjustments from hiding the original pattern and makes supplier or machine discussions more precise.
Start With a Repeatable Tension-Variation Description
Before changing a setting or rejecting a lot, record enough information for another person to compare the event. At minimum, identify the machine, position, yarn lot, package identification, spindle or feed position, process speed, product style, and time of occurrence. Note whether the position was starting, stopping, accelerating, decelerating, or running steadily.
Describe the pattern in operational terms. Is the variation present throughout the run, or does it appear at intervals? Does it follow one package, one machine position, or a particular stage of package withdrawal? In knitted or woven products, record the direction and location of the visible effect, such as a repeat across courses, wales, ends, or machine positions where that description applies.
Compare an affected position with an unaffected position under conditions that are as similar as practical. A single visual inspection or one tension reading can be useful evidence, but neither establishes a diagnosis by itself. Preserve photographs, package records, tension traces or readings, defect maps, stoppage logs, and retained samples when available.
| Record | Why it helps |
|---|---|
| Position, package, and lot | Shows whether the pattern follows material or equipment location. |
| Time and process state | Reveals links with startup, package transfer, speed changes, or periodic events. |
| Defect location and direction | Makes recurring product effects easier to compare with machine positions. |
| Readings, images, and retained samples | Provides evidence for later comparison rather than relying on memory. |
A symptom log should preserve competing explanations involving material, structure, equipment, environment, and measurement. If a reading conflicts with the visible result, record both observations. The disagreement is a reason to review the measurement method and process conditions, not proof that one observation must be wrong.
Check the Yarn Package and Material Before Changing Settings
Inspect the package before making machine adjustments. Look for irregular package build, damaged edges, loose wraps, slough-off, contamination, and signs of unsuitable storage or handling. These observations do not prove that the package caused the tension variation, but they can identify a useful comparison: determine whether the issue follows the package, the lot, the machine position, or the machine itself.
Confirm the yarn description from available technical or supplier records. Record the polymer or generic fiber name, filament construction, linear density, finish information, package format, lot, and any relevant identification marks. A commercial product name alone may not distinguish construction or finish differences that matter during processing, so ask the supplier to clarify ambiguous descriptions.
Keep direct-count units distinct when comparing yarn records. Tex expresses mass in grams per 1,000 meters; denier expresses mass in grams per 9,000 meters; and dtex expresses mass in grams per 10,000 meters. These describe linear density, not yarn diameter, and they should not be treated as interchangeable with indirect count systems. For terminology support, the relationships are tex = denier divided by 9 and dtex = tex multiplied by 10, but the calculation does not explain why a yarn runs inconsistently.
Do not assume that a heavier or lighter linear density, a particular filament count, or a branded finish will always run better. Compare like with like under documented process conditions. Distinguish three types of information in the record: the supplier’s specification, the condition observed on the package, and the editorial or plant interpretation of what those observations might mean.
Inspect the Yarn Path, Contact Points, and Machine Conditions
Map the yarn path from package withdrawal through guides, tensioners, sensors, feed elements, needles or other forming elements, and take-up or winding components as applicable. The purpose is to identify every location where friction, drag, vibration, alignment, or delivery behavior could change the force carried by the yarn.
Inspect guides and contact surfaces for contamination, wear, roughness, sharp edges, looseness, and misalignment. Compare contact conditions between a suspect position and a stable position. Also check package-holder resistance, tension-control devices, brakes, nip or feed elements, and sensors for cleanliness, correct installation, and consistent operation according to the machine manufacturer’s instructions.
Observe whether the symptom changes with acceleration, steady running, stopping, or package transfer. Intermittent drag or vibration may be easier to associate with a process state than with a static inspection. Use the same approved inspection and measurement method for the suspect and comparison positions, and avoid replacing several components at once because that removes useful cause-and-effect information.
Organize the investigation from package withdrawal toward the processing point, recording each observation before moving to the next contact point. Machine settings, replacement intervals, and component tolerances are equipment-specific; they should come from applicable manufacturer documentation or site procedures rather than from a universal recommendation.
Separate Process, Environment, and Measurement Effects
Once the yarn, package, guides, and machine contact points have been inspected, review the operating conditions that may change running tension. Record process speed, acceleration and deceleration behavior, feed or delivery conditions, tensioner settings, take-up behavior, and the process state in which the symptom appears. A variation during startup may have a different explanation from one that continues during steady running.
Environmental conditions can also be relevant, particularly when they change over time or differ between machine areas. Note temperature, relative humidity, local airflow, and any static-related behavior when these factors are relevant to the yarn and equipment. An association with humidity or static is an observation to test, not proof of a universal mechanism. Keep environmental records alongside package, position, and stoppage information.
Measurement quality deserves the same attention as the yarn path. Confirm that the tension sensor or tester is suitable for the yarn and processing situation, correctly positioned, and used consistently. Follow the instrument manufacturer’s instructions for zeroing, verification, handling, and any required checks. A reading taken at a different contact point, process state, or sensor orientation may not be directly comparable with an earlier reading.
Use a small controlled comparison whenever possible. Compare an affected position with a stable position, or compare the same position at defined process states, while keeping the package, machine condition, and measurement method identifiable. Repeat the readings by position, package, time, and process state. If the instrument result conflicts with the visible symptom, verify the measurement method before deciding that either the instrument or the symptom is wrong.
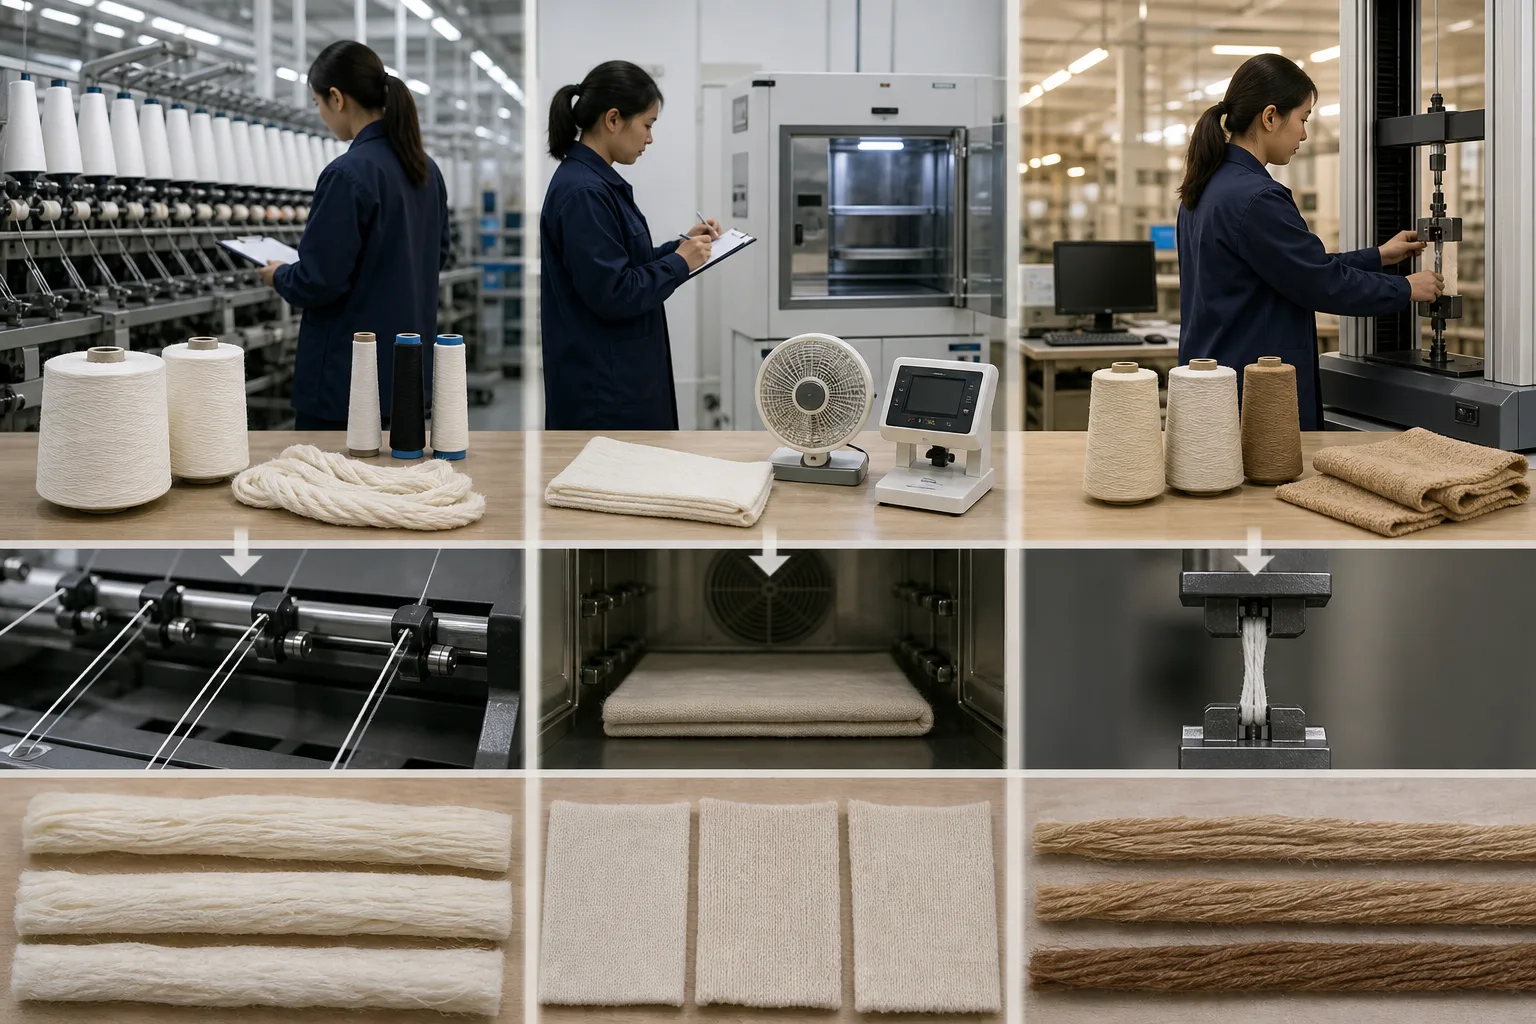
Run a Controlled Troubleshooting Procedure and Decide What to Change
Begin with a baseline: identify the yarn lot and package, select a stable comparison position, fix the relevant process conditions, and use one repeatable measurement method. Classify the observed pattern as package-related, position-related, time-related, periodic, startup-related, or potentially measurement-related. This classification narrows the next check without claiming that the category is already the root cause.
A practical comparison matrix can keep the investigation disciplined. For each observation, record the supporting evidence, counter-evidence, minimum verification test, and disposition. For example, a symptom that follows one package supports a package-related hypothesis, but the comparison should still consider position and handling. A symptom that remains at one machine position after a package change points toward a position or equipment check, but it does not by itself identify the defective component.
Change or substitute one factor at a time. Depending on the approved site procedure, that factor might be the package, a guide, a tension-control component, a sensor, or a process condition. Record what changed, when it changed, and what happened afterward. Changing several guides, settings, and packages together may produce a short-term improvement while removing the evidence needed to determine why the condition changed.
After a correction, verify the result across more than one relevant operating cycle or package where practical. A brief period of stable running is useful evidence, but it is not automatically proof that the cause has been removed. Check whether the original pattern has disappeared under comparable conditions and whether a new defect, stoppage, or appearance change has been introduced.
Separate immediate containment from root-cause investigation. If production, equipment, or personnel may be at risk, follow the applicable site procedure before continuing. Escalate to the yarn supplier, machine manufacturer, or qualified quality professional when the issue follows multiple lots, persists after controlled checks, creates safety or equipment risk, or cannot be reproduced reliably. Their role is to evaluate the relevant records and specifications, not to replace them with an unsupported assumption.
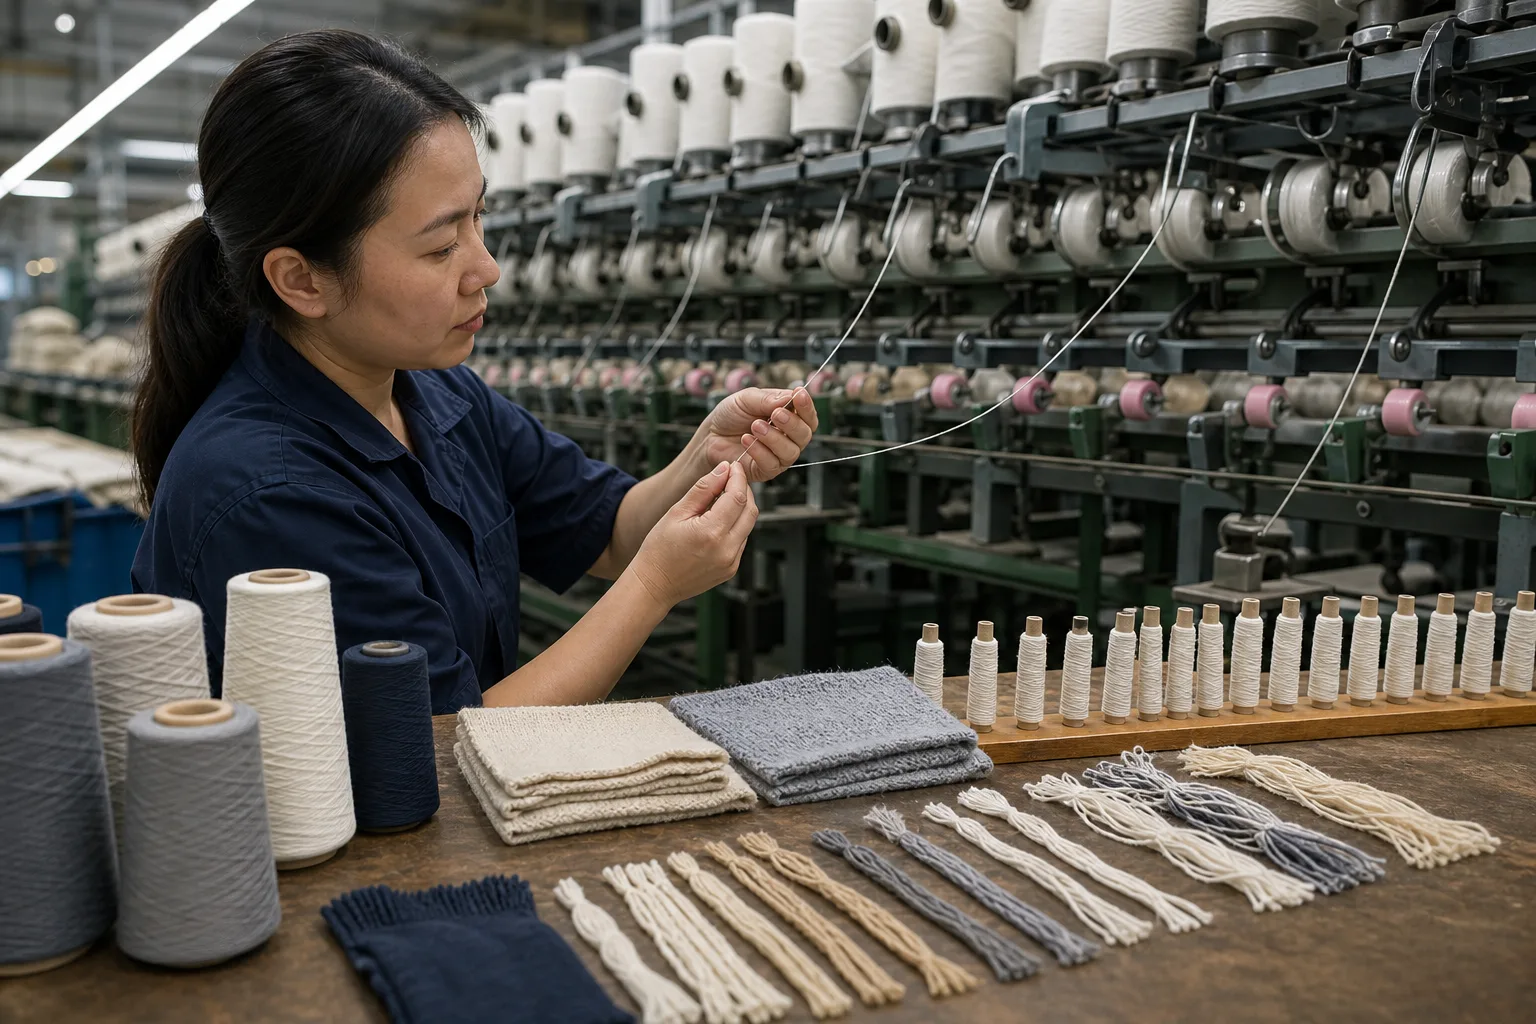
Limits of Diagnosis and Records to Keep for the Next Run
Fully drawn yarn tension problems cannot be diagnosed from a general cause list alone. Similar fabric or process symptoms may originate in the material, package, machine, yarn path, structure, handling, finishing, environment, or measurement method. A photograph or single tension reading can help describe the event, but it does not establish the cause without position-specific and condition-specific evidence.
Retain the yarn lot and package identification, machine position, process conditions, tension readings, measurement method, defect map, photographs, inspection findings, stoppage information, corrective actions, and follow-up results. Keep supplier-reported information, internal observations, and test-measured results clearly distinguishable. Mark explanations as observed, supplier-reported, test-measured, or hypothetical so later reviewers can see which conclusions are supported.
For the next run, contain affected production when the site procedure requires it, repeat the controlled comparison, request relevant supplier or machine data, and document the decision. The durable outcome is not a universal tension target. It is a repeatable record that shows what changed, what evidence supported the change, and whether the result remained stable.
For broader production terminology and practical planning resources, readers can also consult Apparel Wiki’s Apparel Manufacturing Tools. Apparel Wiki is an independent educational publication, so the final operating decision should remain with the responsible production, quality, equipment, and supplier teams.
Next Steps for an FDY Tension Investigation
Start the next investigation with one clearly described symptom, one identified comparison position, and one agreed measurement method. Build the record before changing settings, then use the smallest practical test to distinguish material, equipment, process, environmental, and measurement explanations. This approach makes recurring fully drawn yarn tension problems easier to review and reduces the risk of treating a temporary improvement as a confirmed solution.
Frequently Asked Questions
What are the most common signs of fully drawn yarn tension problems?
Possible signs include uneven delivery, intermittent stops, loops, filament damage, streaks, barré, or inconsistent product appearance. These are symptoms rather than proof of a tension cause, so record their position, frequency, timing, and operating conditions.
How can I tell whether tension variation comes from the yarn package or the machine?
Check whether the symptom follows a package or lot when used at a comparable position, and whether it remains at one machine position after the package is changed. This comparison narrows the investigation but does not confirm a cause without repeatable evidence.
Can yarn guides or tensioners cause FDY tension instability?
Worn, contaminated, rough, loose, or misaligned contact points may be relevant possibilities. Inspect and compare the yarn path at affected and stable positions, follow equipment instructions, and change one component at a time so the result remains interpretable.
How should yarn tension be measured during processing?
Use a suitable instrument at an identified location and process state, following the instrument manufacturer’s instructions for positioning, zeroing, verification, and handling. Repeat measurements consistently and record the package, position, time, and conditions rather than relying on one reading.
Can humidity or static affect fully drawn yarn tension?
They may be relevant in some yarn and equipment situations, but the relationship depends on the material, process, and local conditions. Record environmental changes and test them through a controlled comparison instead of treating humidity or static as an automatic root cause.
Should I change machine settings before testing the yarn and package?
Usually, first document the symptom and inspect the yarn, package, yarn path, and measurement method under comparable conditions. If a setting must be changed for containment or safety, record the change and follow the applicable machine and site procedures.